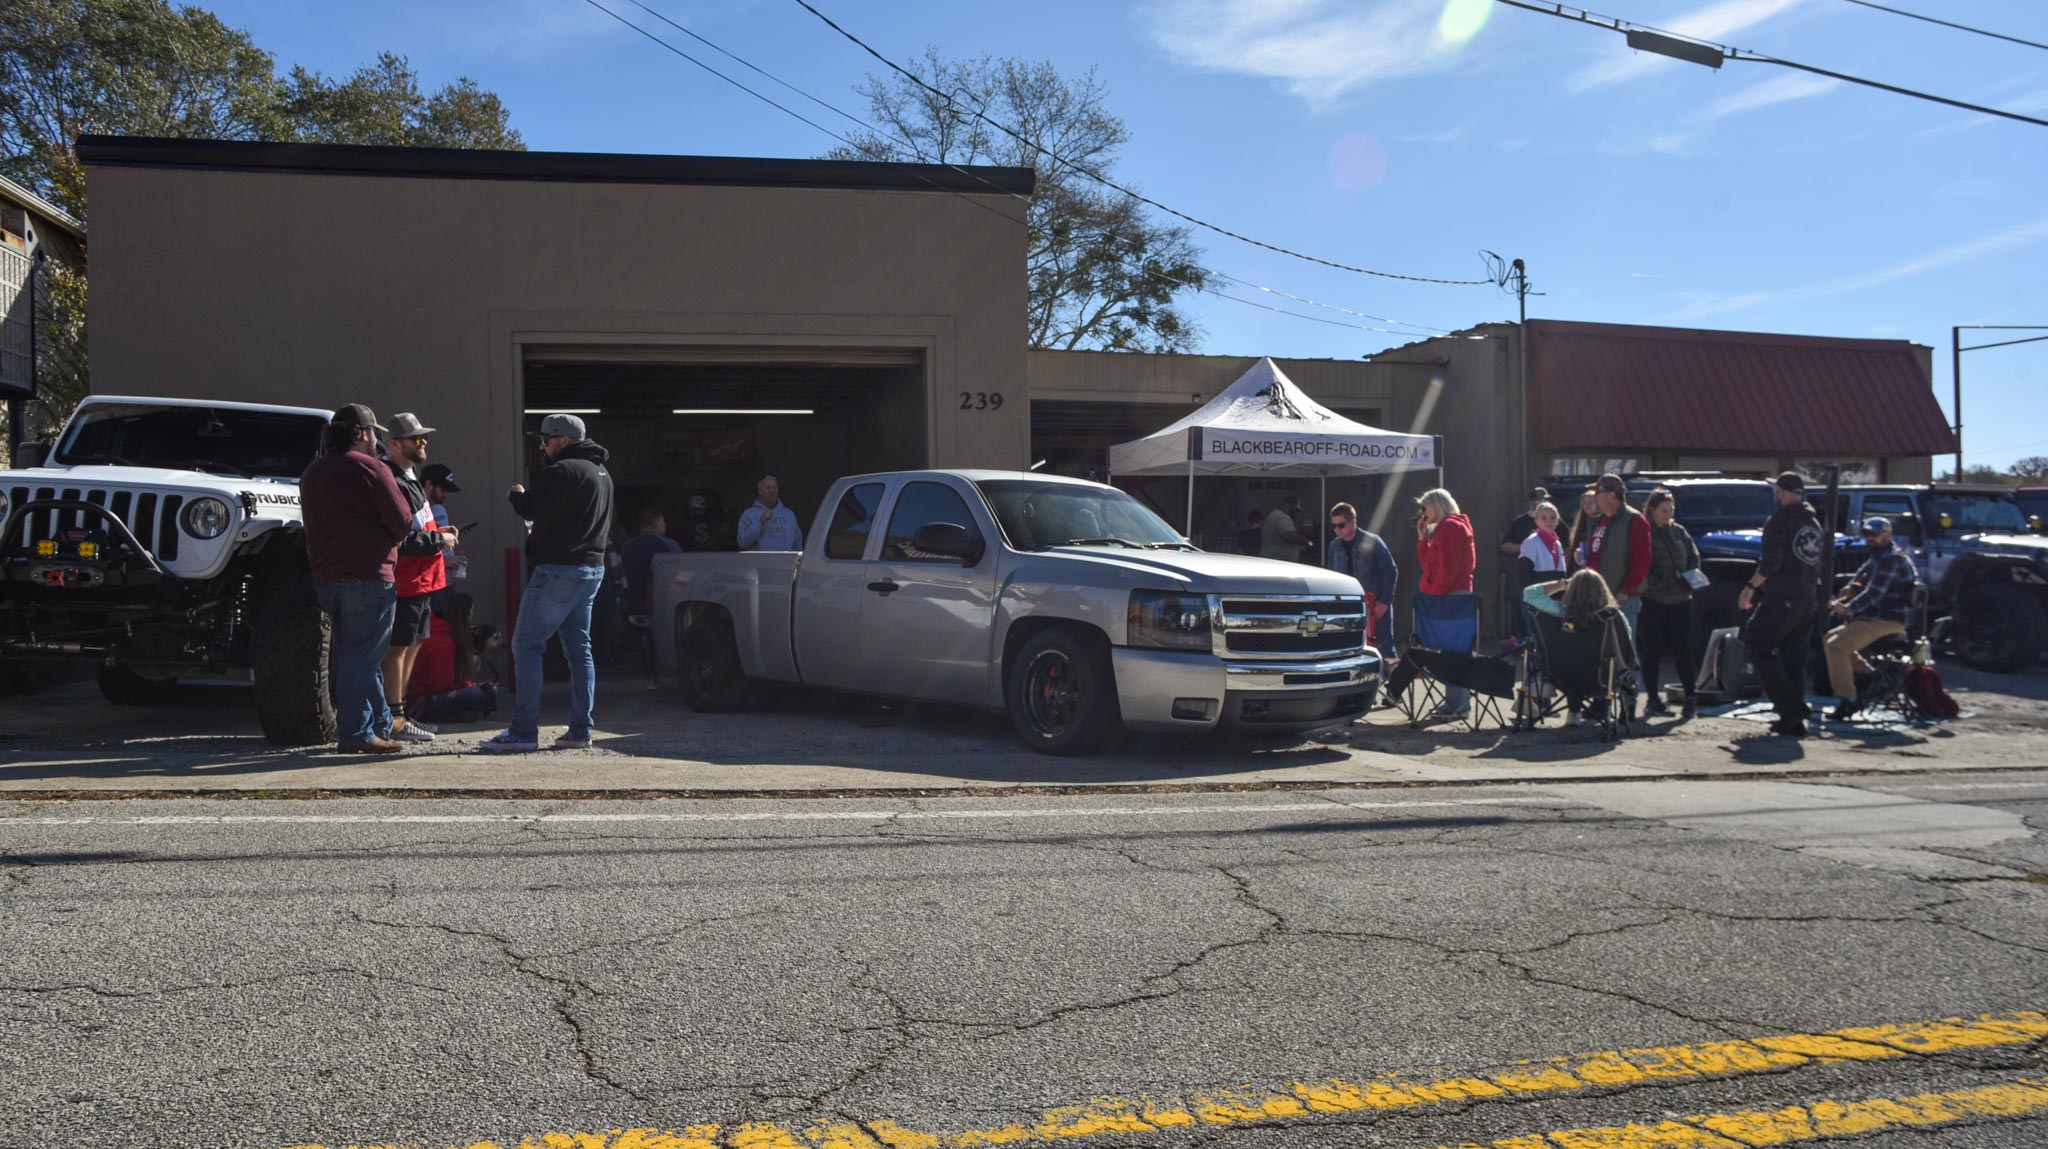
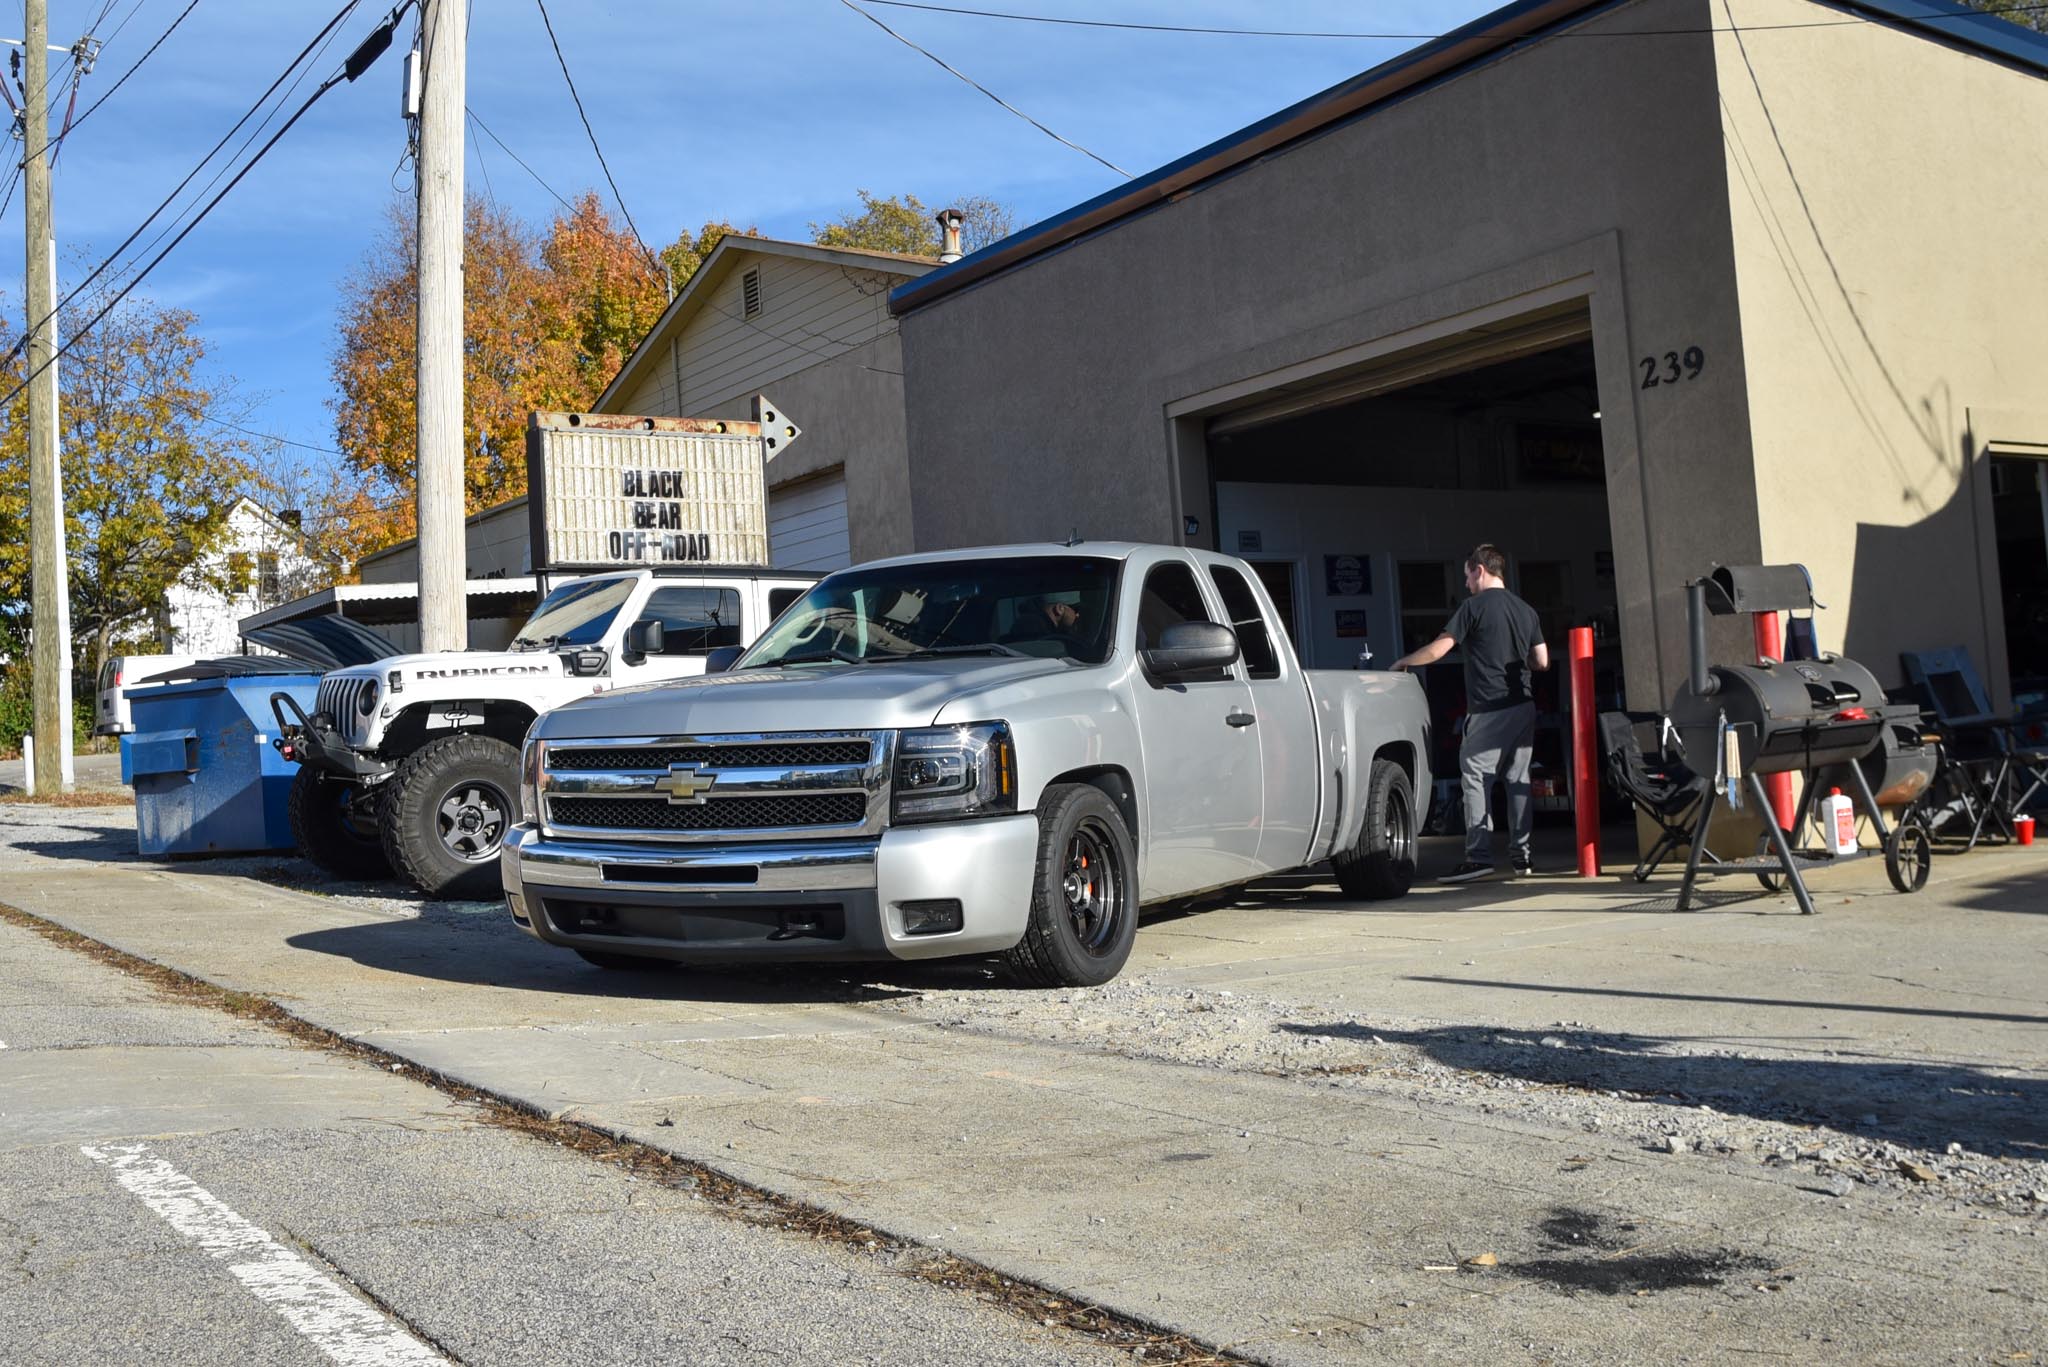
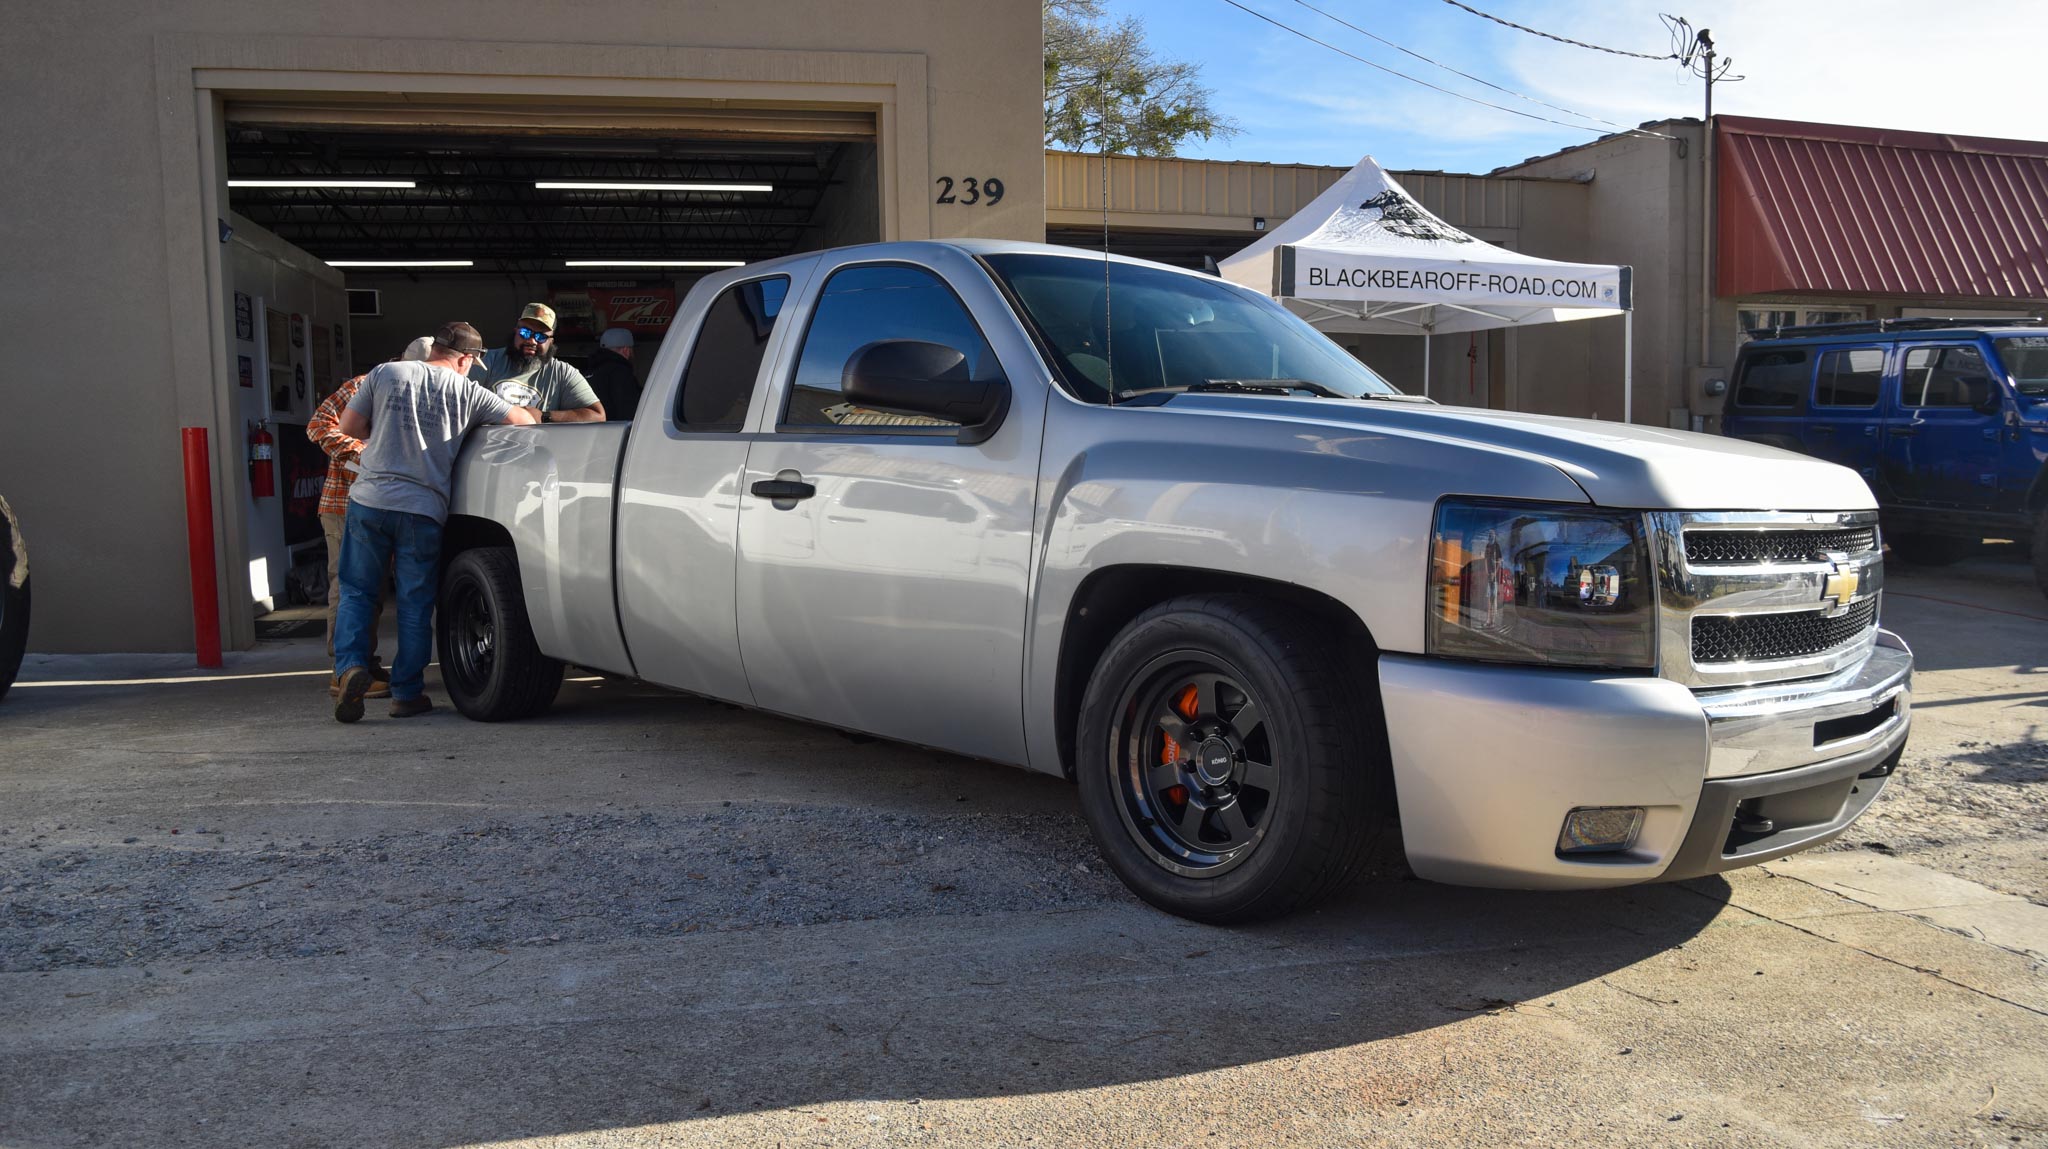
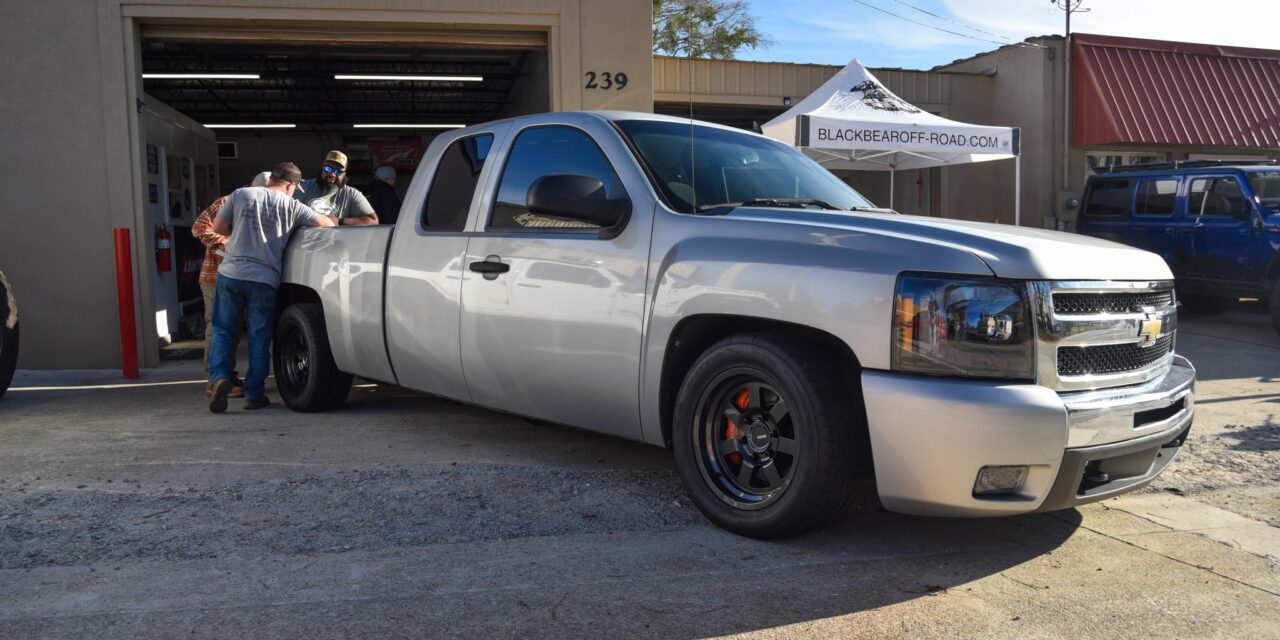
Alright this is the KnKut Drill Bits project truck. KnKut resides in the same town as S3, so we figured we’d do this project together & have some fun. The ultimate purpose is: To have a custom-yet-functional shop truck. Something Andy can put miles on, load with tents & toolboxes, pull his trailer, and take to shows/events. A conversation starter. See – a lowered truck really fits in pretty much anywhere… it blends & blurs many styles of car culture. But enough with all that… if you wanna read the official short intro with renders, please check that out. But this is where the first wrench gets turned. We headed to our buddy’s shop, Black Bear Off-Road in Buford GA, to kick-off this 2011 Silverado with a 4″/6″ Belltech lowering kit.
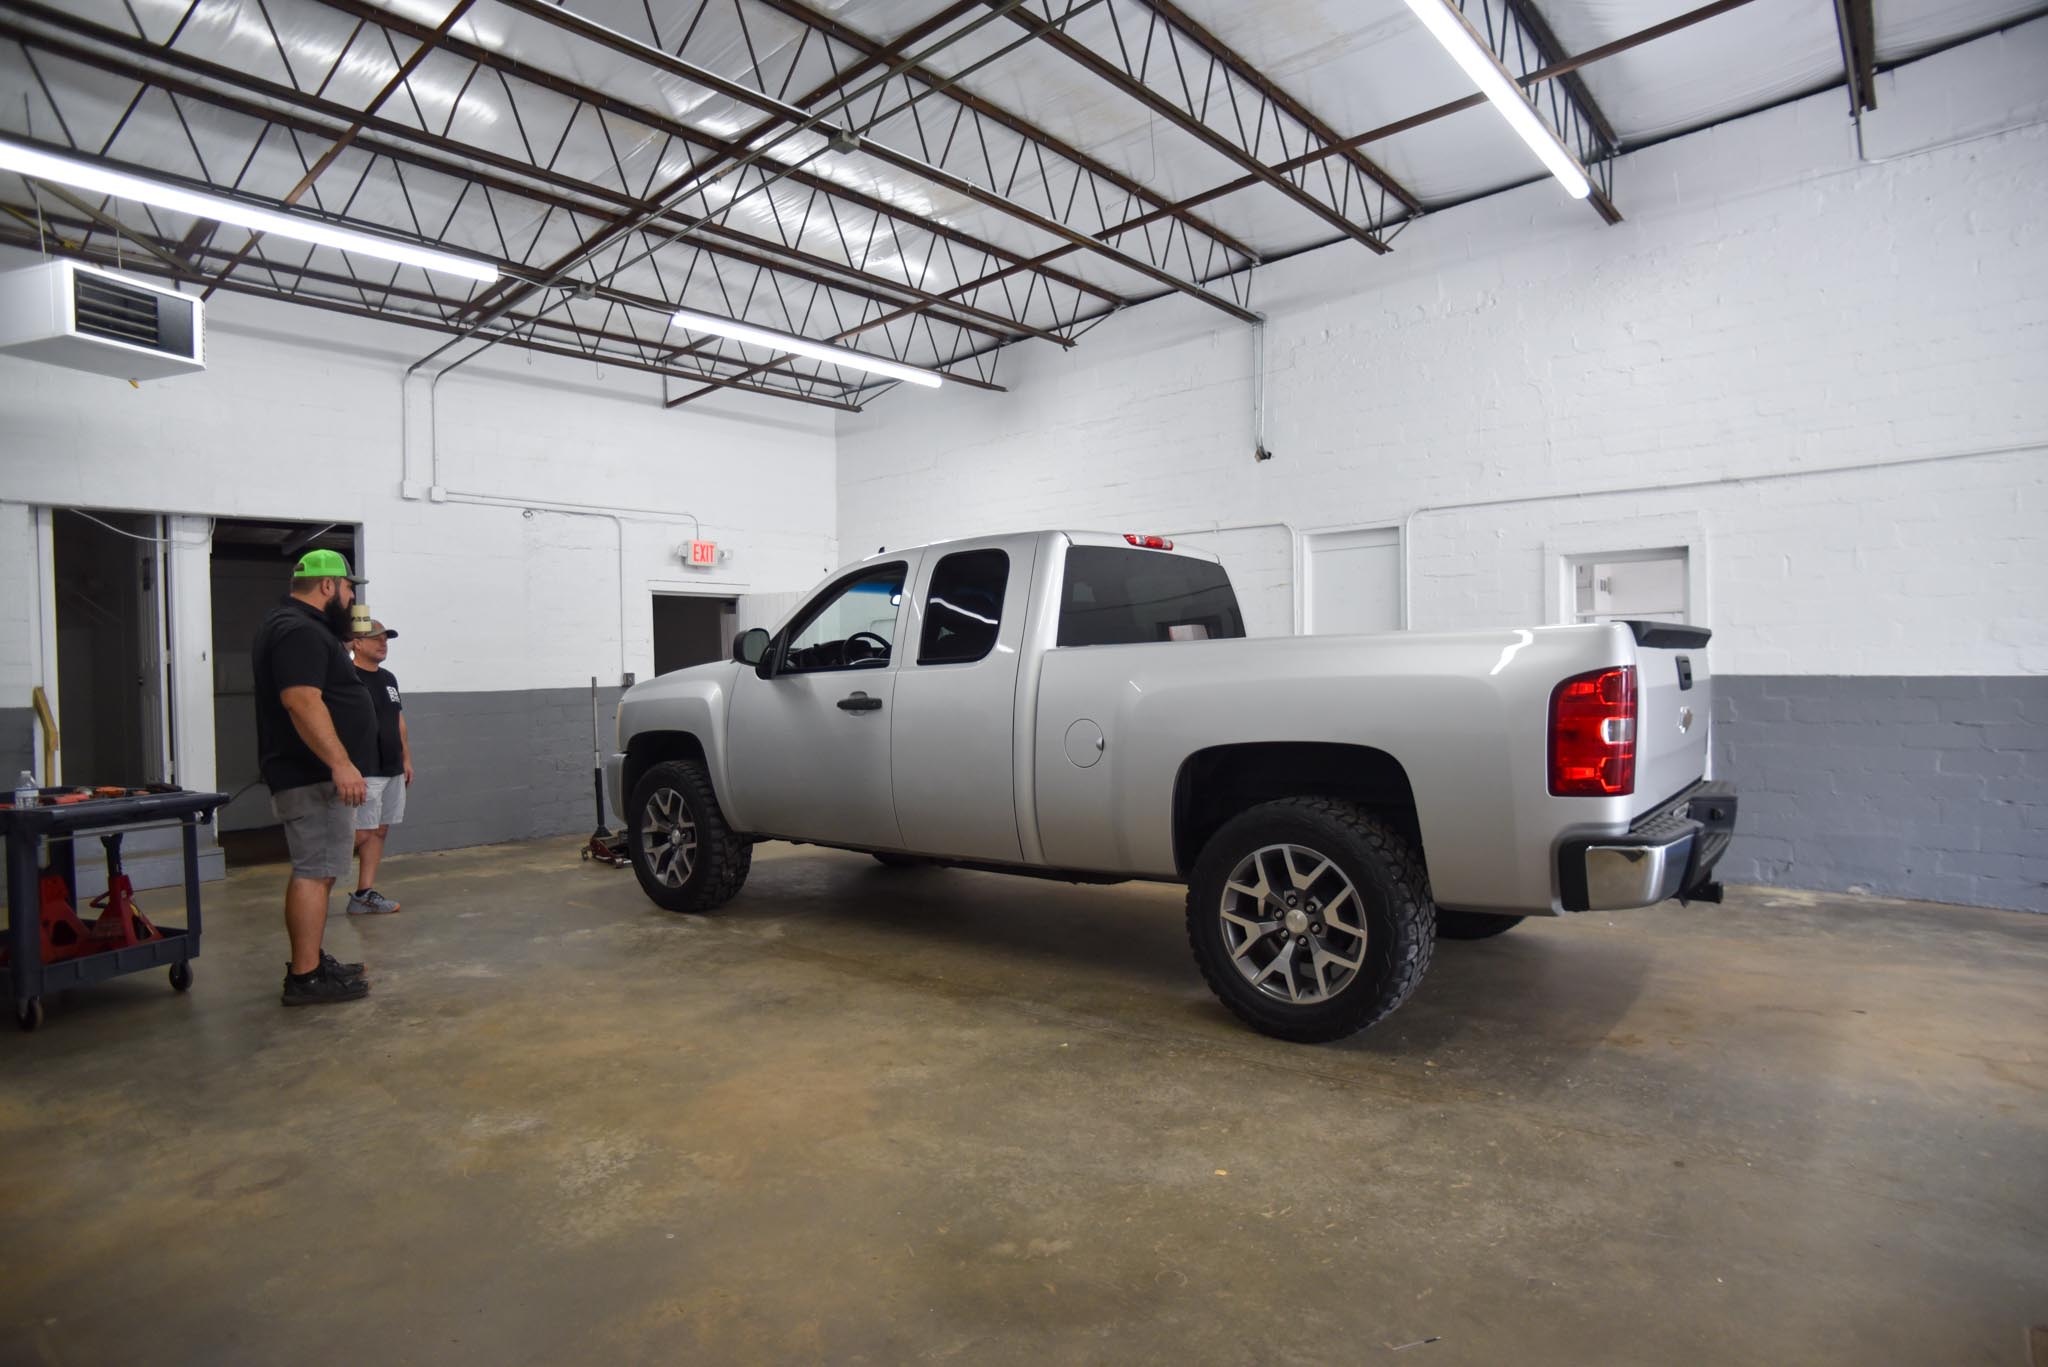
“Does your grandpappy know we’re about to lower his truck.” -jk
Yep we’re gonna slap this Belltech kit on, and be drinkin’ cold draft beer at the brewery across the street by noon. 😉 Bet. Let’s get to it.
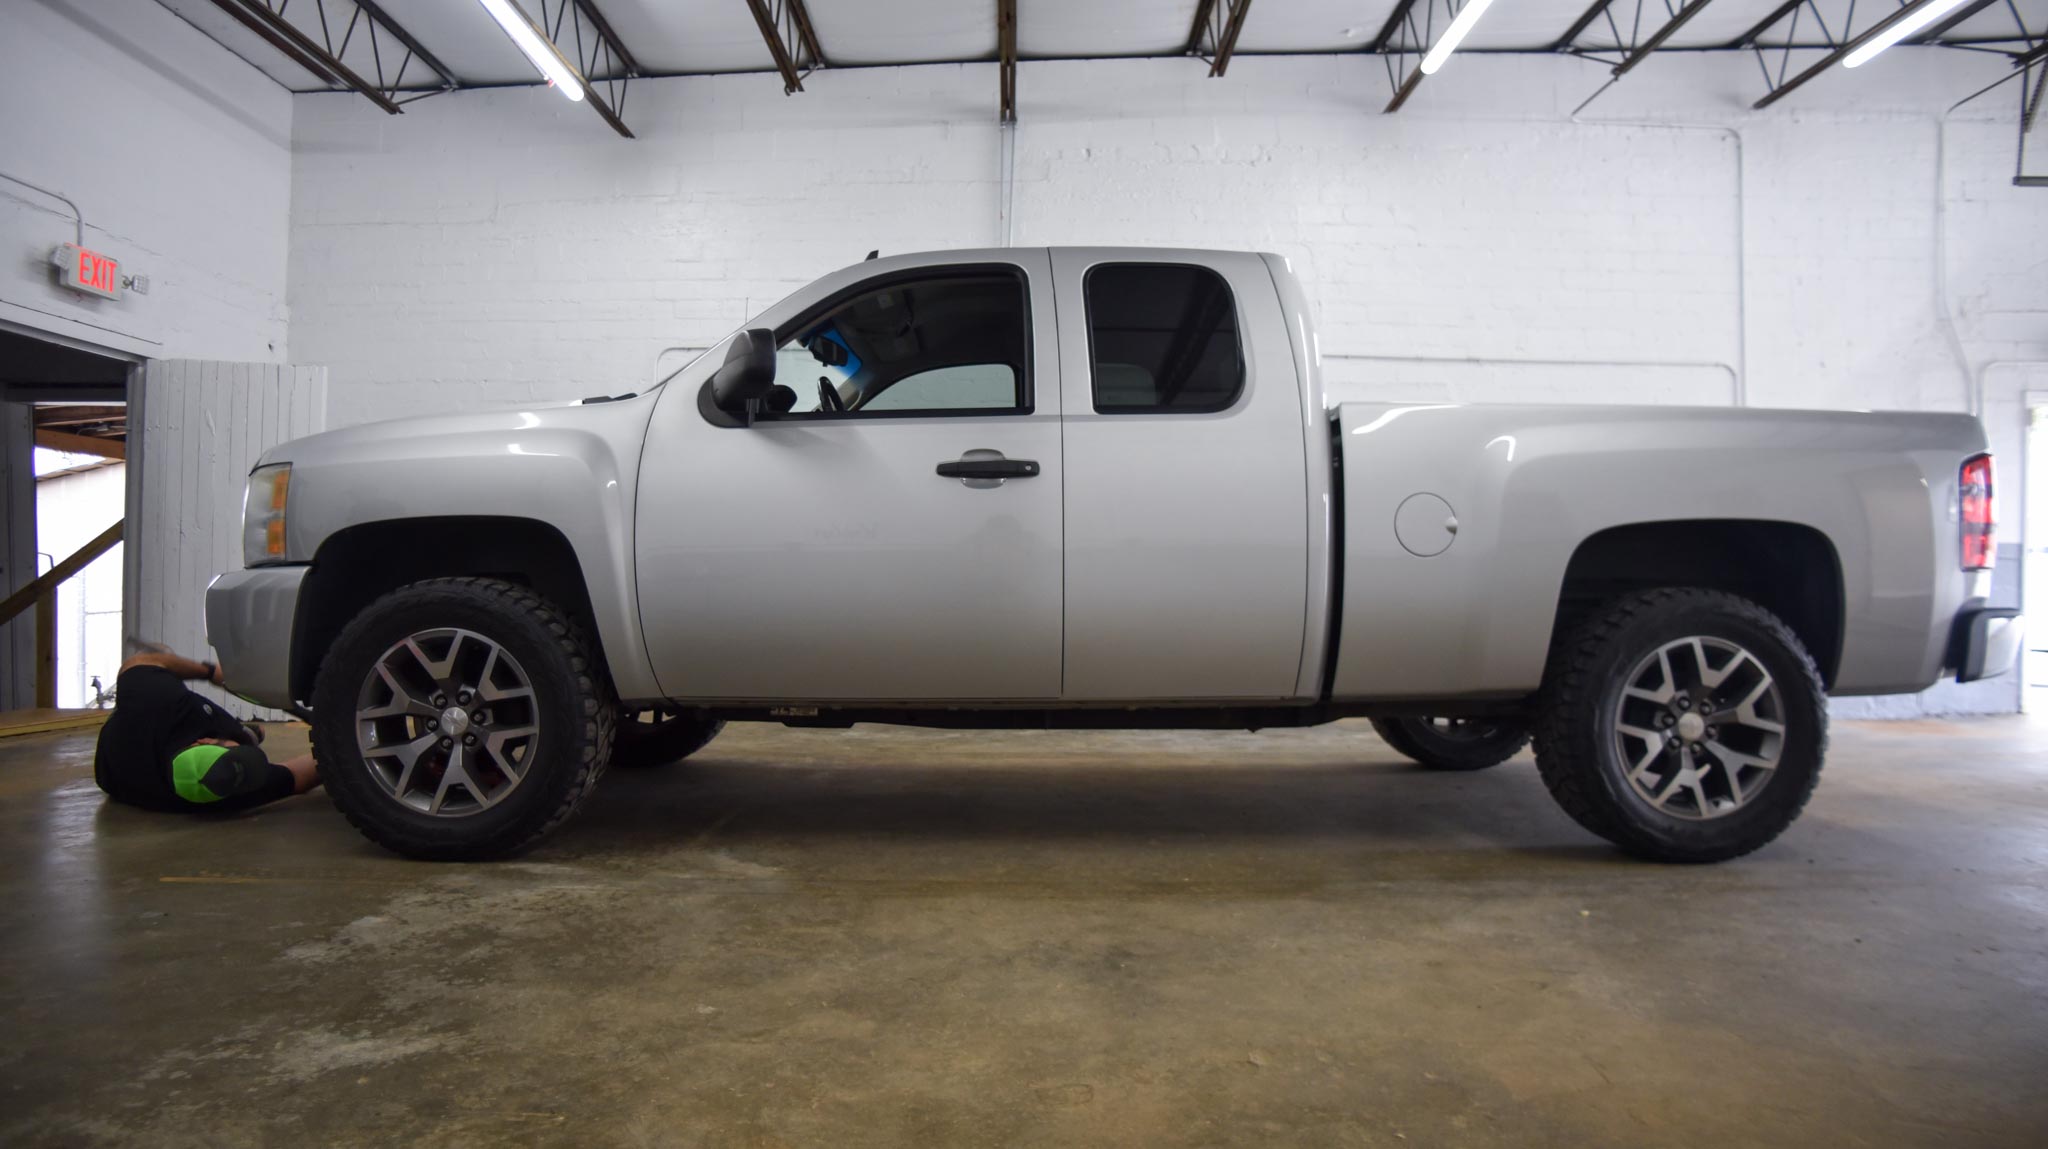
So the stud laying at the front of the Silverado…
Is Jeepin Bubba from Black Bear Off-Road in Buford, GA. He’s jacking-up this Silverado for the very last time as a lame truck. Because when it touches the ground again… it’s gonna go hard! PS: It actually looks a little cool in this pic, but it’s not… that’s just the wide-angle lens fa-fa-fa-foolin’ ya.
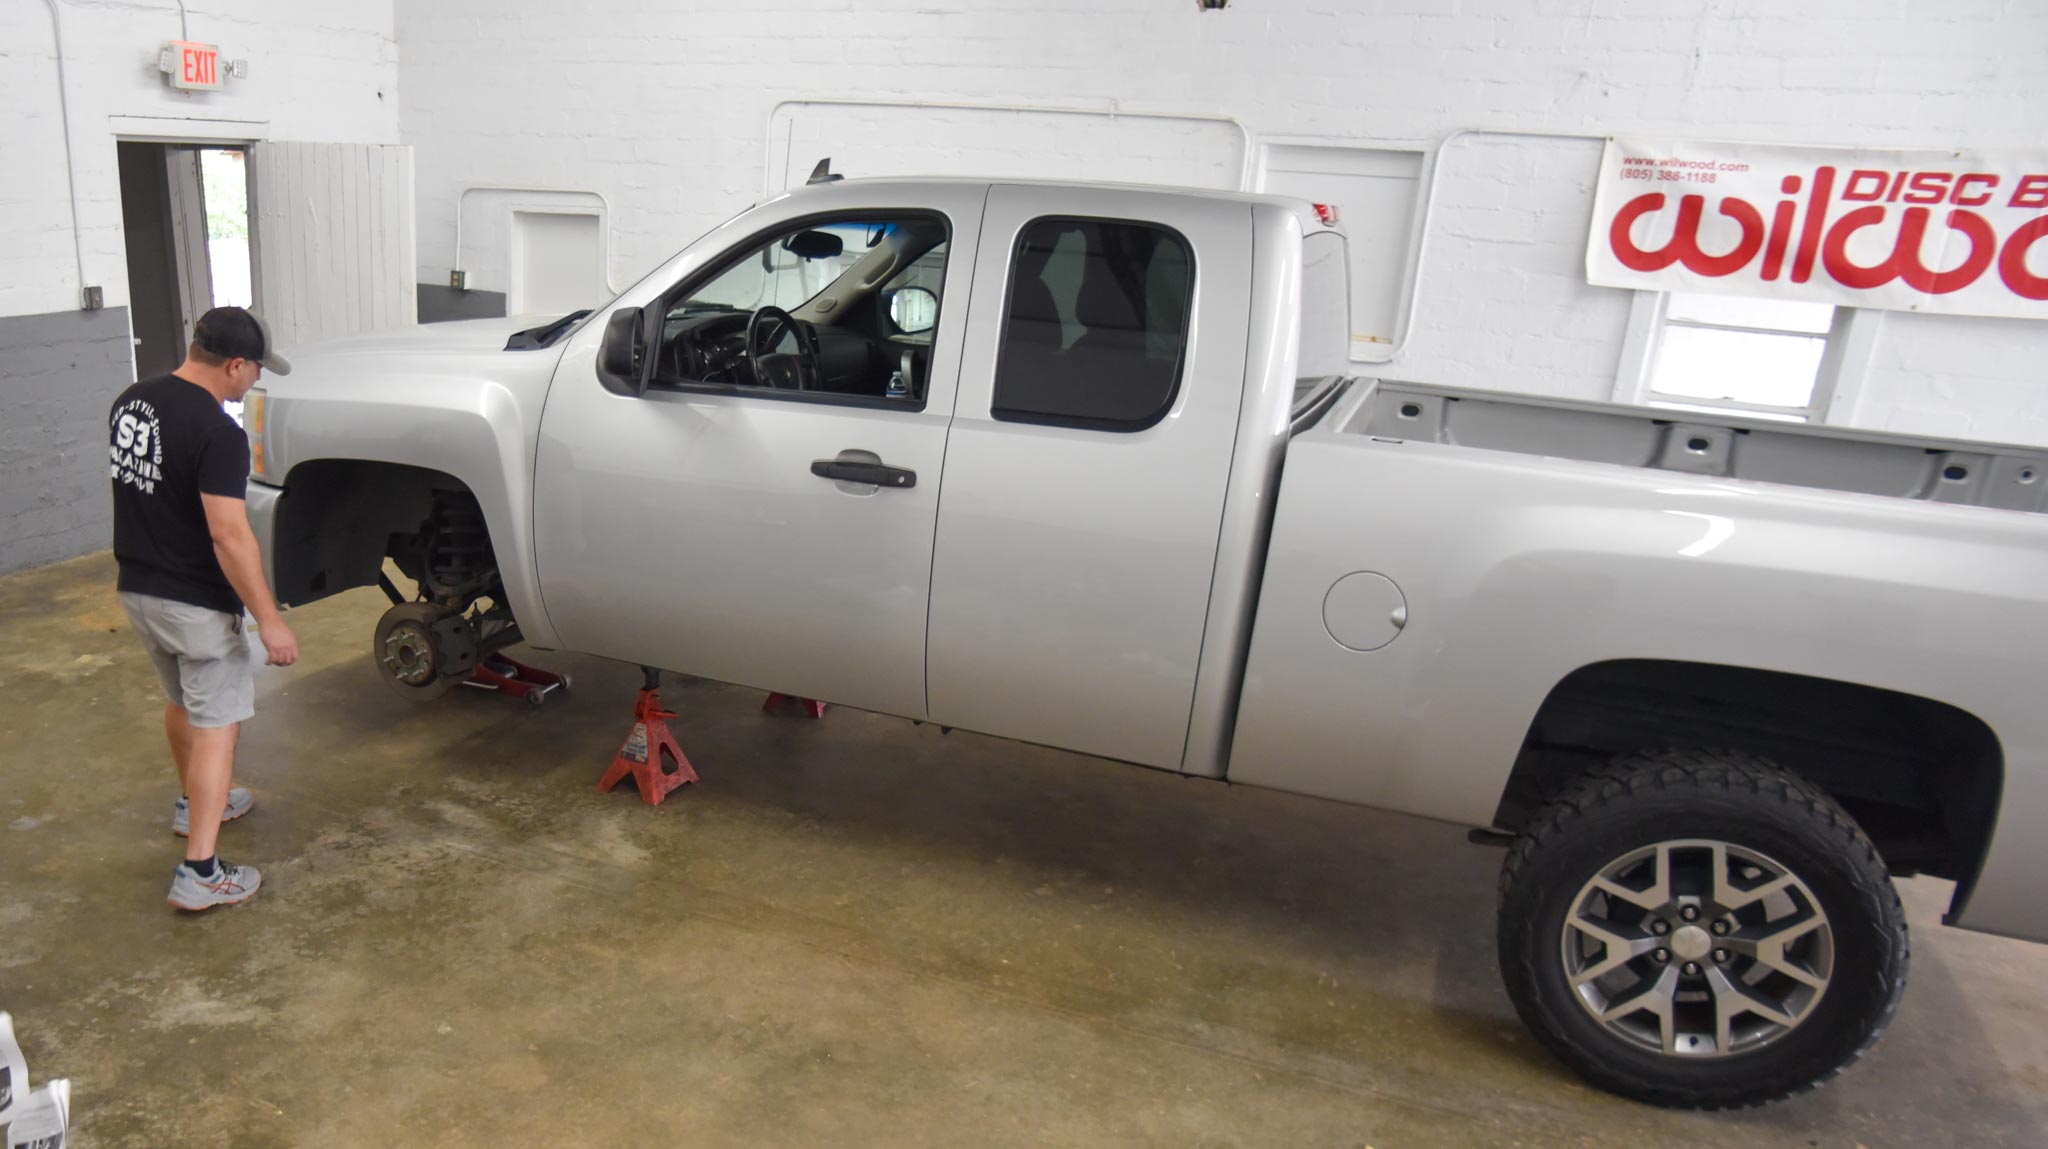
And this right here, is Andy Thompson from KnKut Drill Bits…
Paying his last respects. That’s because this is his Silverado. But you know what? Andy’s had this truck sitting around for years as an extra/backup vehicle. There’s nothing particularly special about it… and that’s precisely what makes it perfect to have some fun with. No boring cars. The task is to take ‘just a truck’… and make it MORE than that. We don’t need Raptors, TRXs, and TRD PROs to have a good time (although it helps). Hey – we are gonna have a good time right??
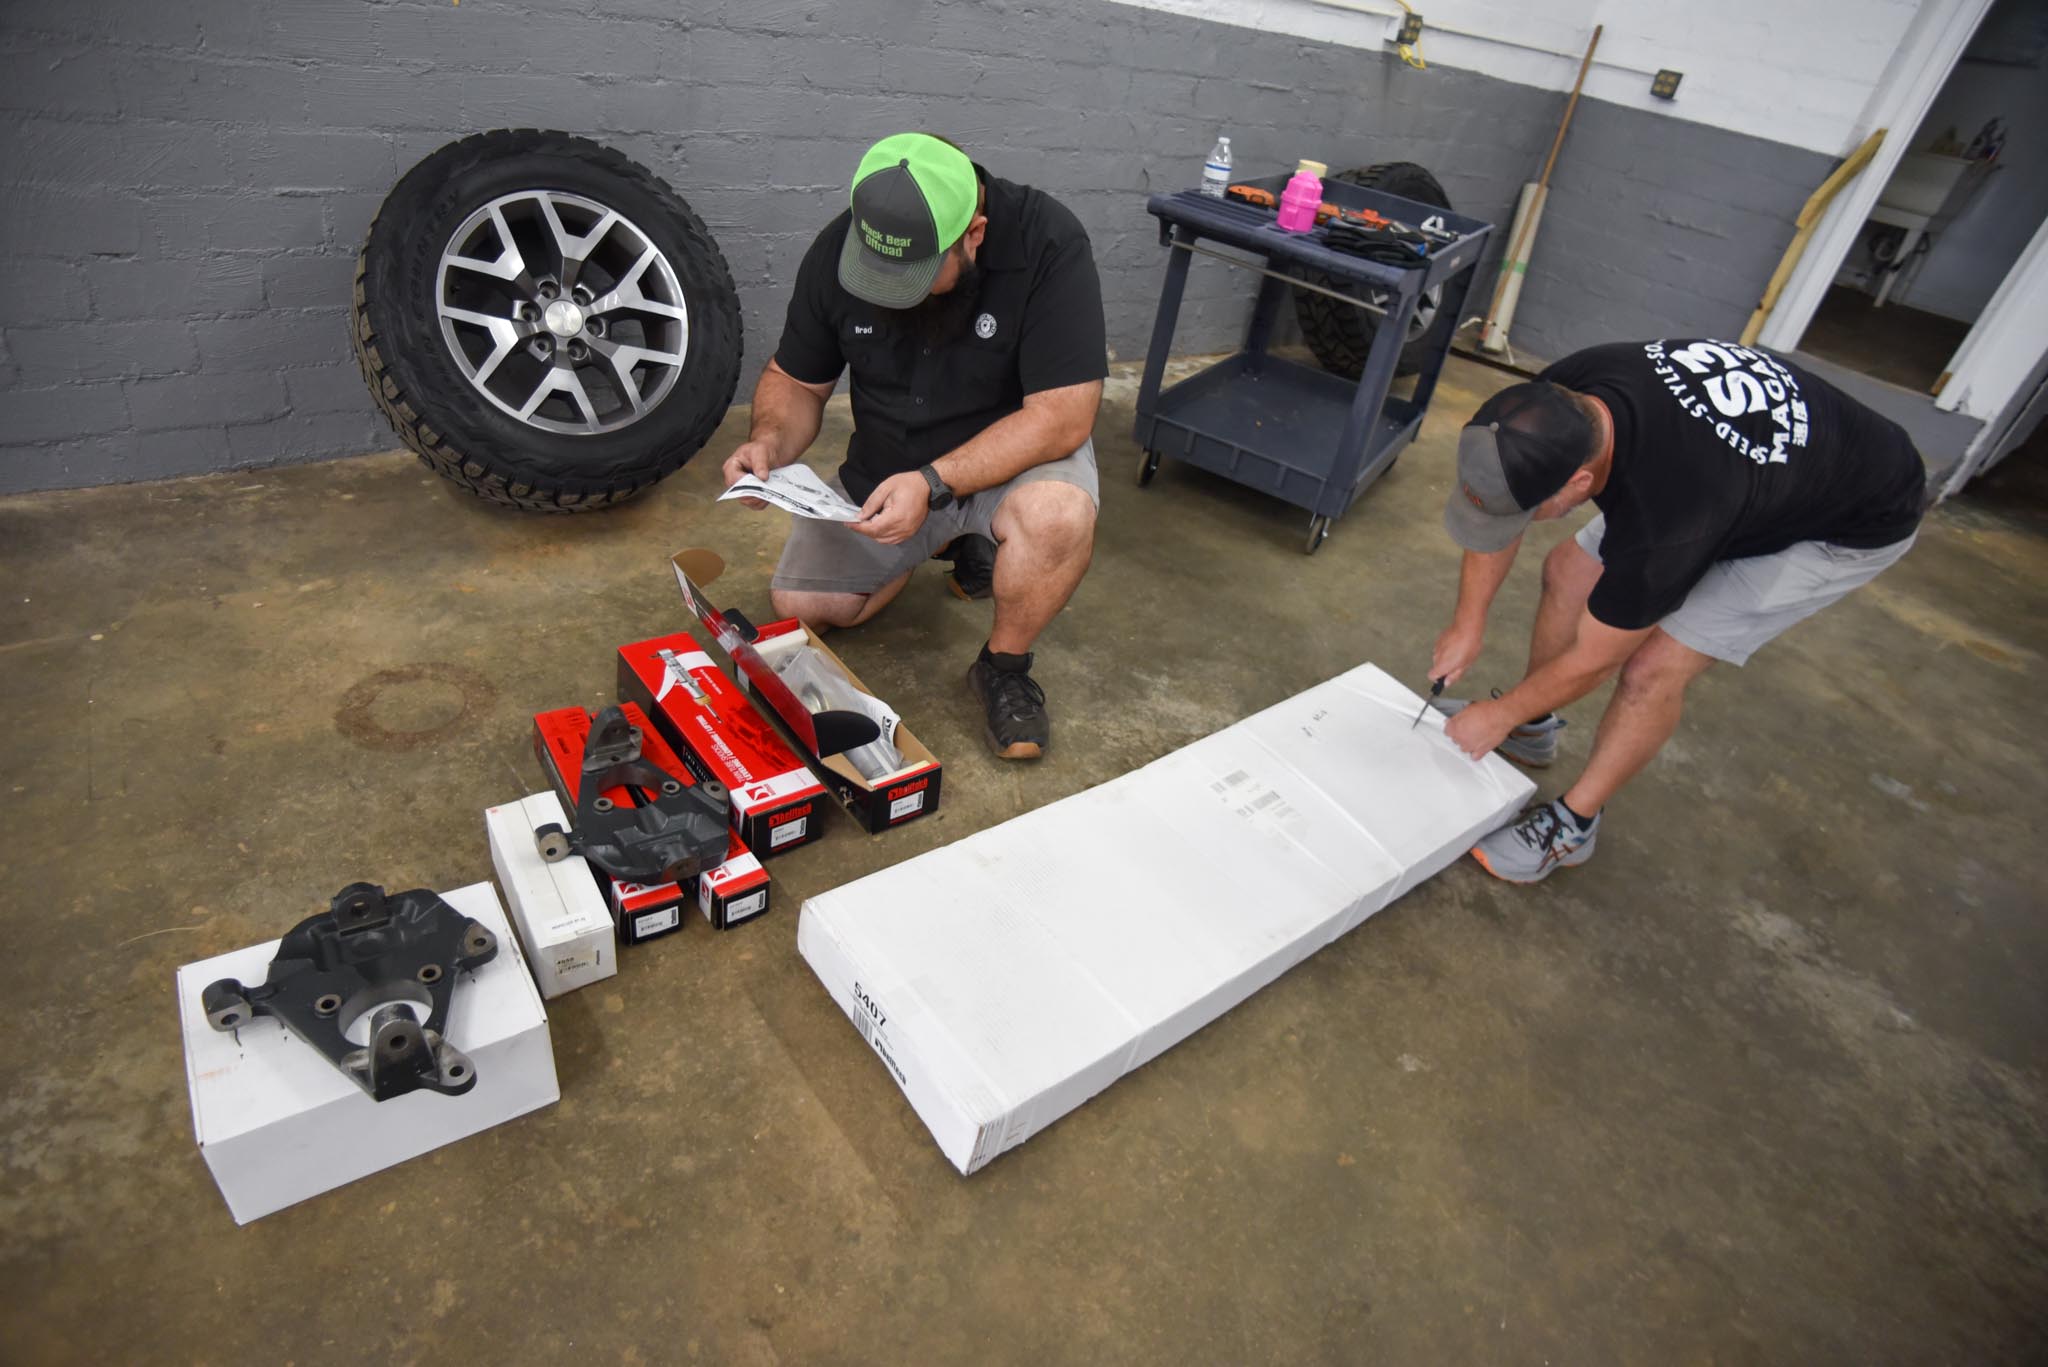
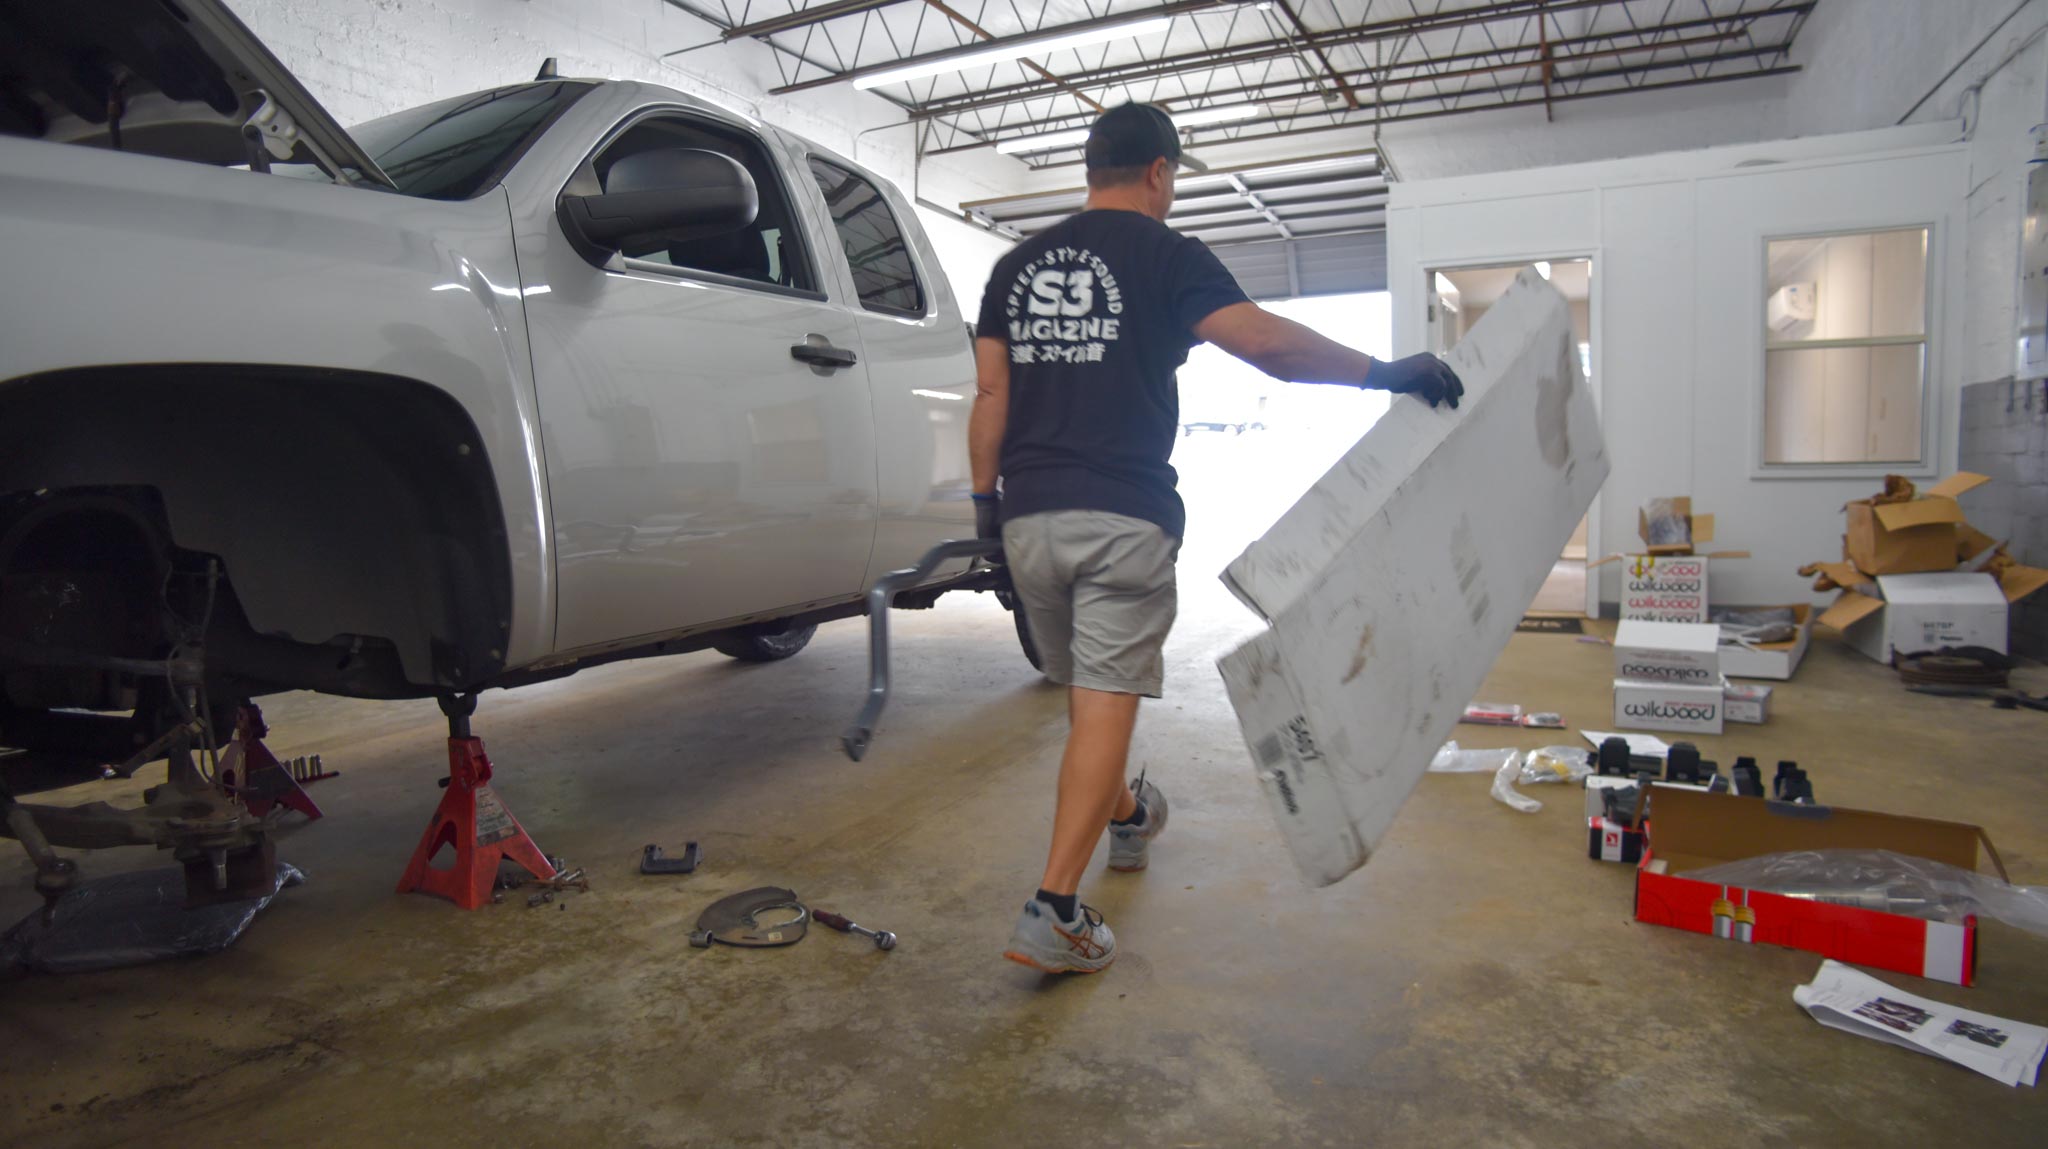
Unboxing the goodies…
The general rule of thumb is that unboxing is super-lame when ‘influencers’ do it, but it’s always a good time in 1st-person real-life, don’t lie. This is the Belltech lowering kit #647SP (4/6 drop) with an additional Belltech front sway bar #5407.
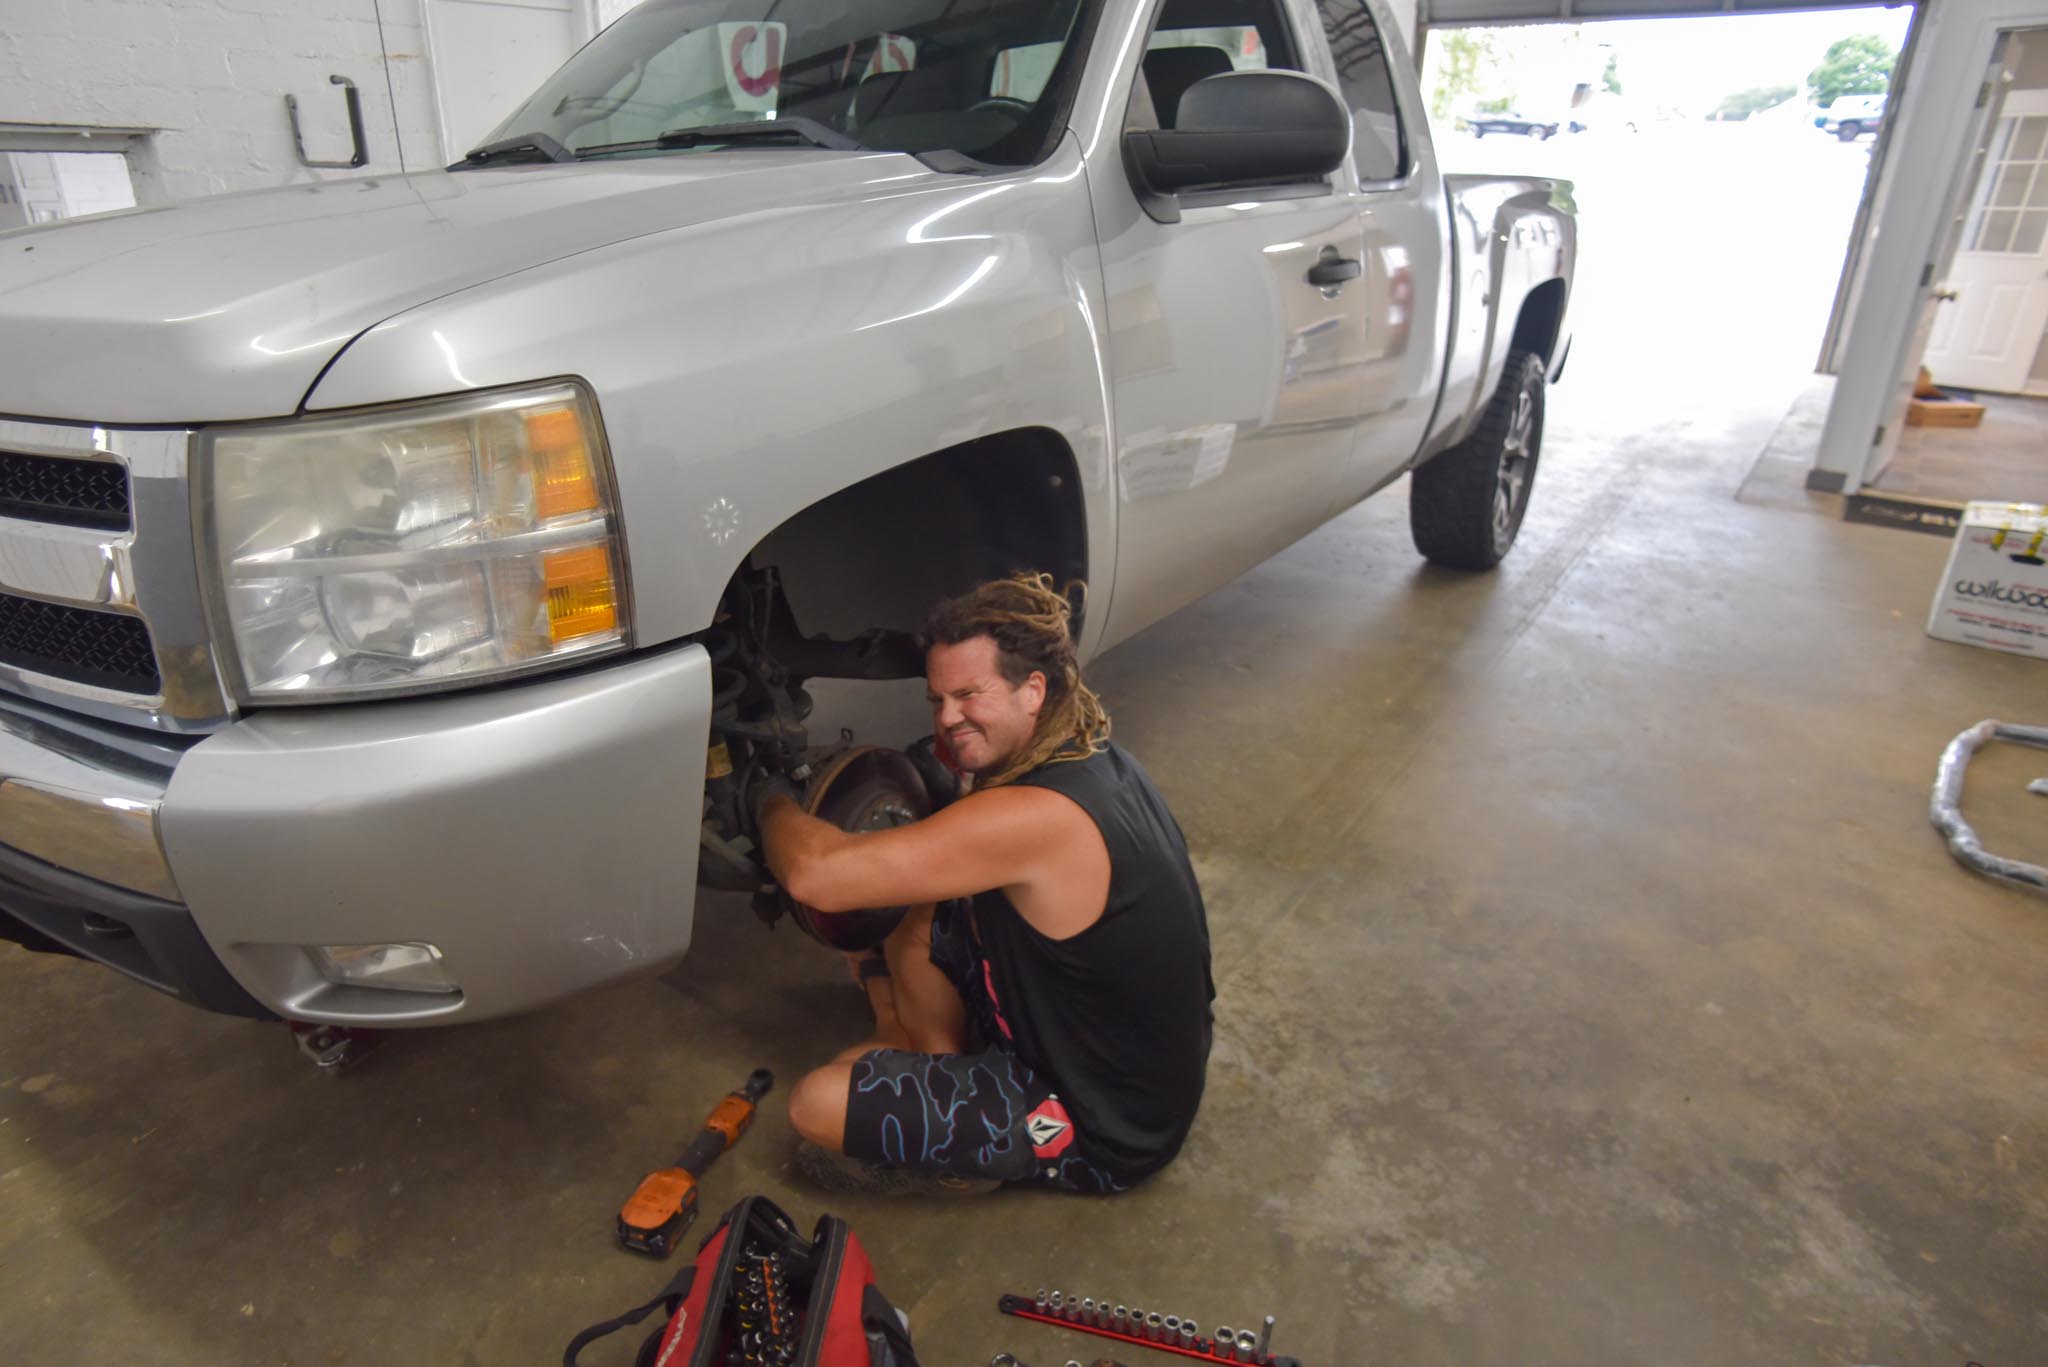
And this me…
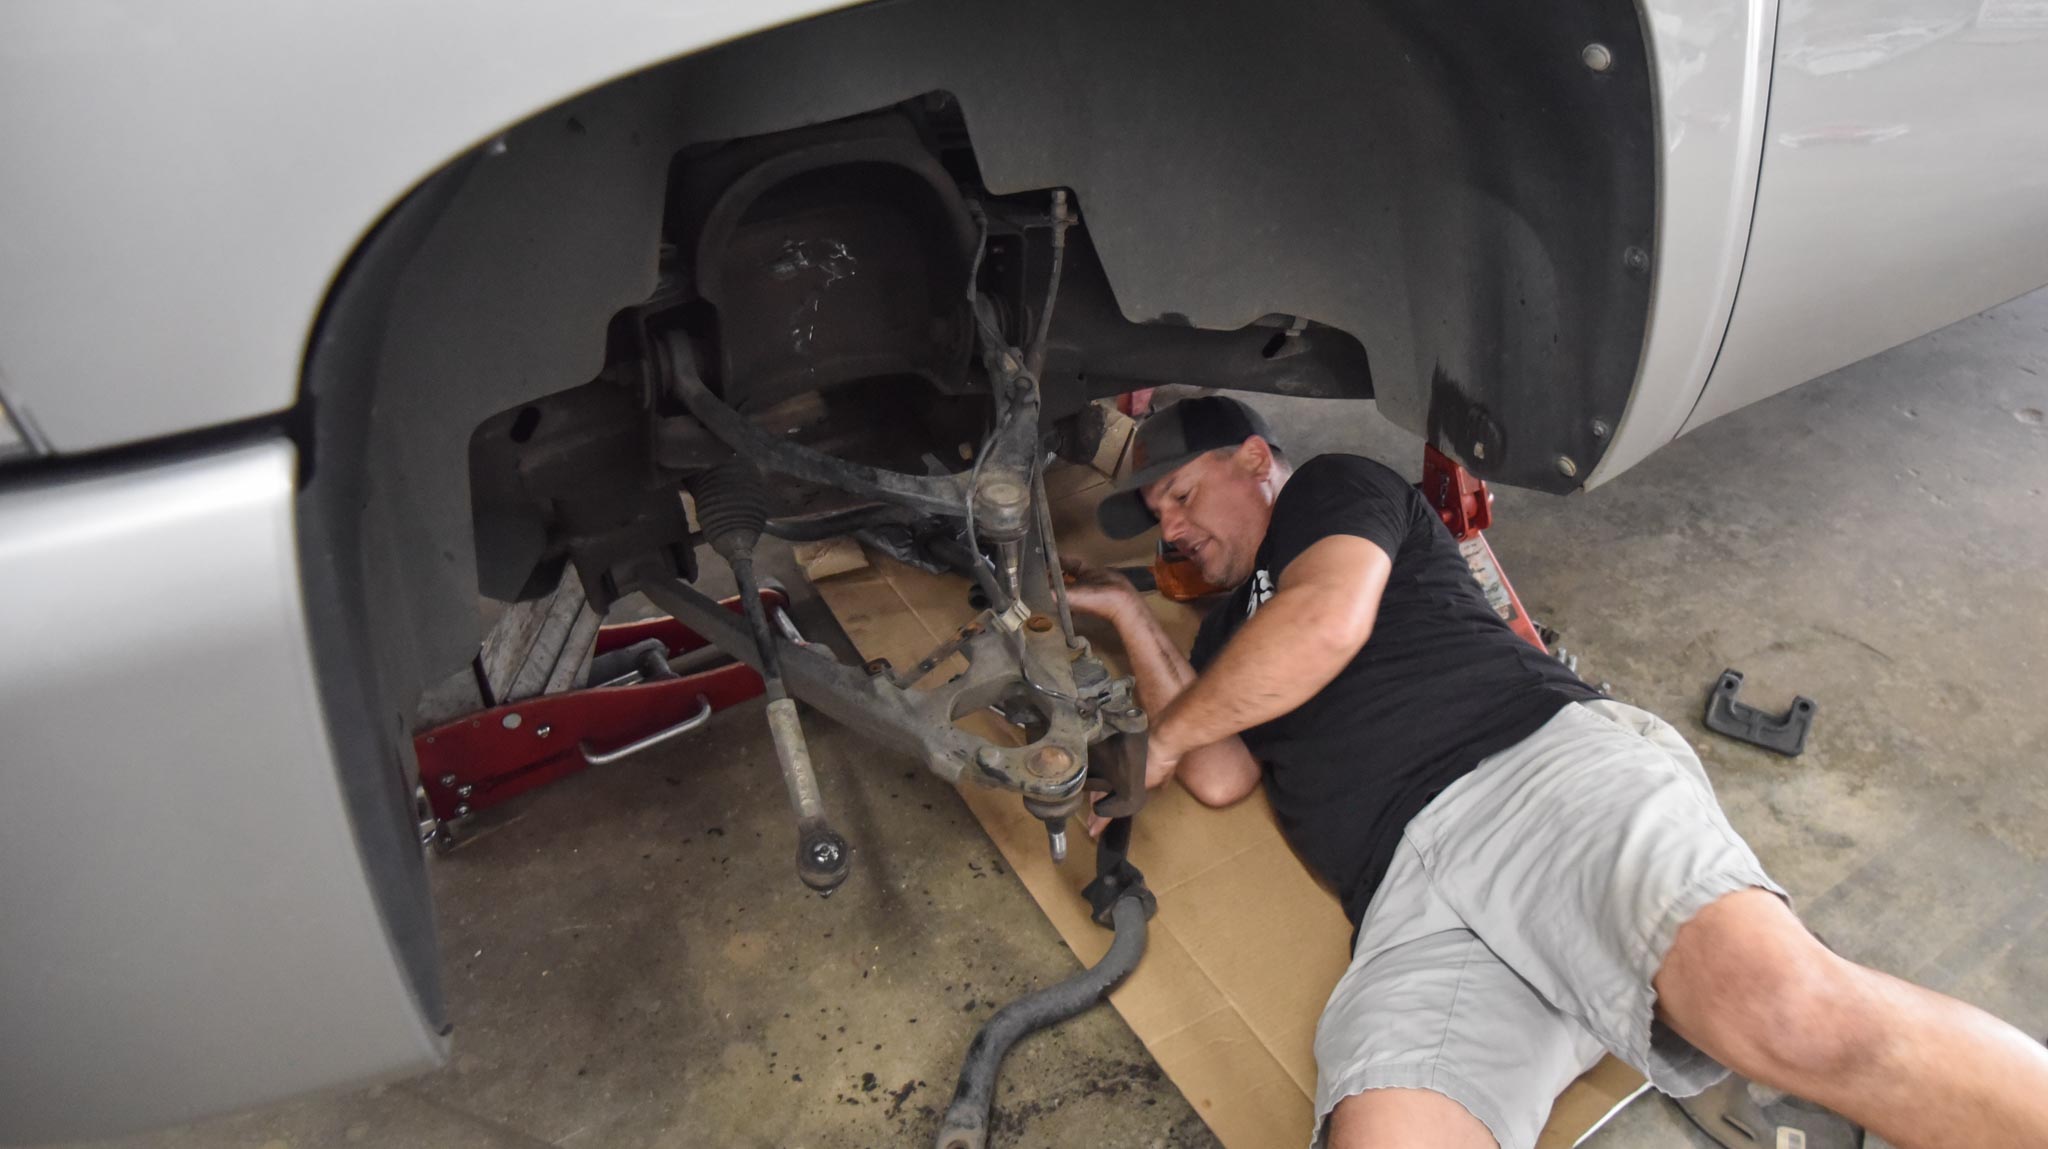
Wooley from S3 Magazine here… trying to figure out how I keep getting in these situations. Helpful or hobo… the verdict’s still out.
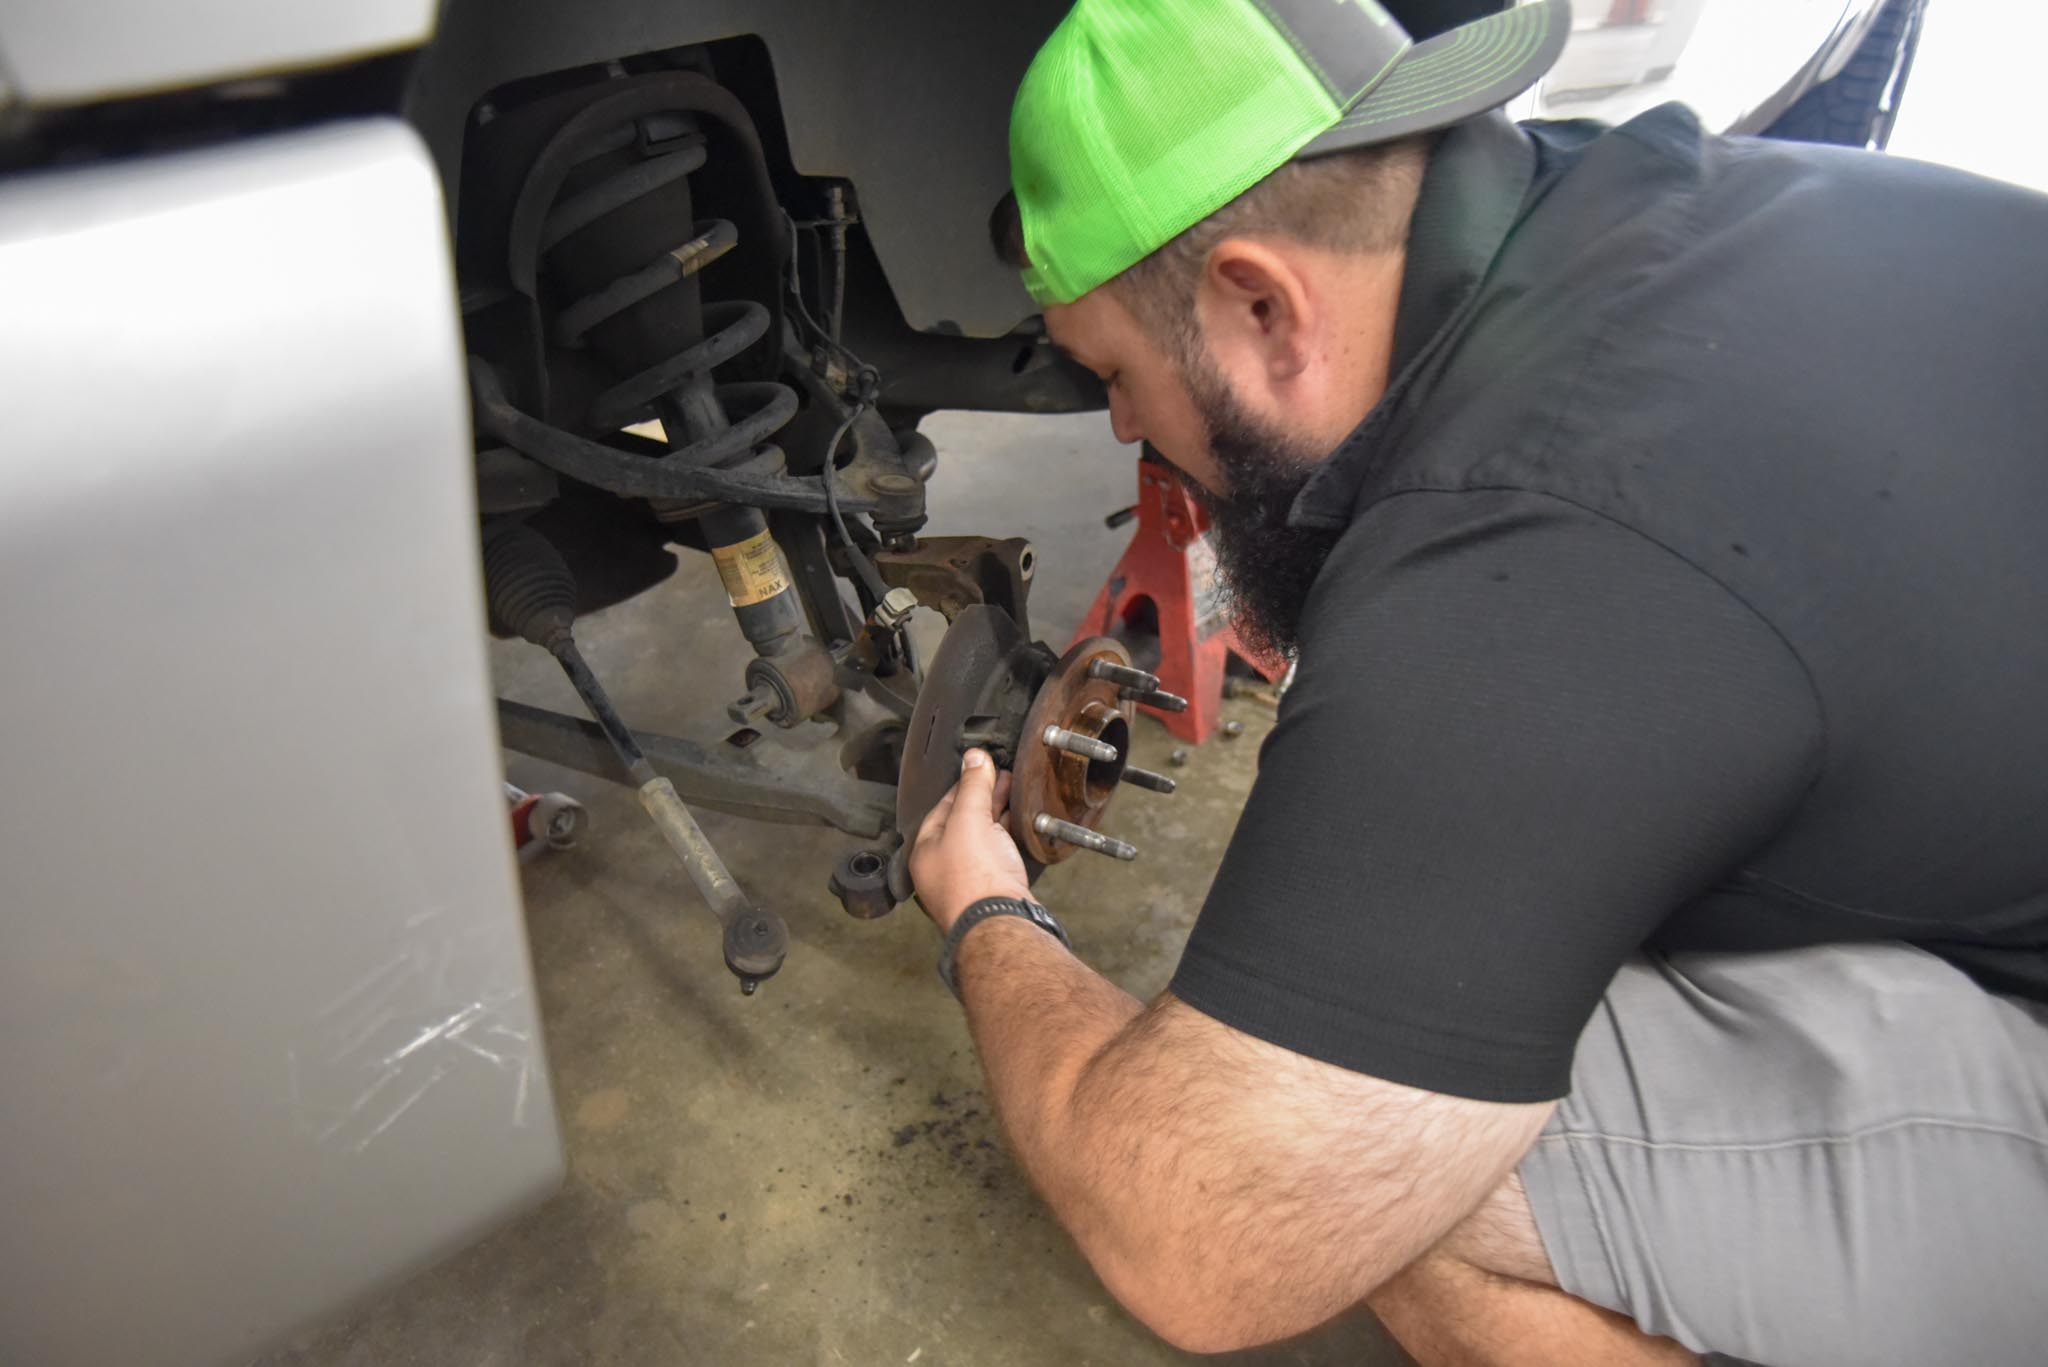
Our fearless leader, Jeepin Bubba…
Decided we should probably replace the hubs while we’re here. That’s good advice. Why put an old hub on a brand new drop spindle? They’re not part of this Belltech kit, but they can be purchased from NAPA, etc.
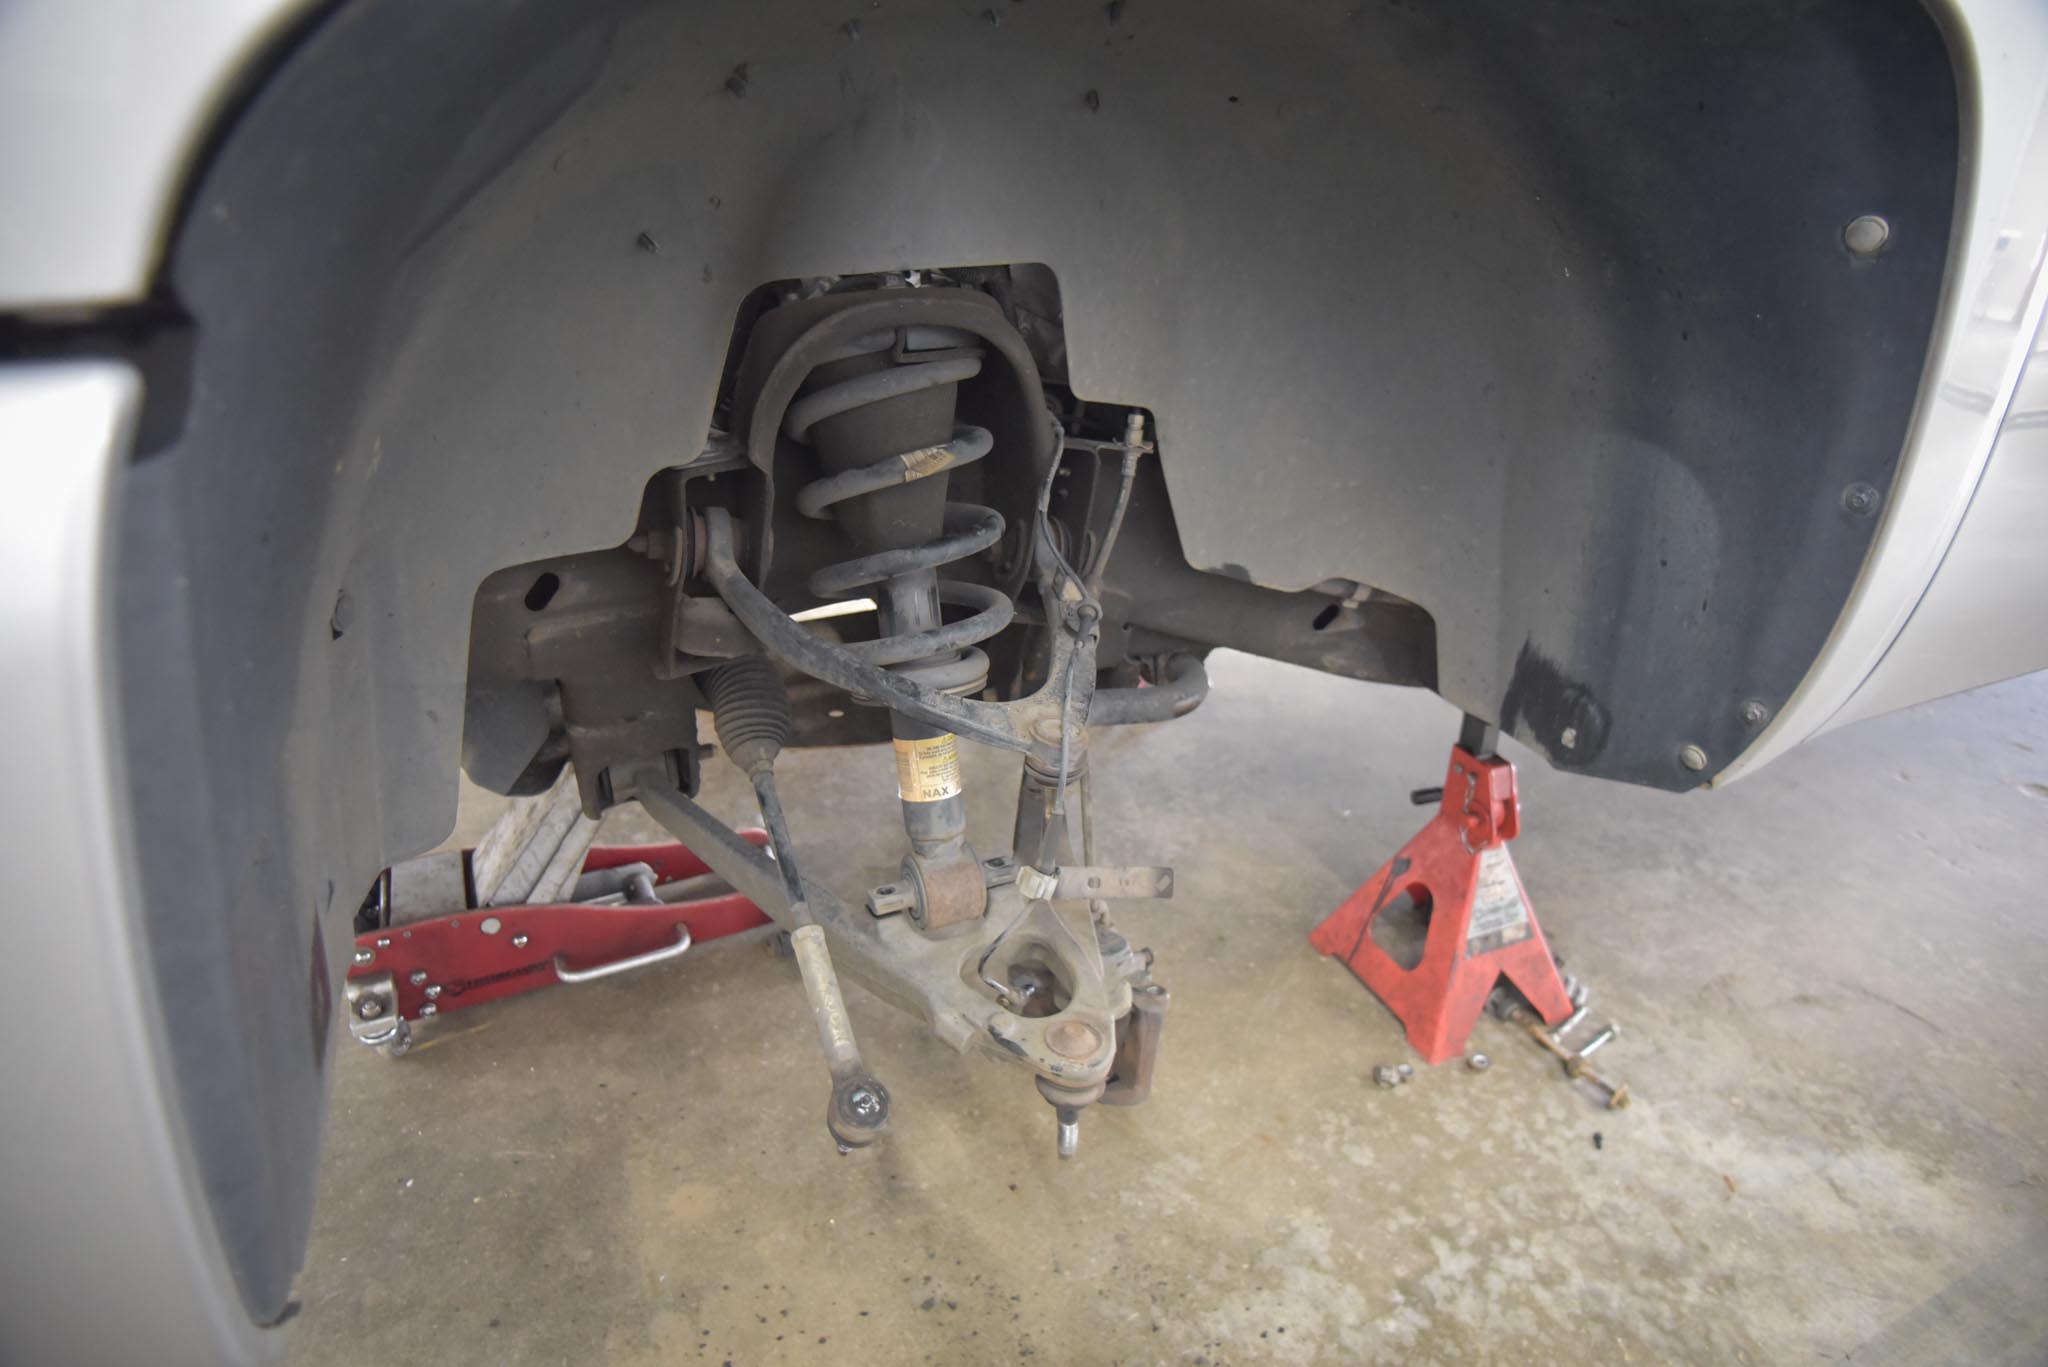
The front suspension comes apart in a breeze…
I normally use ball joint pullers at home, and it’s always a little bit of a pain-point. However, Jeepin Bubba taught me that smacking the hell outta the side of the control arms with a B.F. hammer (at the precise location of the balljoints) pops ‘em loose & makes quick work of it. AND – it doesn’t risk damaging the balljoints like a lot of those pullers. So from now on, I’m gonna try that first.
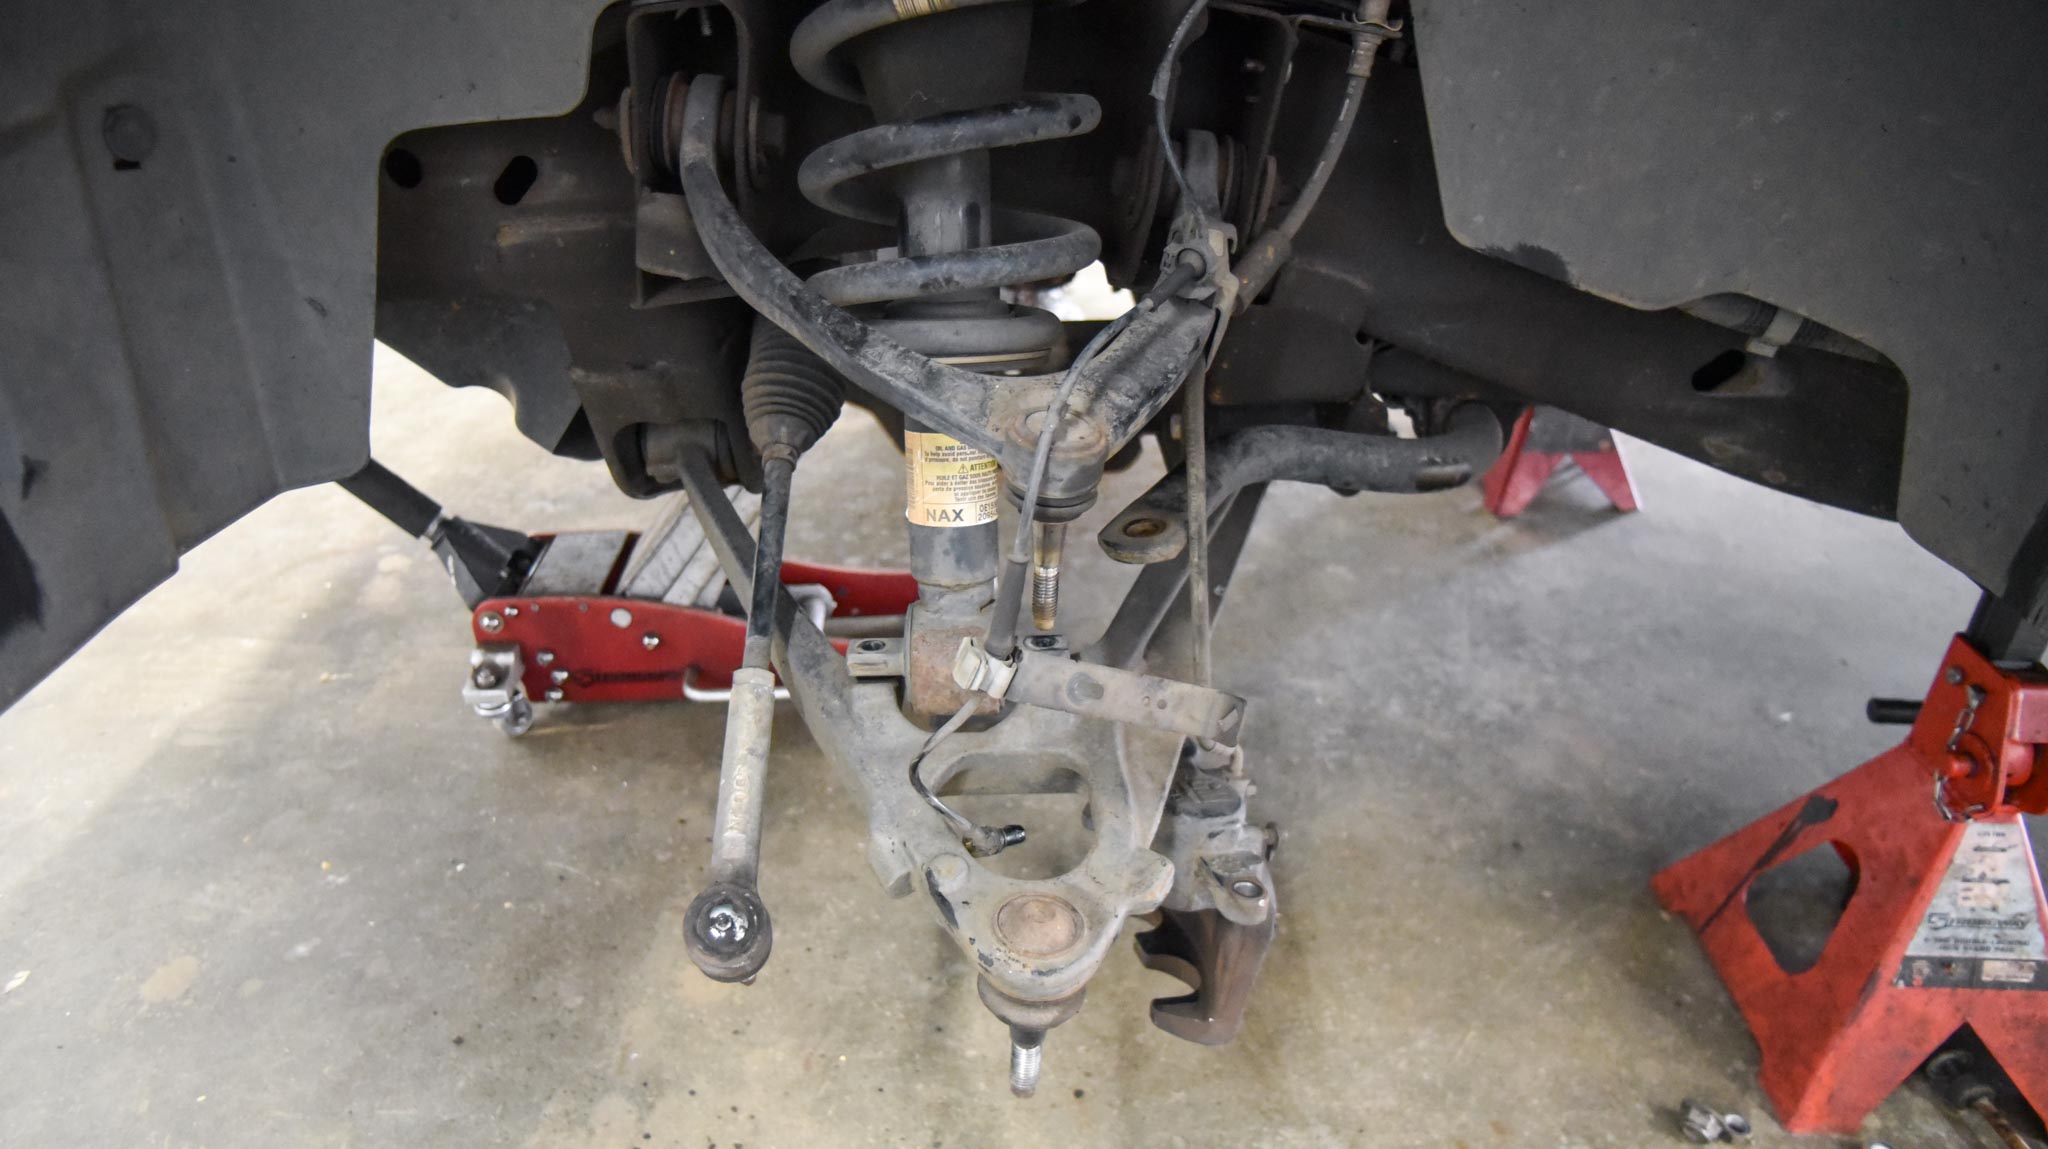
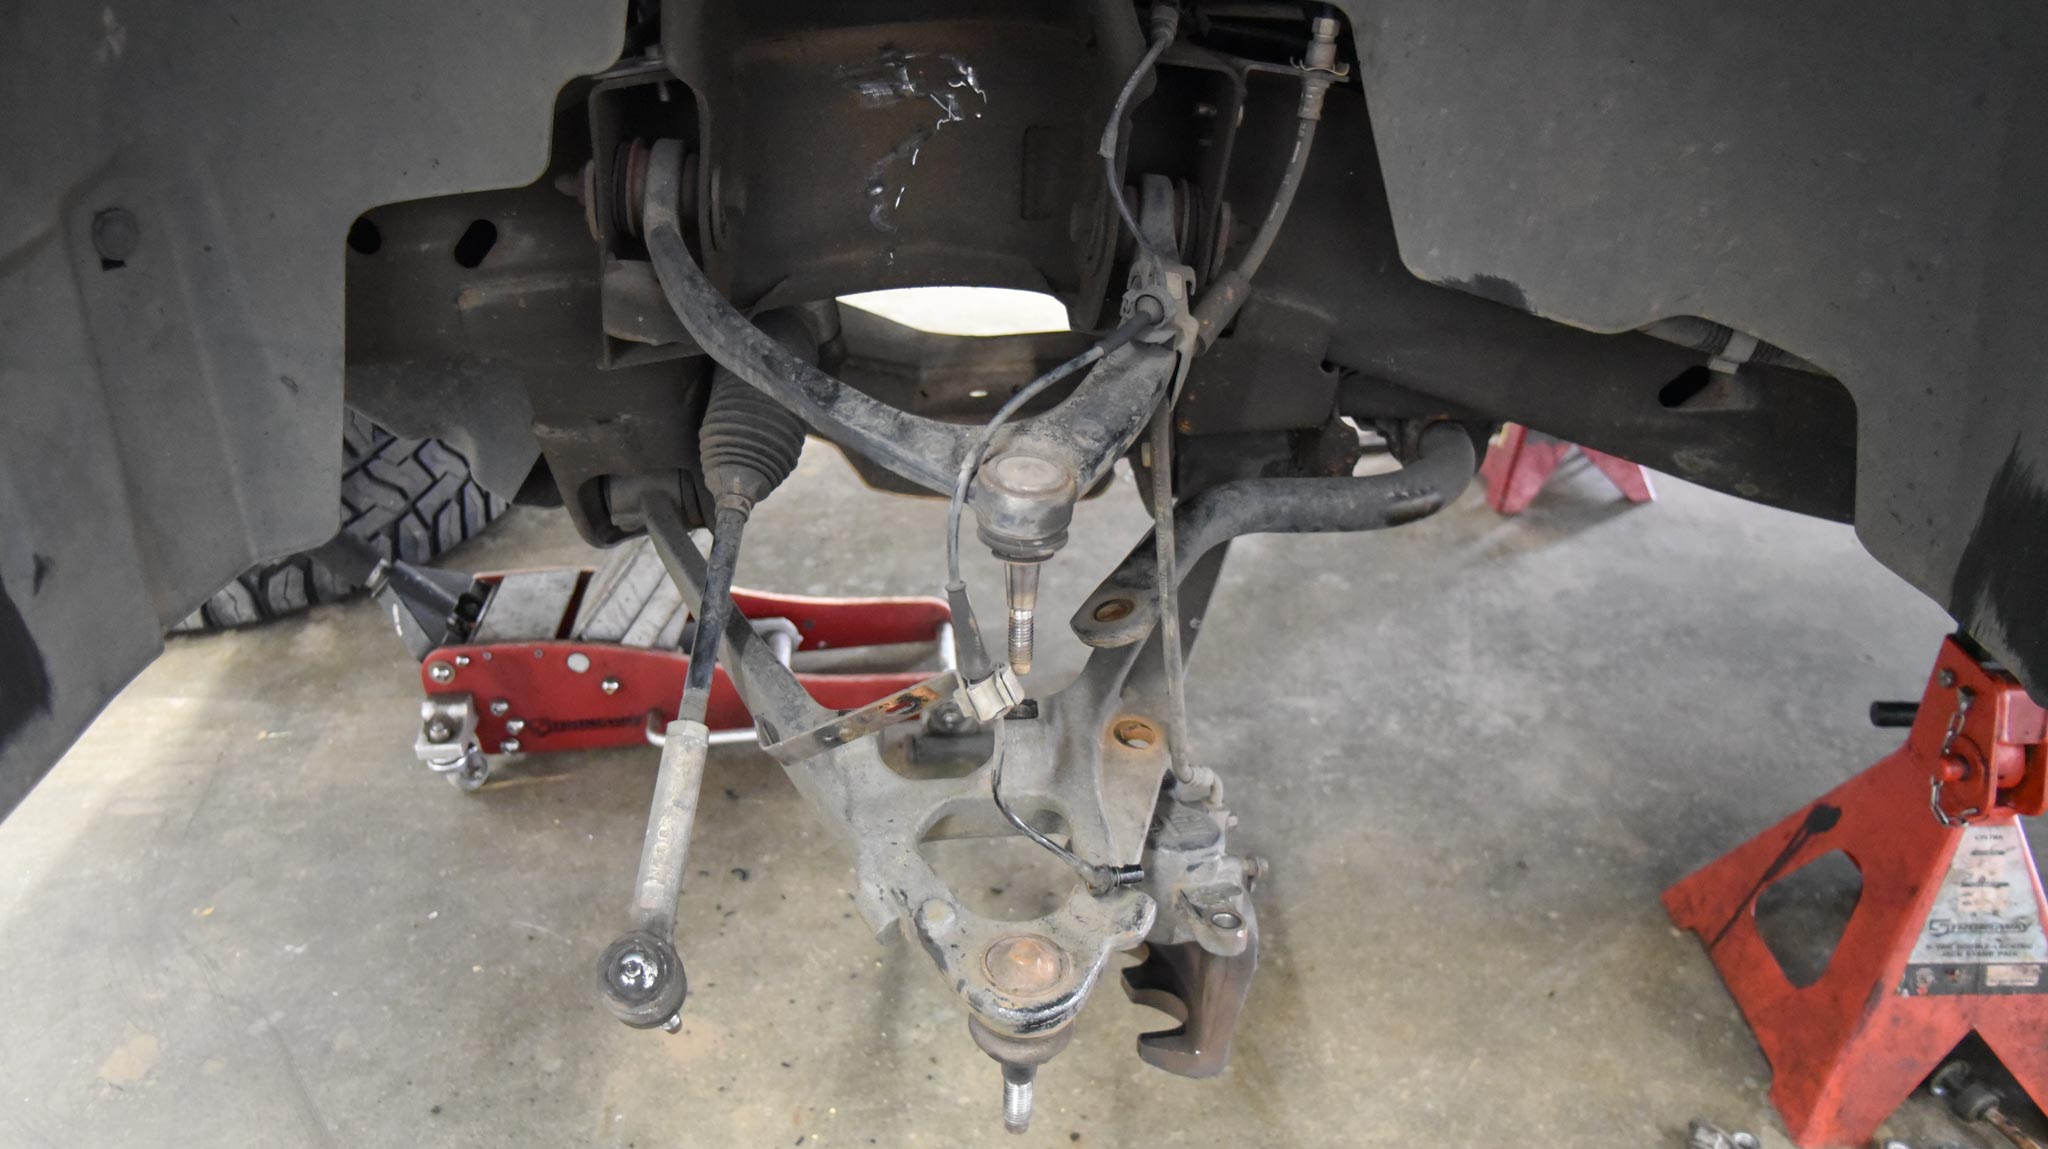
Here are photos of the front spring/shock assembly in place… and then removed.
NOTE: Normally you wouldn’t want to let those brake calipers just hang on the rubber hose like that… but we’ve got a custom orange Wilwood big brake kit on deck (with braided lines). That’ll be the next segment of this Silverado series.
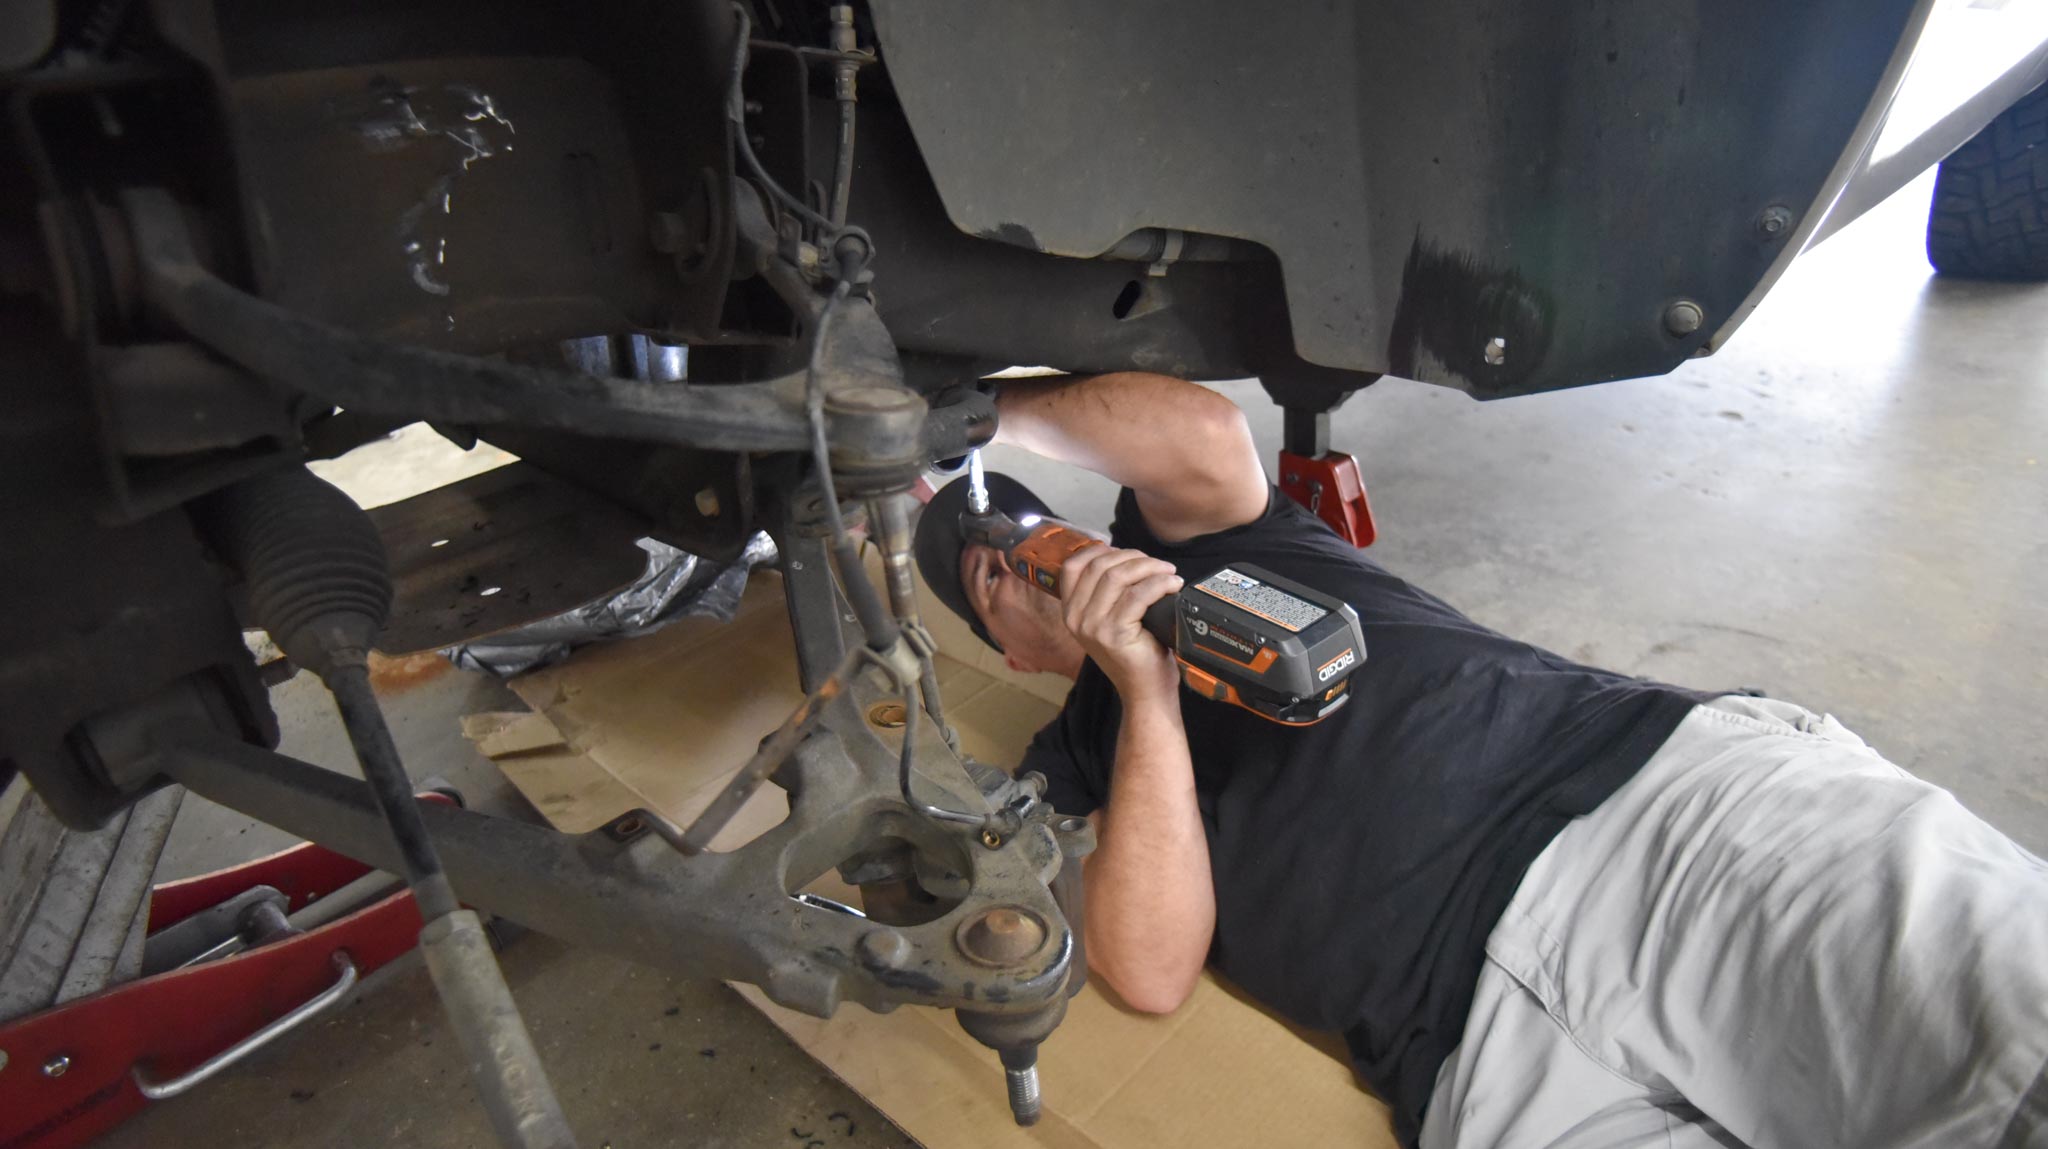
Andy’s removing the old sway bar…
And getting the performance Belltech sway bar installed. This is a straightforward quick/easy install. Meaning, you don’t have to partially-drop the subframe like you sometimes do on other cars/applications. For instance, the ST Suspension sway bar on my Fiesta ST was a bit of an ass-kicker.
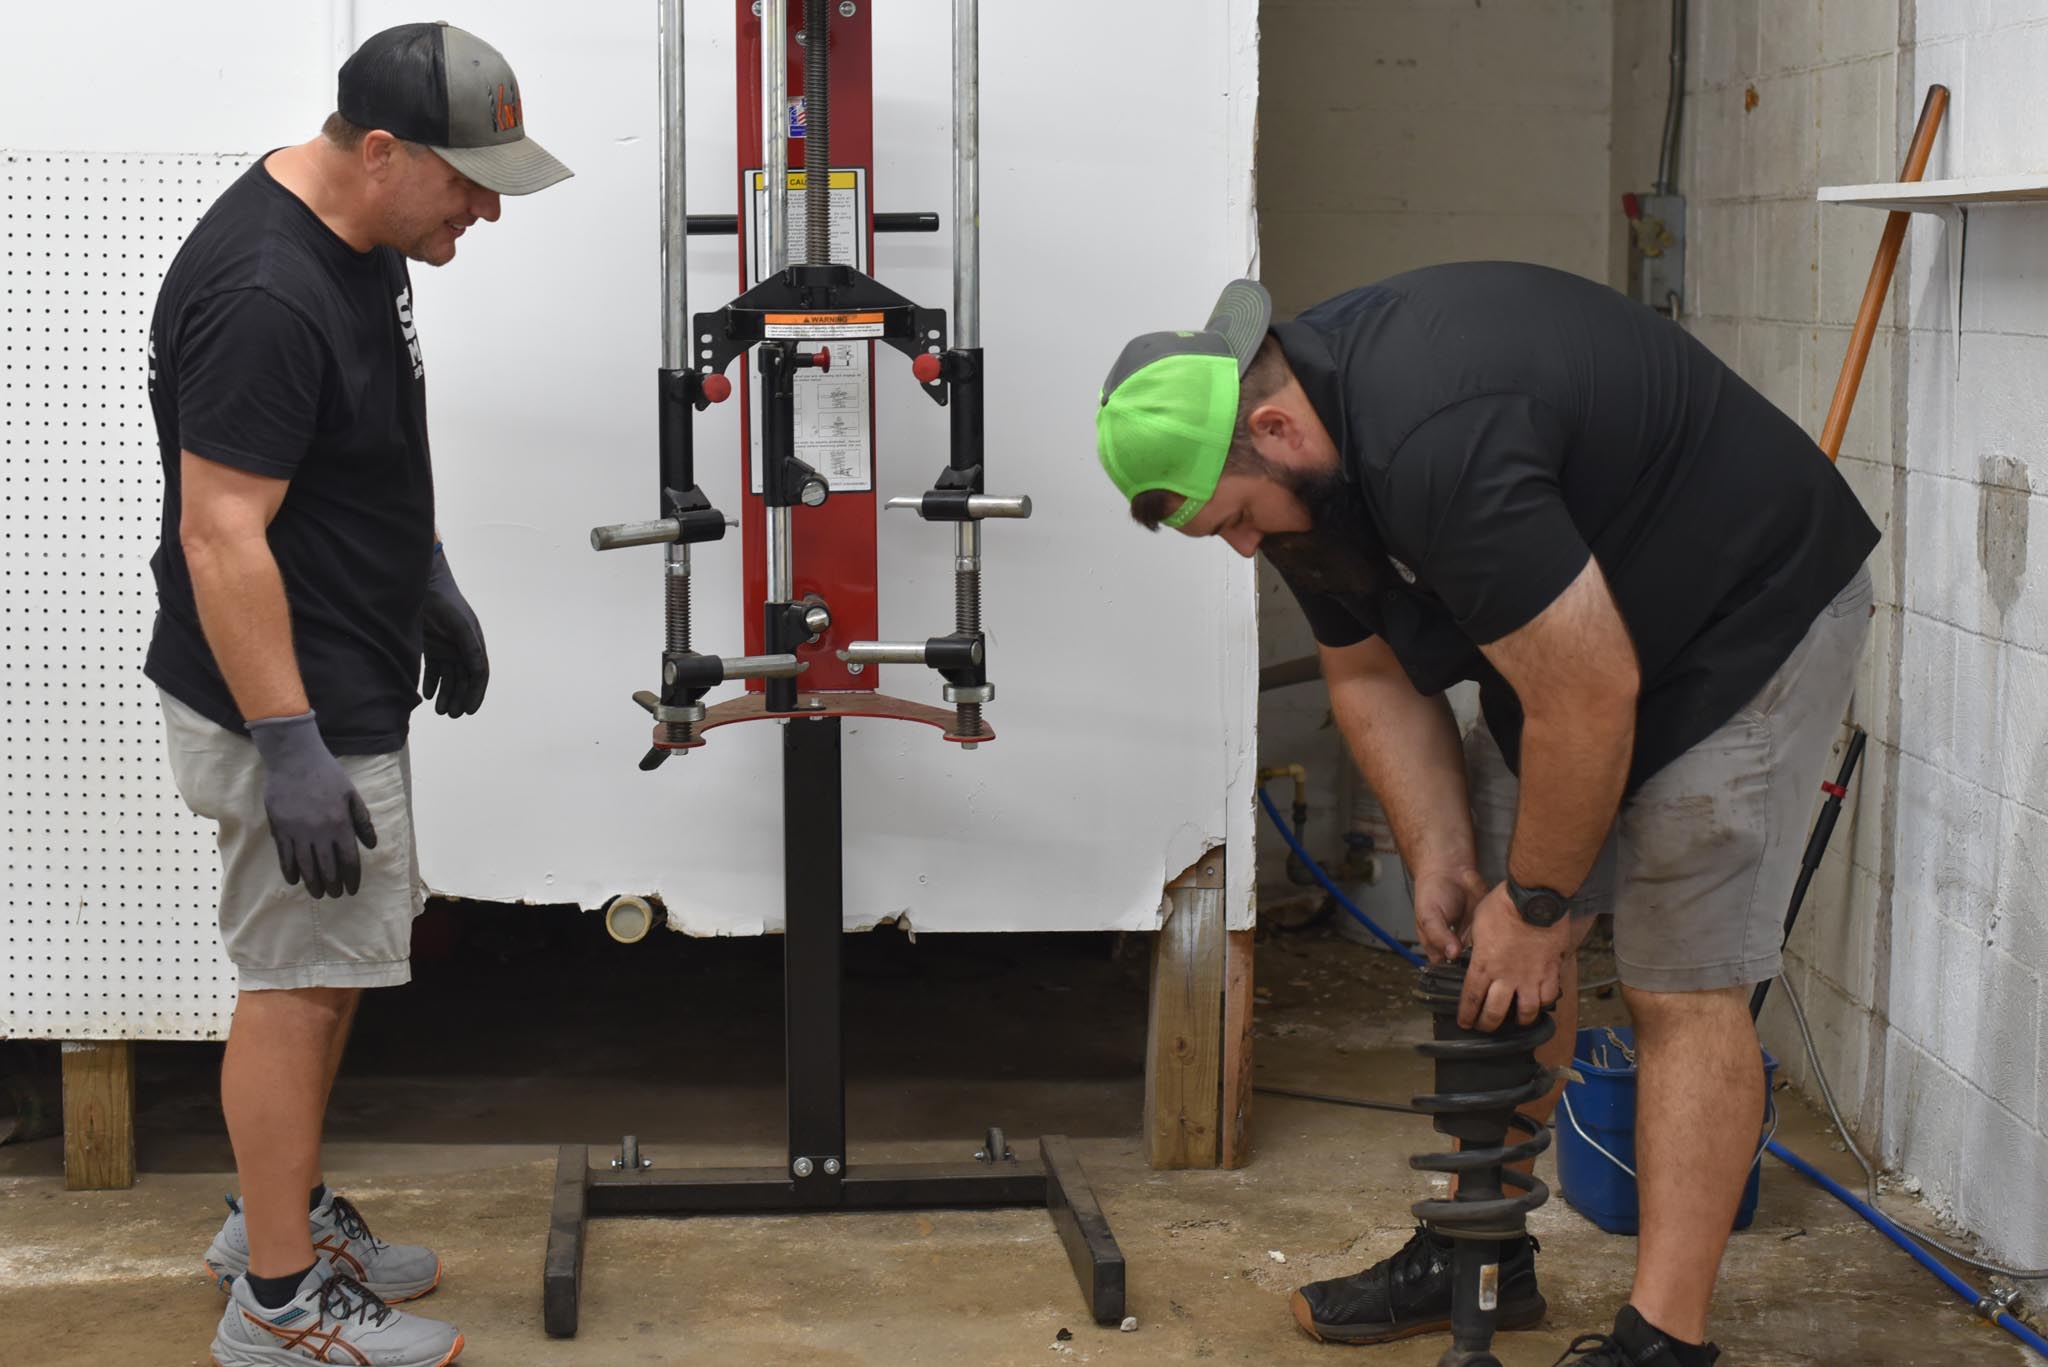
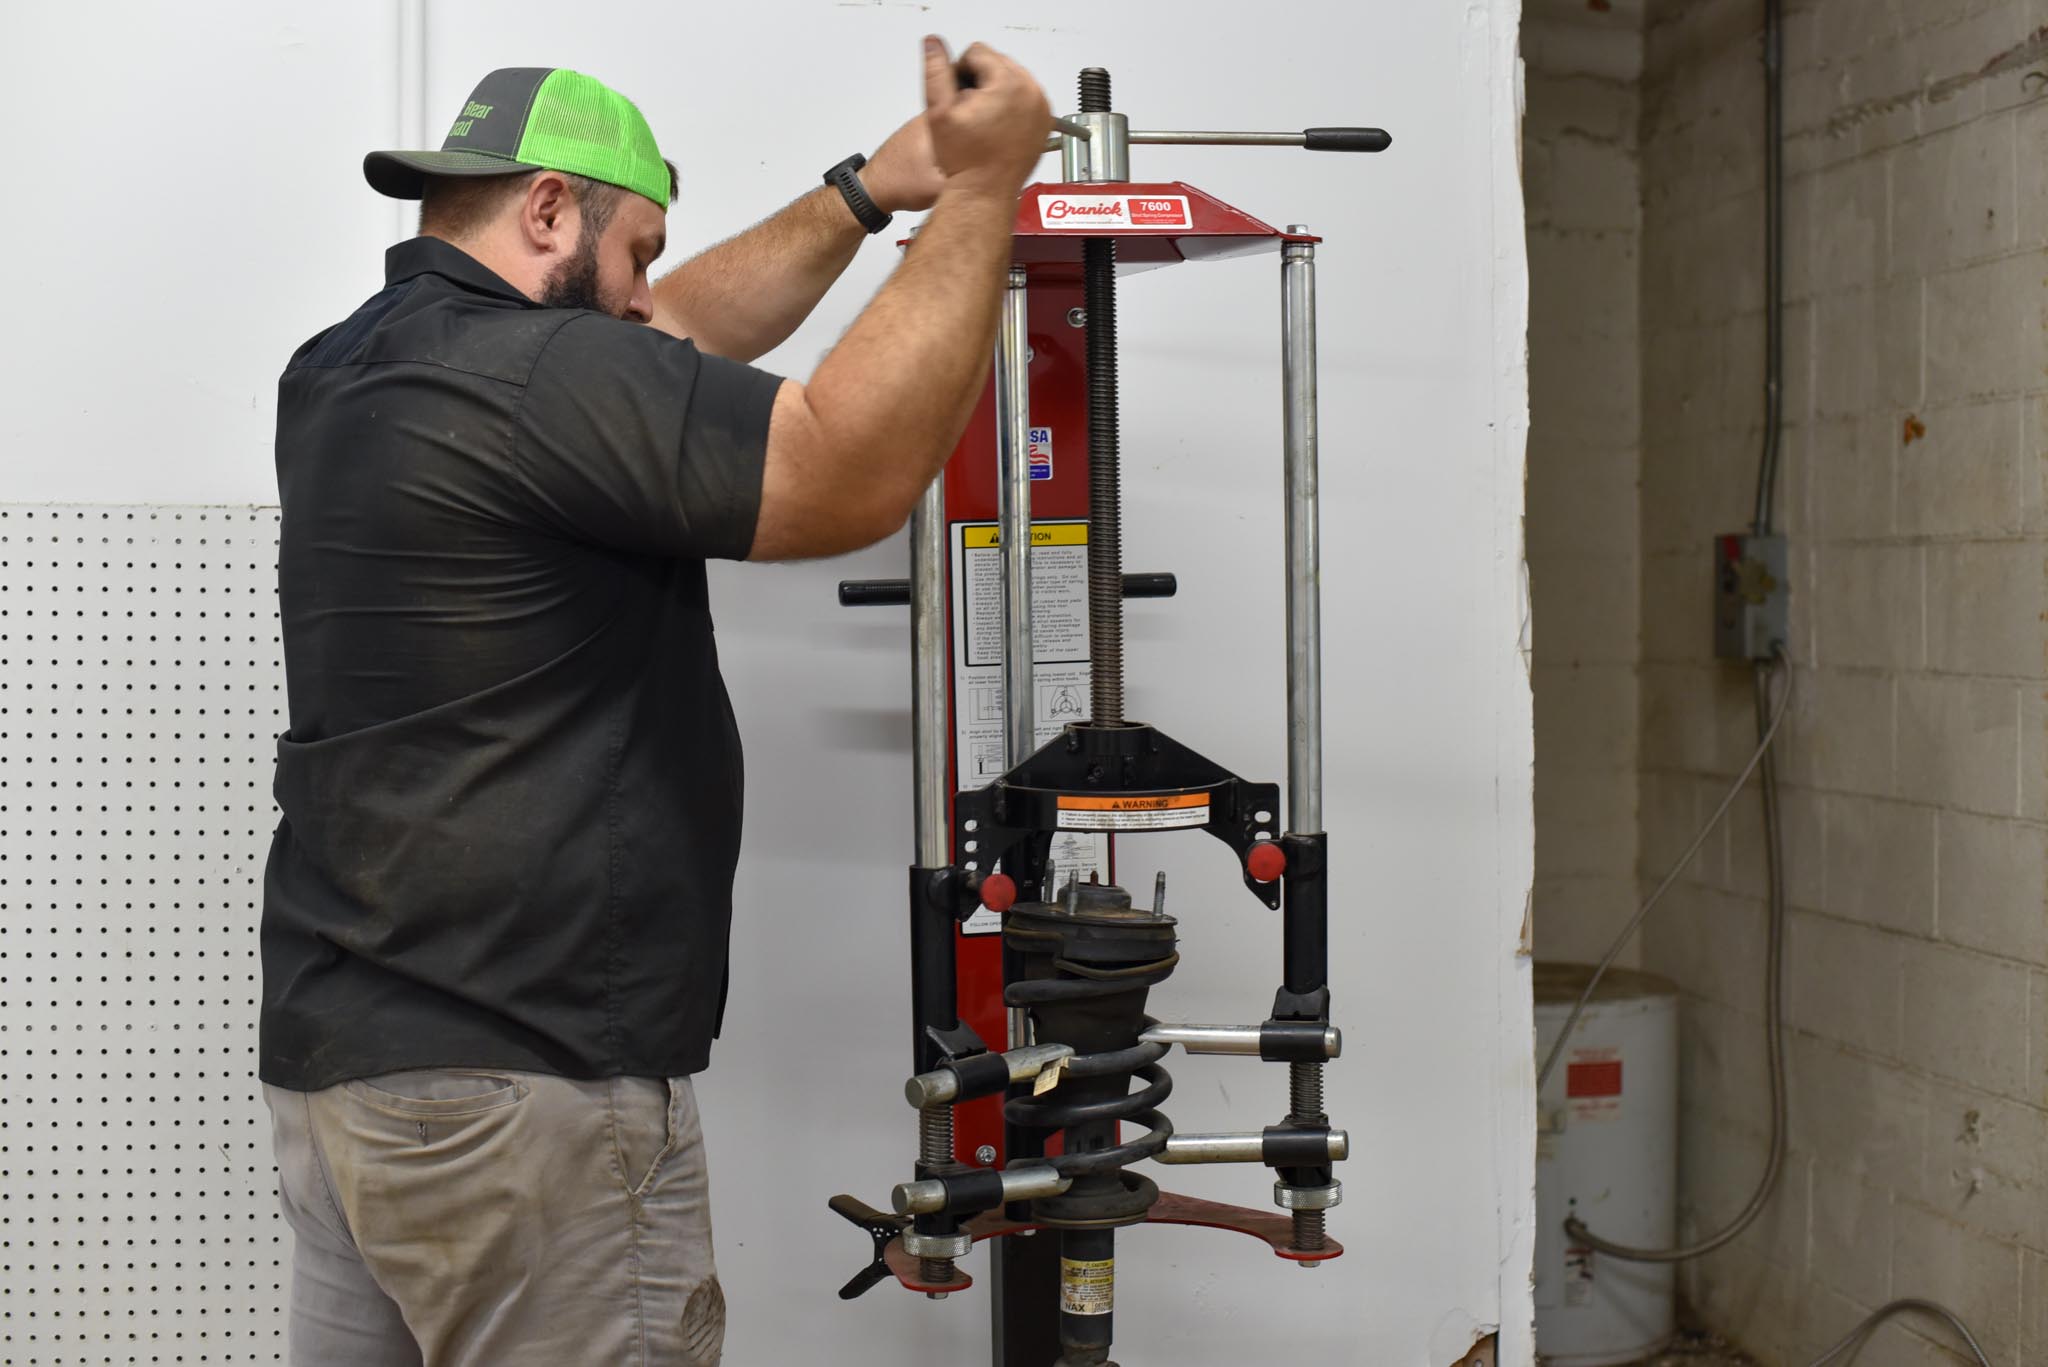
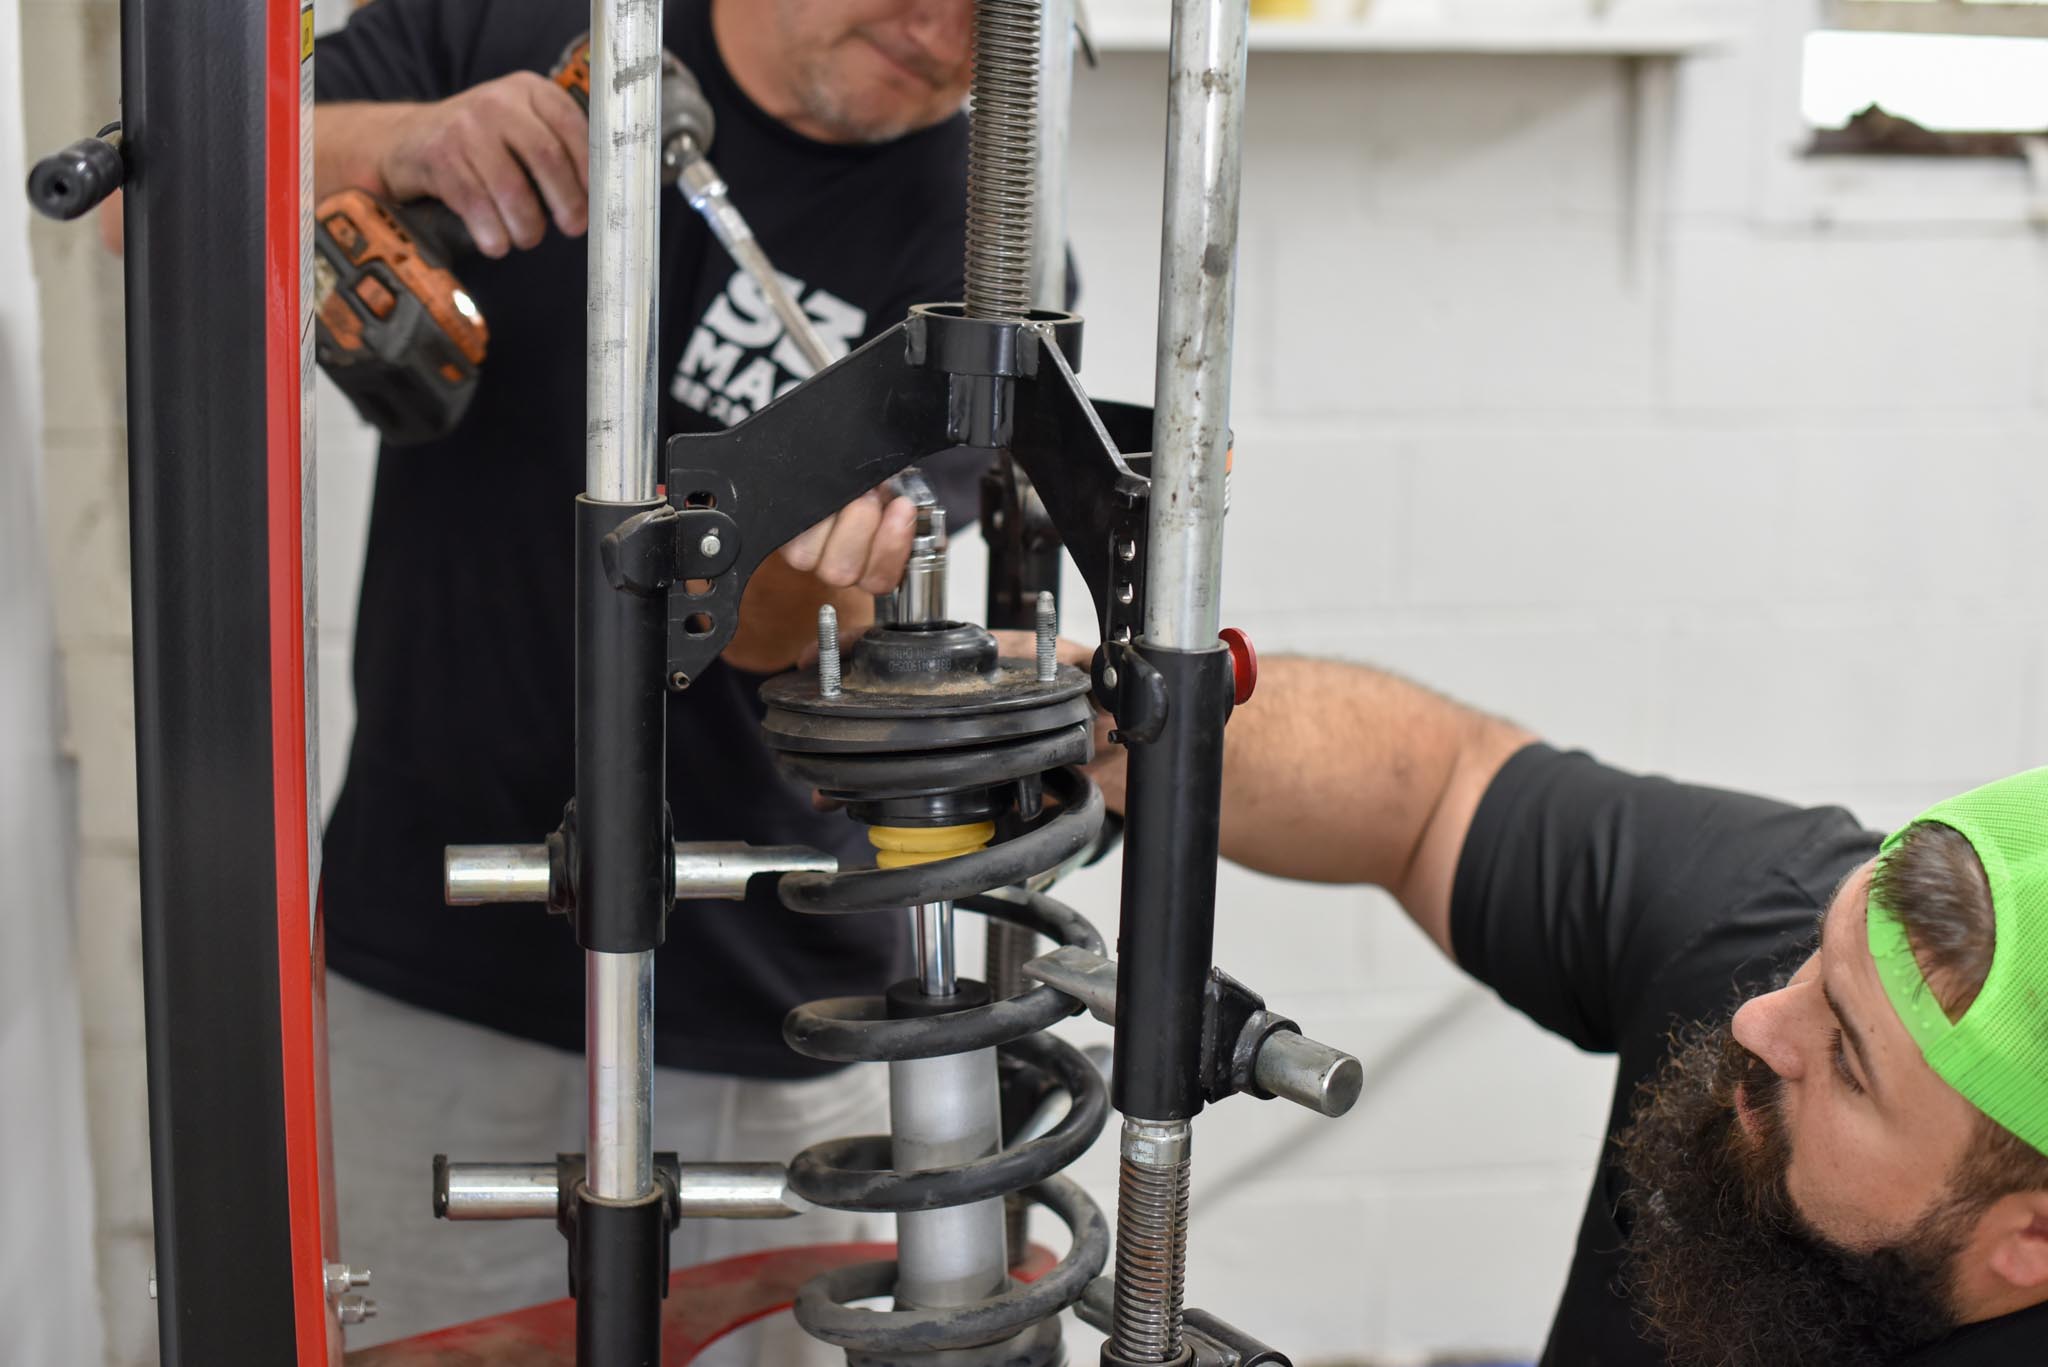
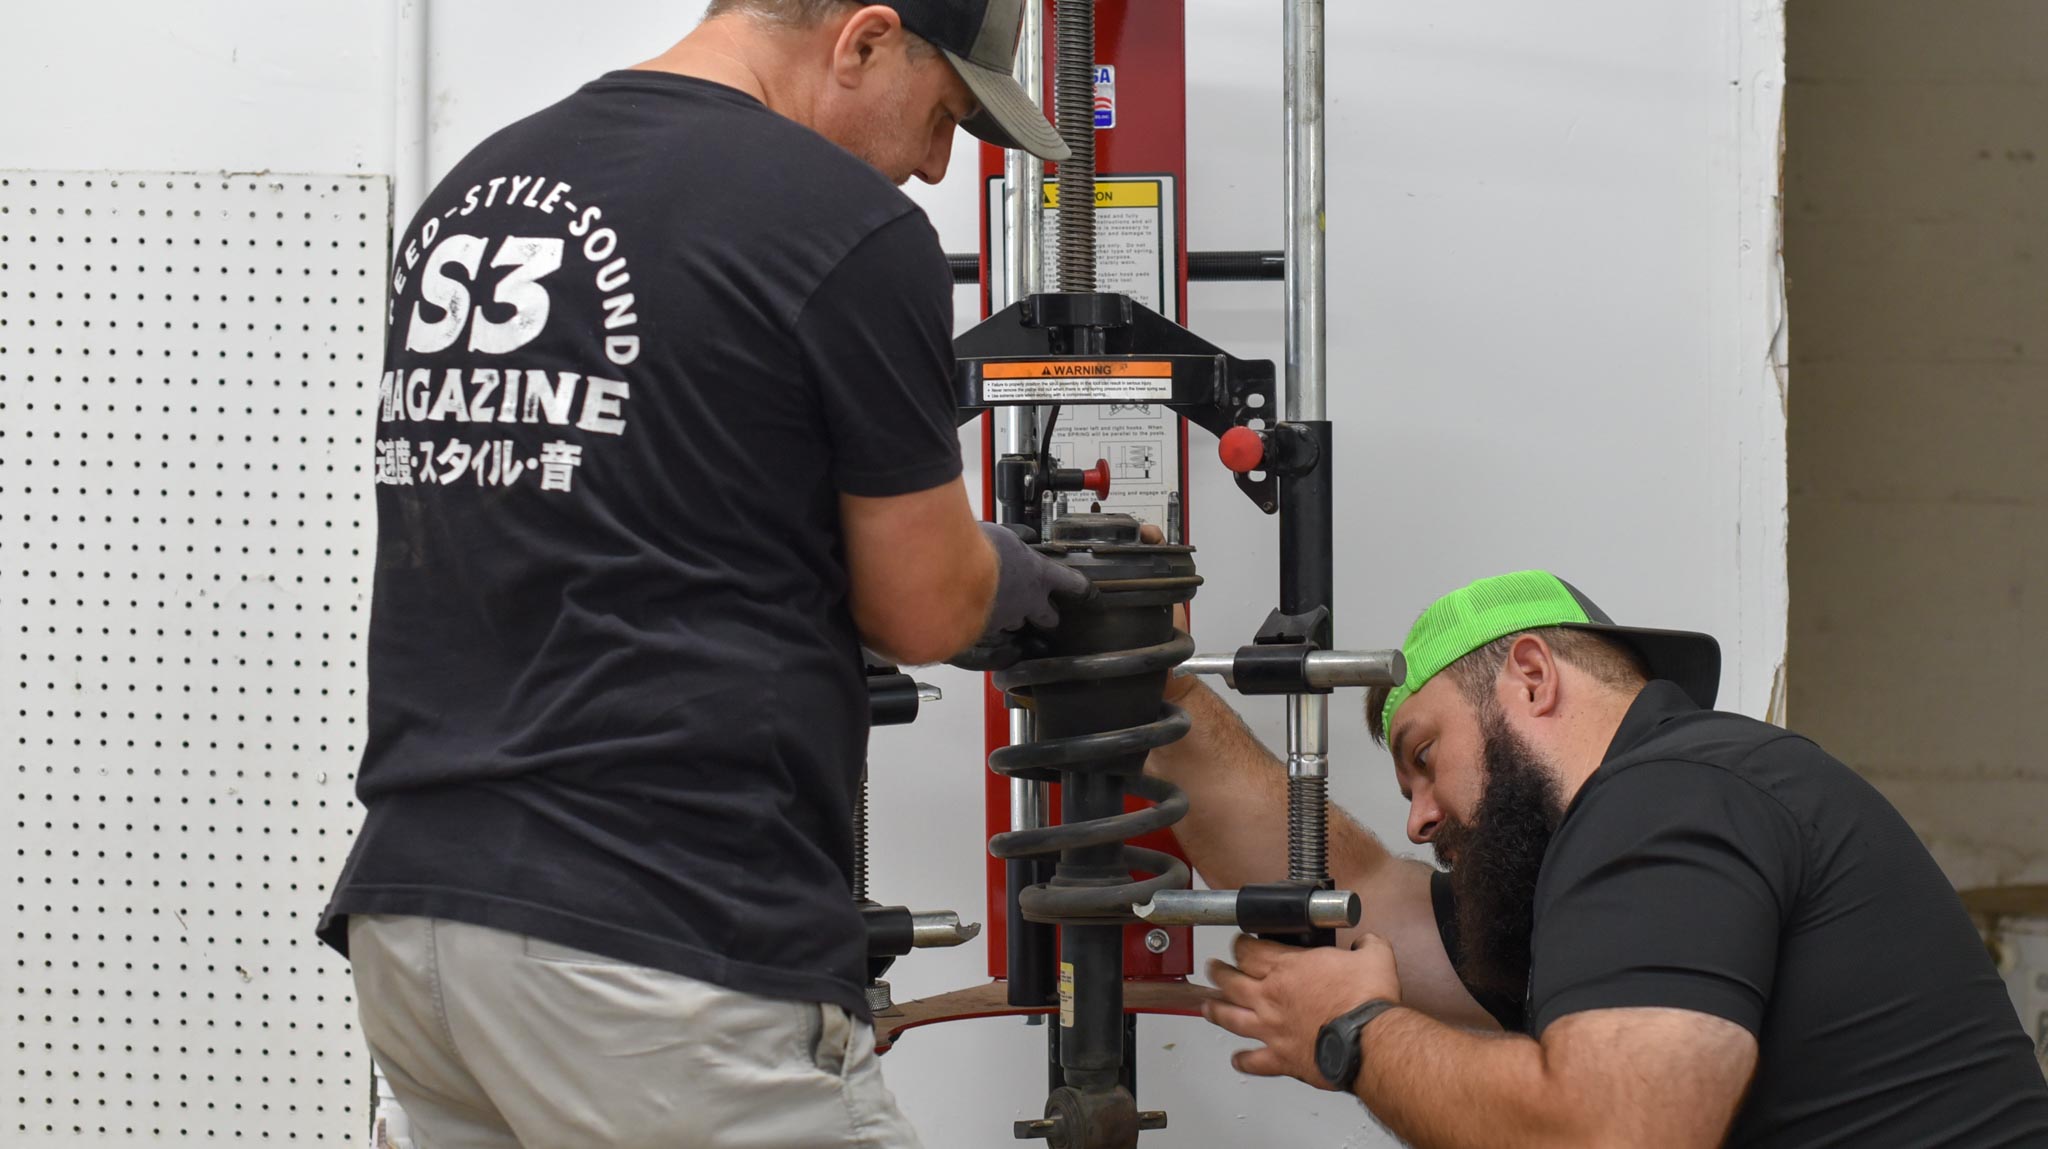
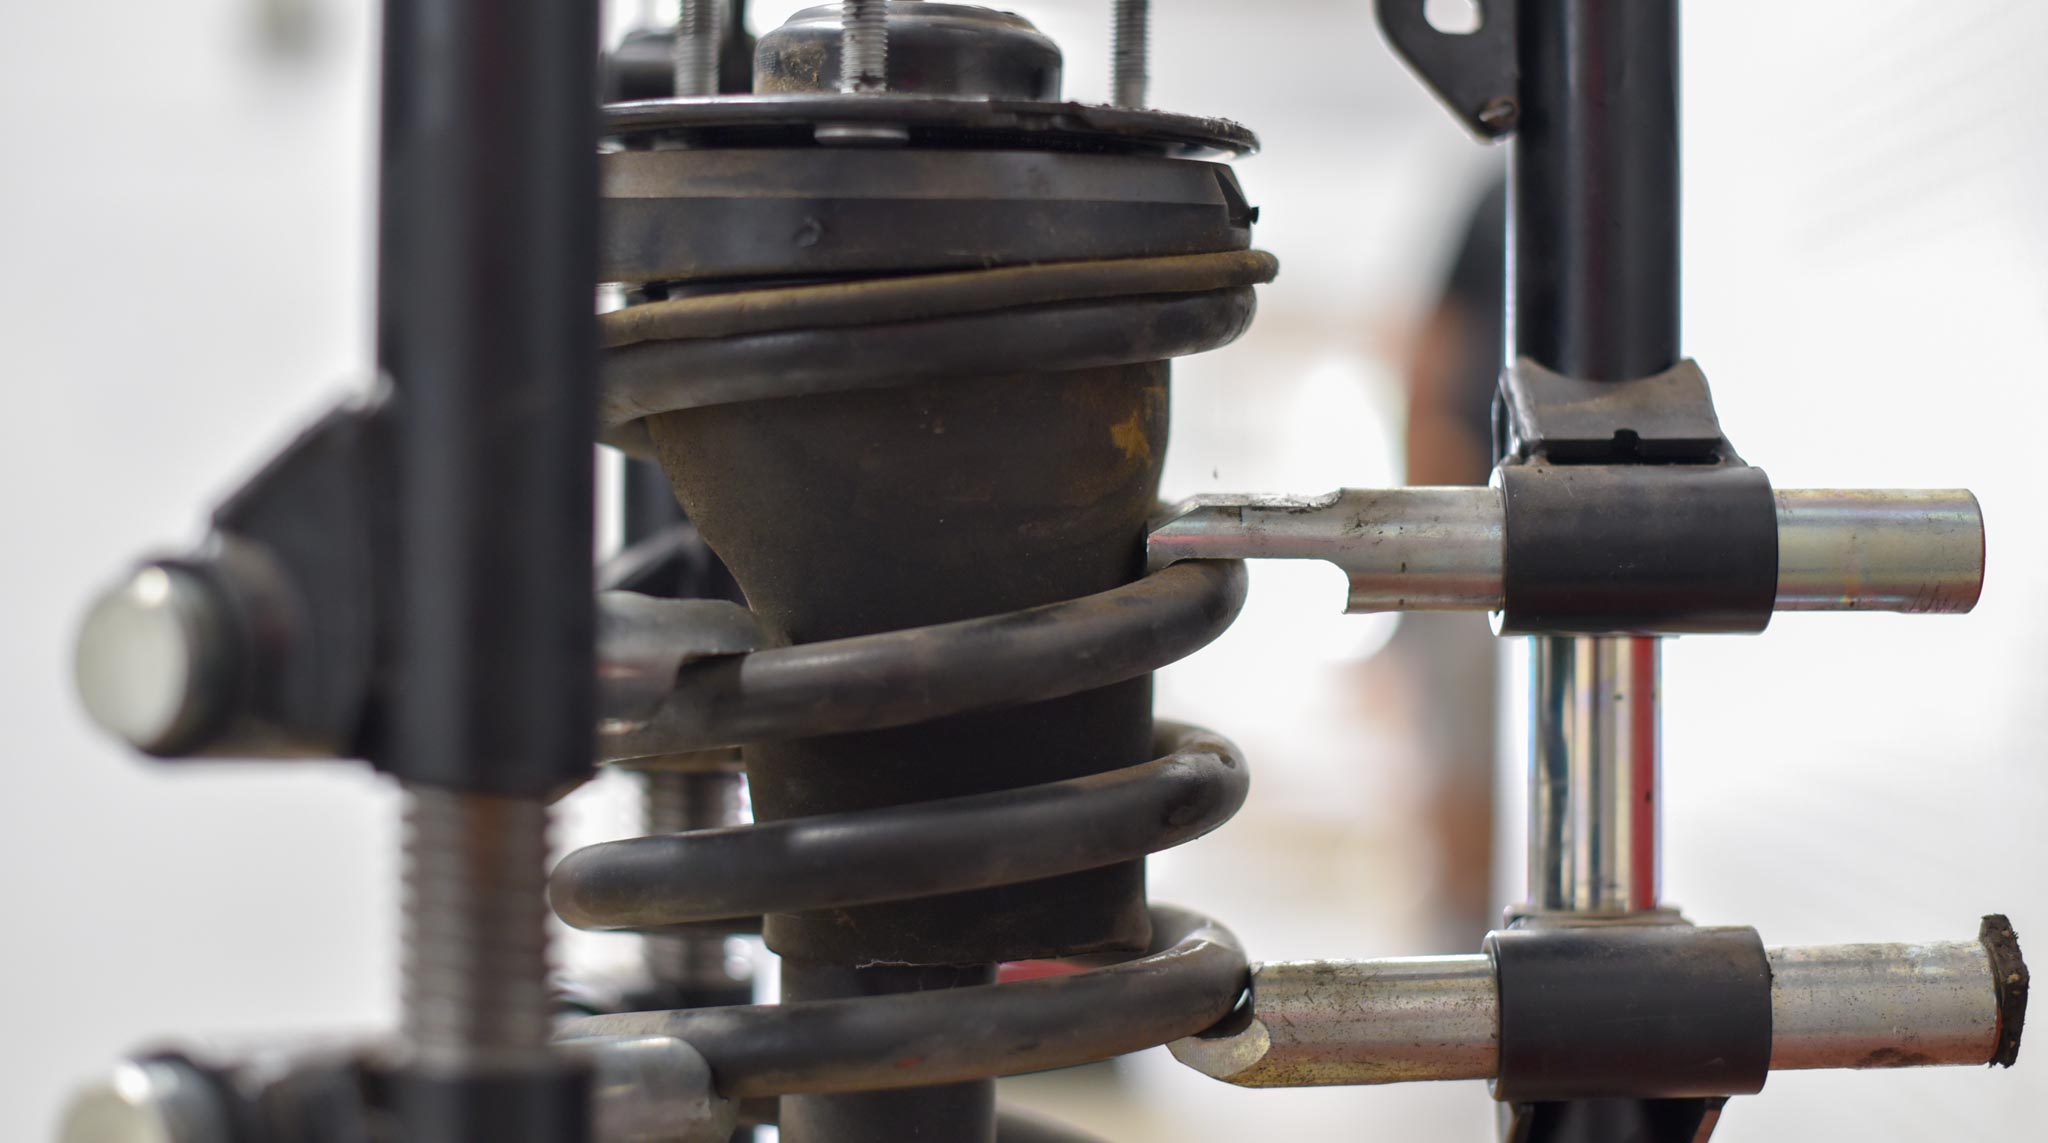
Compressing the springs…
Although Bubba could probably just compress these spring with his bare (bear) hands if he wanted to. Black Bear Off-Road (Jeepin Bubba’s shop) has this professional spring compressor, which is great. Most of us have to make do with the sketchy AutoZone versions. You know the rules here: Pay attention, cause you’re basically creating a potential grenade. The Belltech #647SP kit uses the factory Silverado springs, with new shocks, and a new drop spindle.
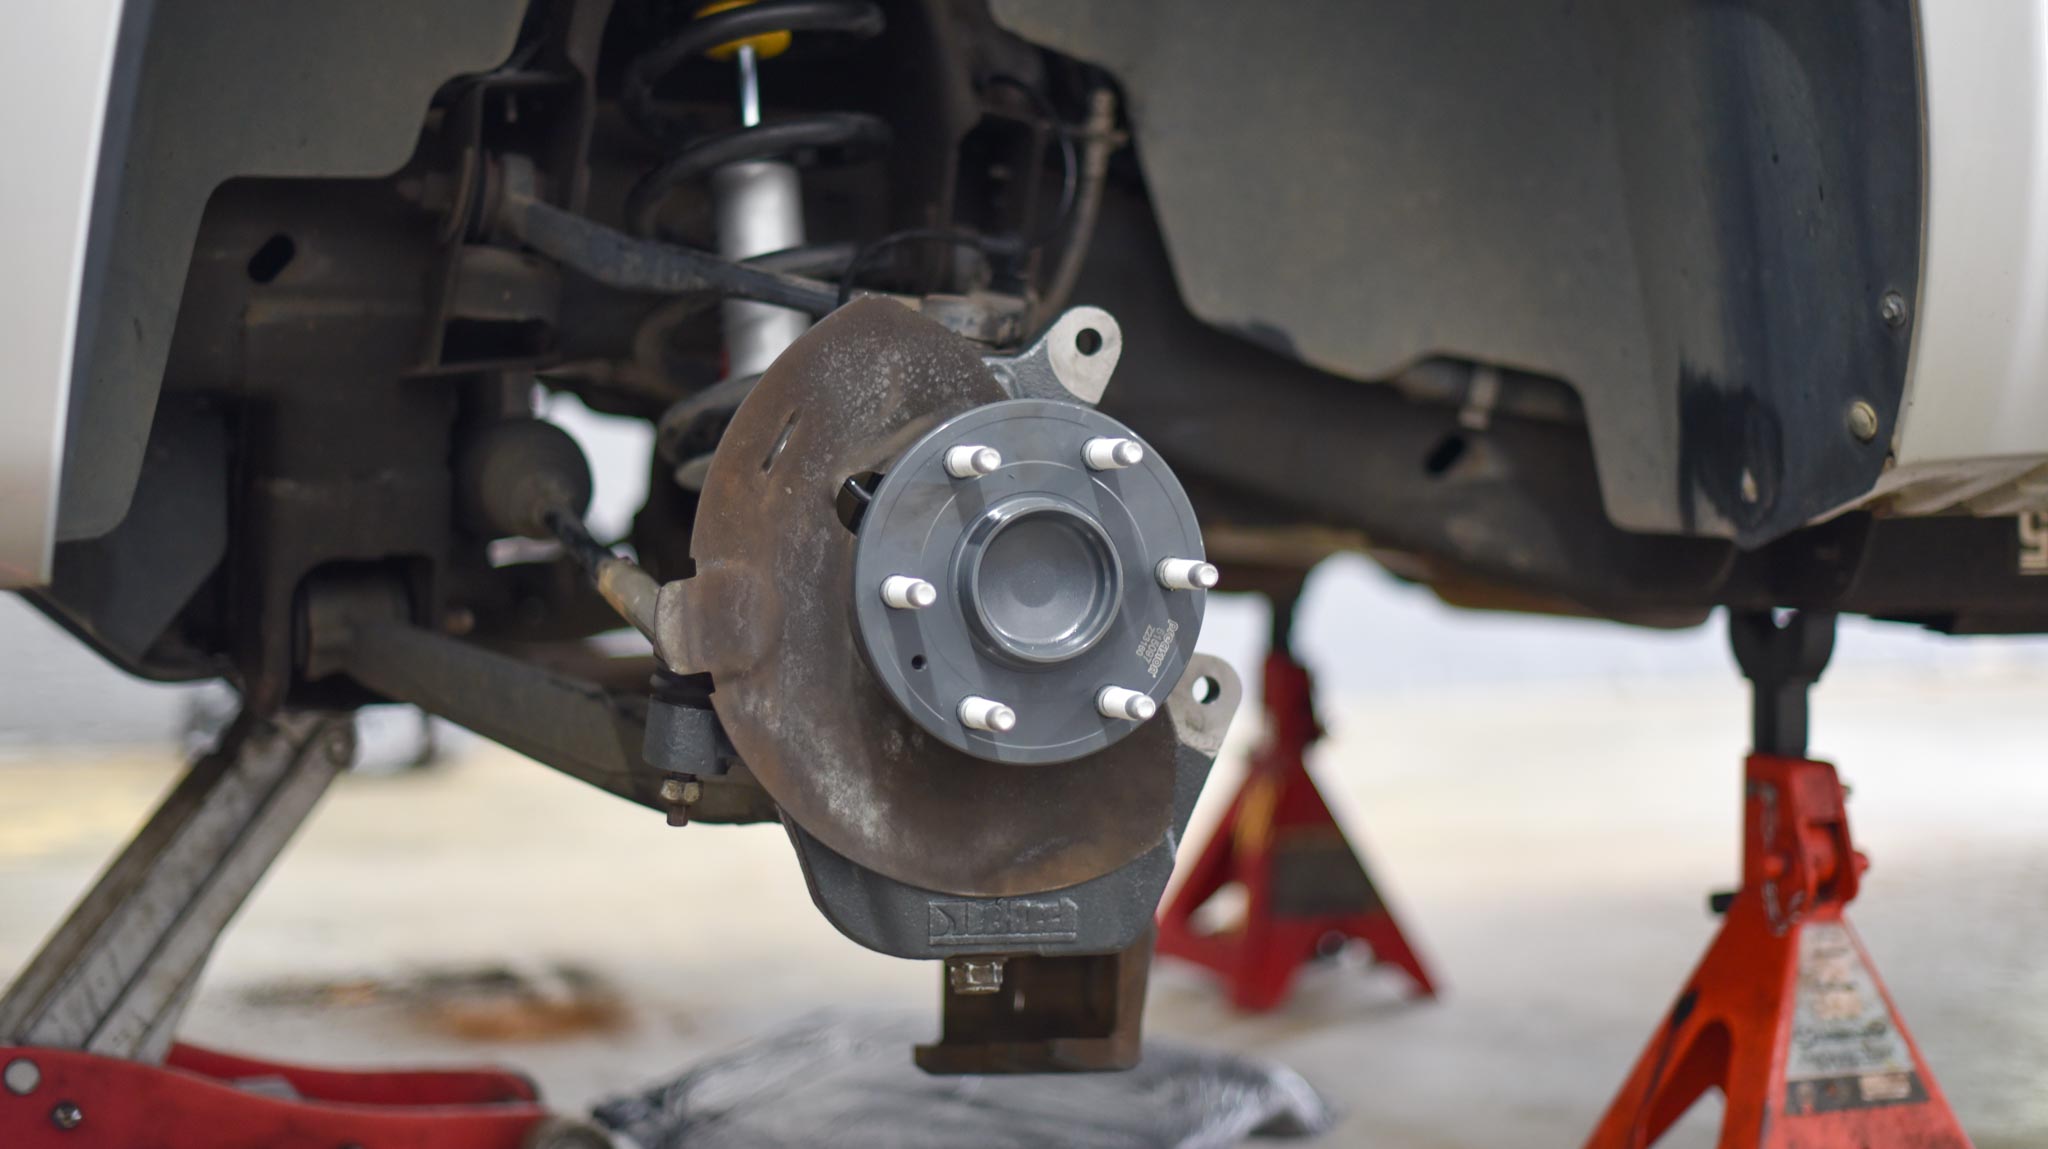
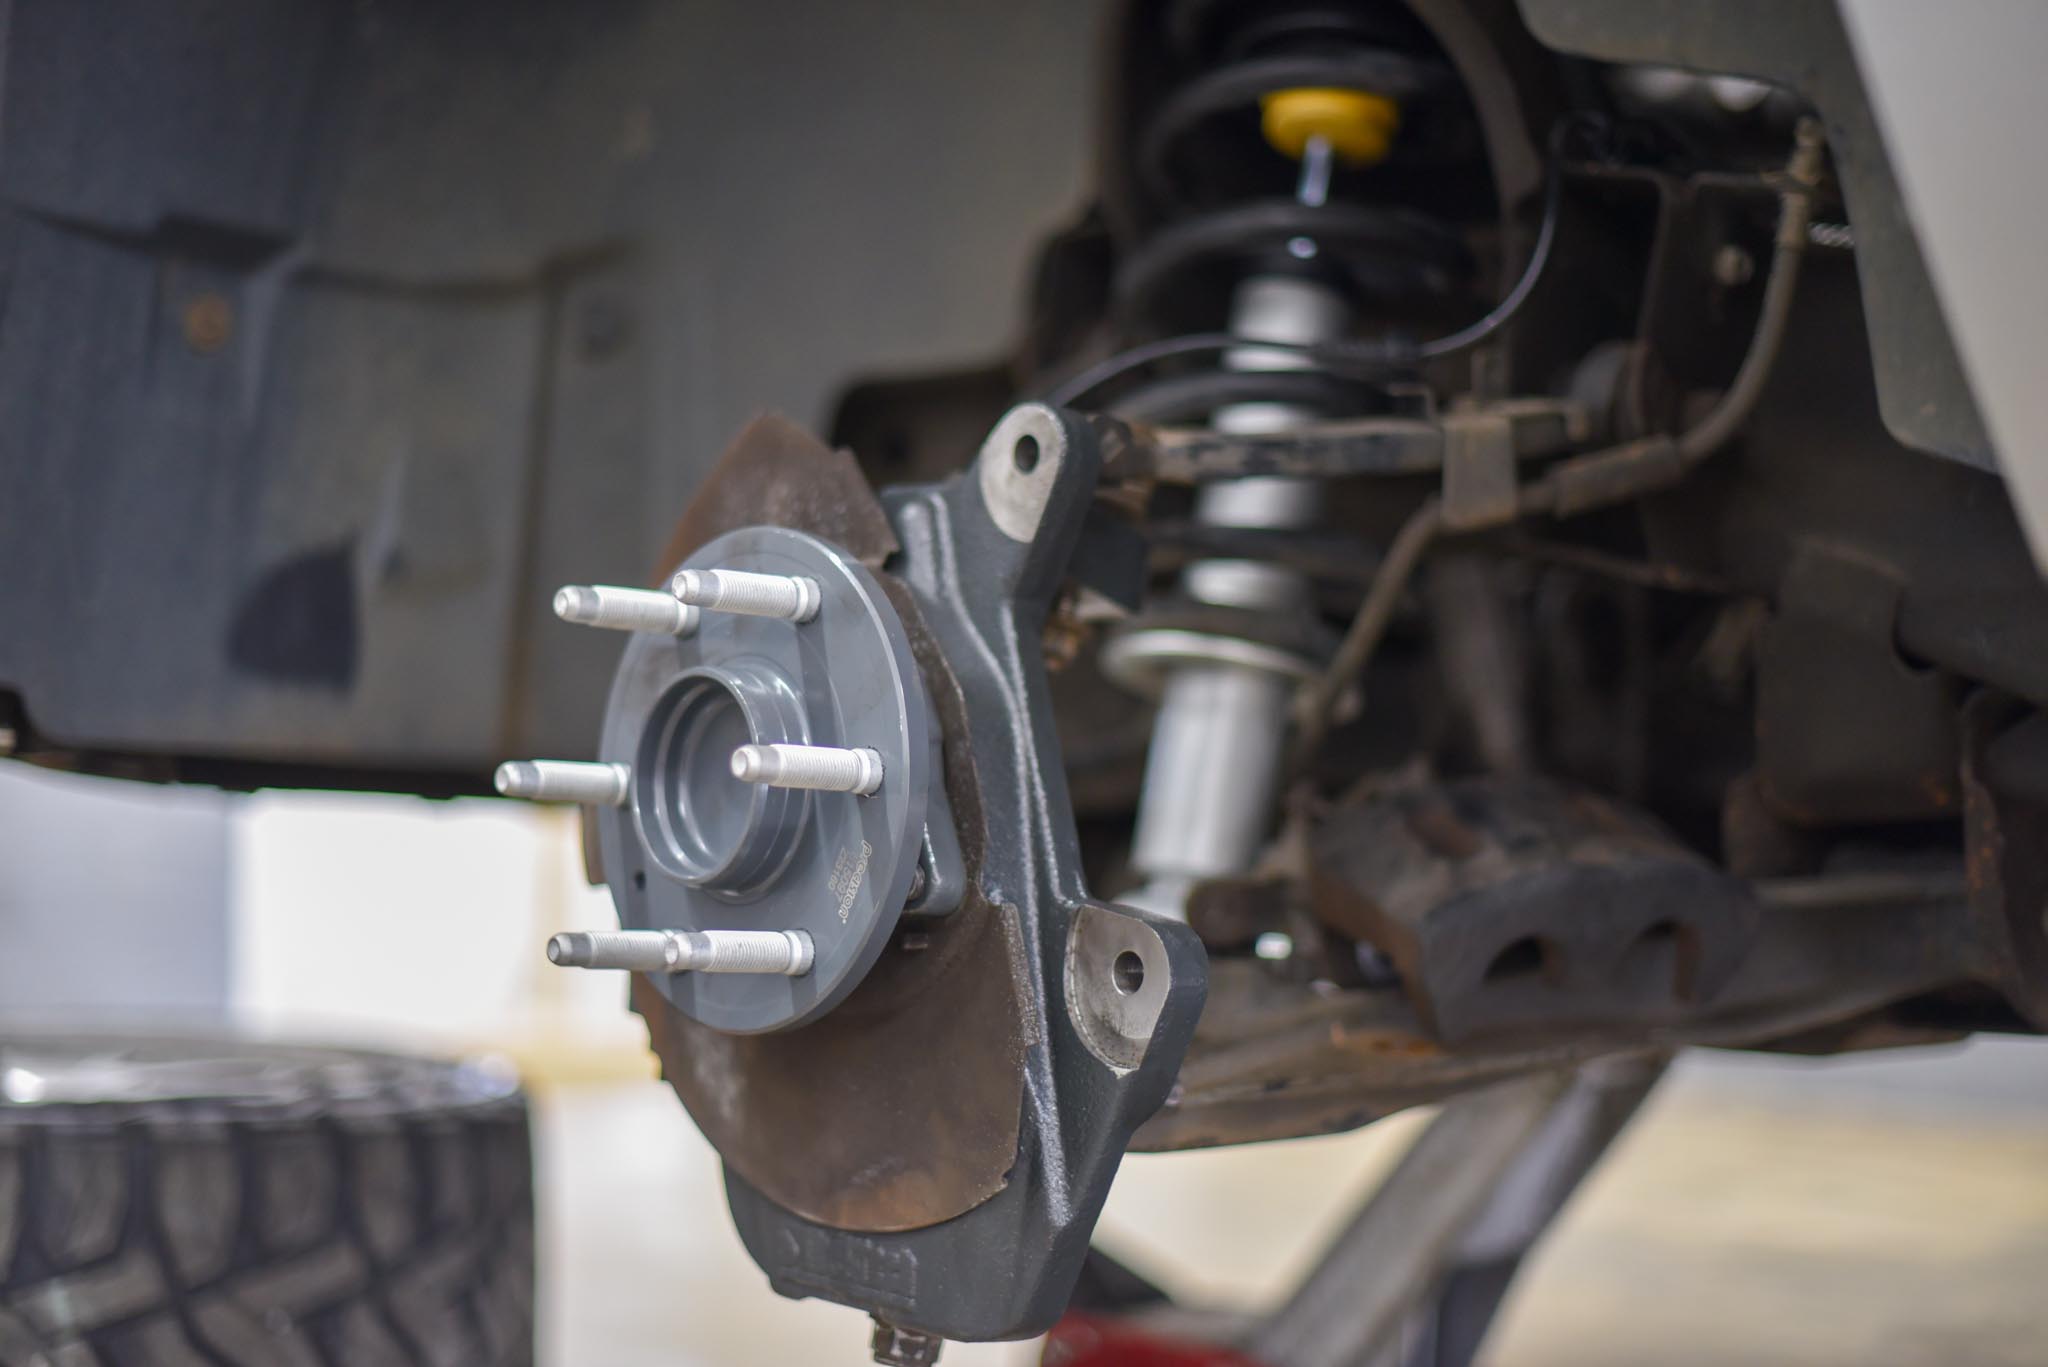
Here are some photos of the front-end reassembled with the Belltech drop spindle, shock, & new wheel hub.
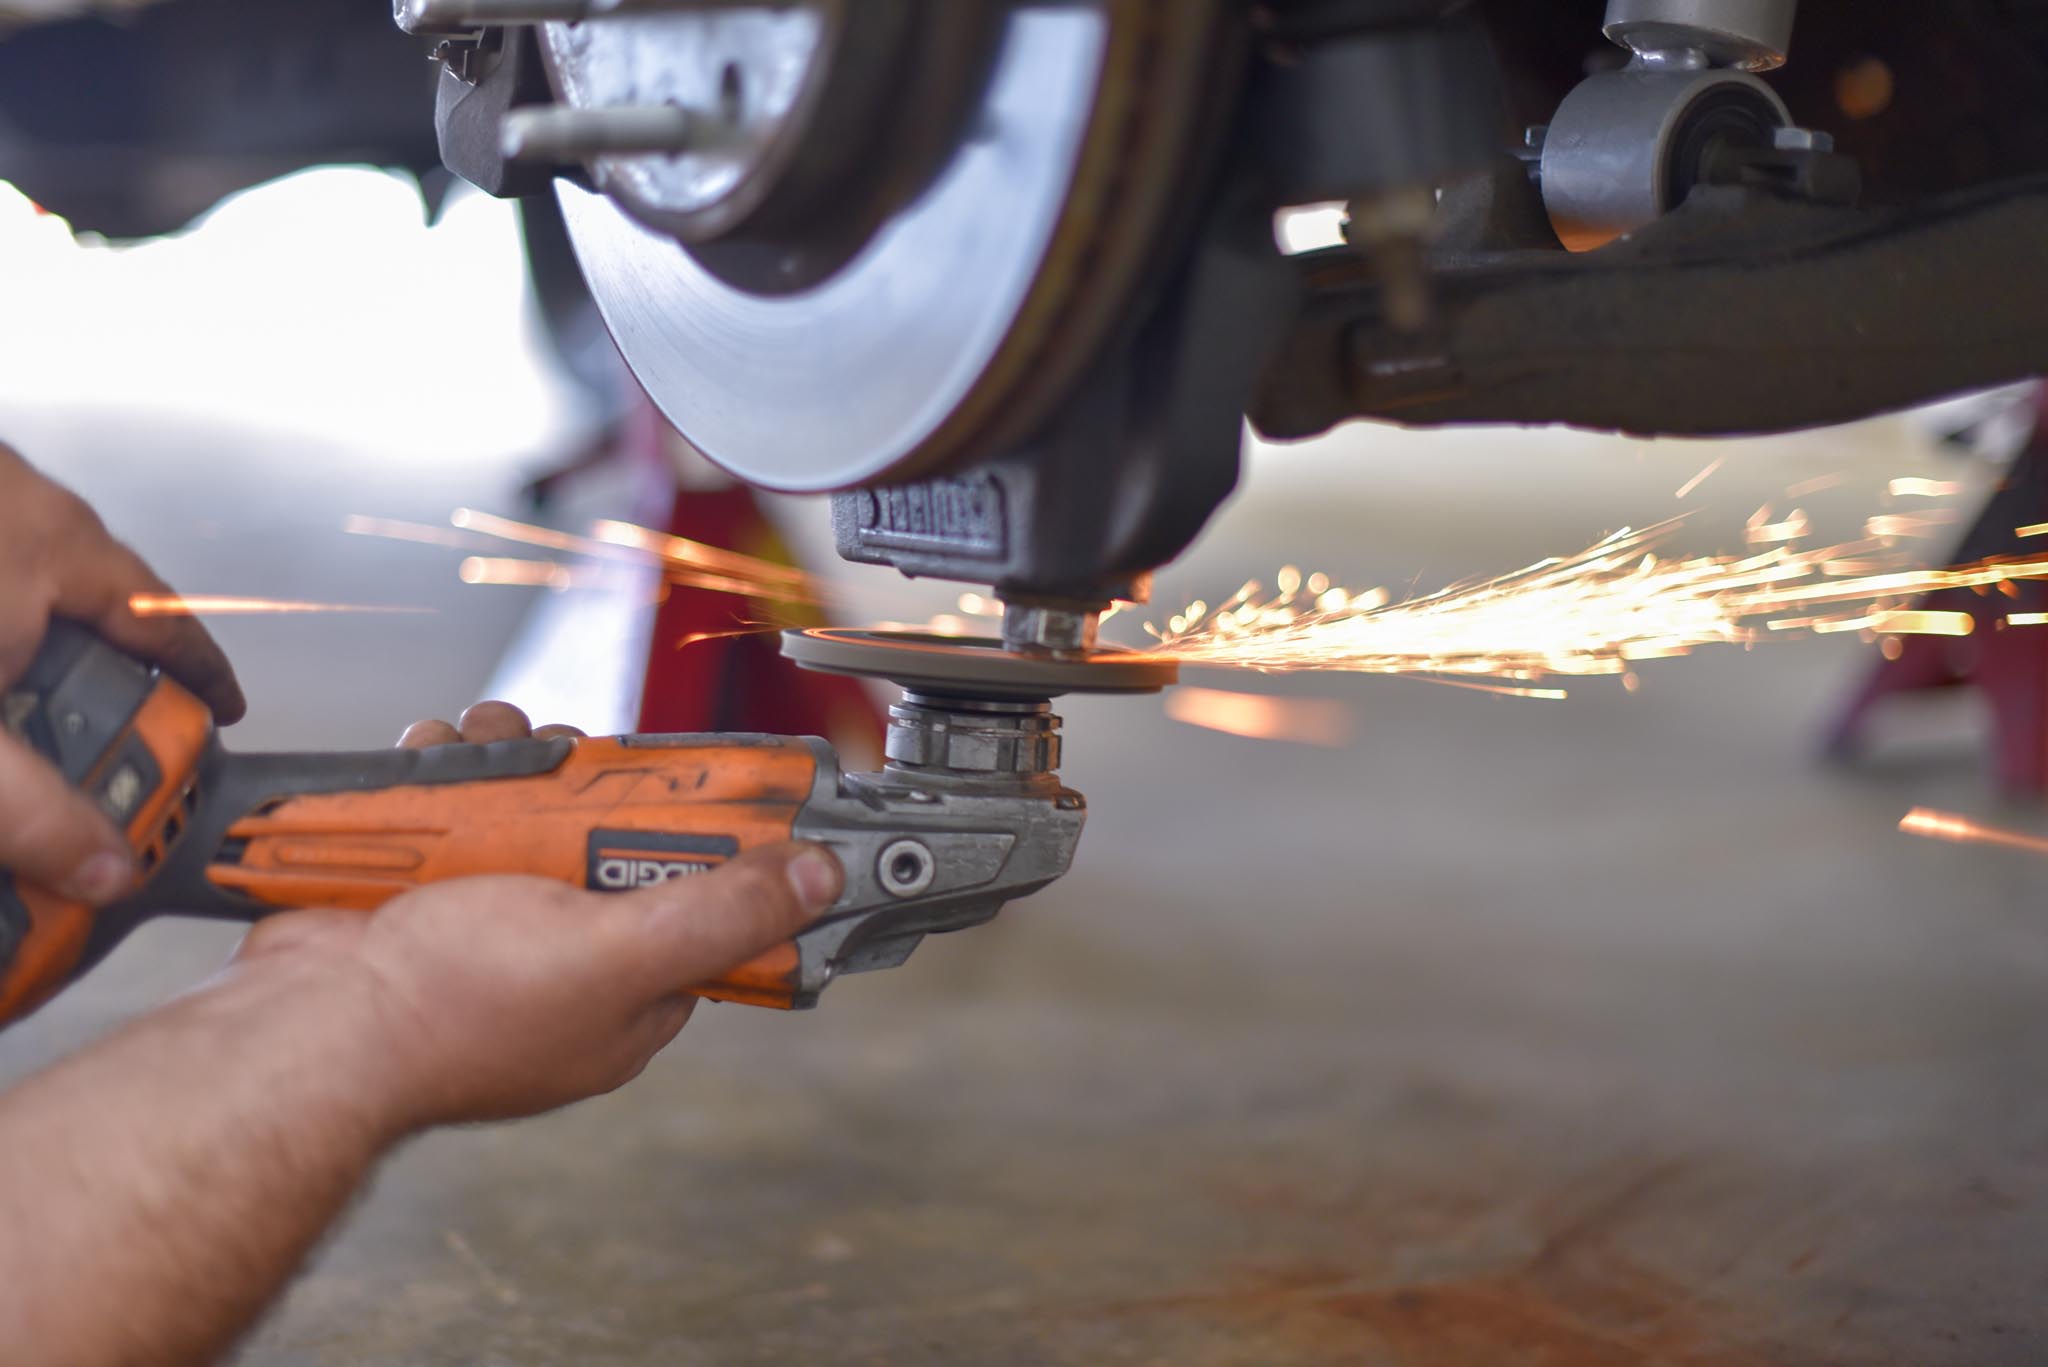
WTF’s happening here? Good question:
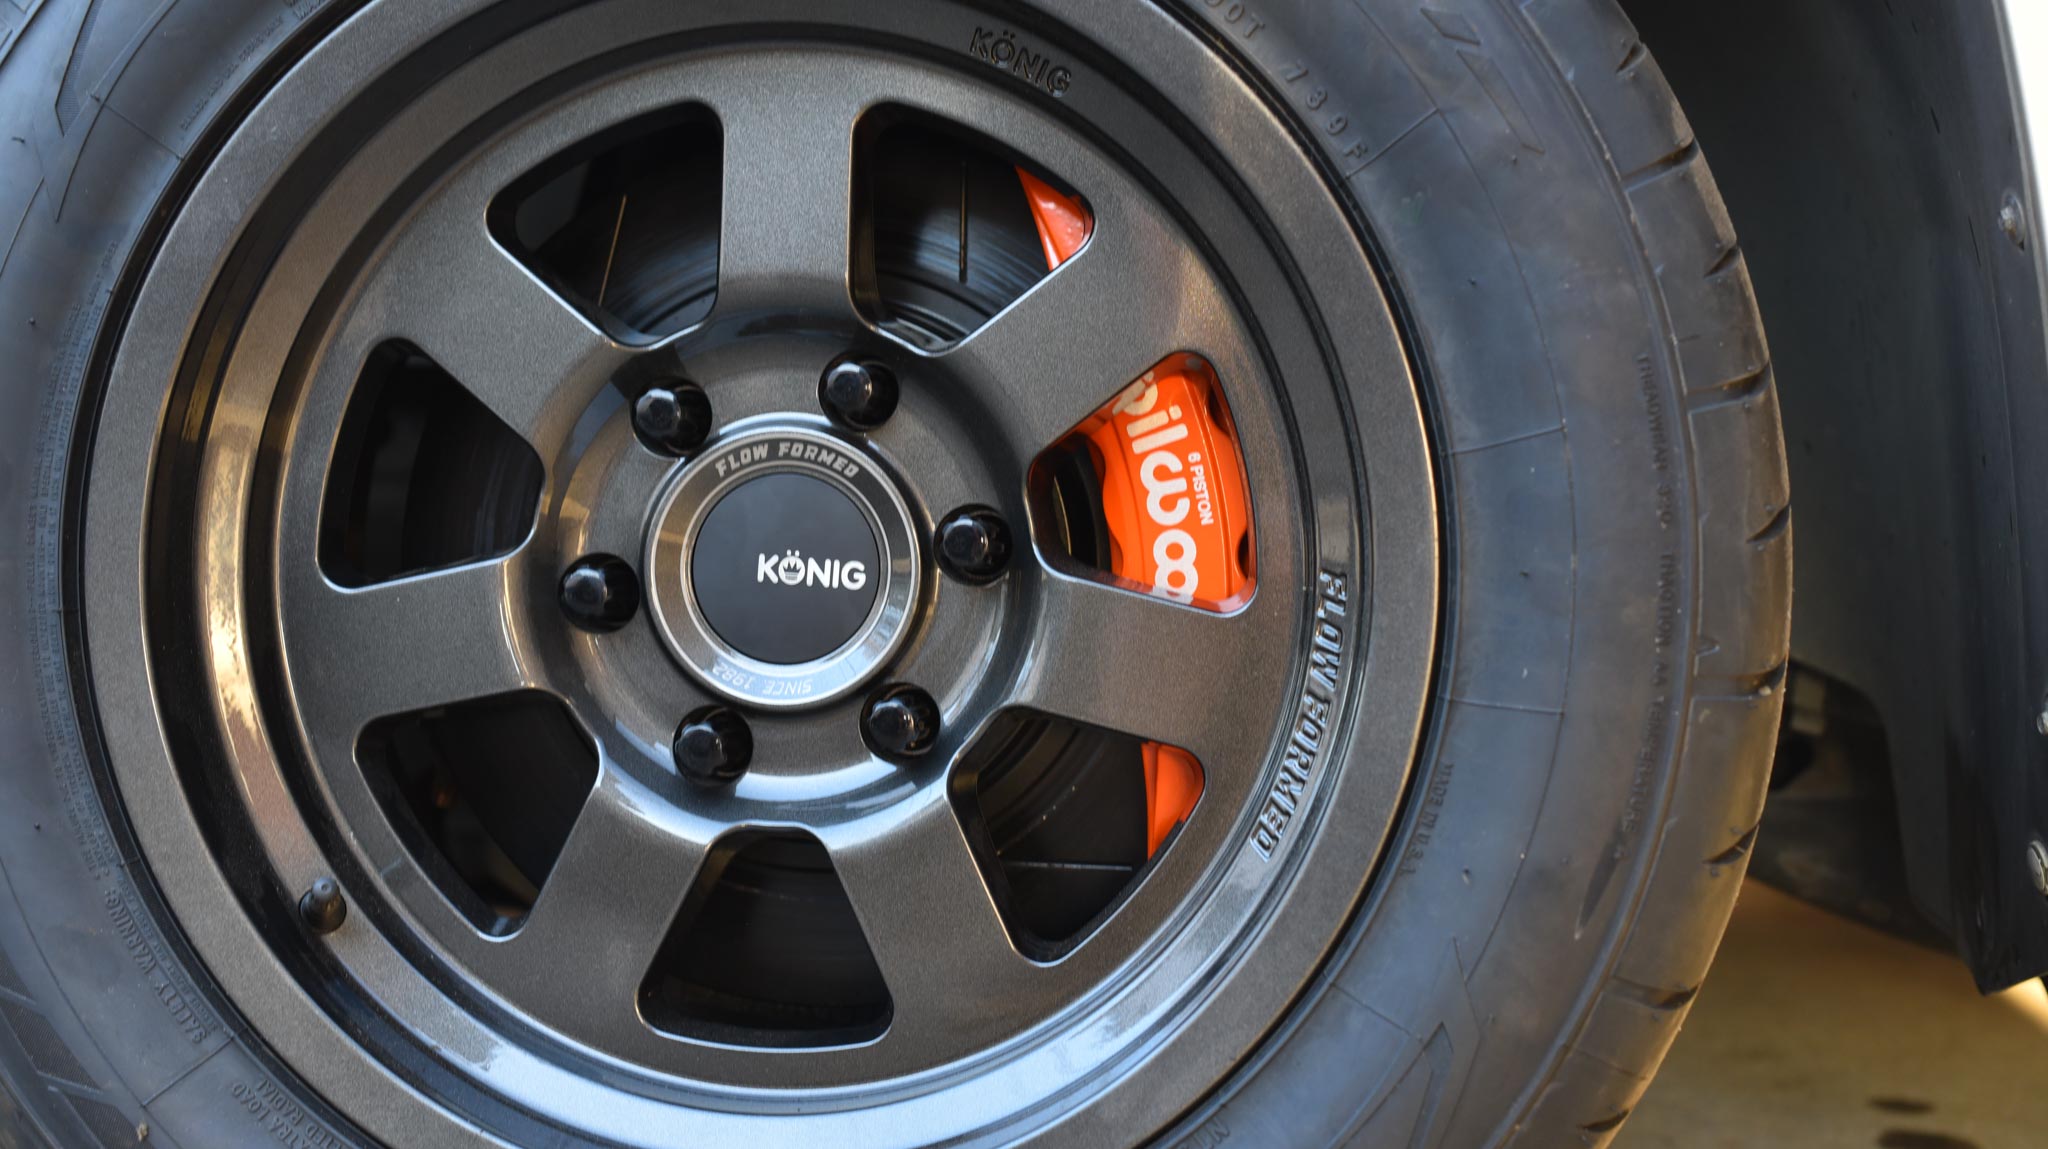
When we ordered that Wilwood big brake kit I previously mentioned, Wilwood asked if we were gonna run 17s by any chance (17-inch wheels). That’s because they recently came out with a big brake kit designed specifically to clear 17s. Coincidentally – we were planning to run smaller diameter wheels (something smaller than today’s typical 20, 22s, 26s). Probably an 18 with a meaty tire… but you know what? We figured ok ‘what the hell’ yeah… let’s step it down even more & do 17s.
Problem is: The Belltech drop spindle protrudes down a bit below the rotor (see pics), and it won’t clear the new 17” Konig HT2s. 18s or larger would’ve been no problem, but 17s juuust didn’t make the cut. So what’s happening here – is we had to grind a little bit off the lower ball joint to clear the wheels. Not our finest moment… but we stuck a couple welds on the nut/ball joint to keep it from potentially backing out.
“When have any of our plans ever actually worked? We plan, we get there, all hell breaks loose!” -Harry Potter
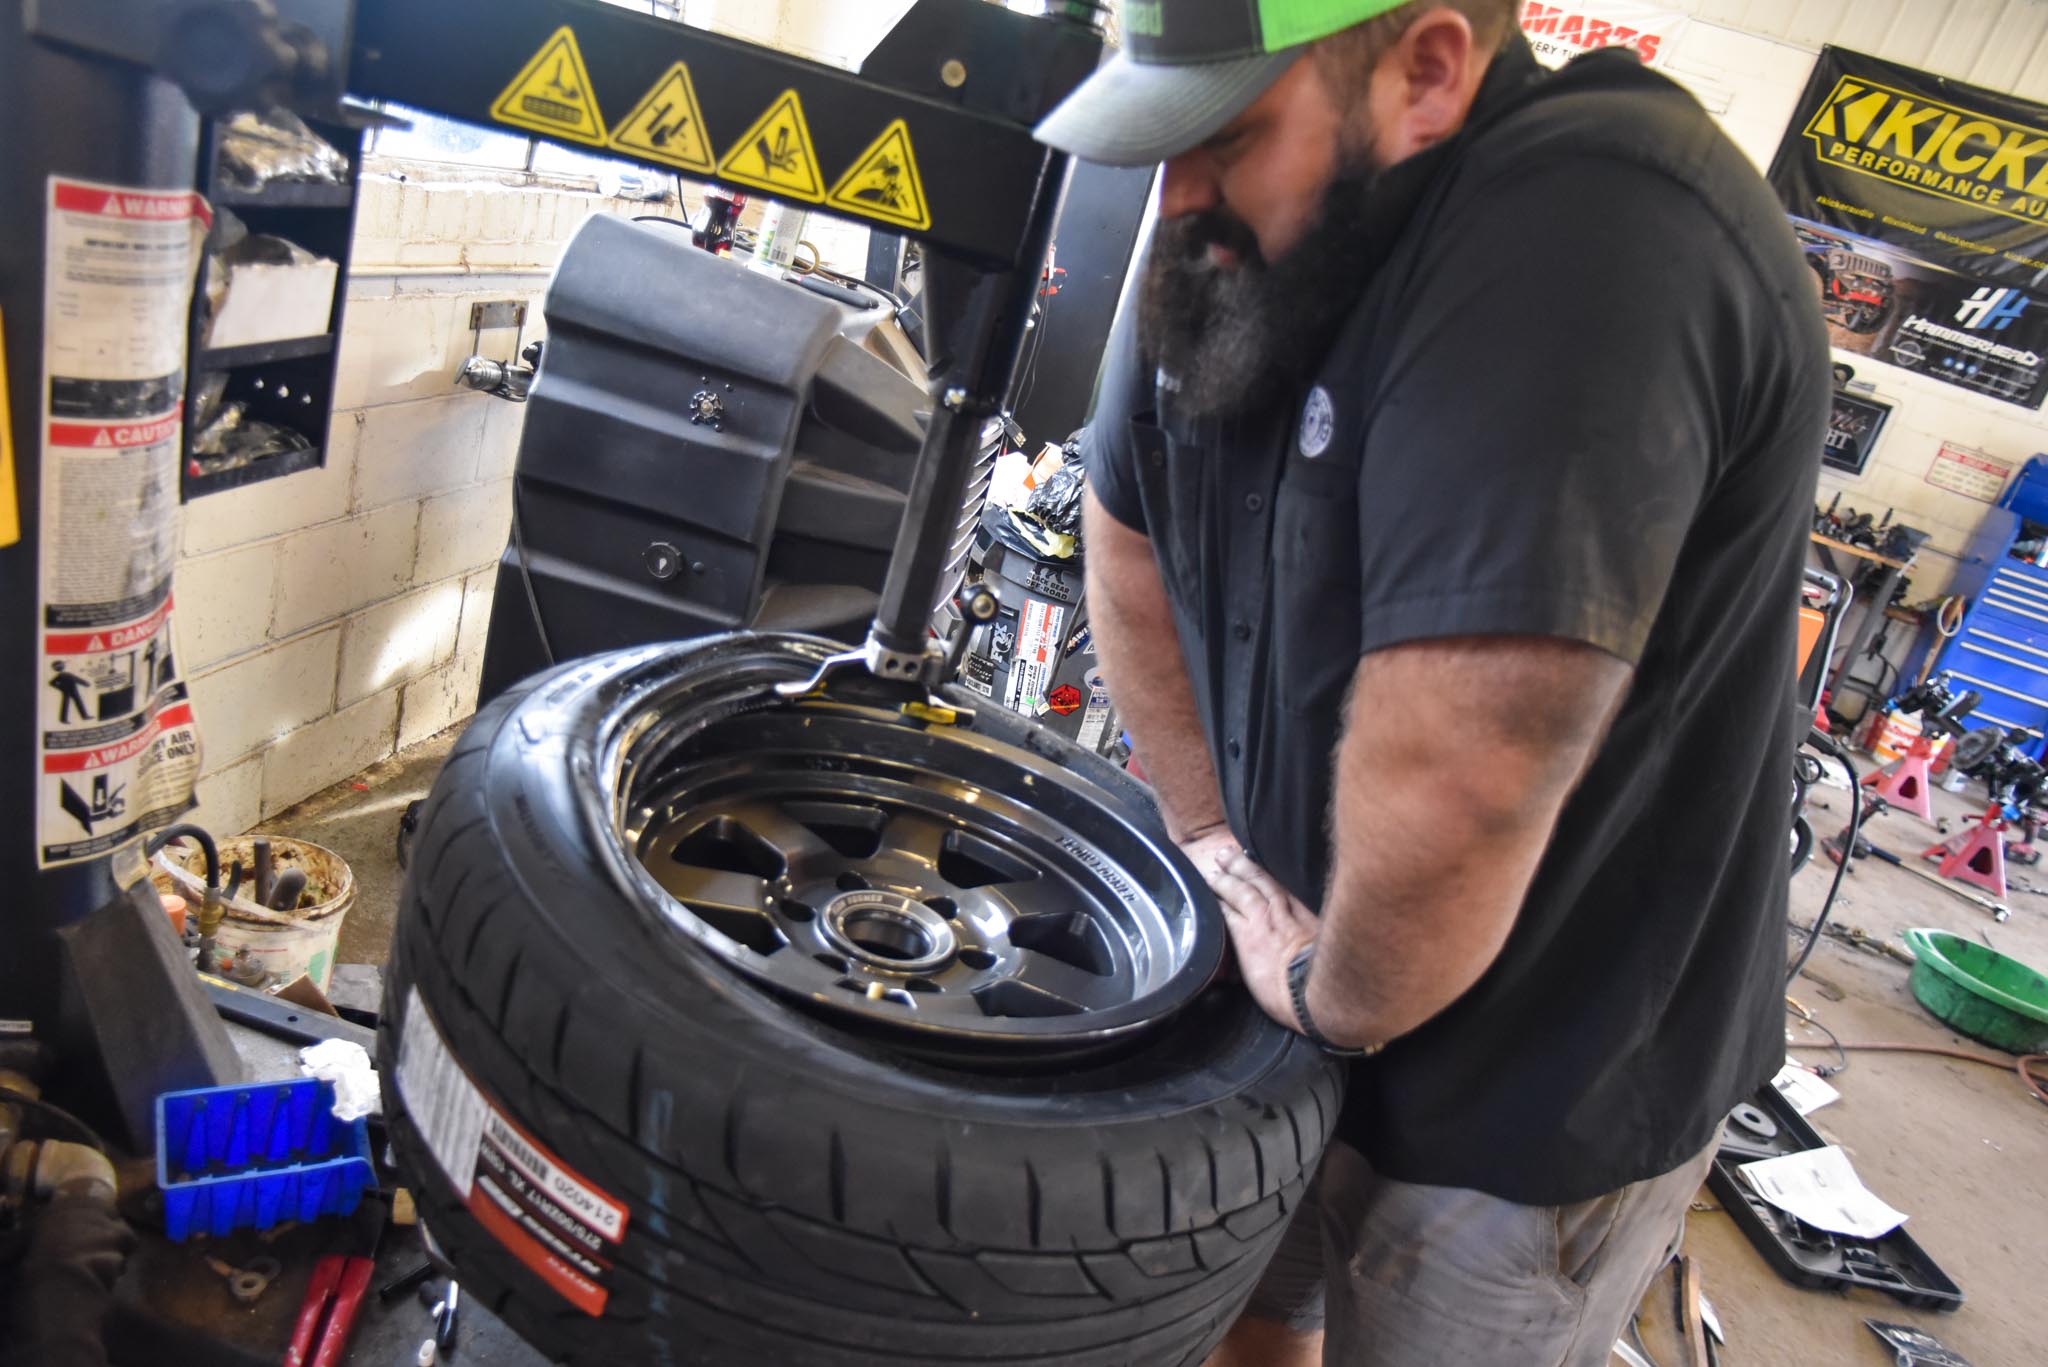
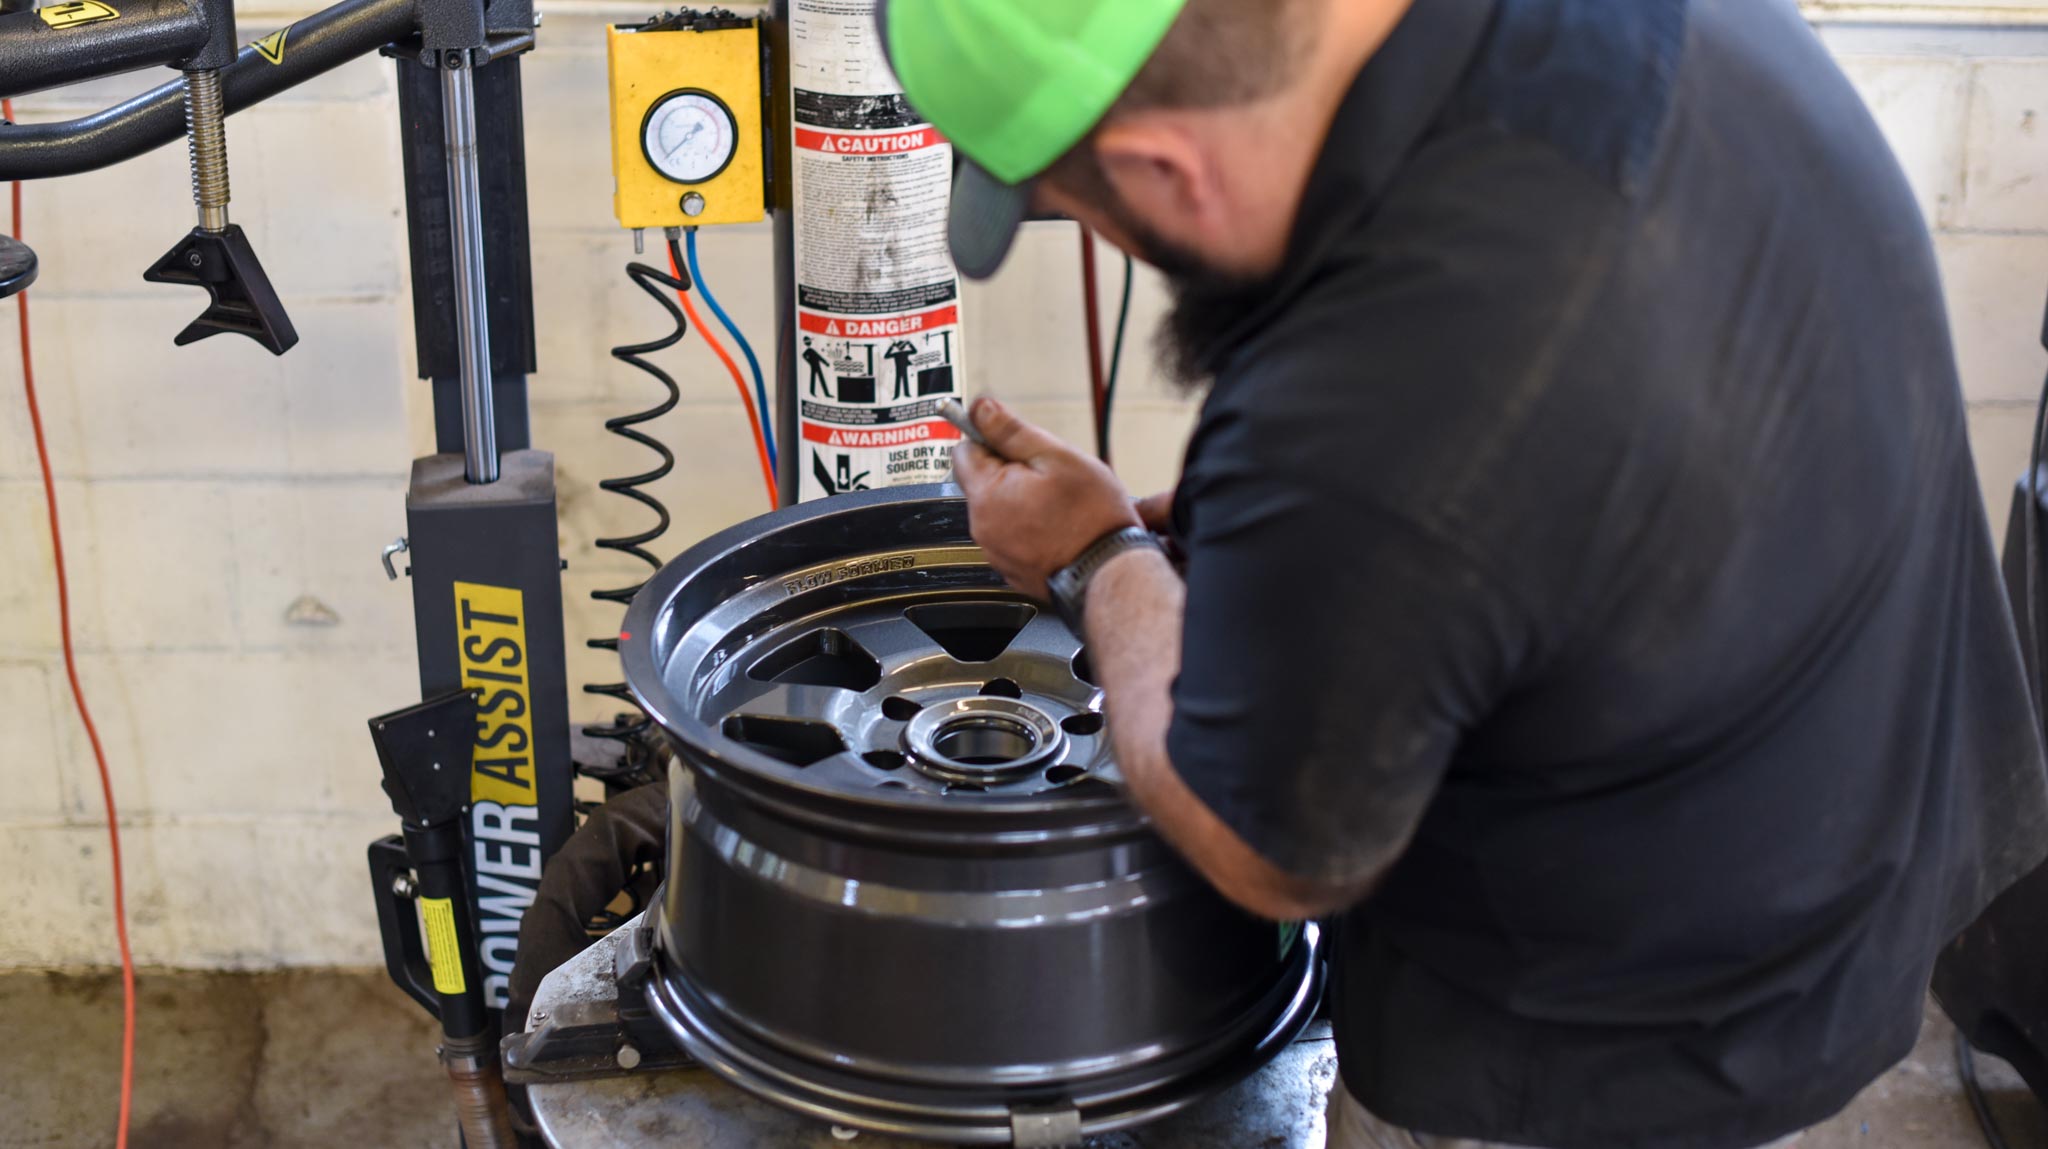
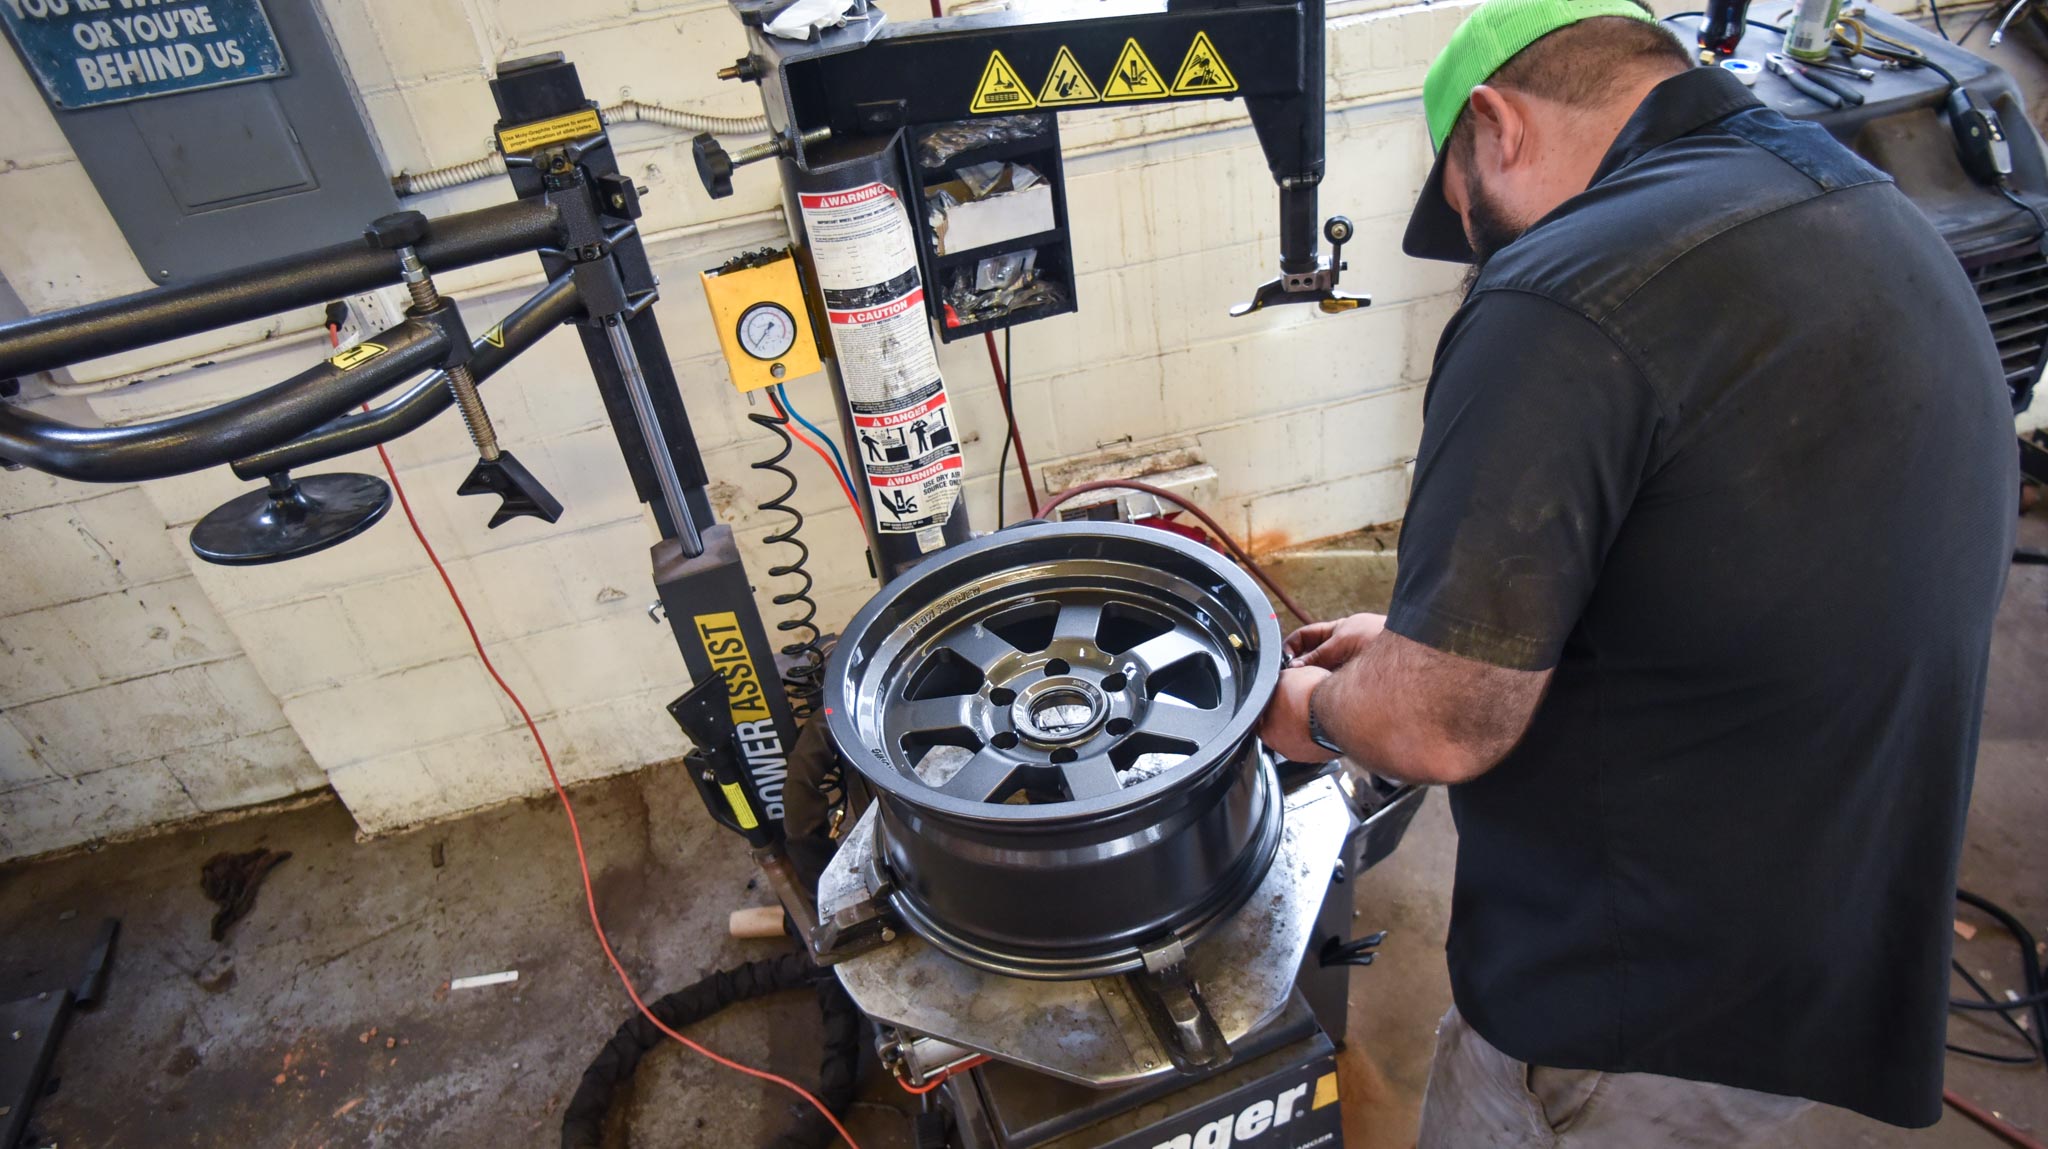
Jeepin Bubba mounts tires on the new Konig HT2 flow-formed truck wheels…
These Konig HT2 wheels are 17×8.5 -6 squared, and the tires are Nitto NT555 G2s in 275/50/17. NOTE: the Gloss Anthracite color unanimously appeared a littler darker to us in person than they seemed online. That’s ok though, they look good for sure… but just keep that in mind.
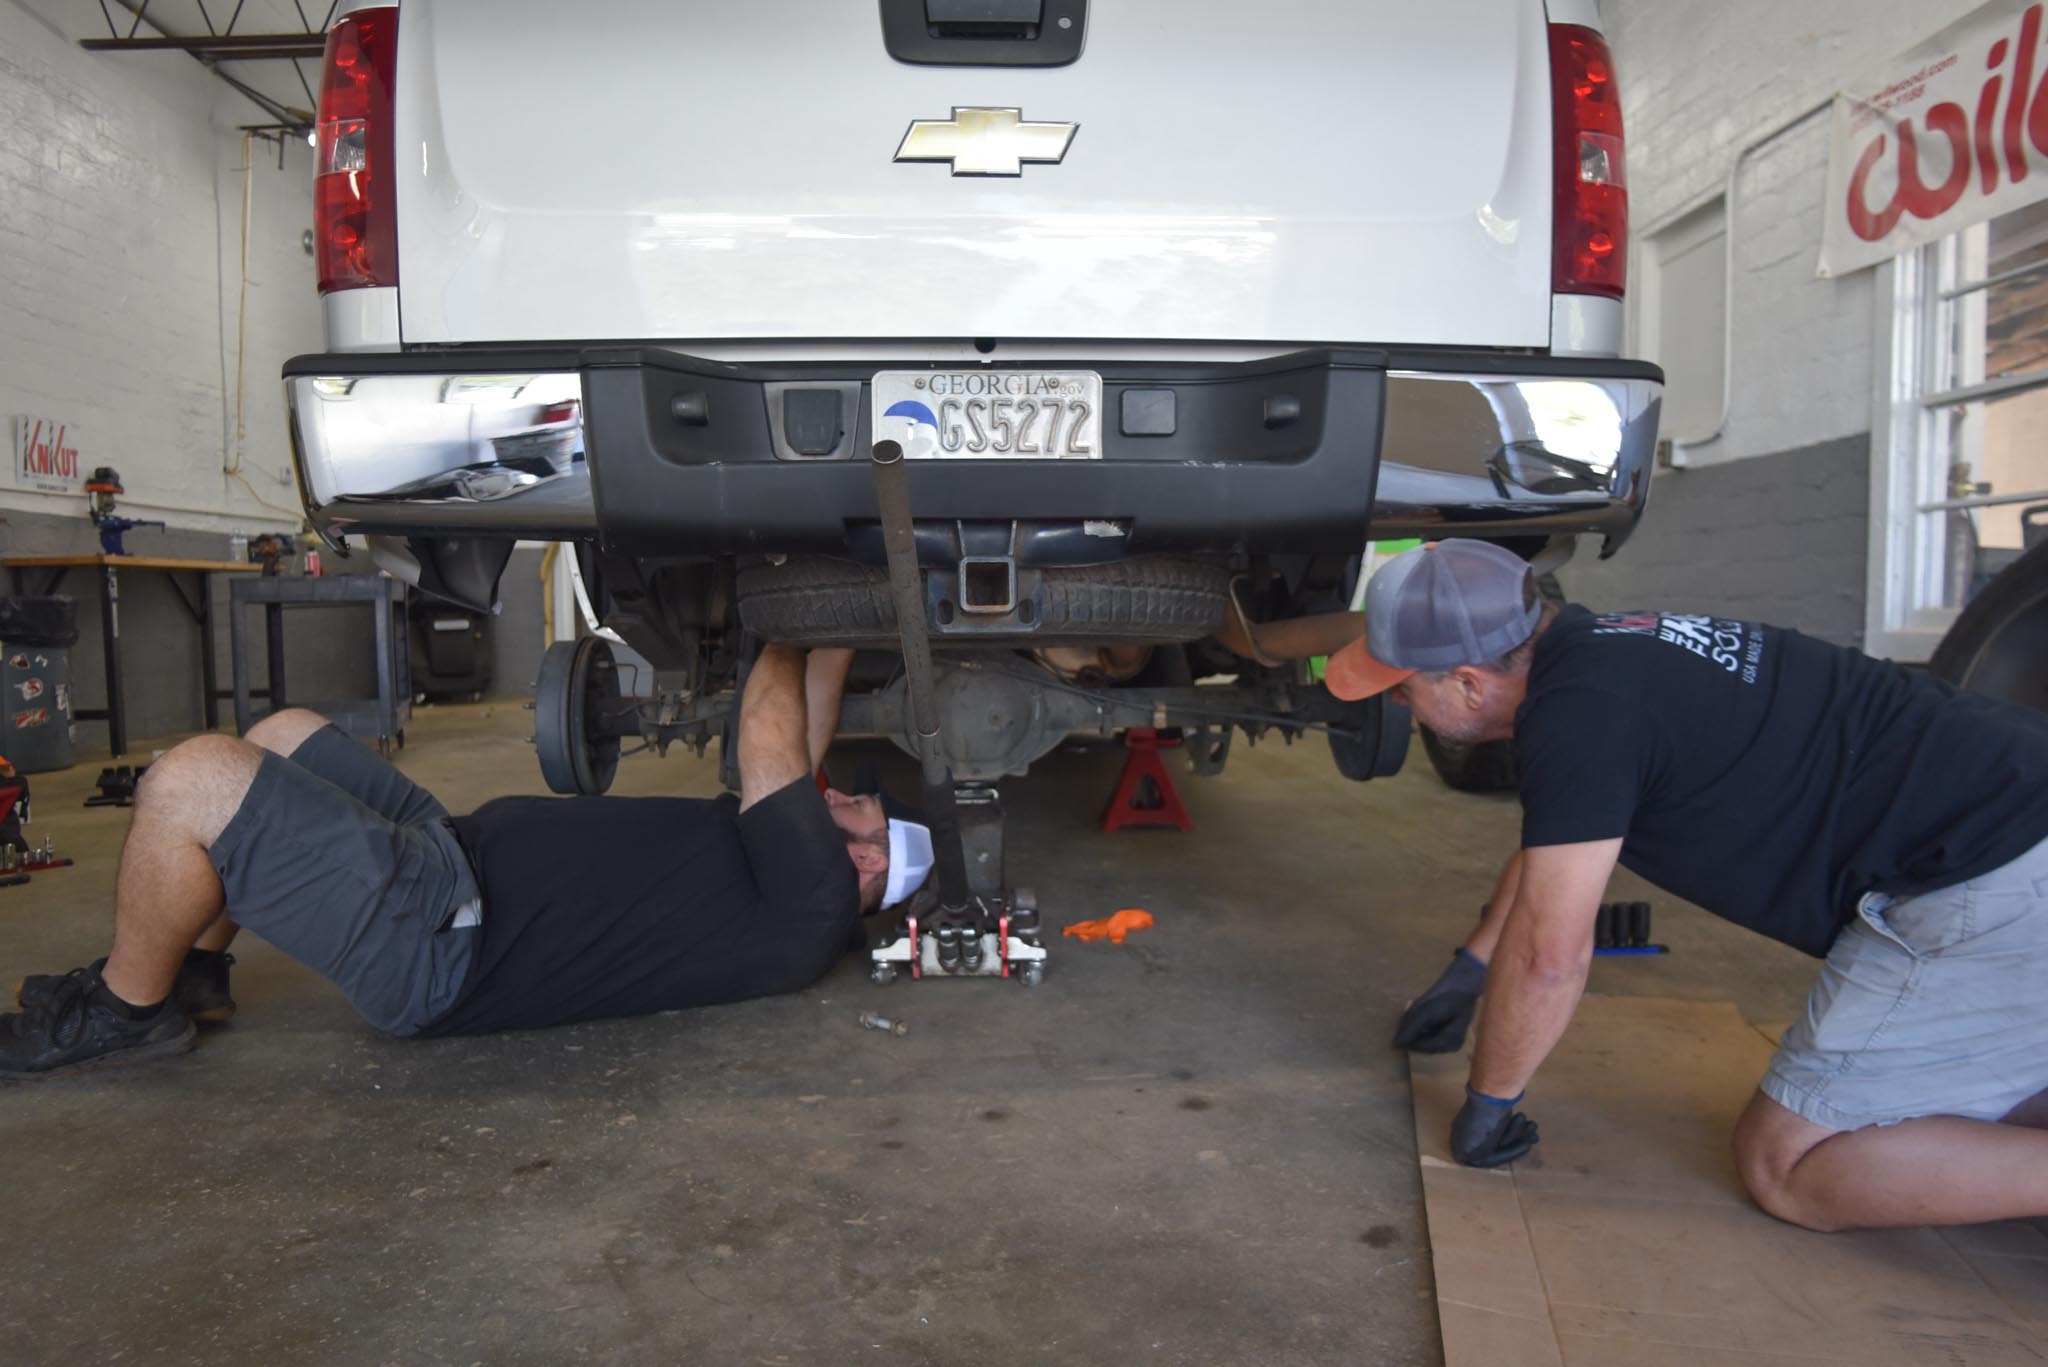
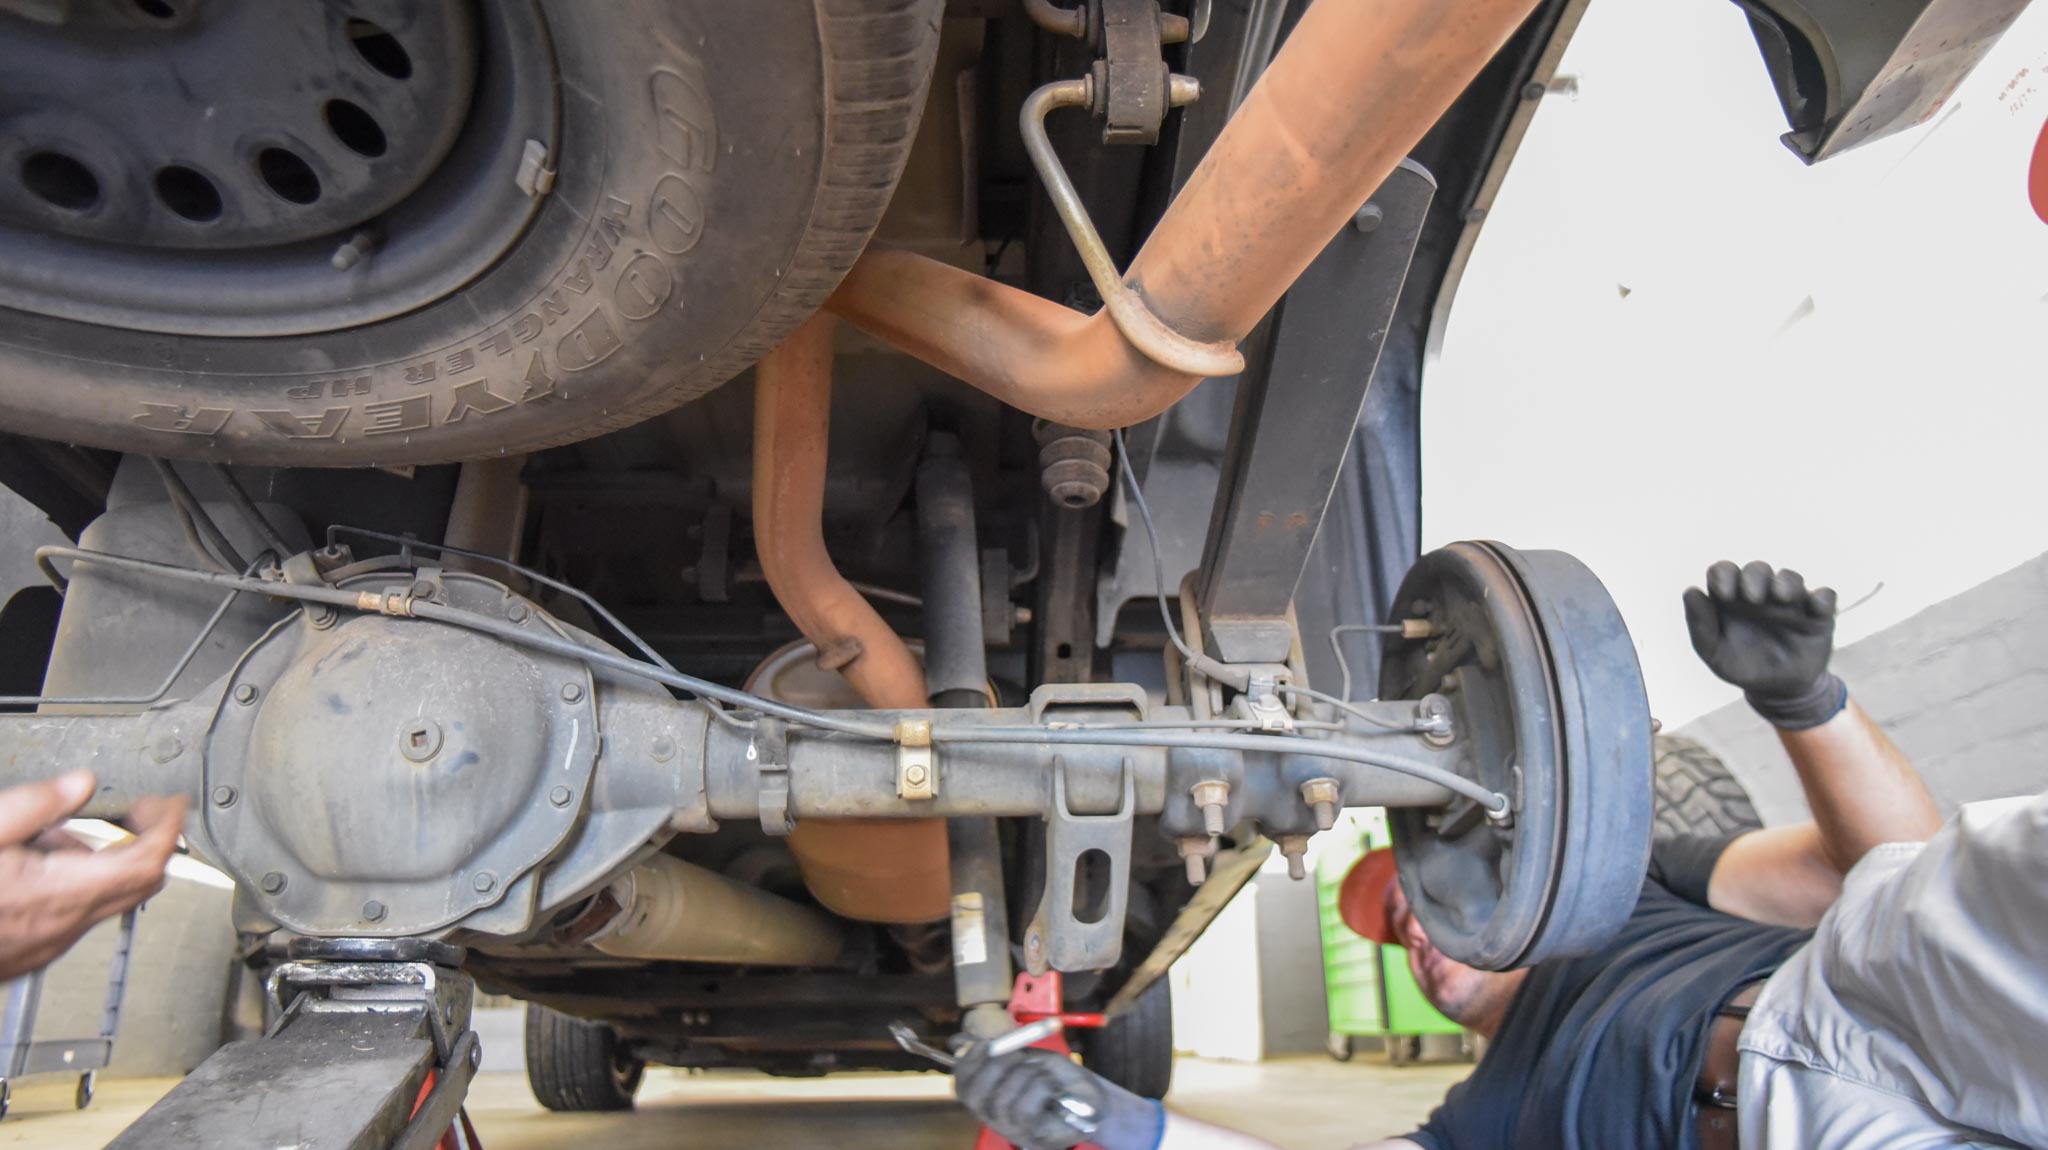
Time to lower the rear of this Silverado…
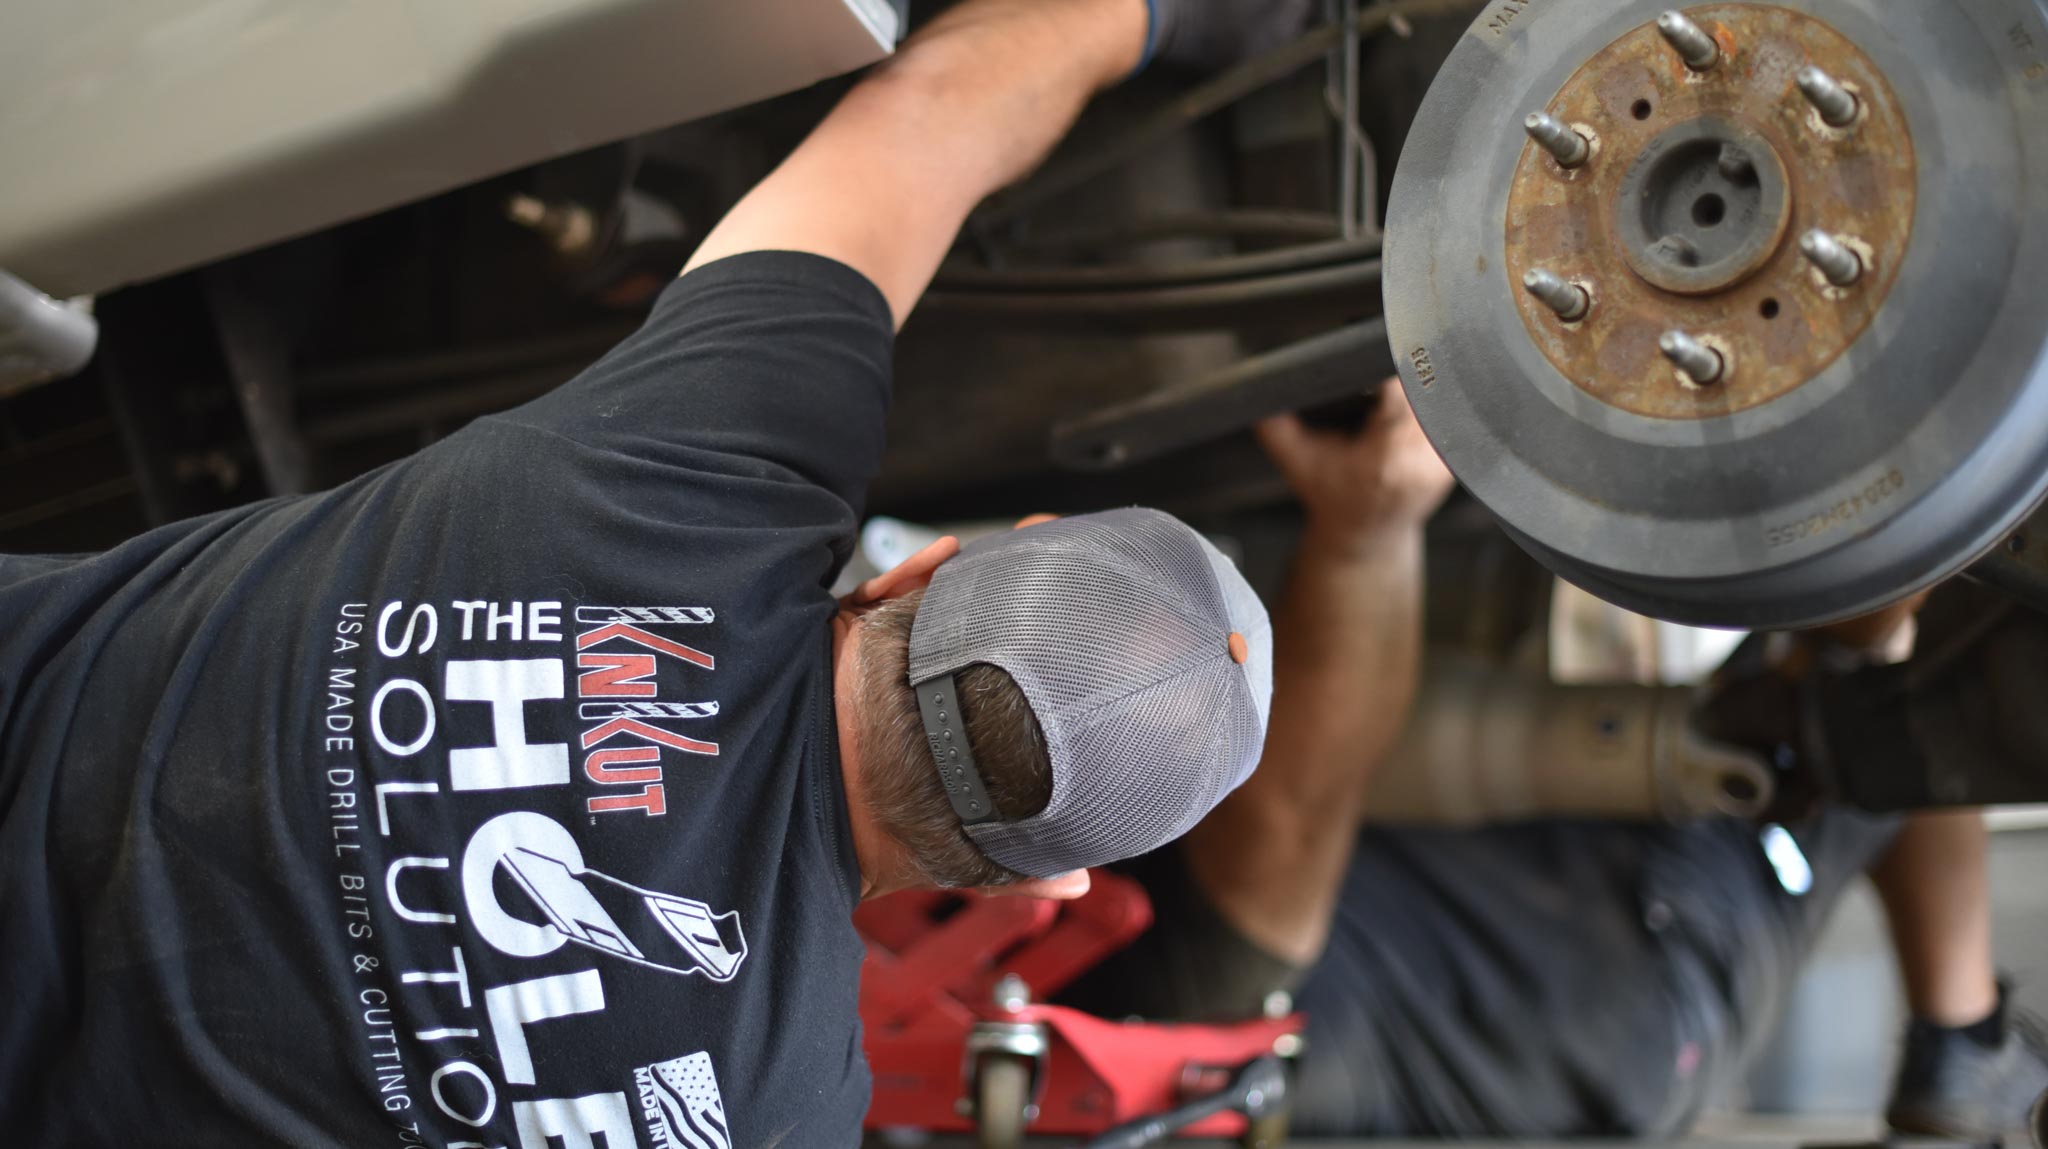
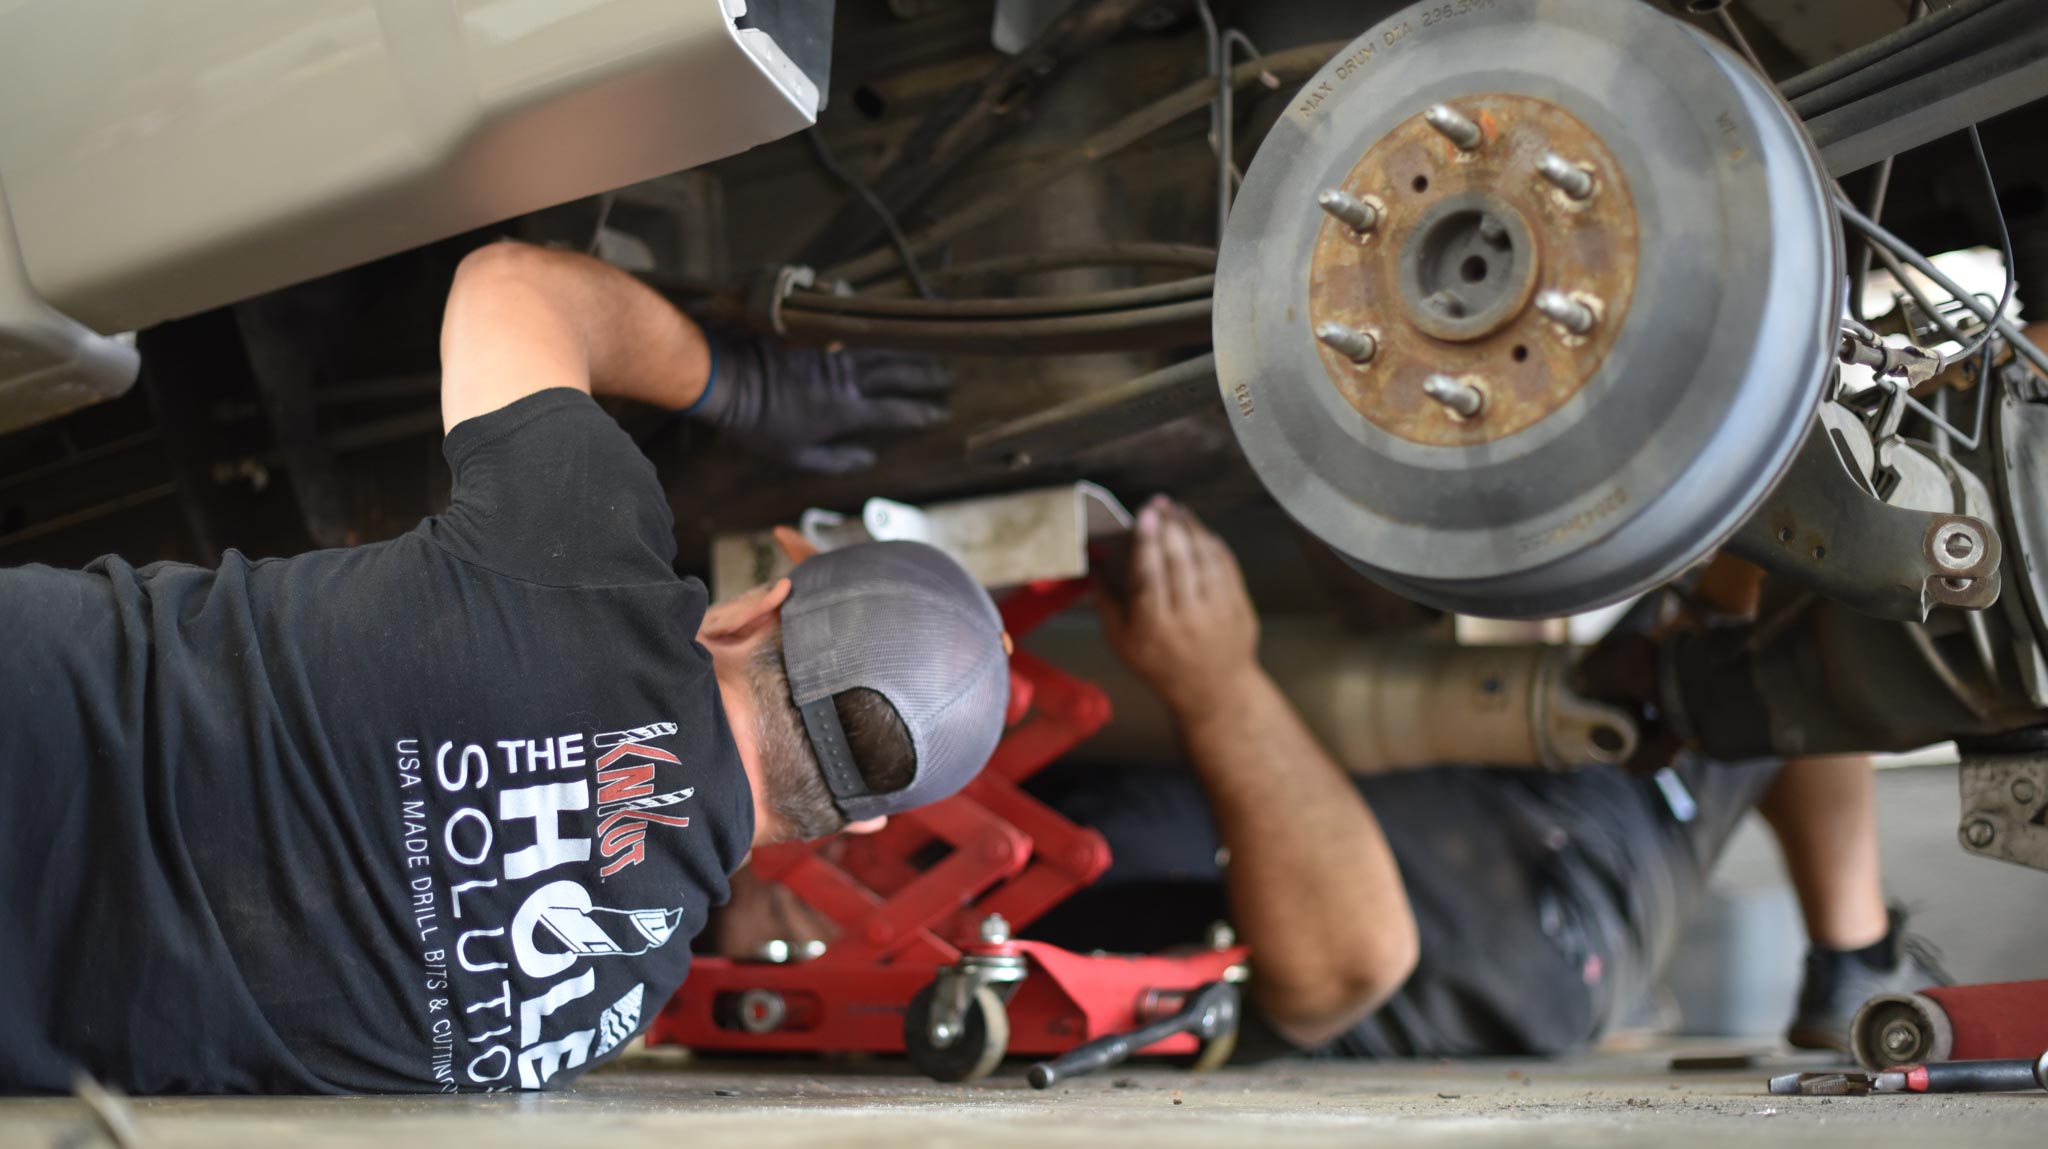
And also, I came to terms with the fact that we ain’t making’ noon beers. The rear shocks are straightforward though – just 2 bolts & they’re easy enough to reach. Make sure to place a jack under the rear-end so you can neutral-out the bind in the bolts to slide ‘em out easily. Then yank them things outta there!
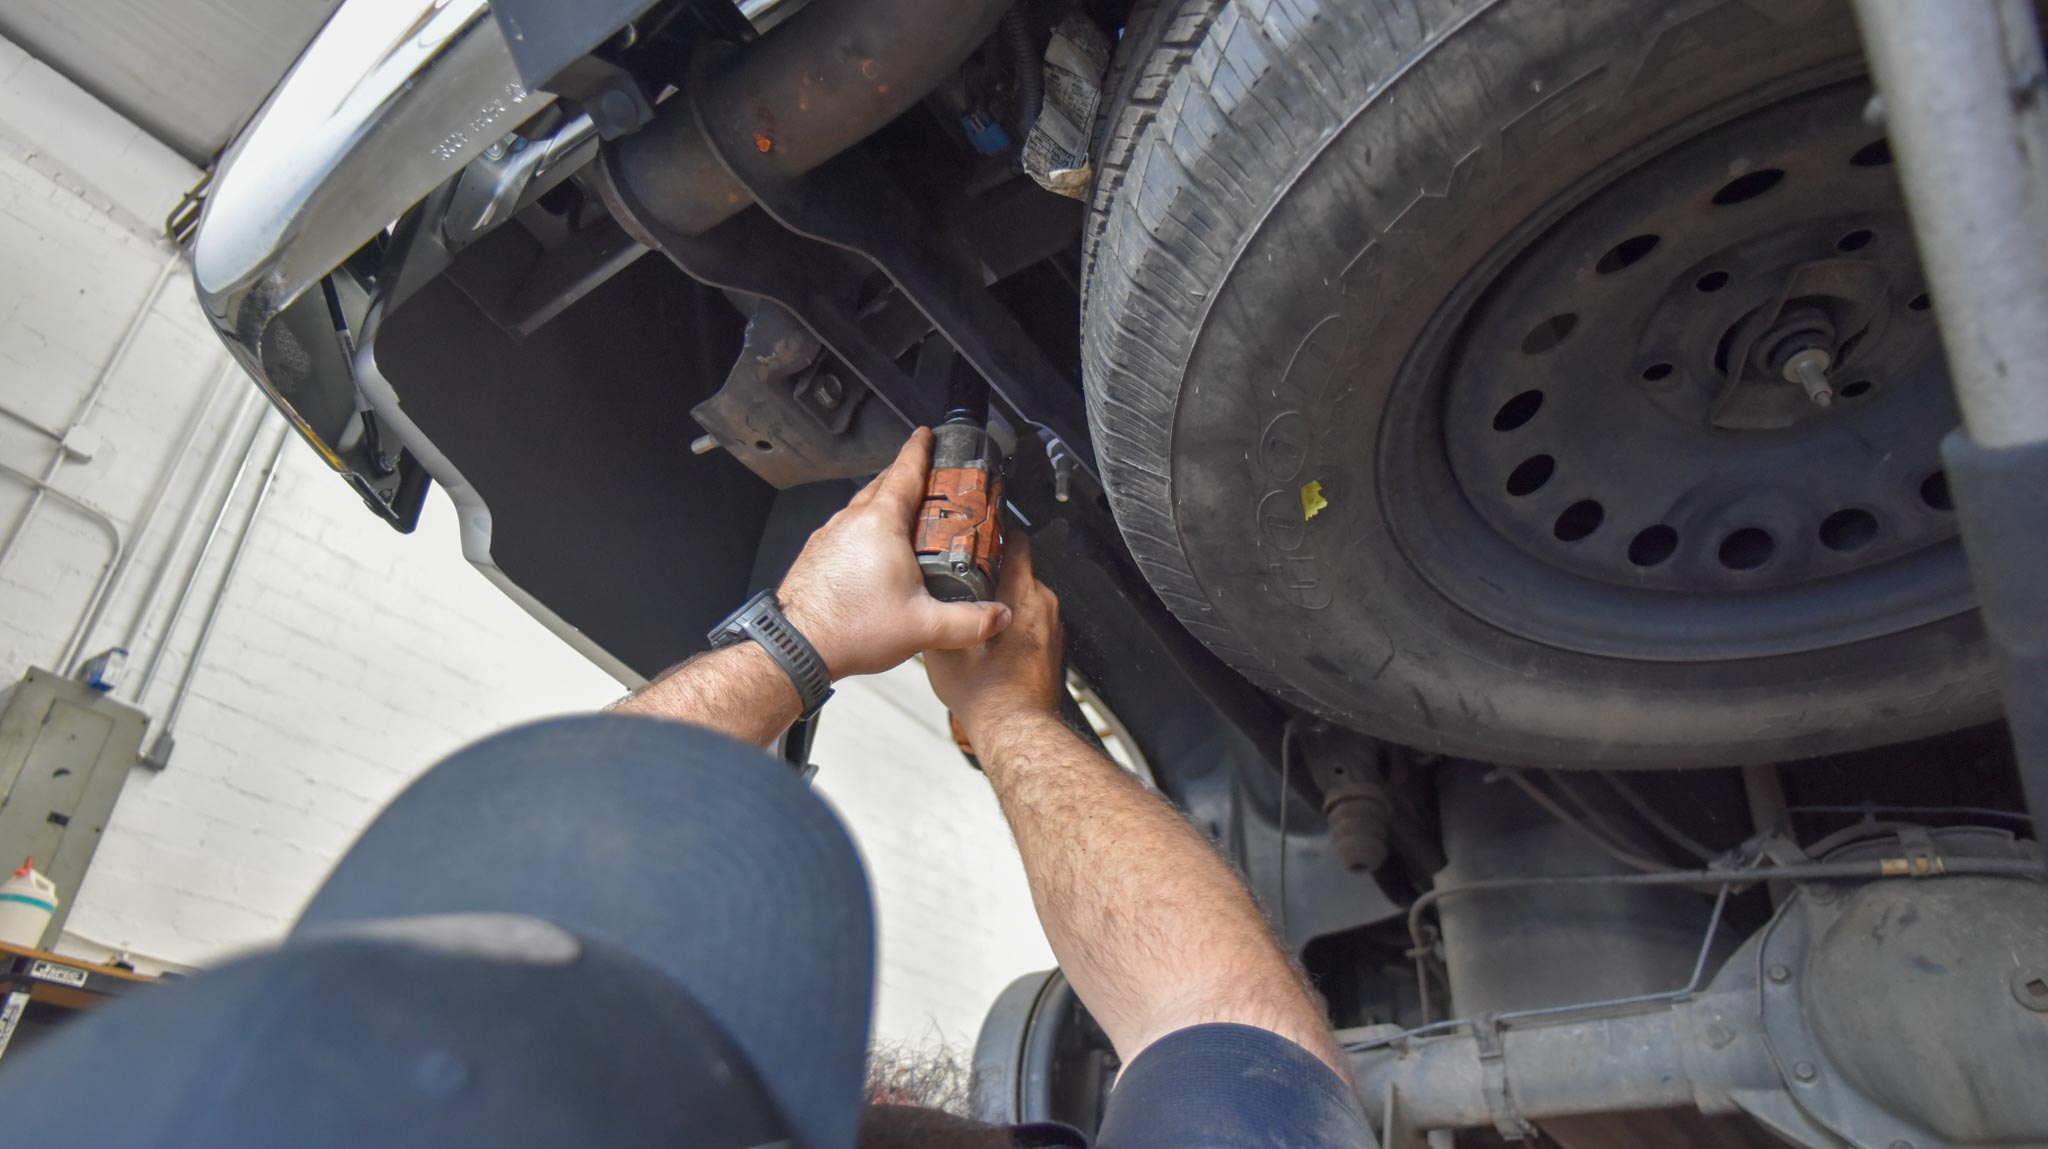
Remove the spare tire & hitch (if you have one)…
We didn’t reinstall the spare, but we did reinstall the hitch since Andy will tow the KnKut trailer from time to time.
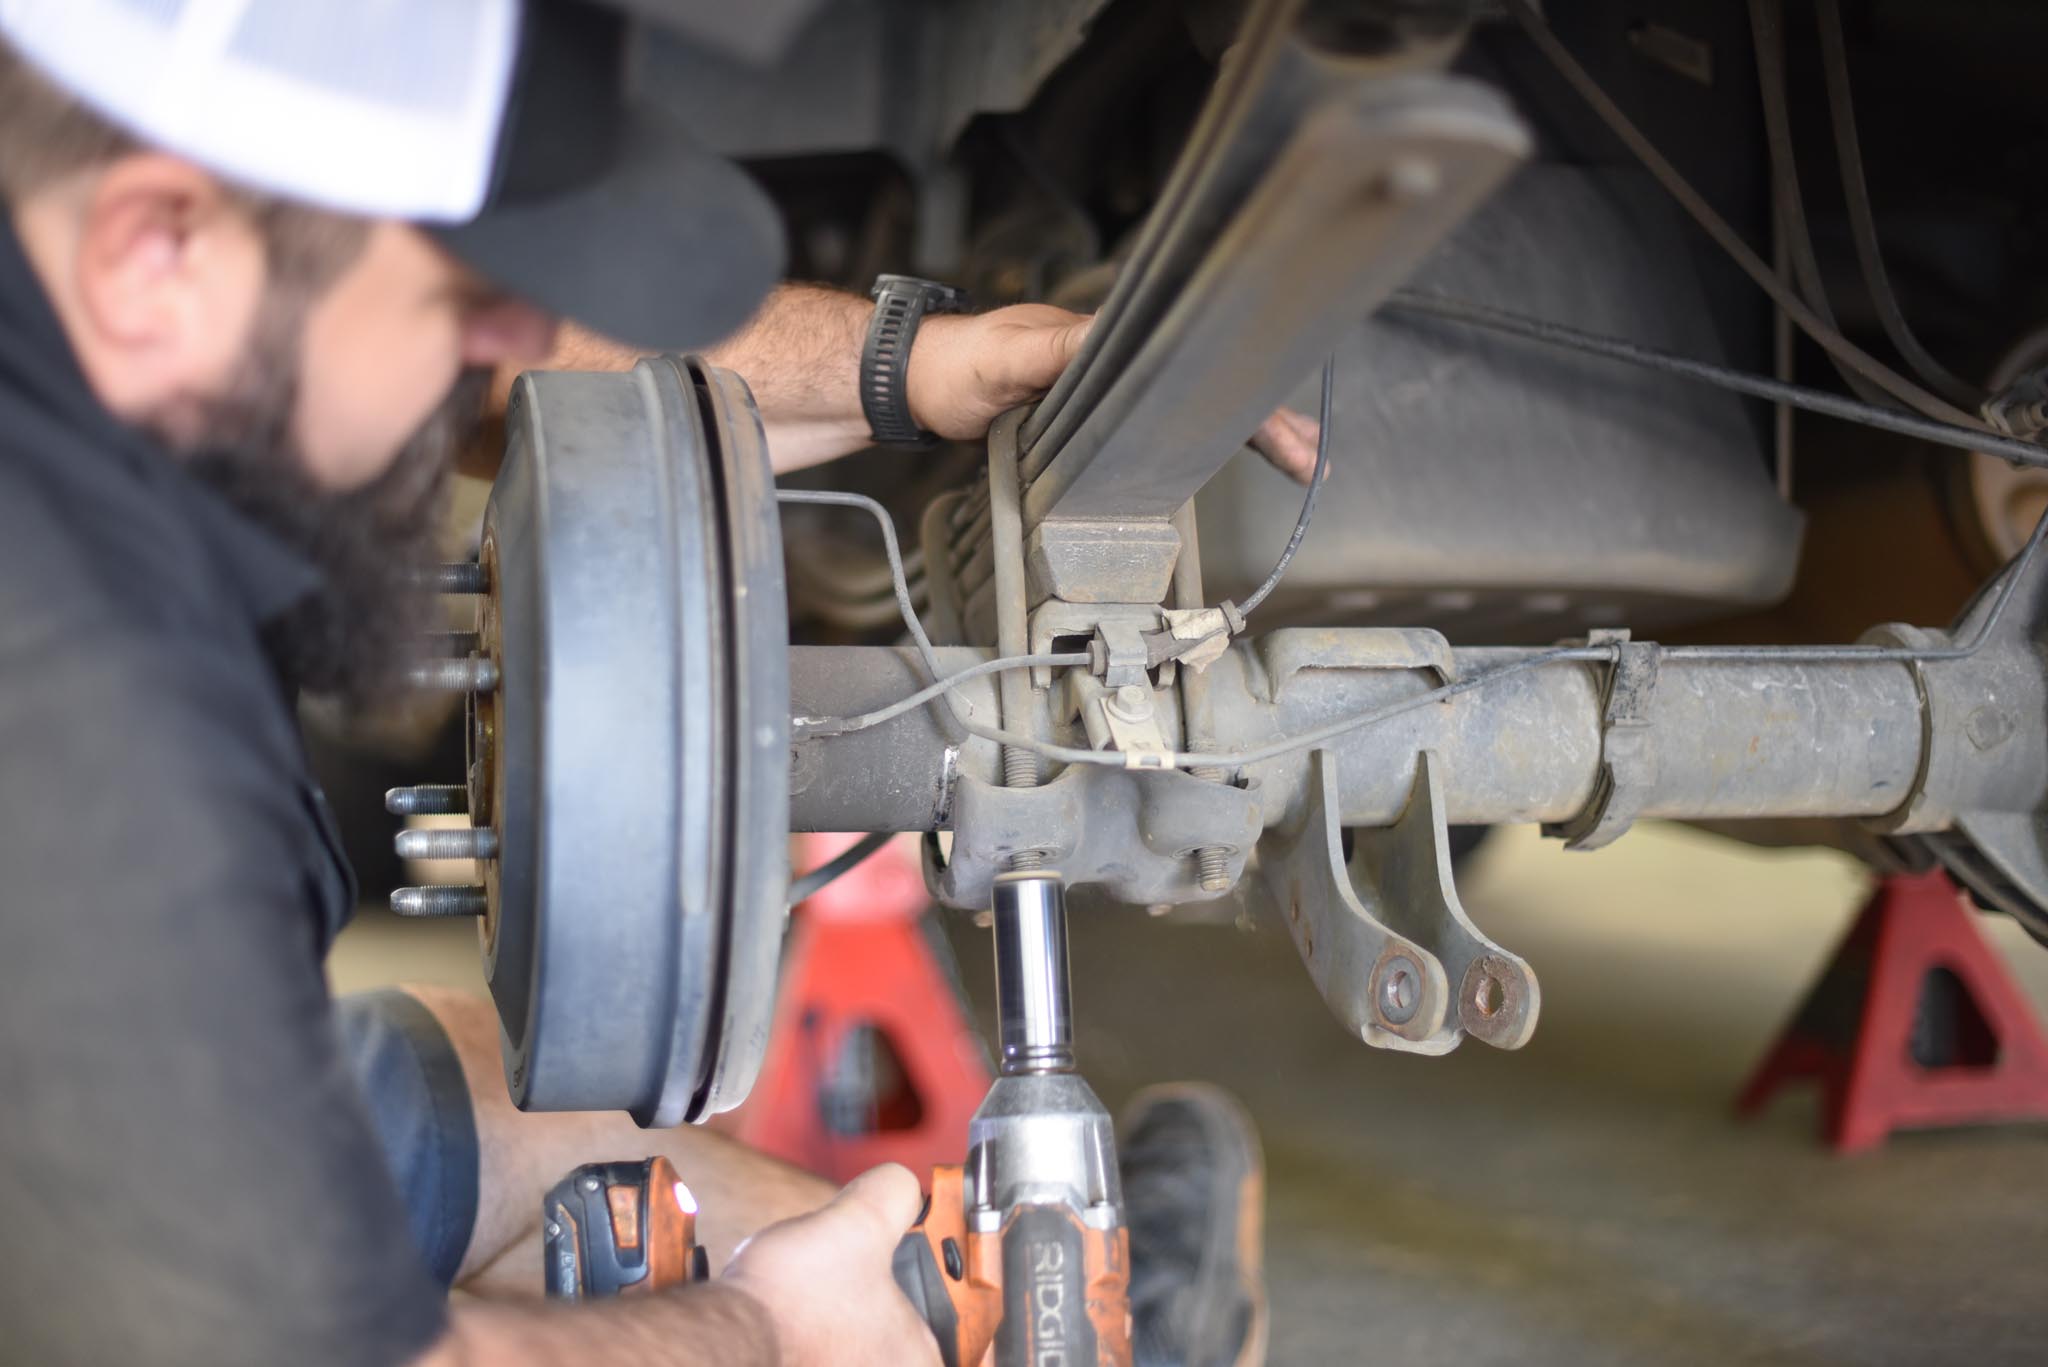
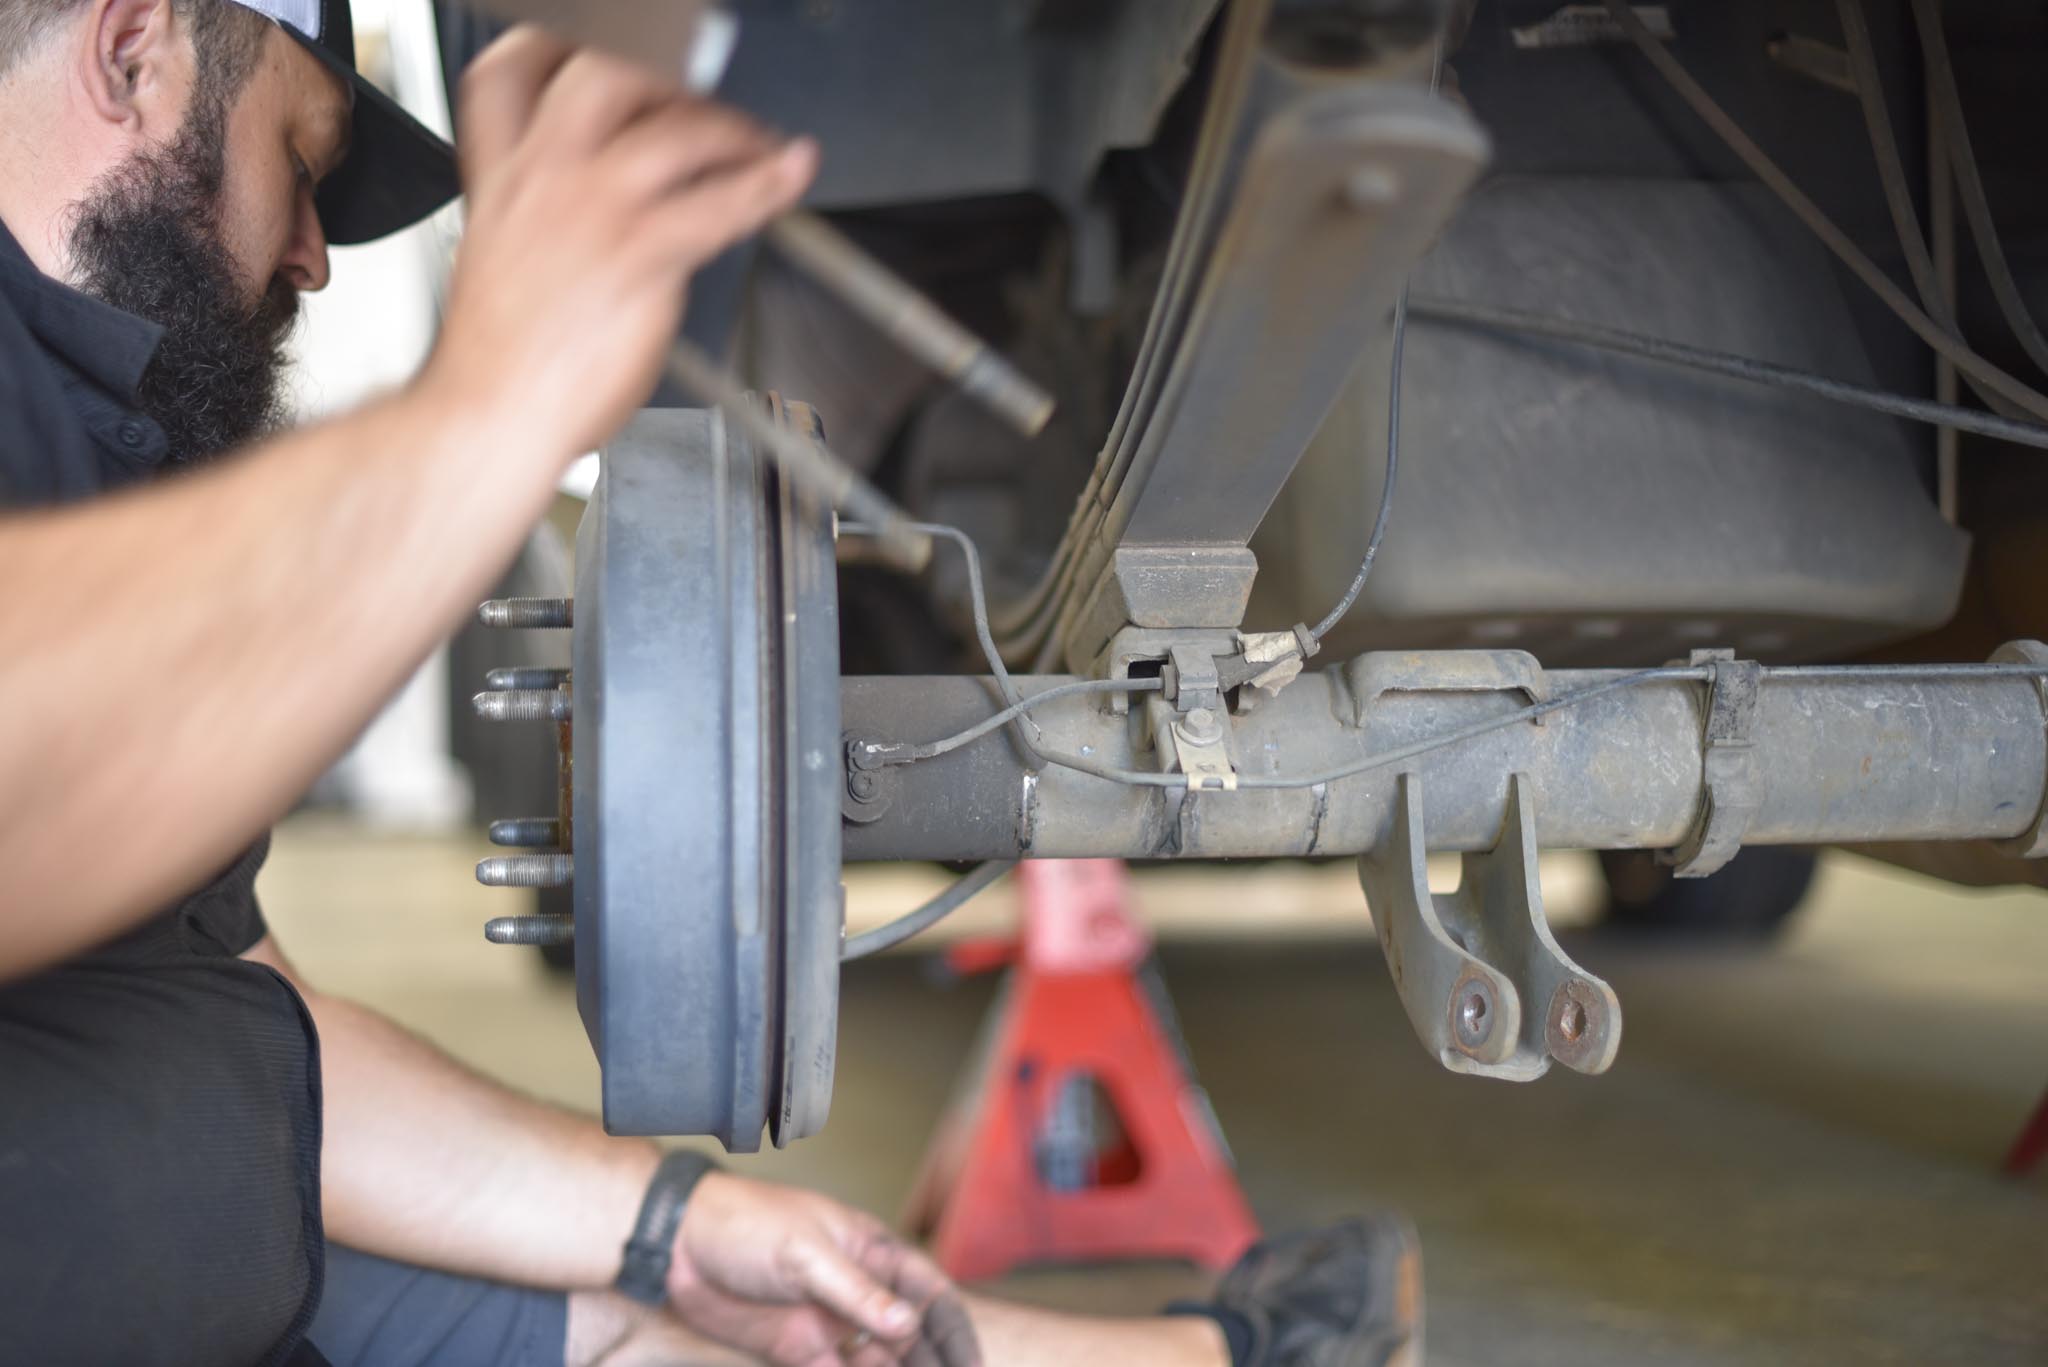
We’ve gotta flip the leaf springs from over, to underneath the axle…
That’s what gives us ‘some’ of the drop we’re lookin’ for. Not ALL but some… more on that in a second. Keep the jack under the axle so you can raise/lower it to relieve tension on the leaf springs as you remove them.
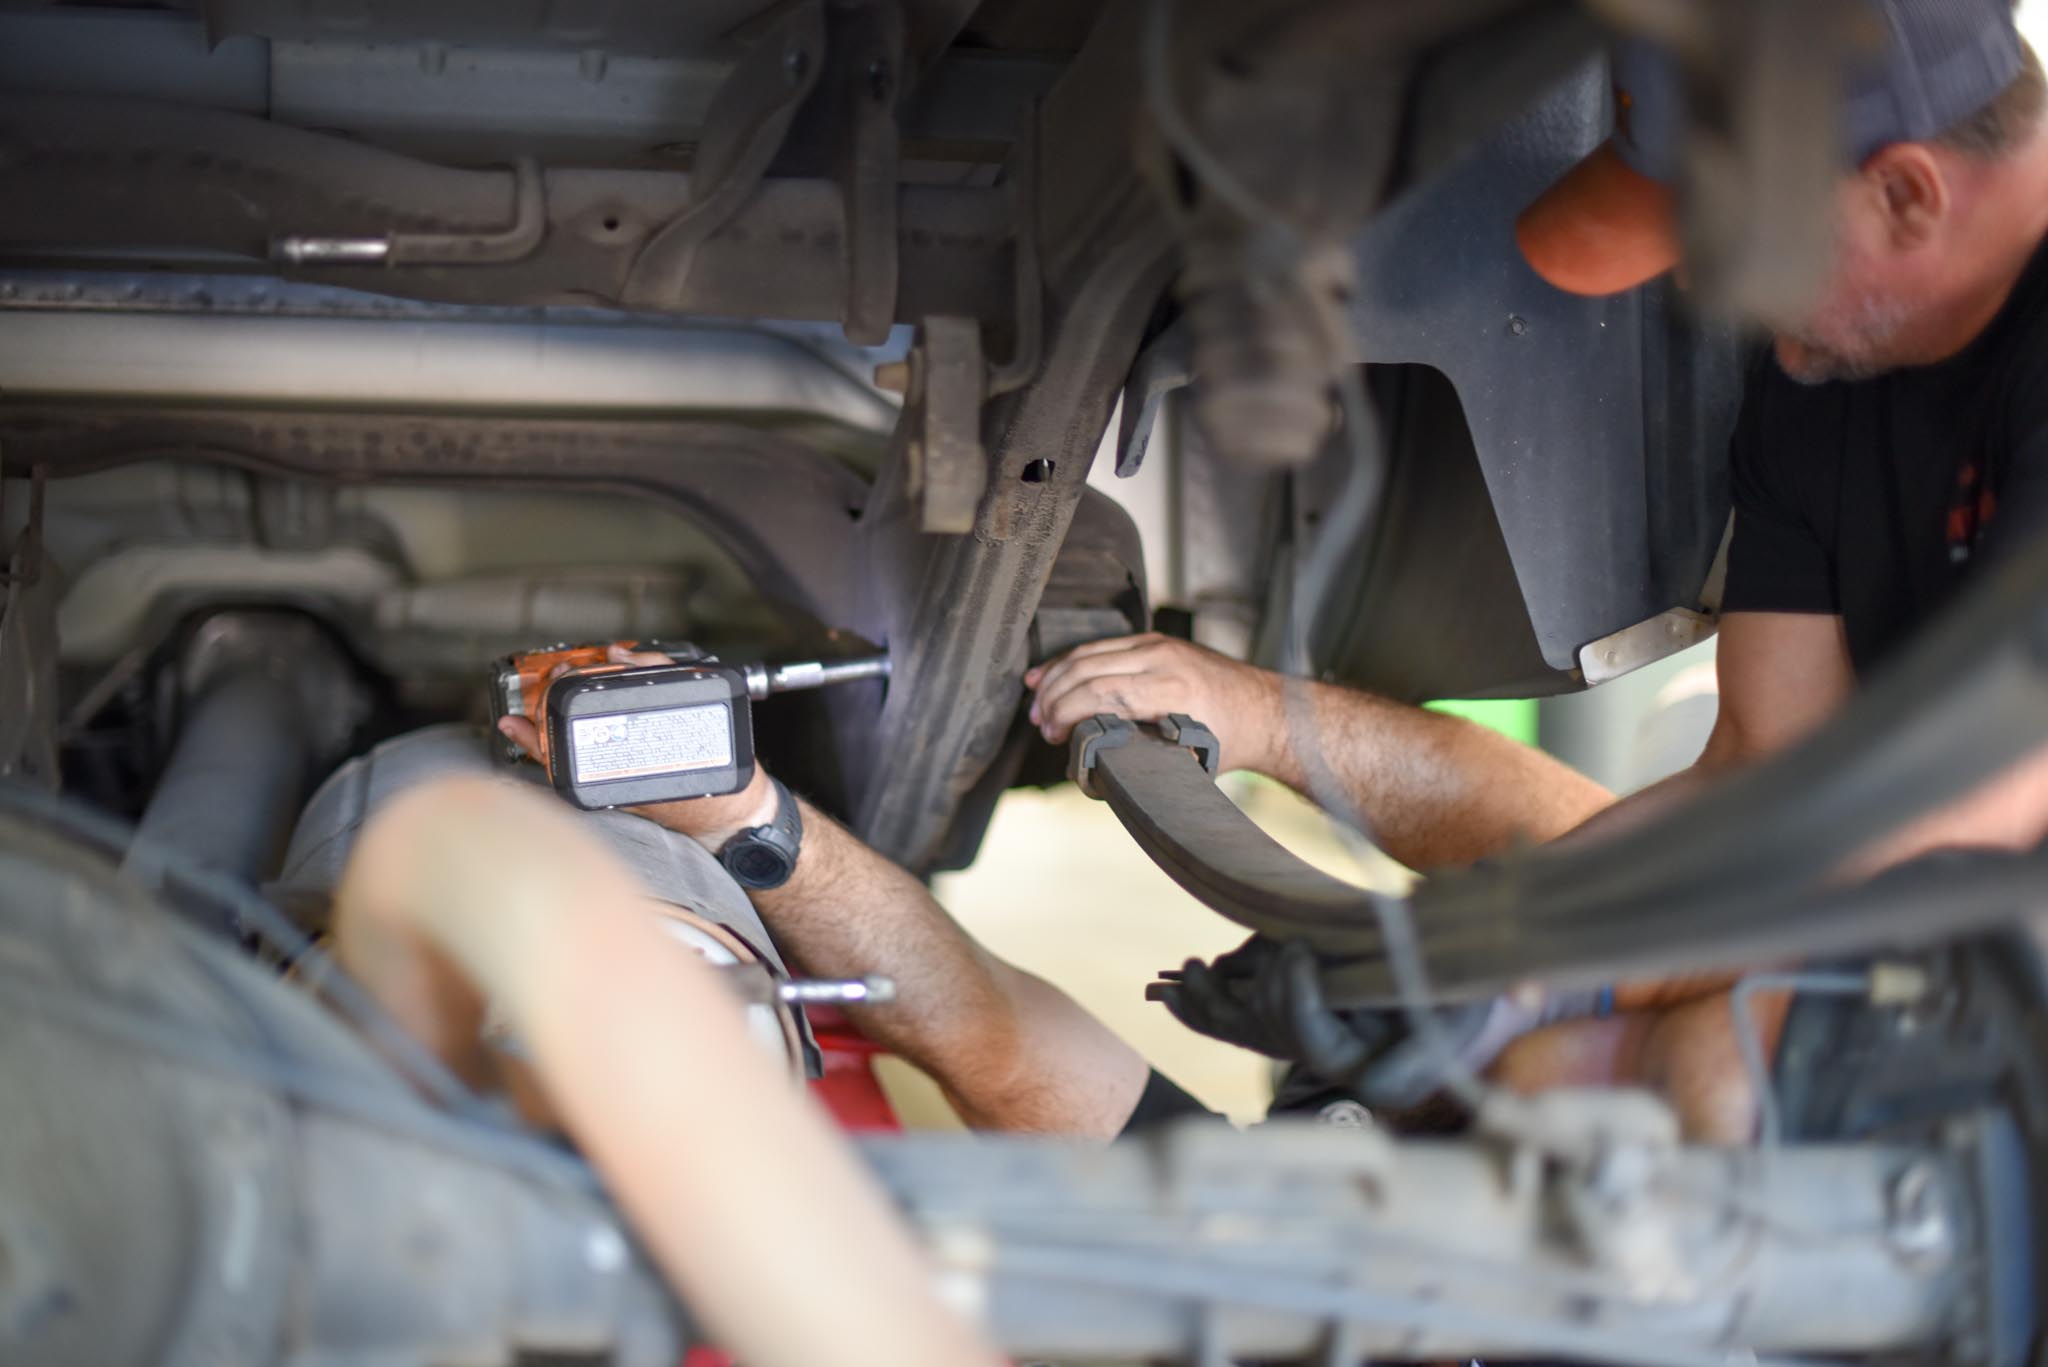
With the leaf springs free from the axle… you can unbolt the springs from the body.
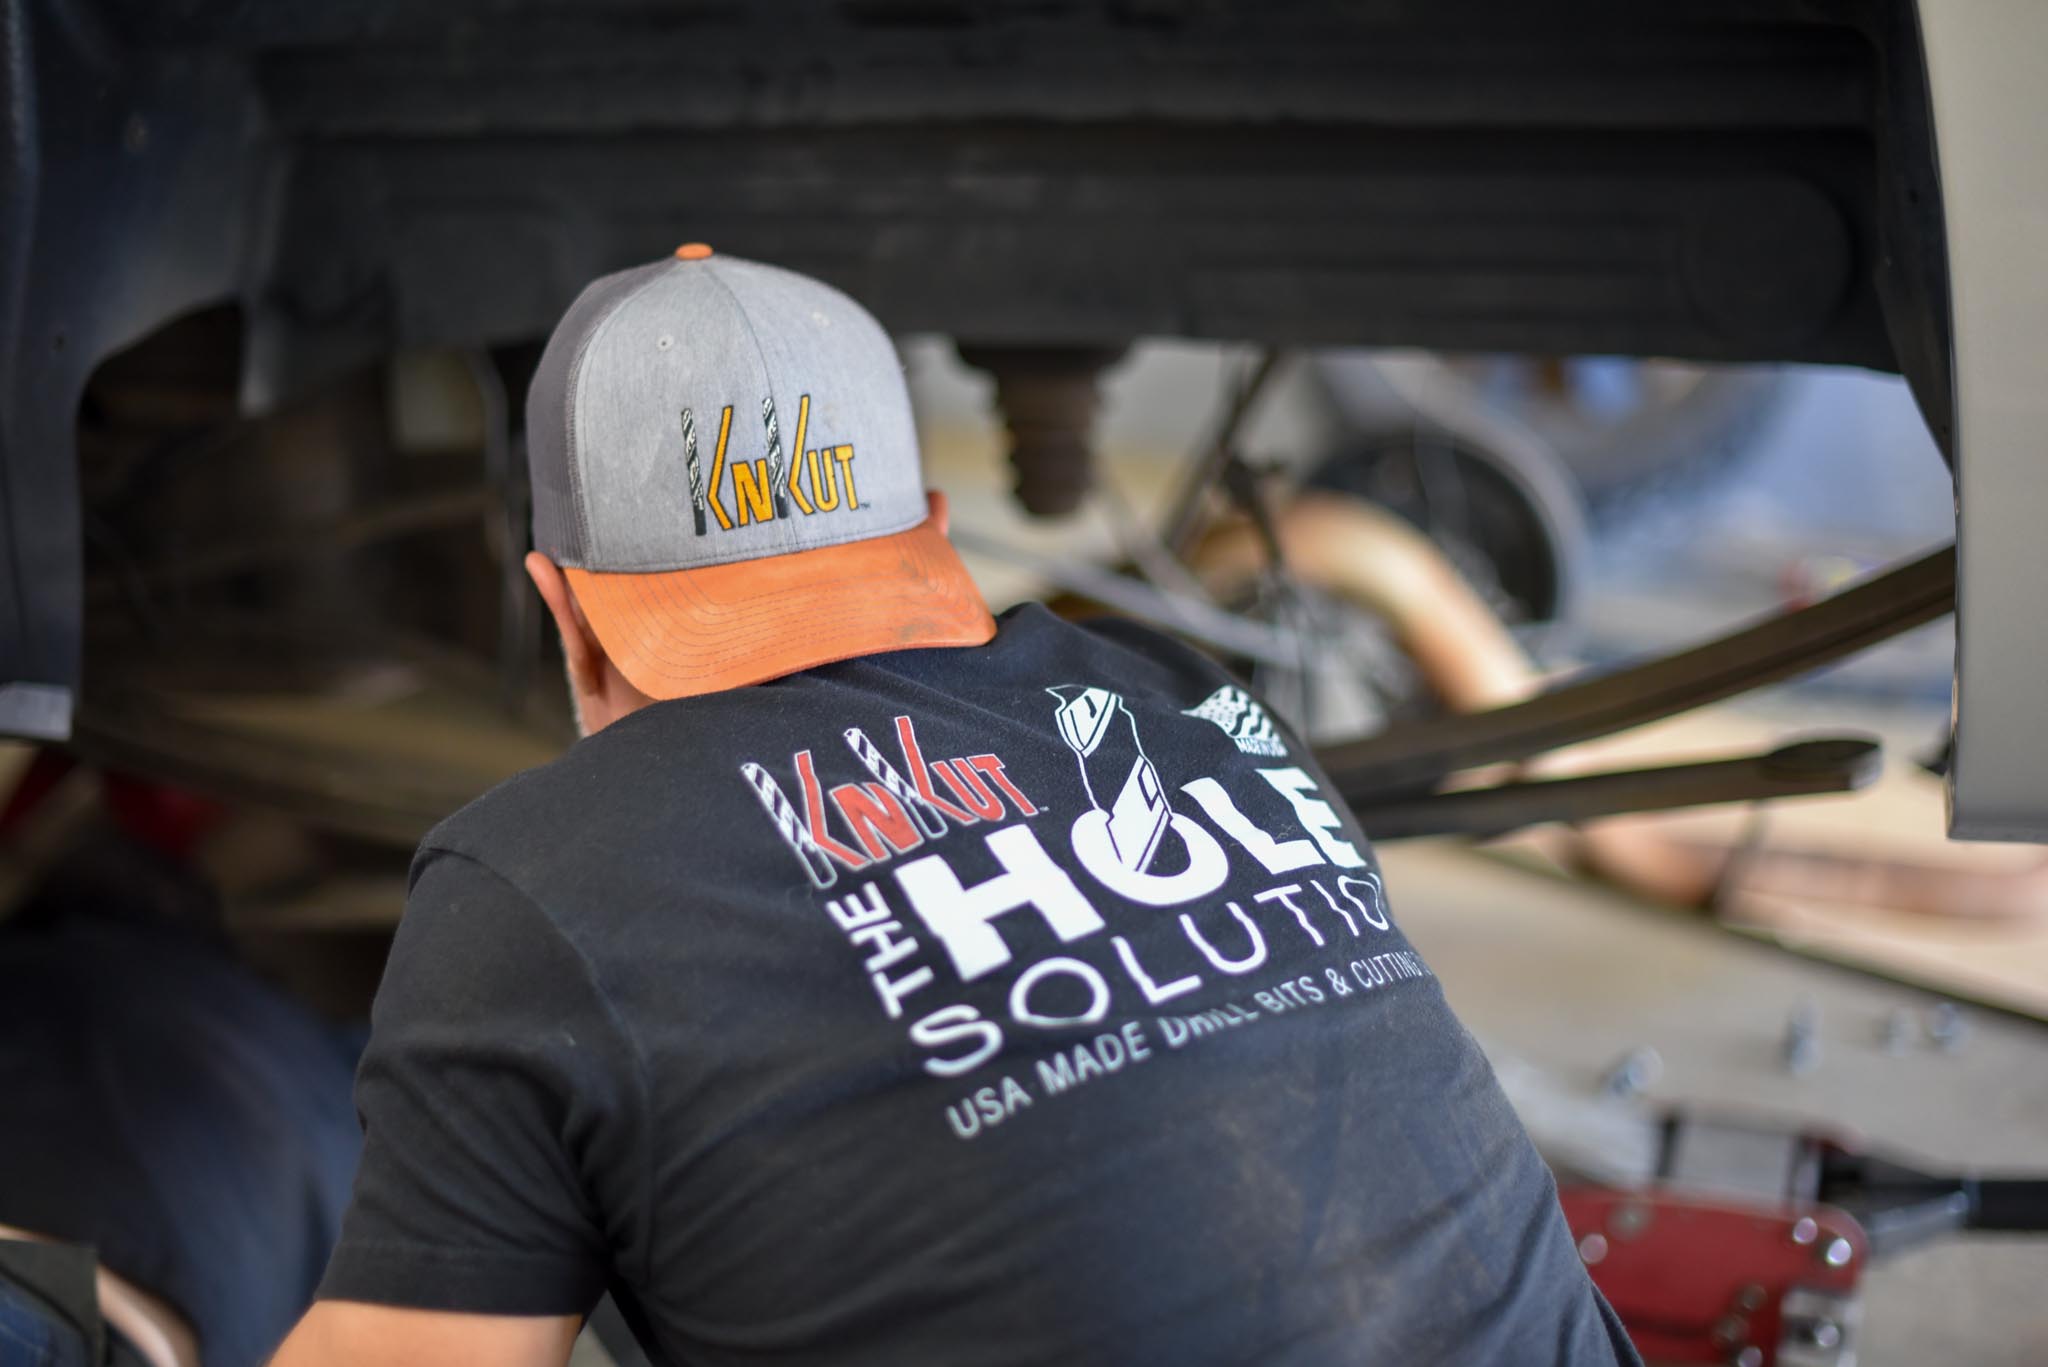
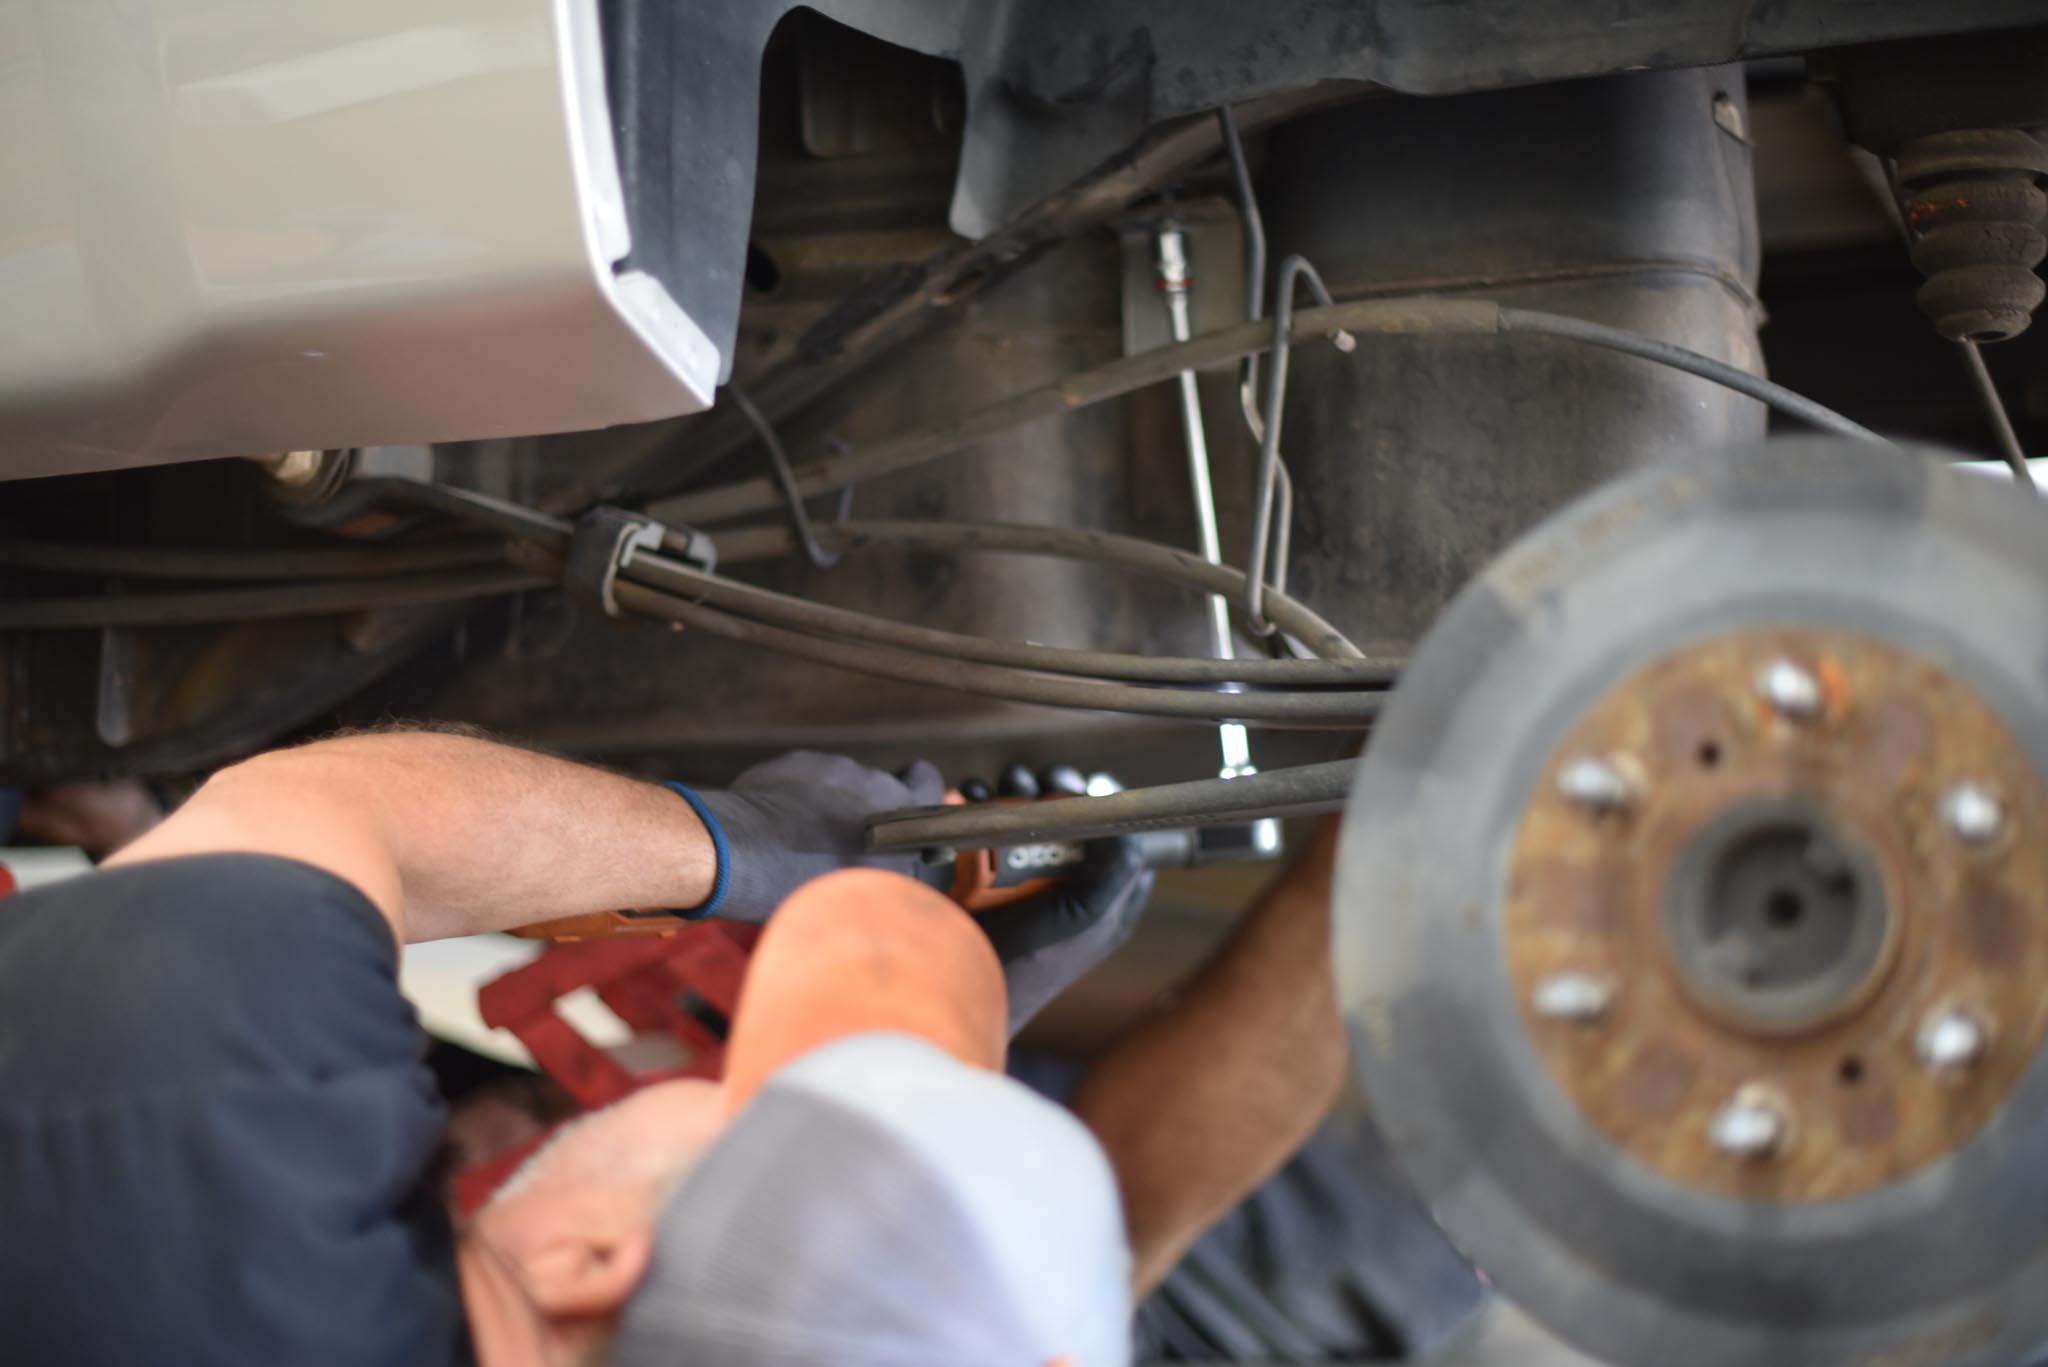
Here’s a neat little bonus-round…
We got the pleasure of dropping the gas tank. It doesn’t have to come all the way out, we just had to drop it down a bit to get access to the bolt on the front of the leaf spring (driver’s side). Kinda stupid if you ask me. The whole time I‘m thinking Chevys were supposed to be easy. Jeepin Bubba reassures me they are. We used a trans jack to support the gas tank; use whatcha got I guess.
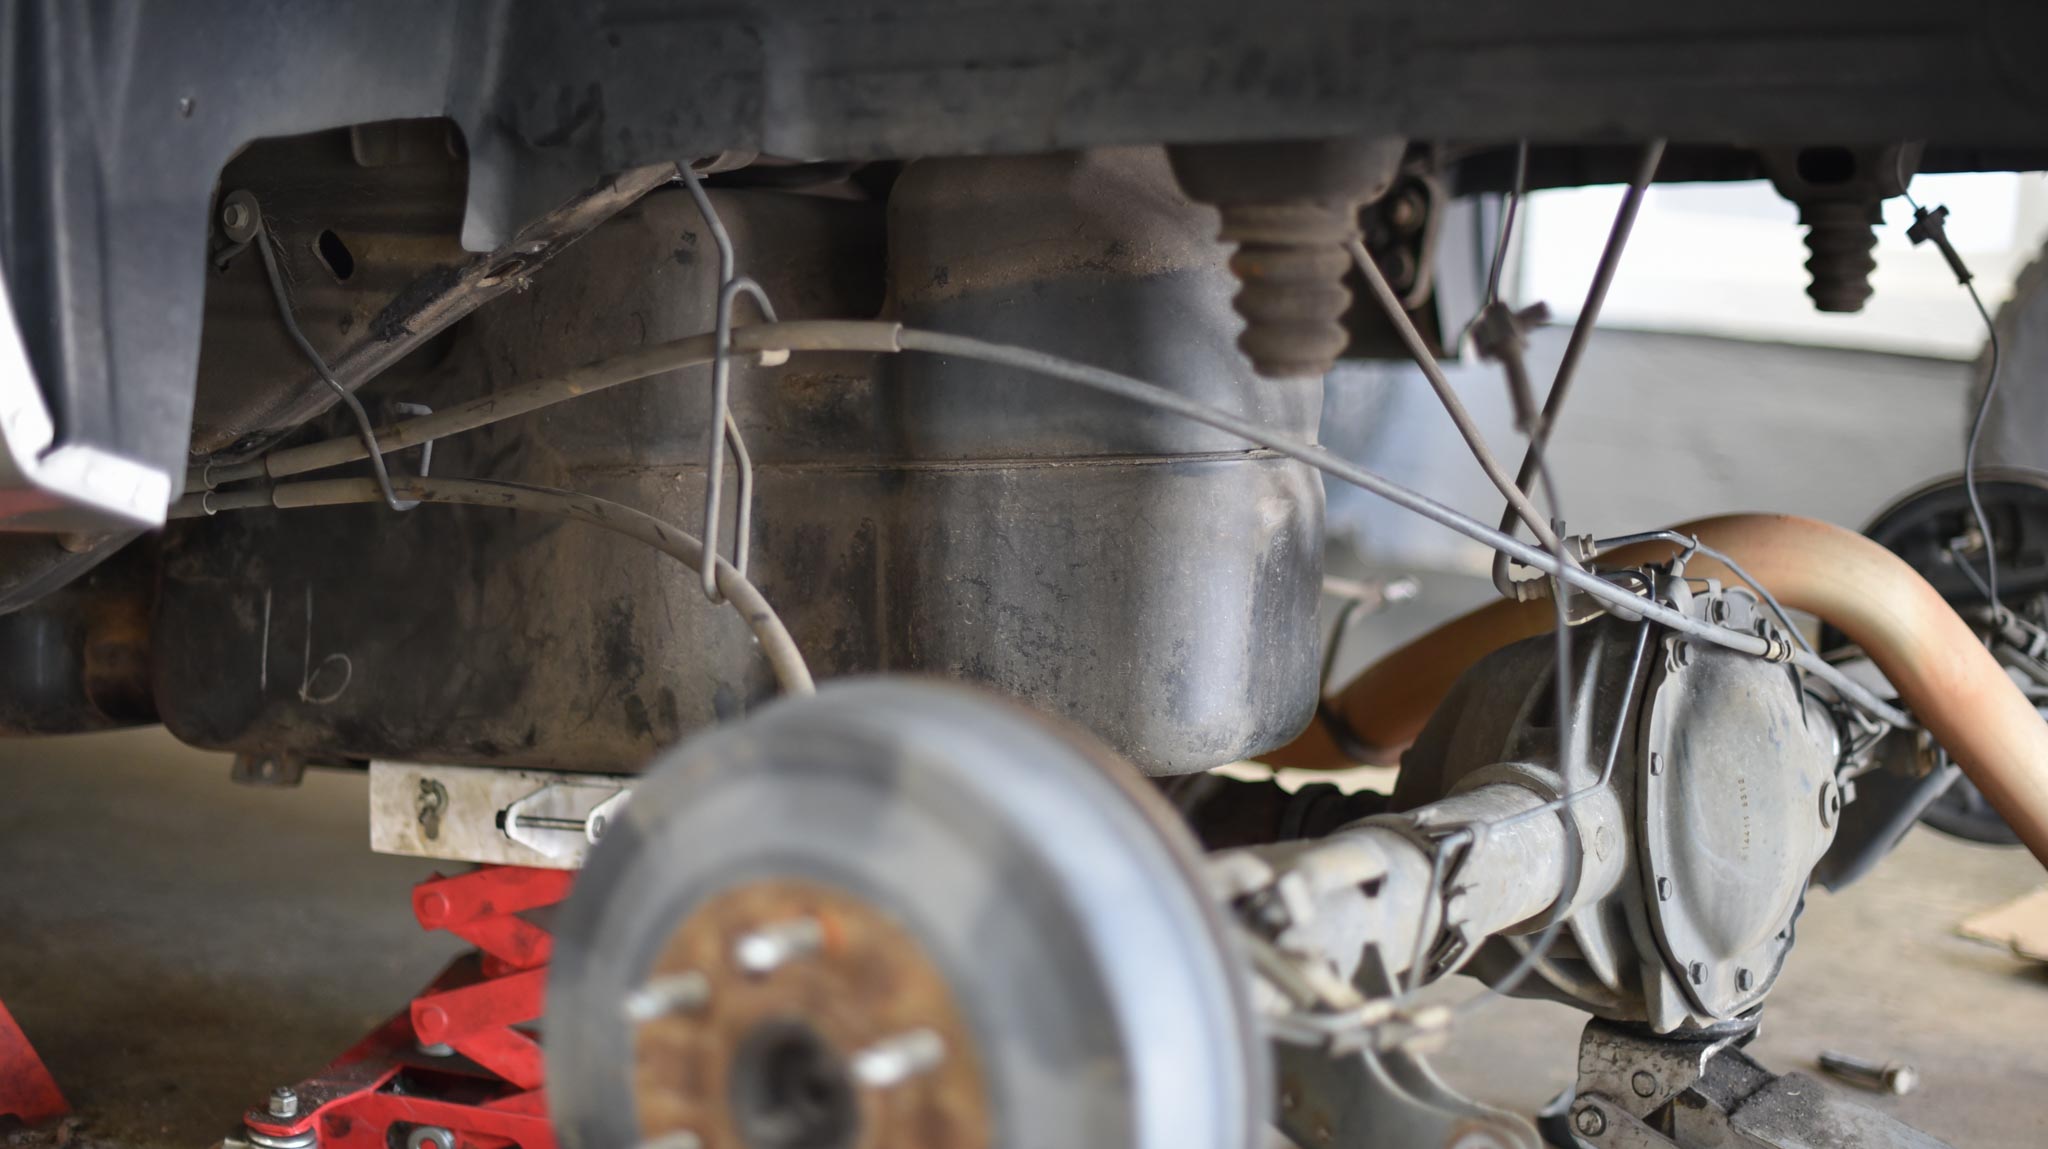
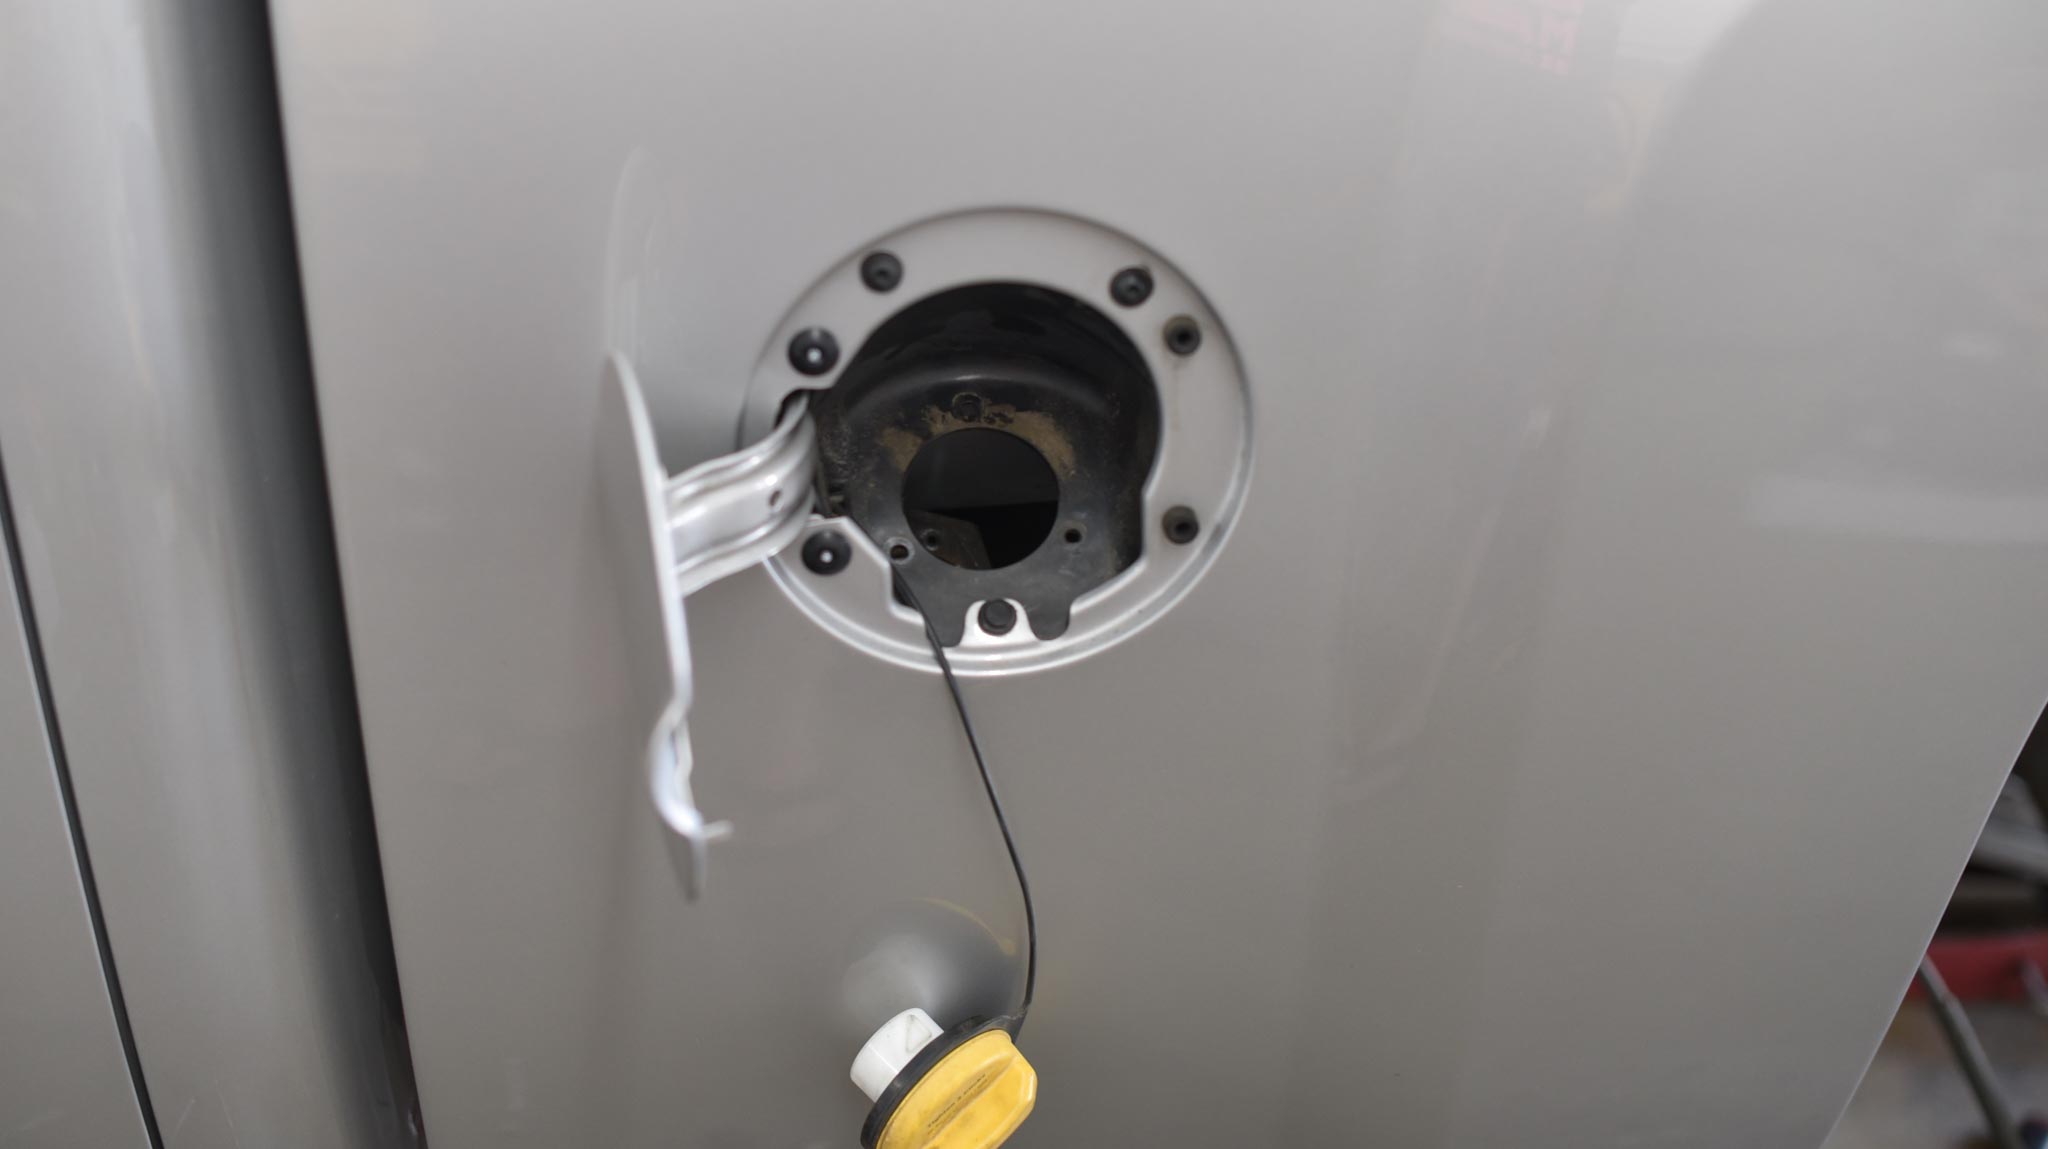
The above photo shows how much the gas tank needs to drop down…
In order to remove the leaf spring (Note: the spring’s already been removed in the photo). You also have to unbolt the filler neck.
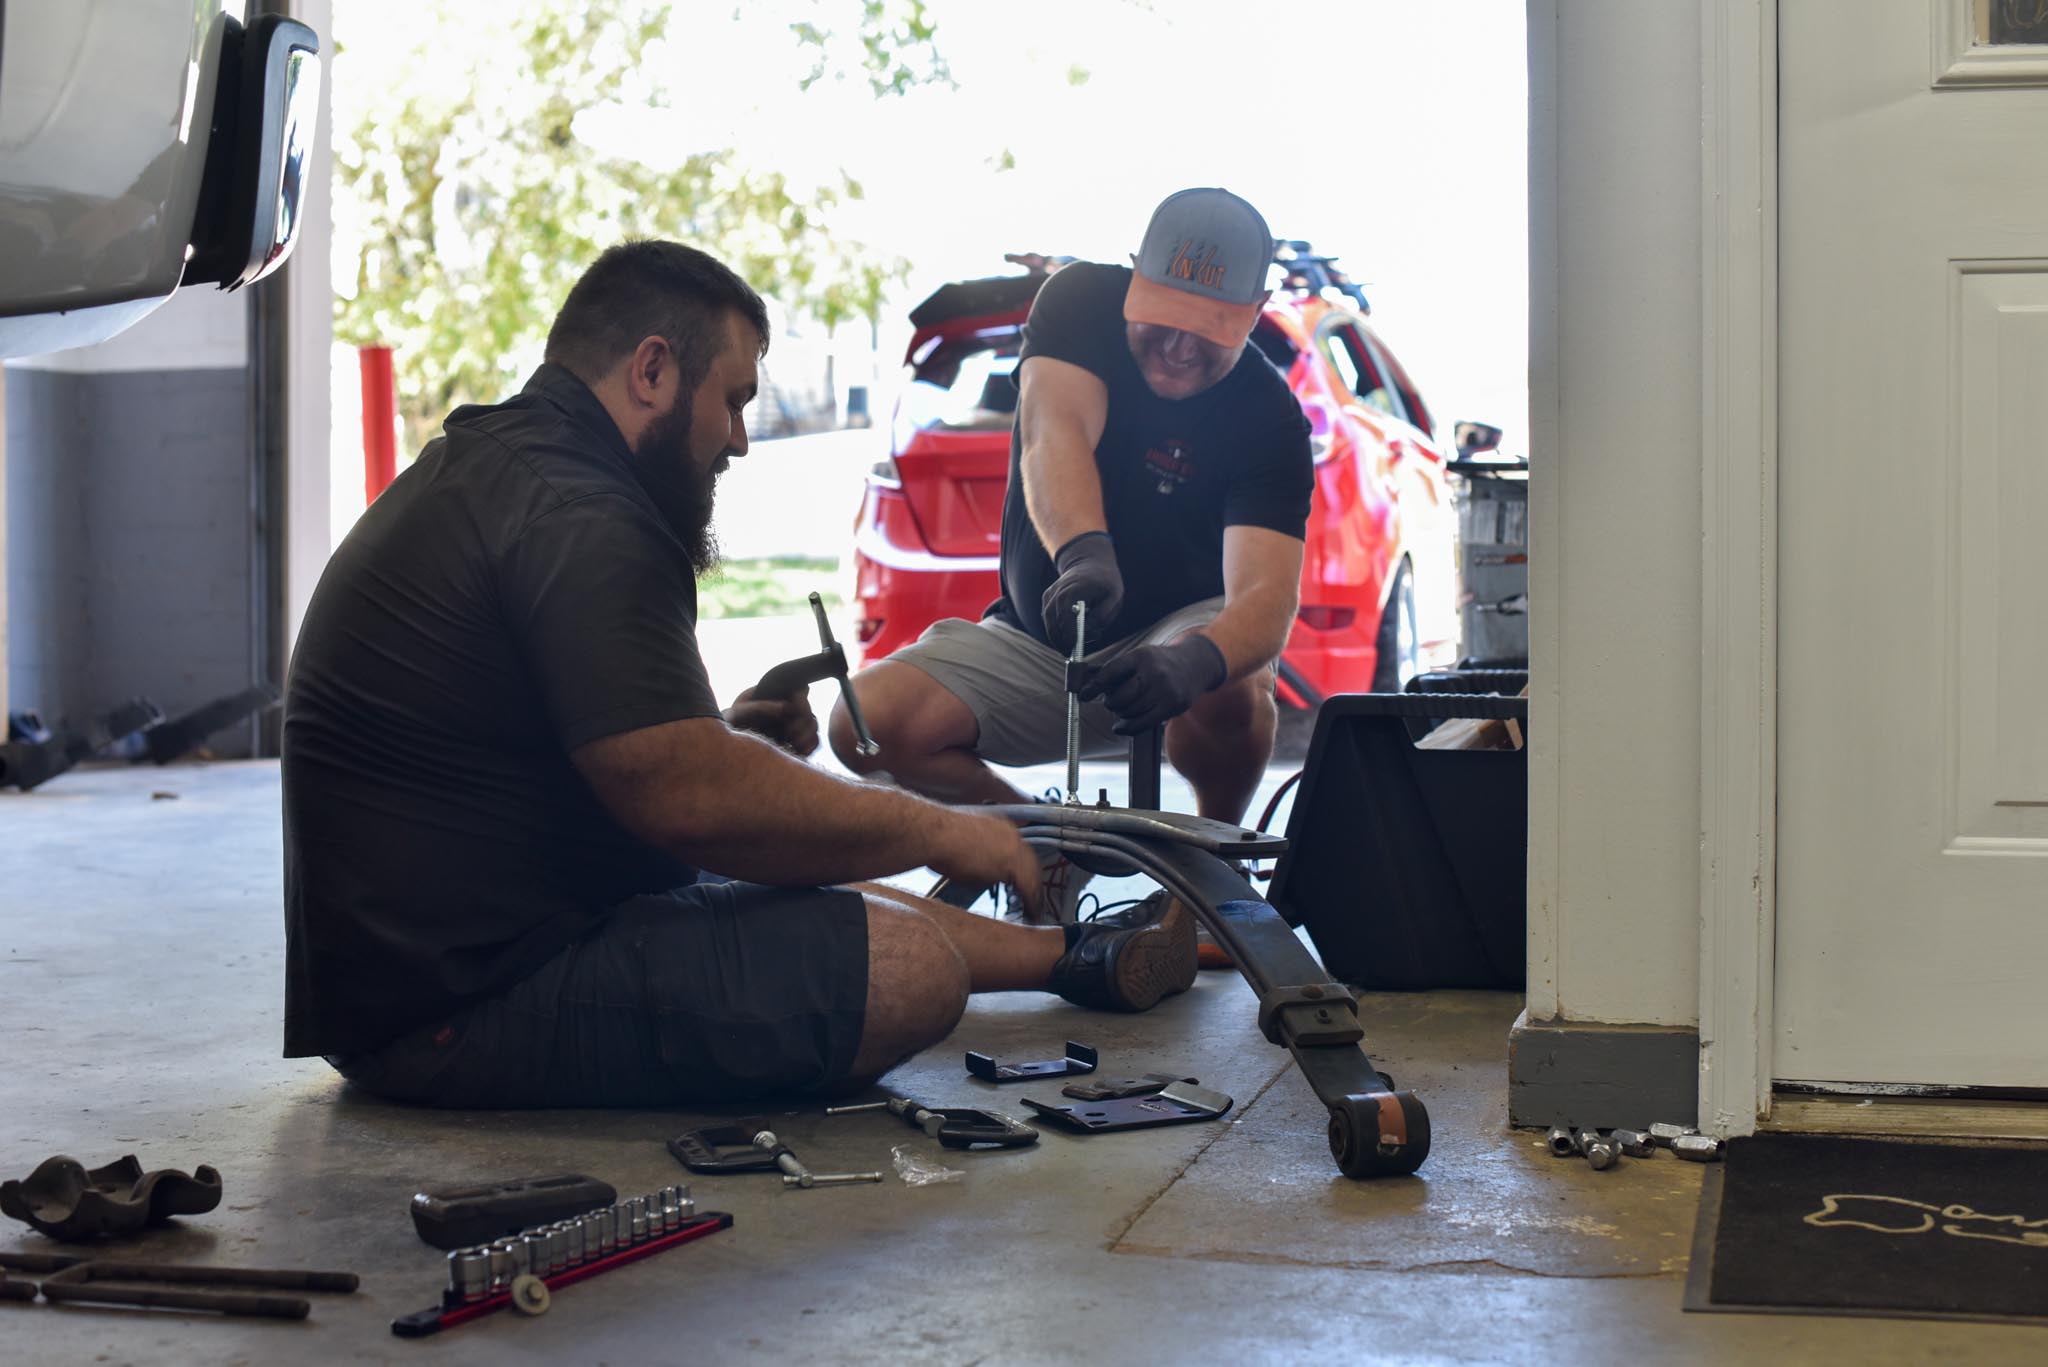
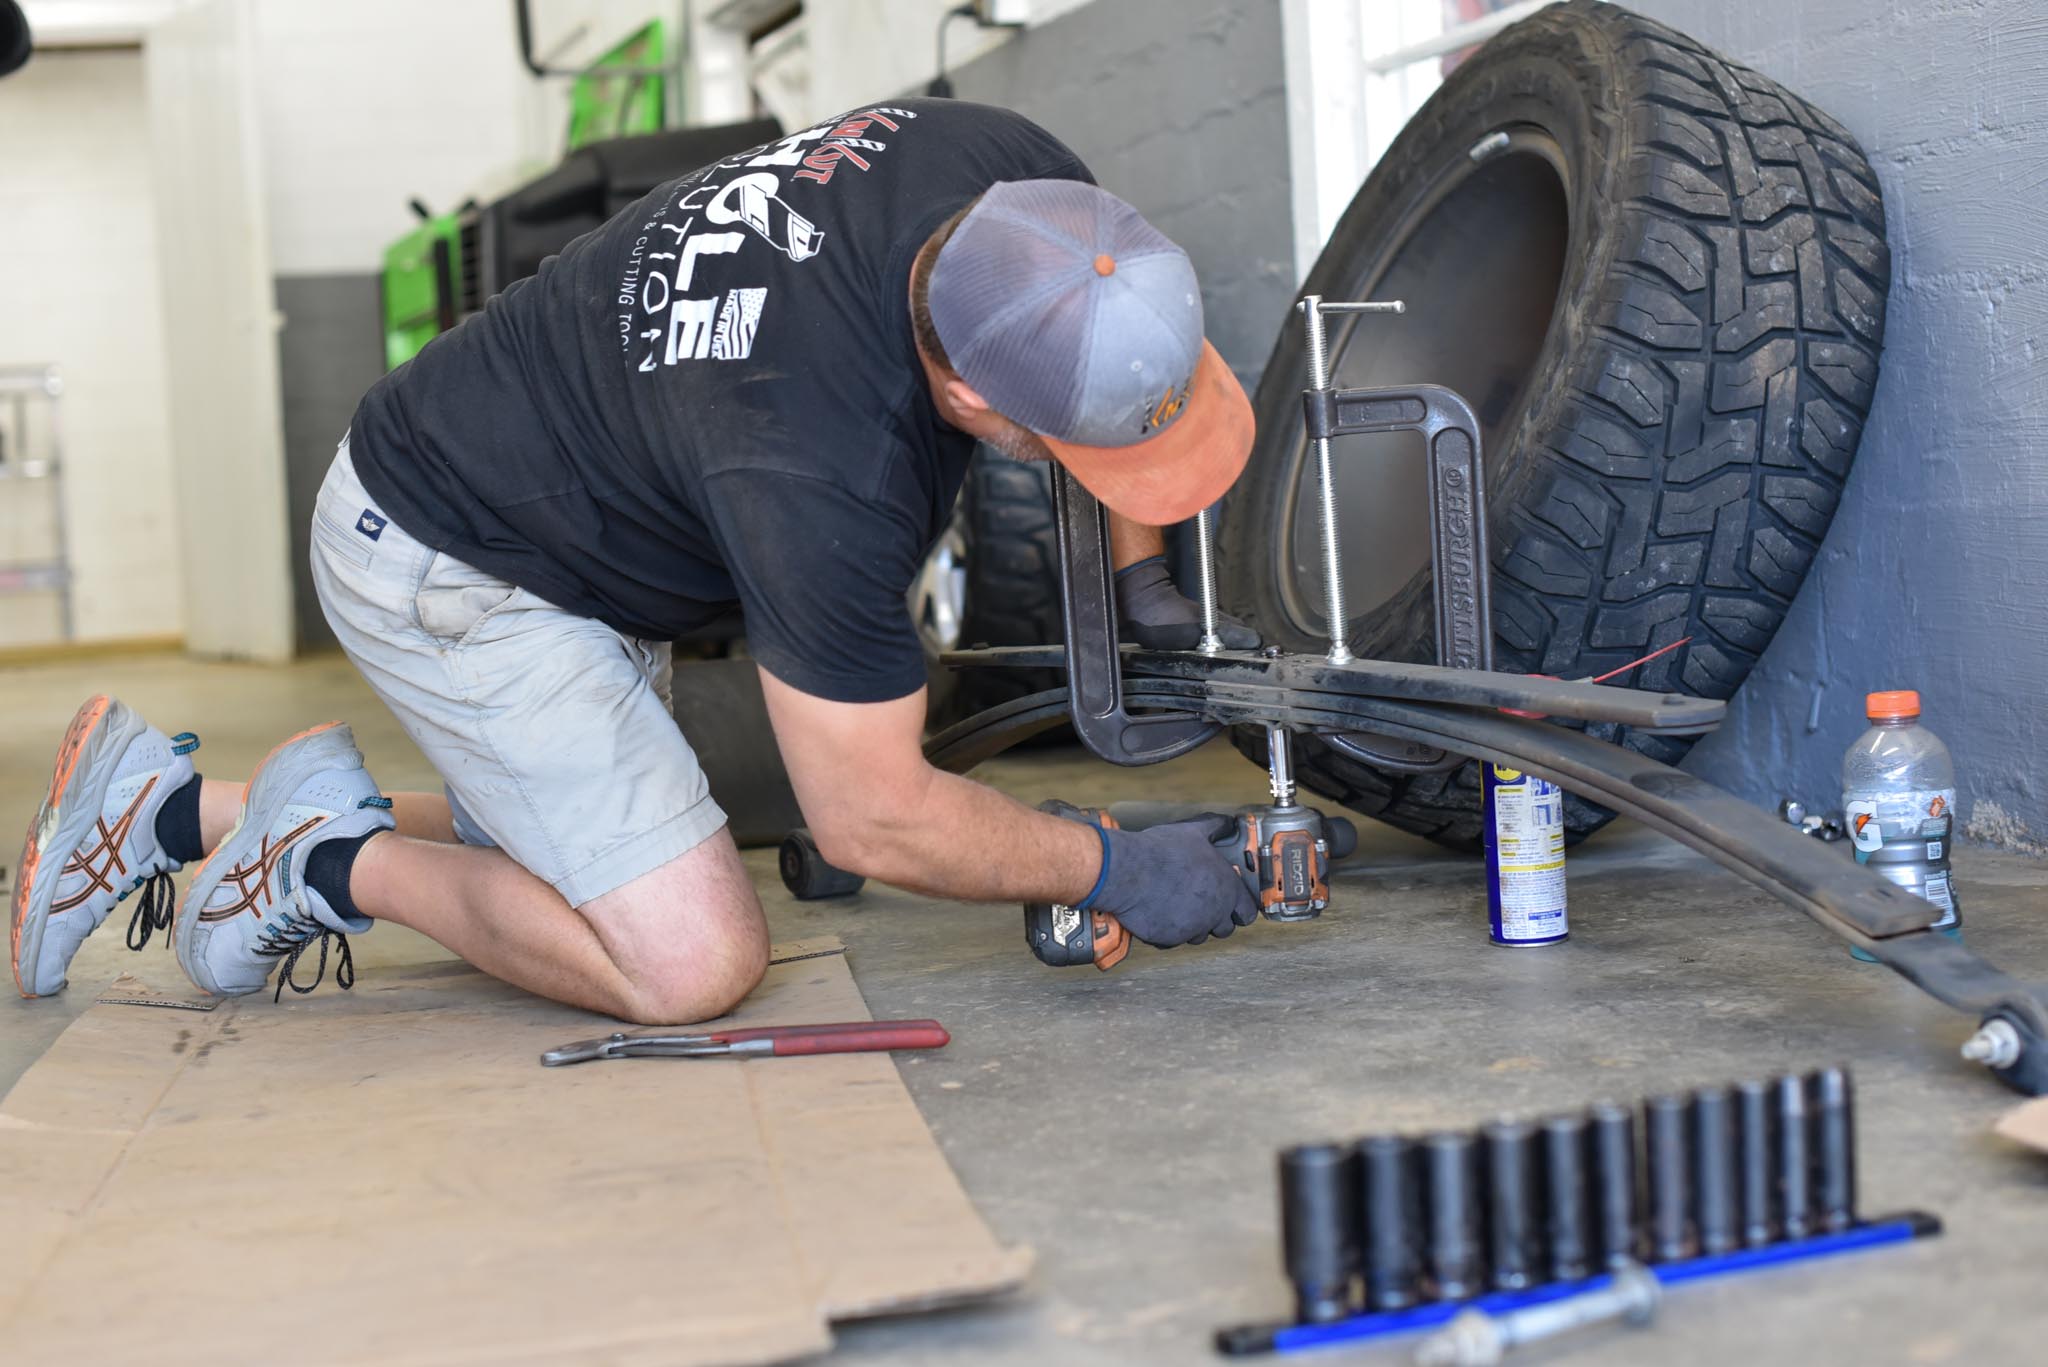
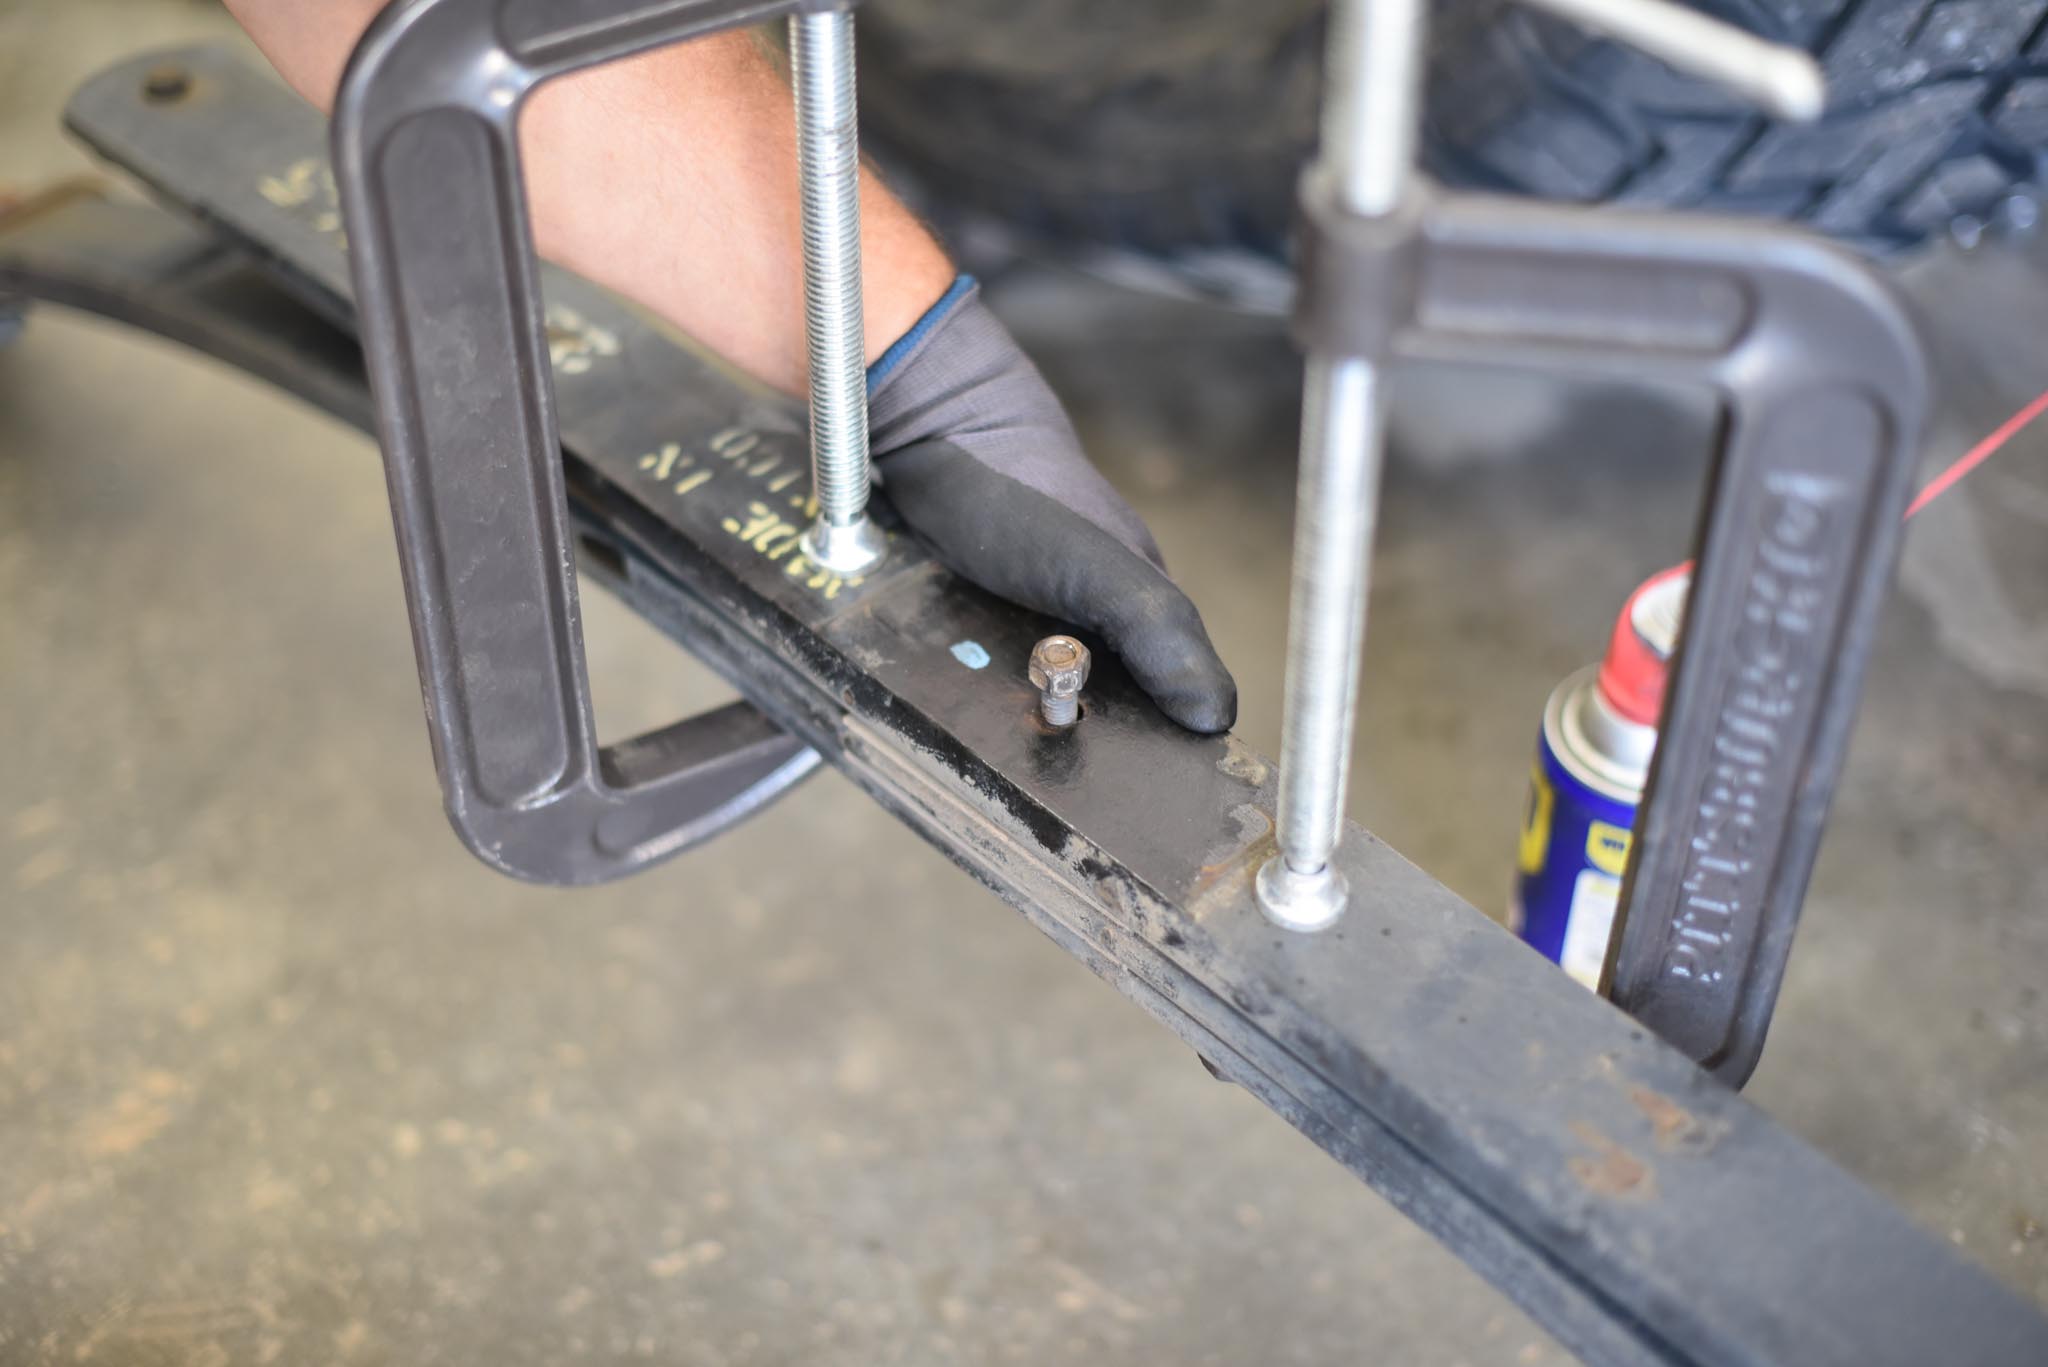
Now you have to unbolt the leaf spring pack…
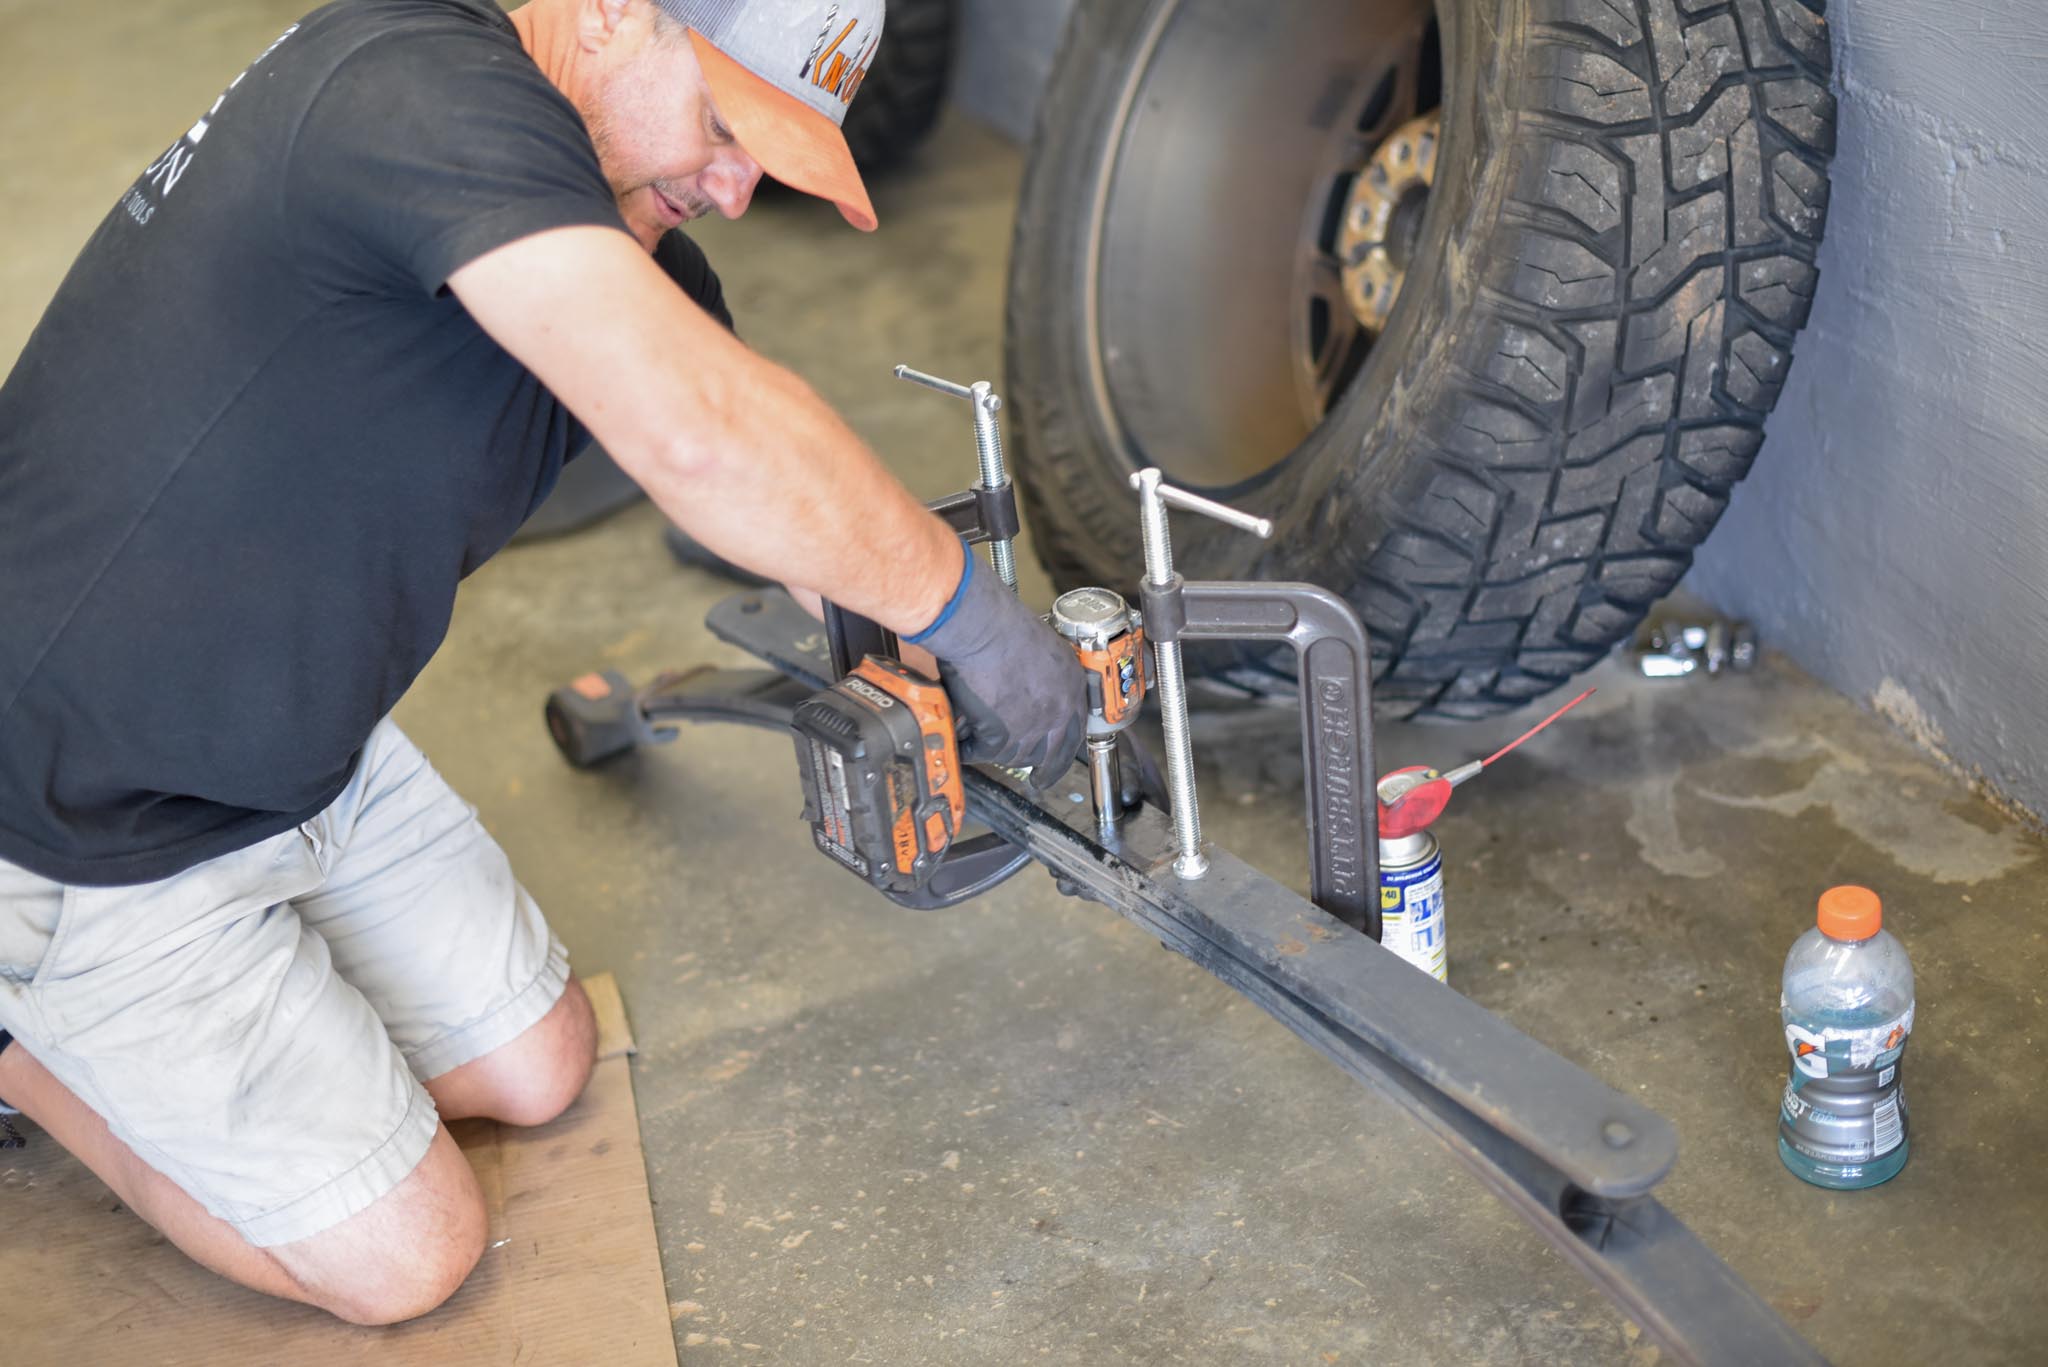
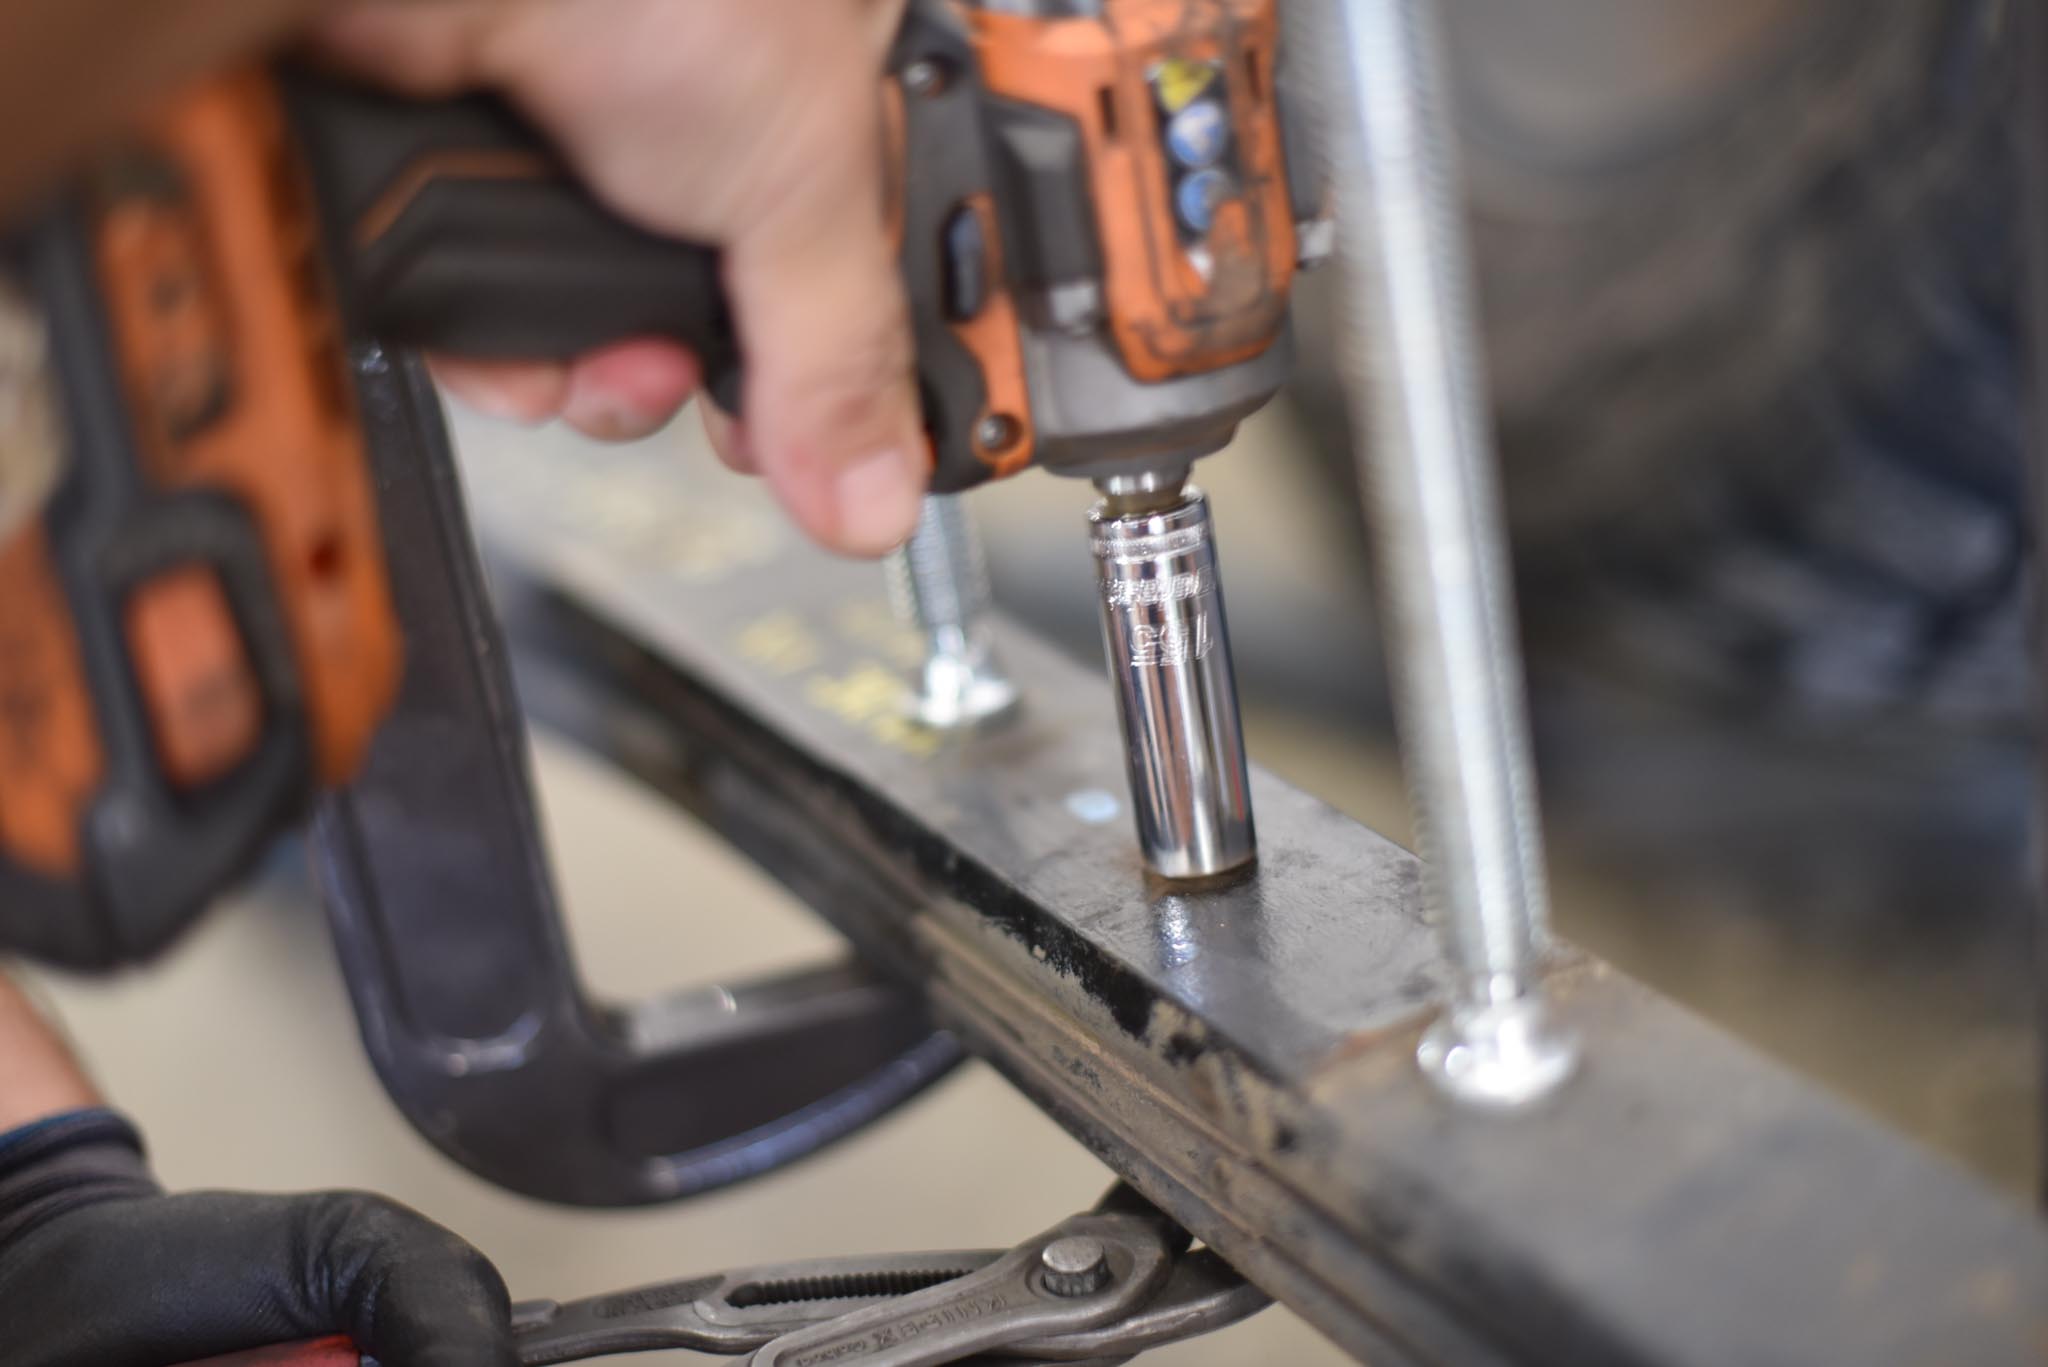
Because you need to flip/reverse the bolt so the dumb little nub will seat into place with the new Belltech axle-mount bracket. Basically, there’s a nut on one side and a nub on the other – flip ’em. And make sure you use spring clamps.
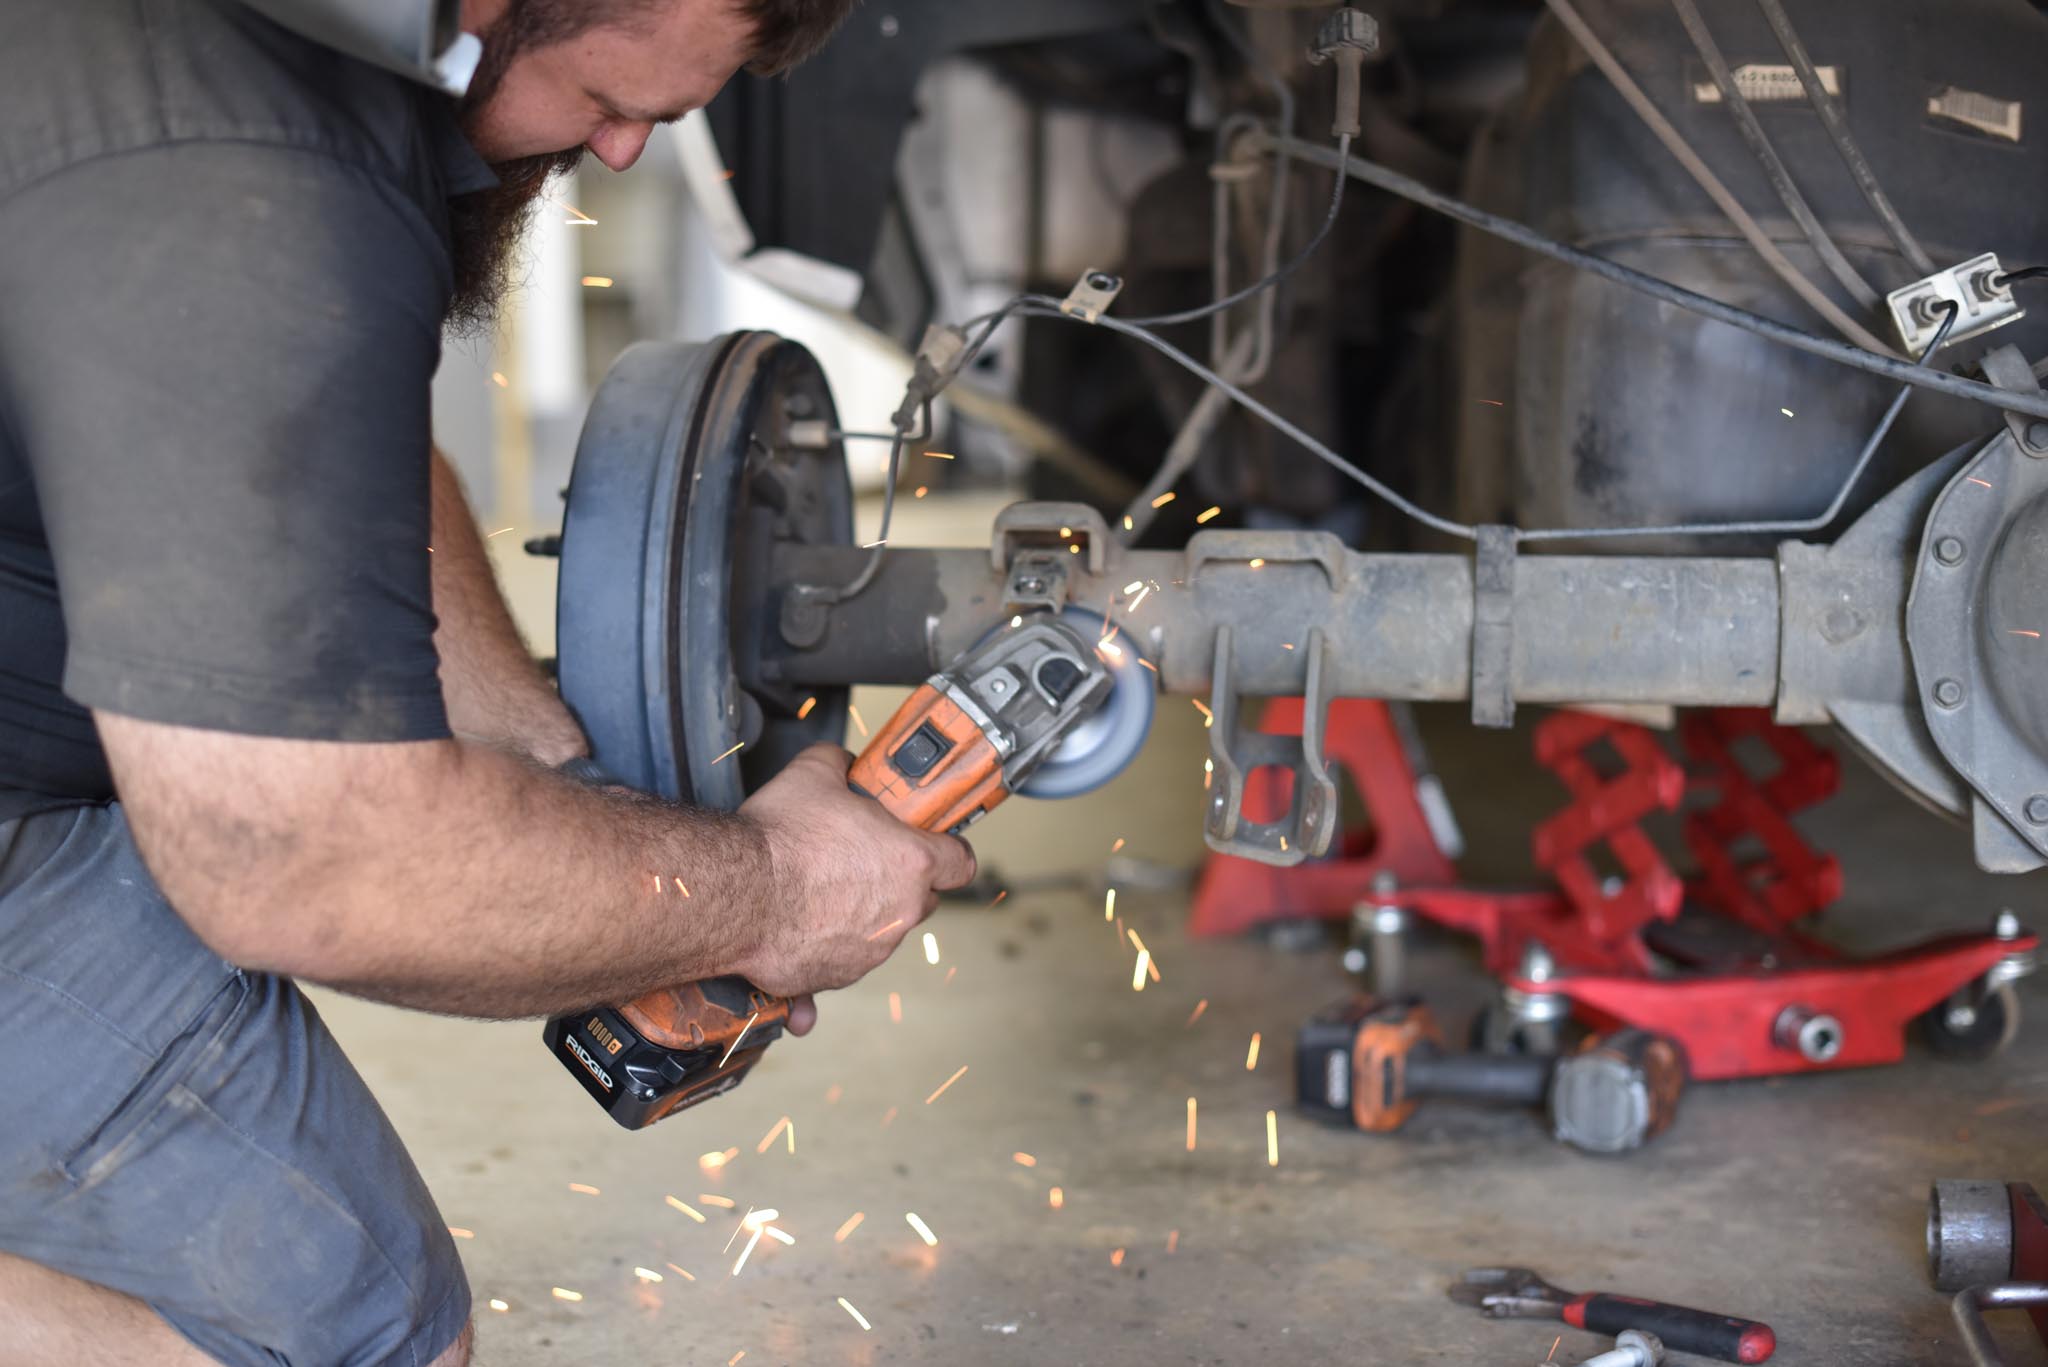
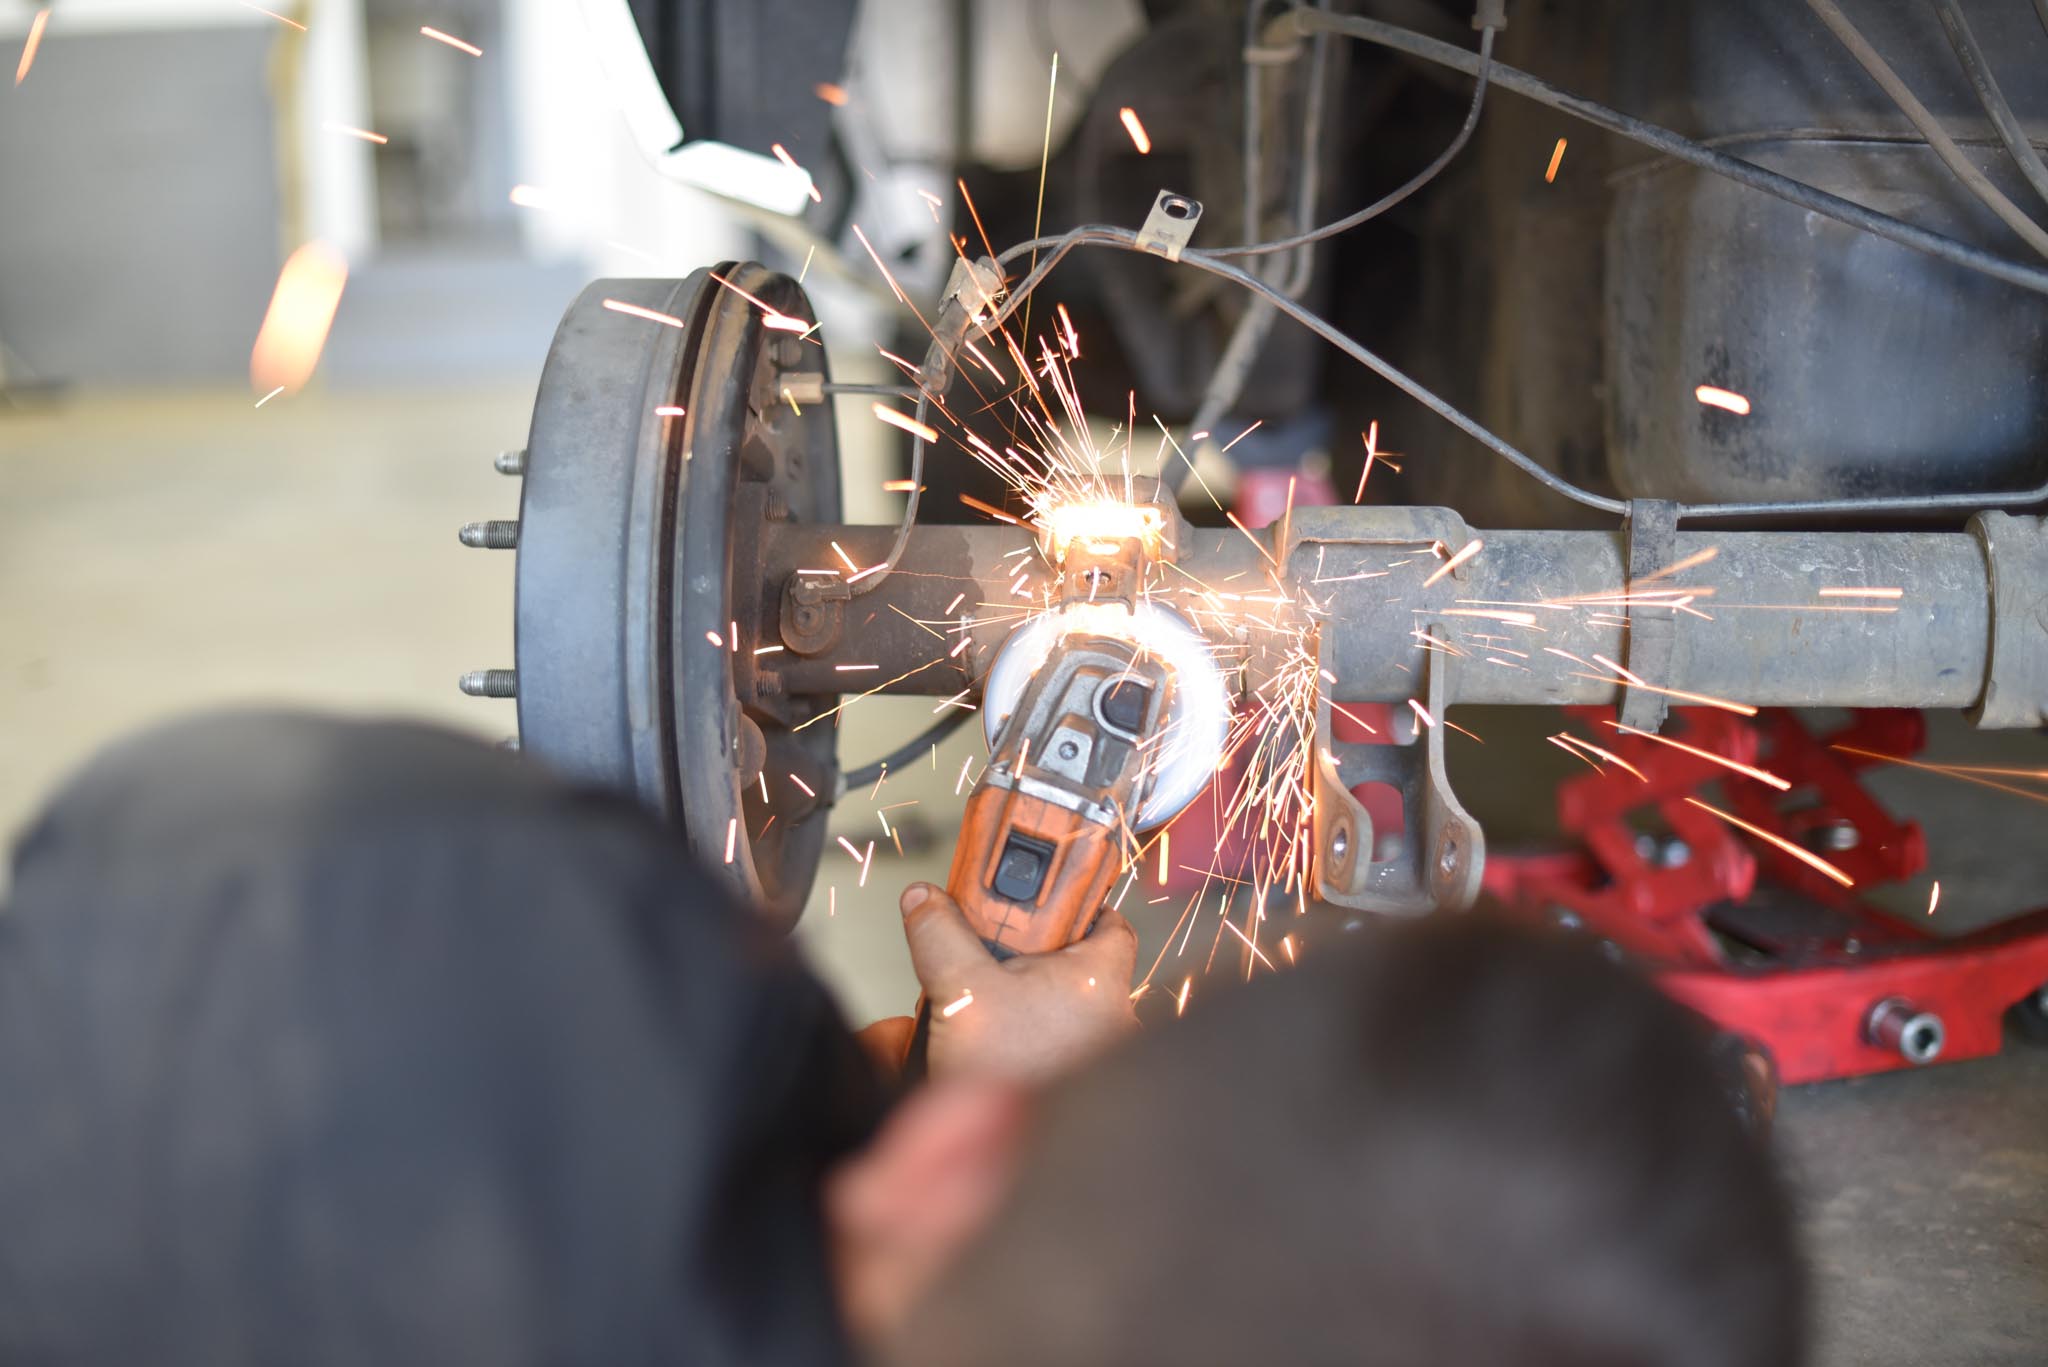
These wheel sensor wire-guide brackets need to come off…
This would also be a good time to mention that you’re gonna need some cutting/grinding tools, and probably an air hammer. Proceed to the next section to find out why…
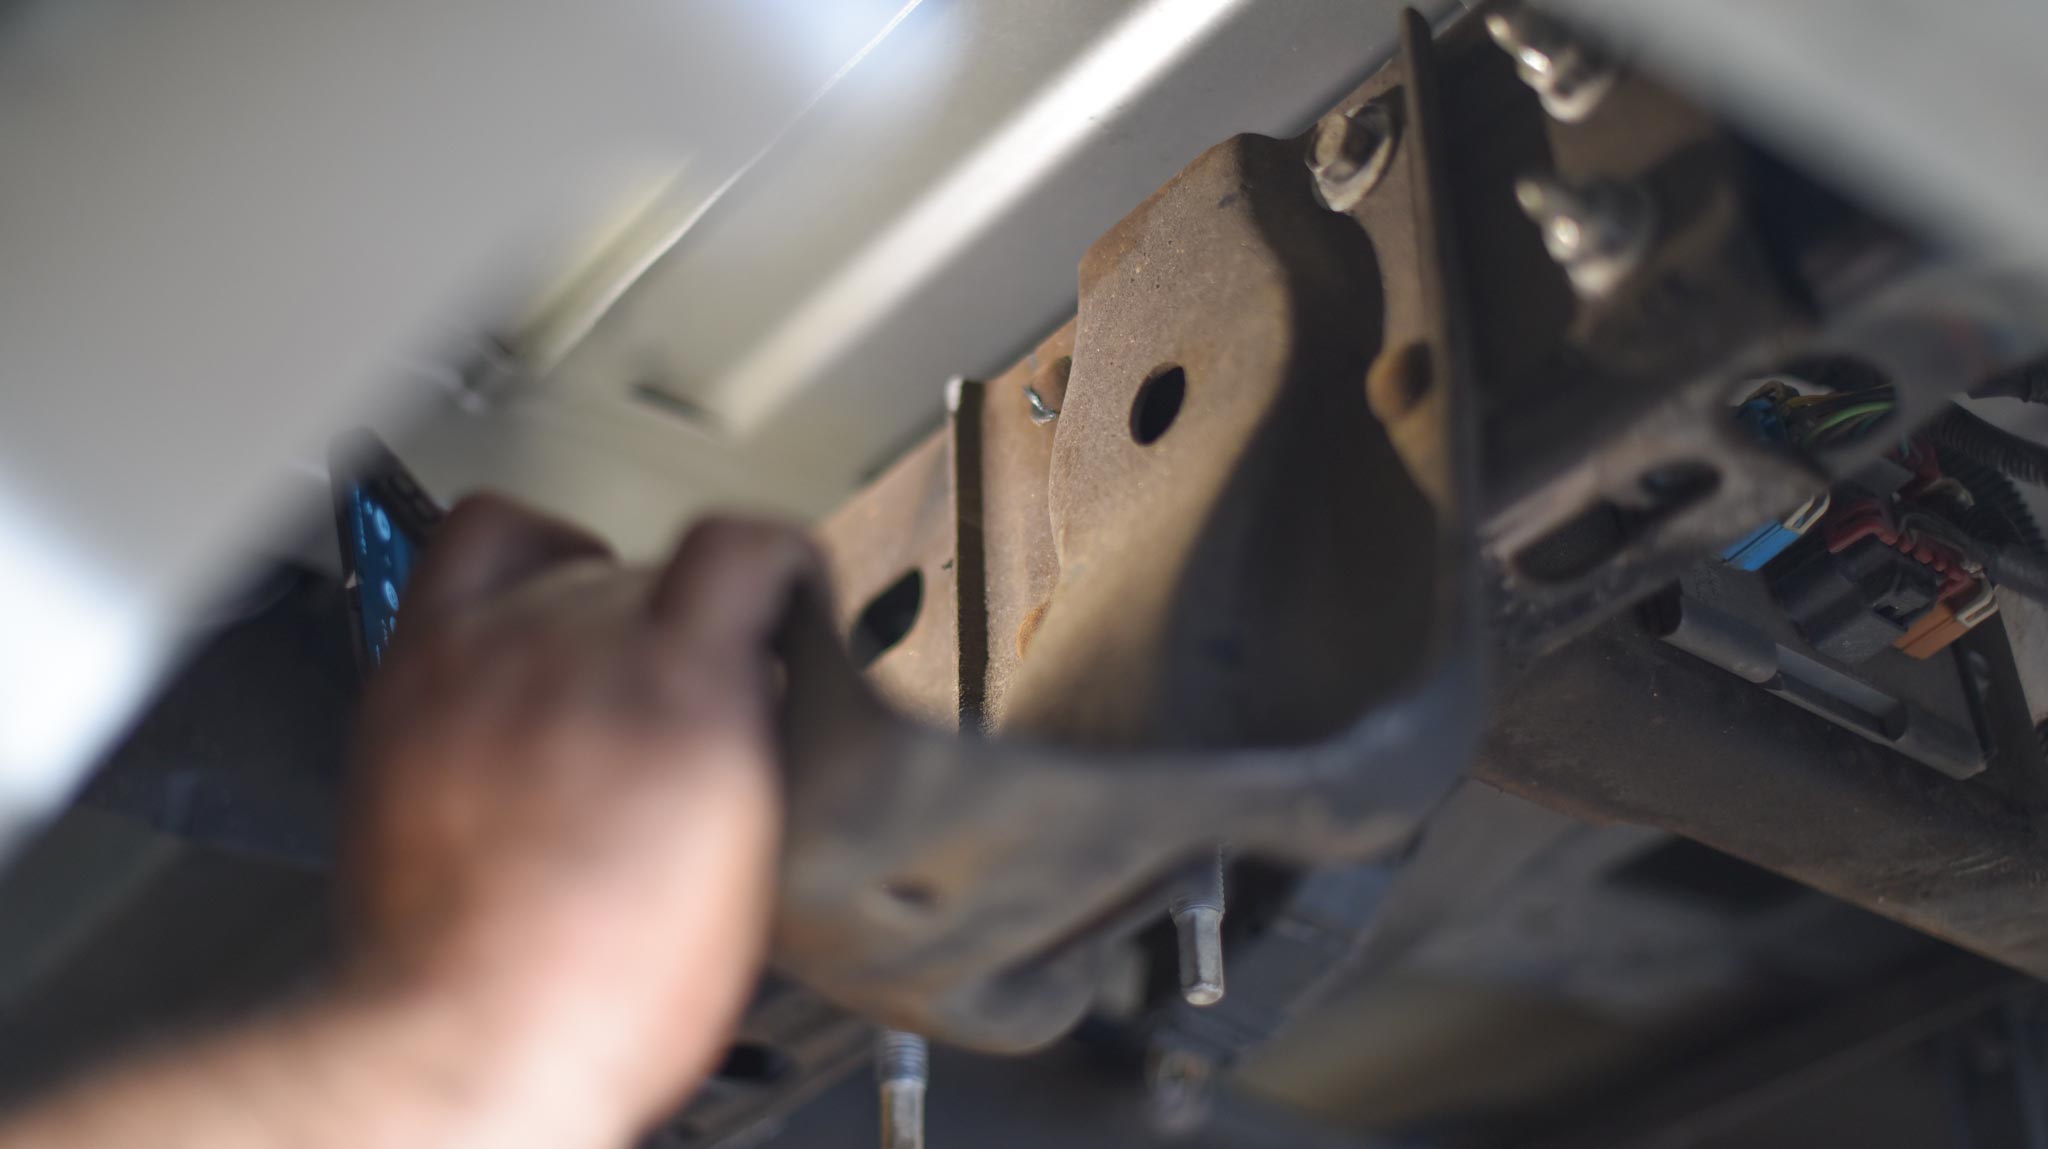
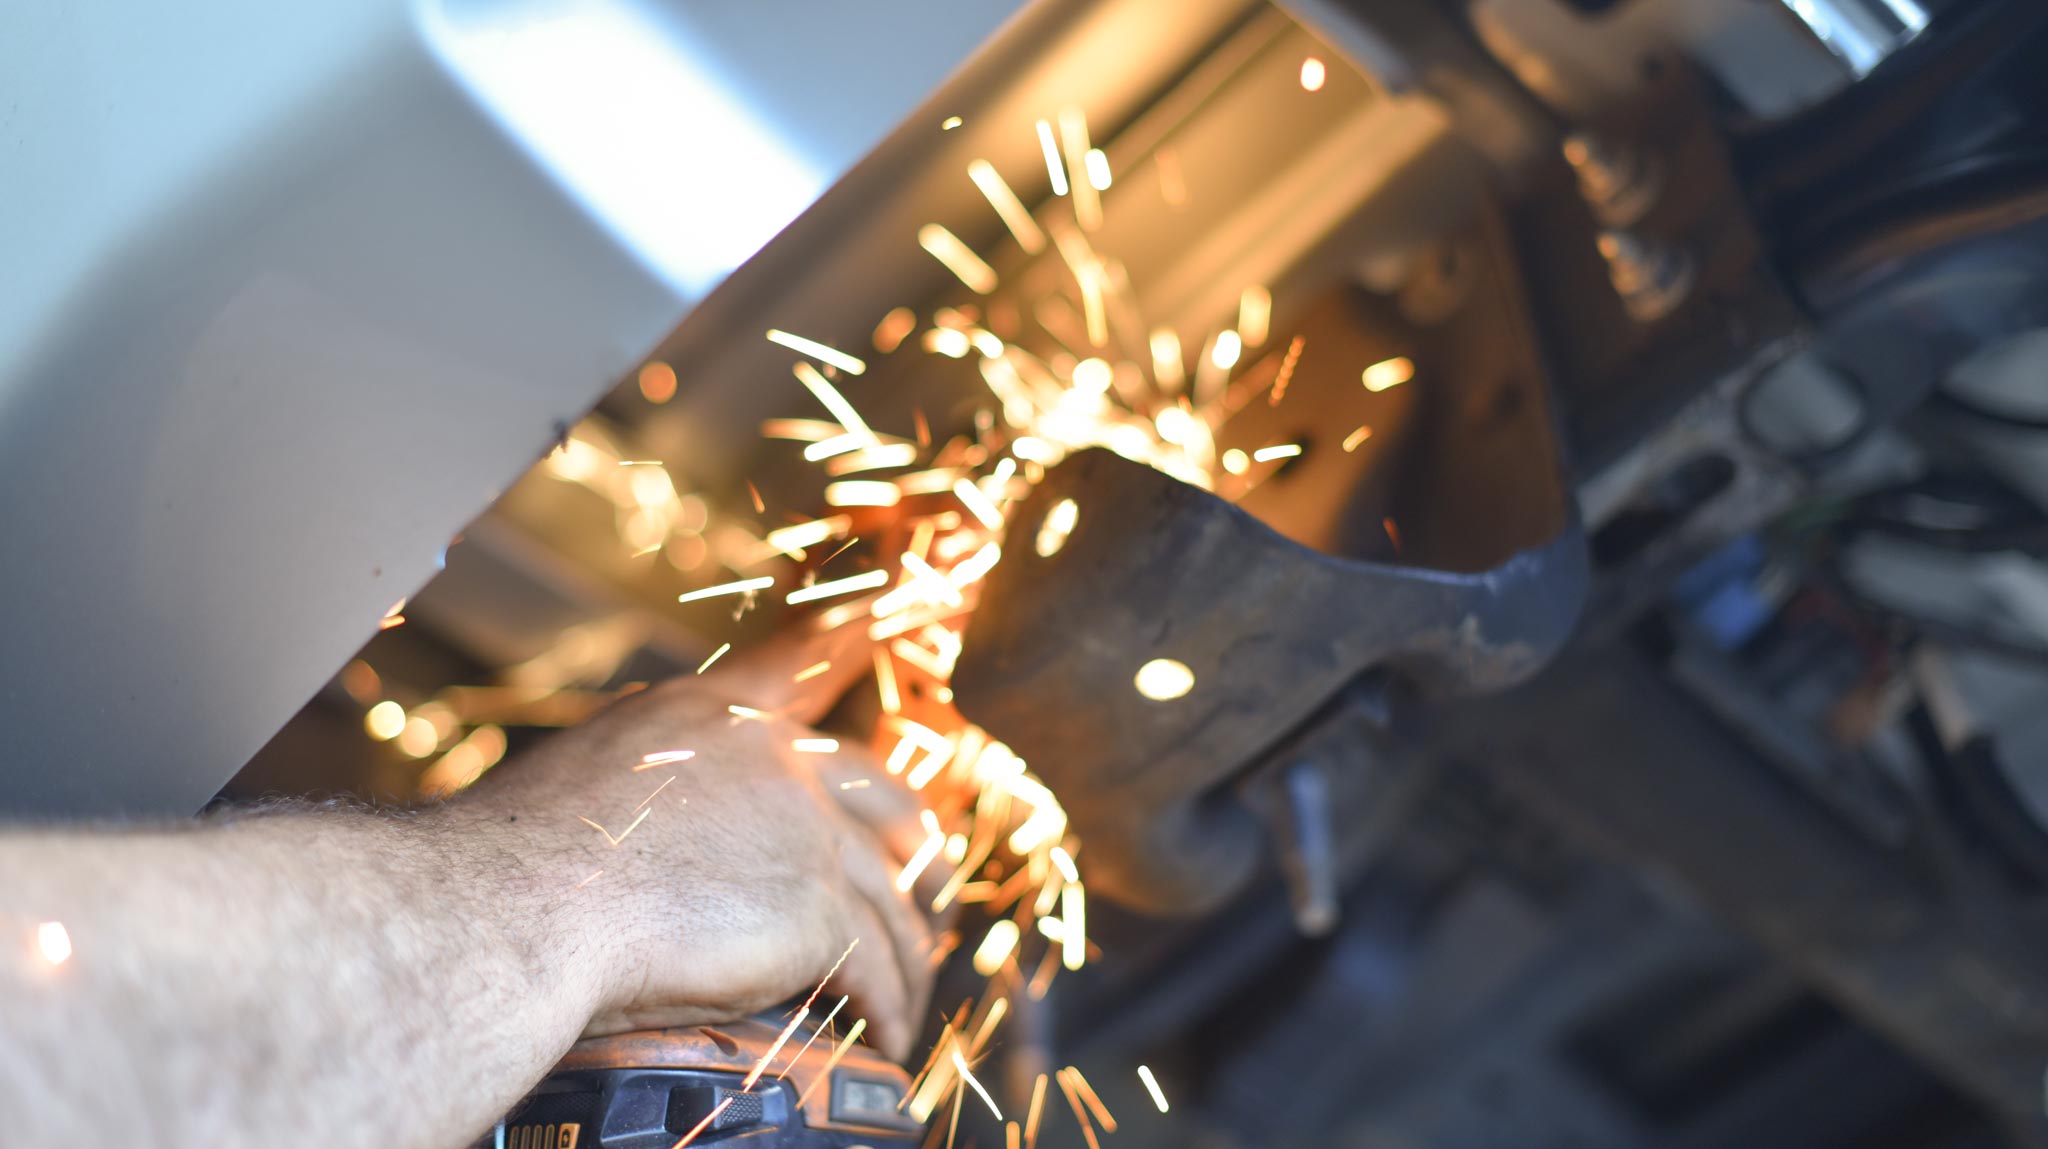
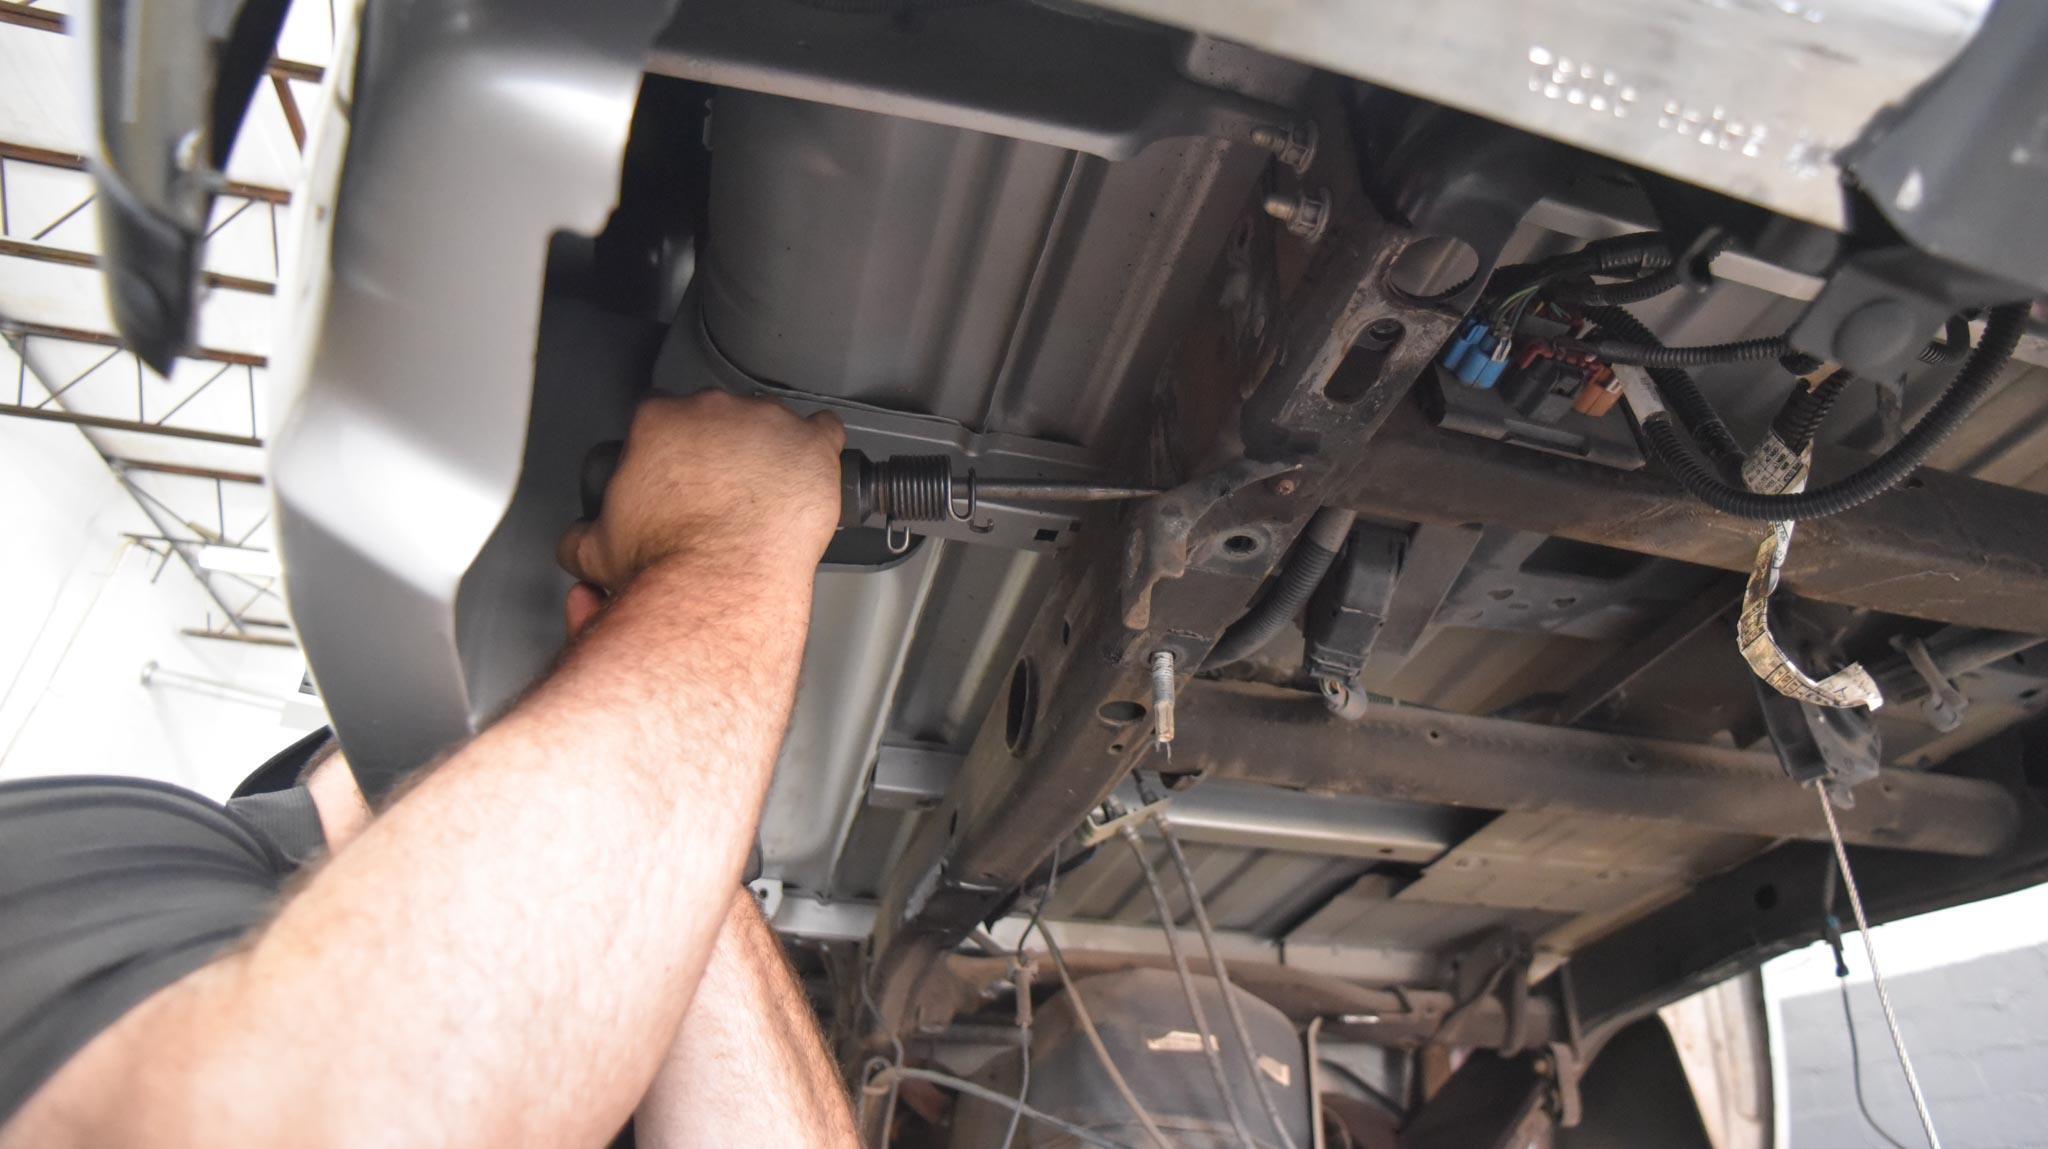
The factory Silverado rear leaf spring mounting brackets need to be removed…
They’re attached with big-ass rivets that need to be cut and/or ground-off at the head… and then pushed/forced/hammered out. The problem is, with the truck bed on, space is somewhat limited. There’s enough room to work… but not really enough room to swing hammer. On my old bricknose F-150, I opted to remove the bed when I lowered it (also with a Belltech kit plus DJM dream beams). Twas not the case on this Silverado however.
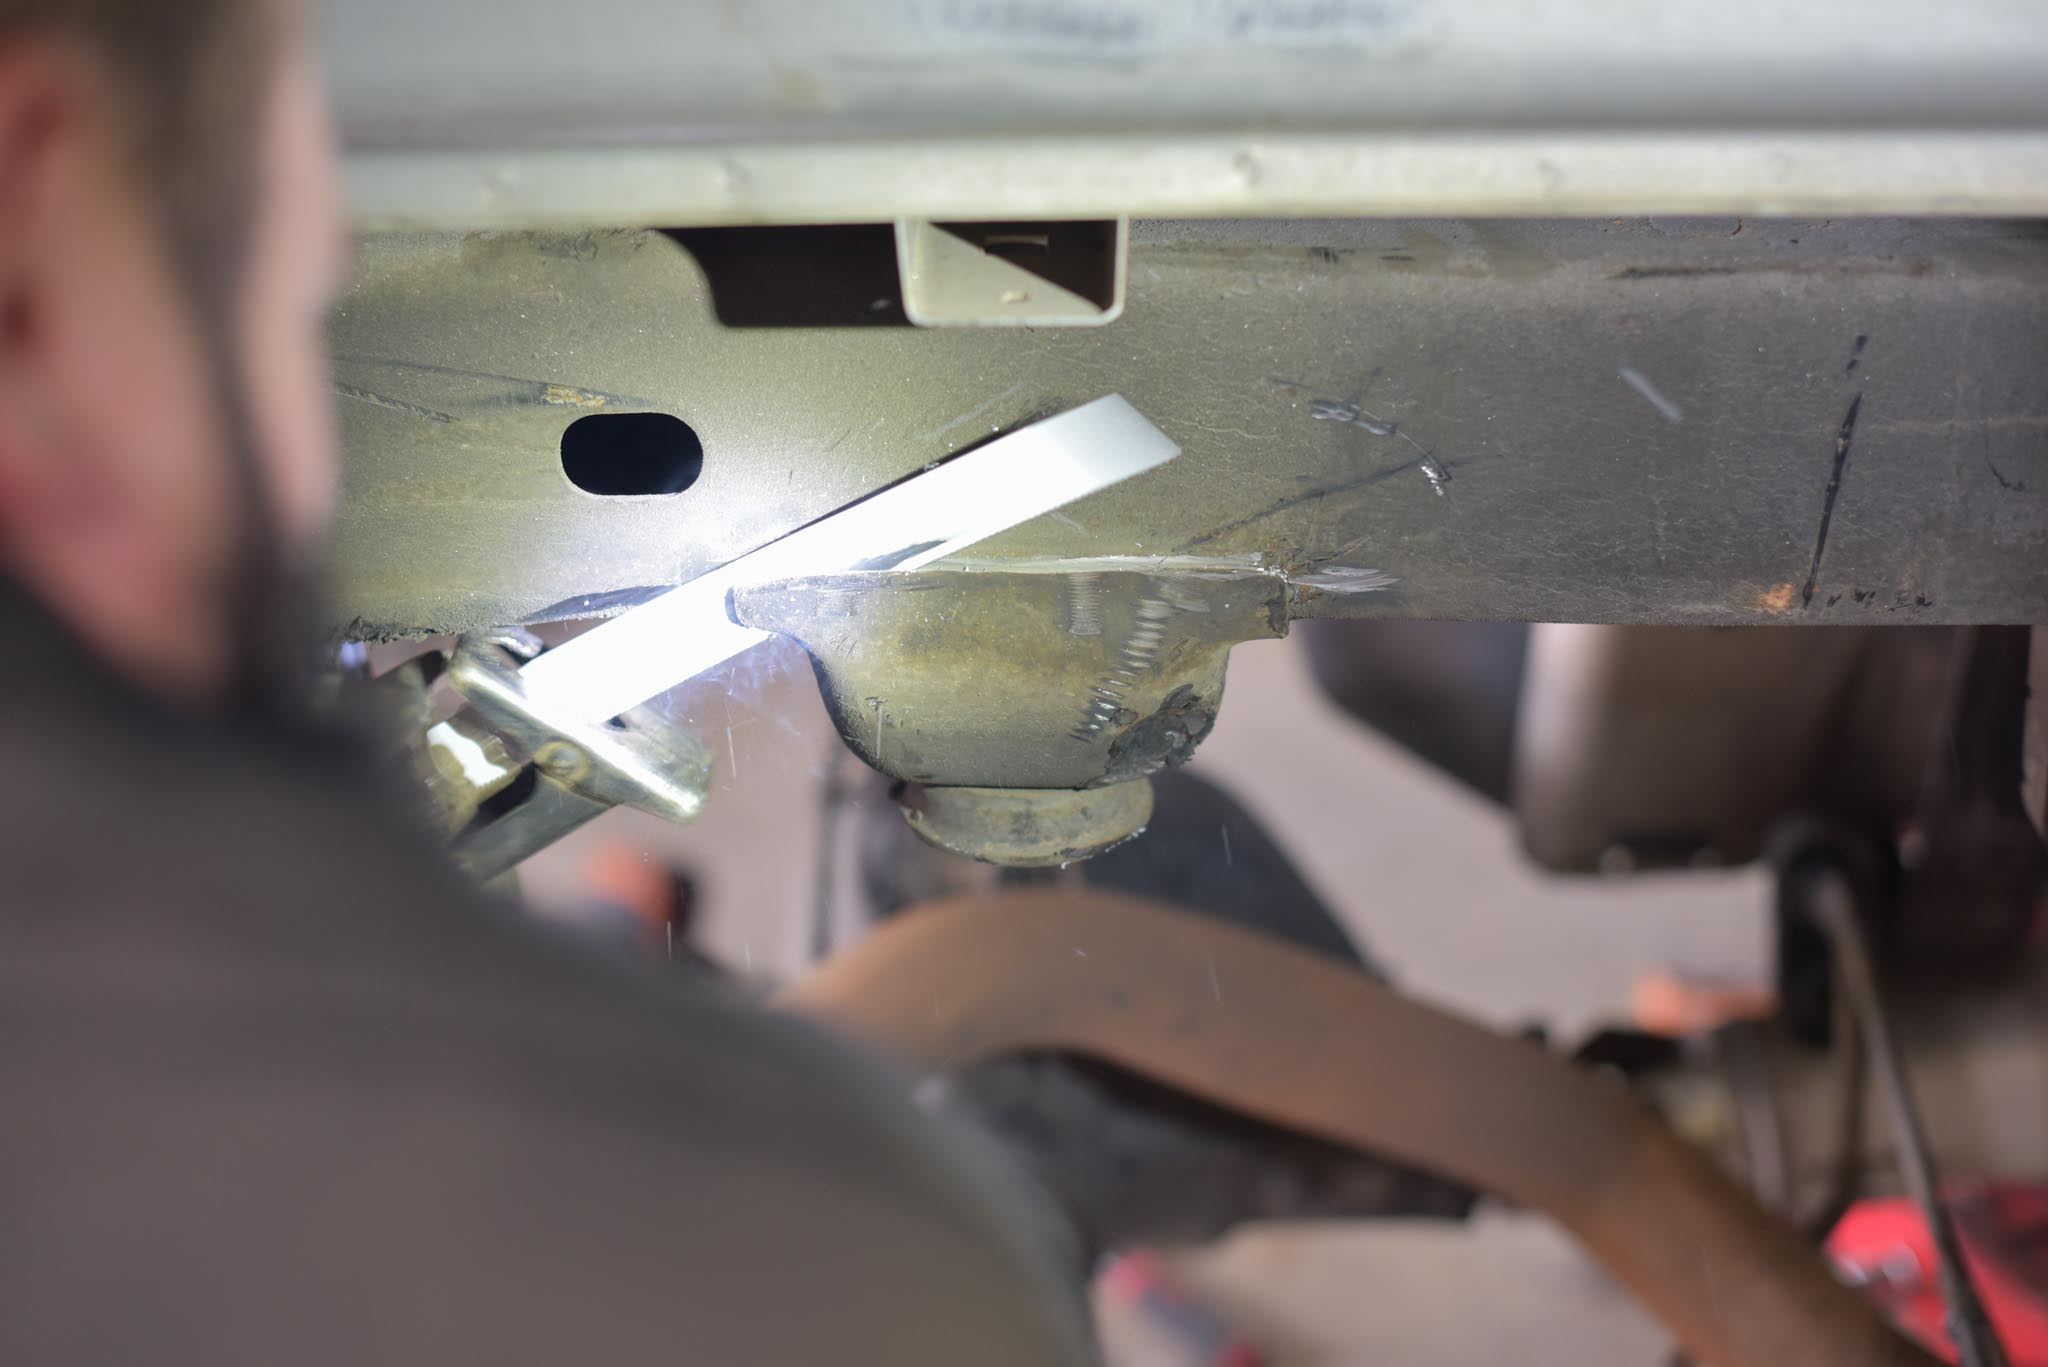
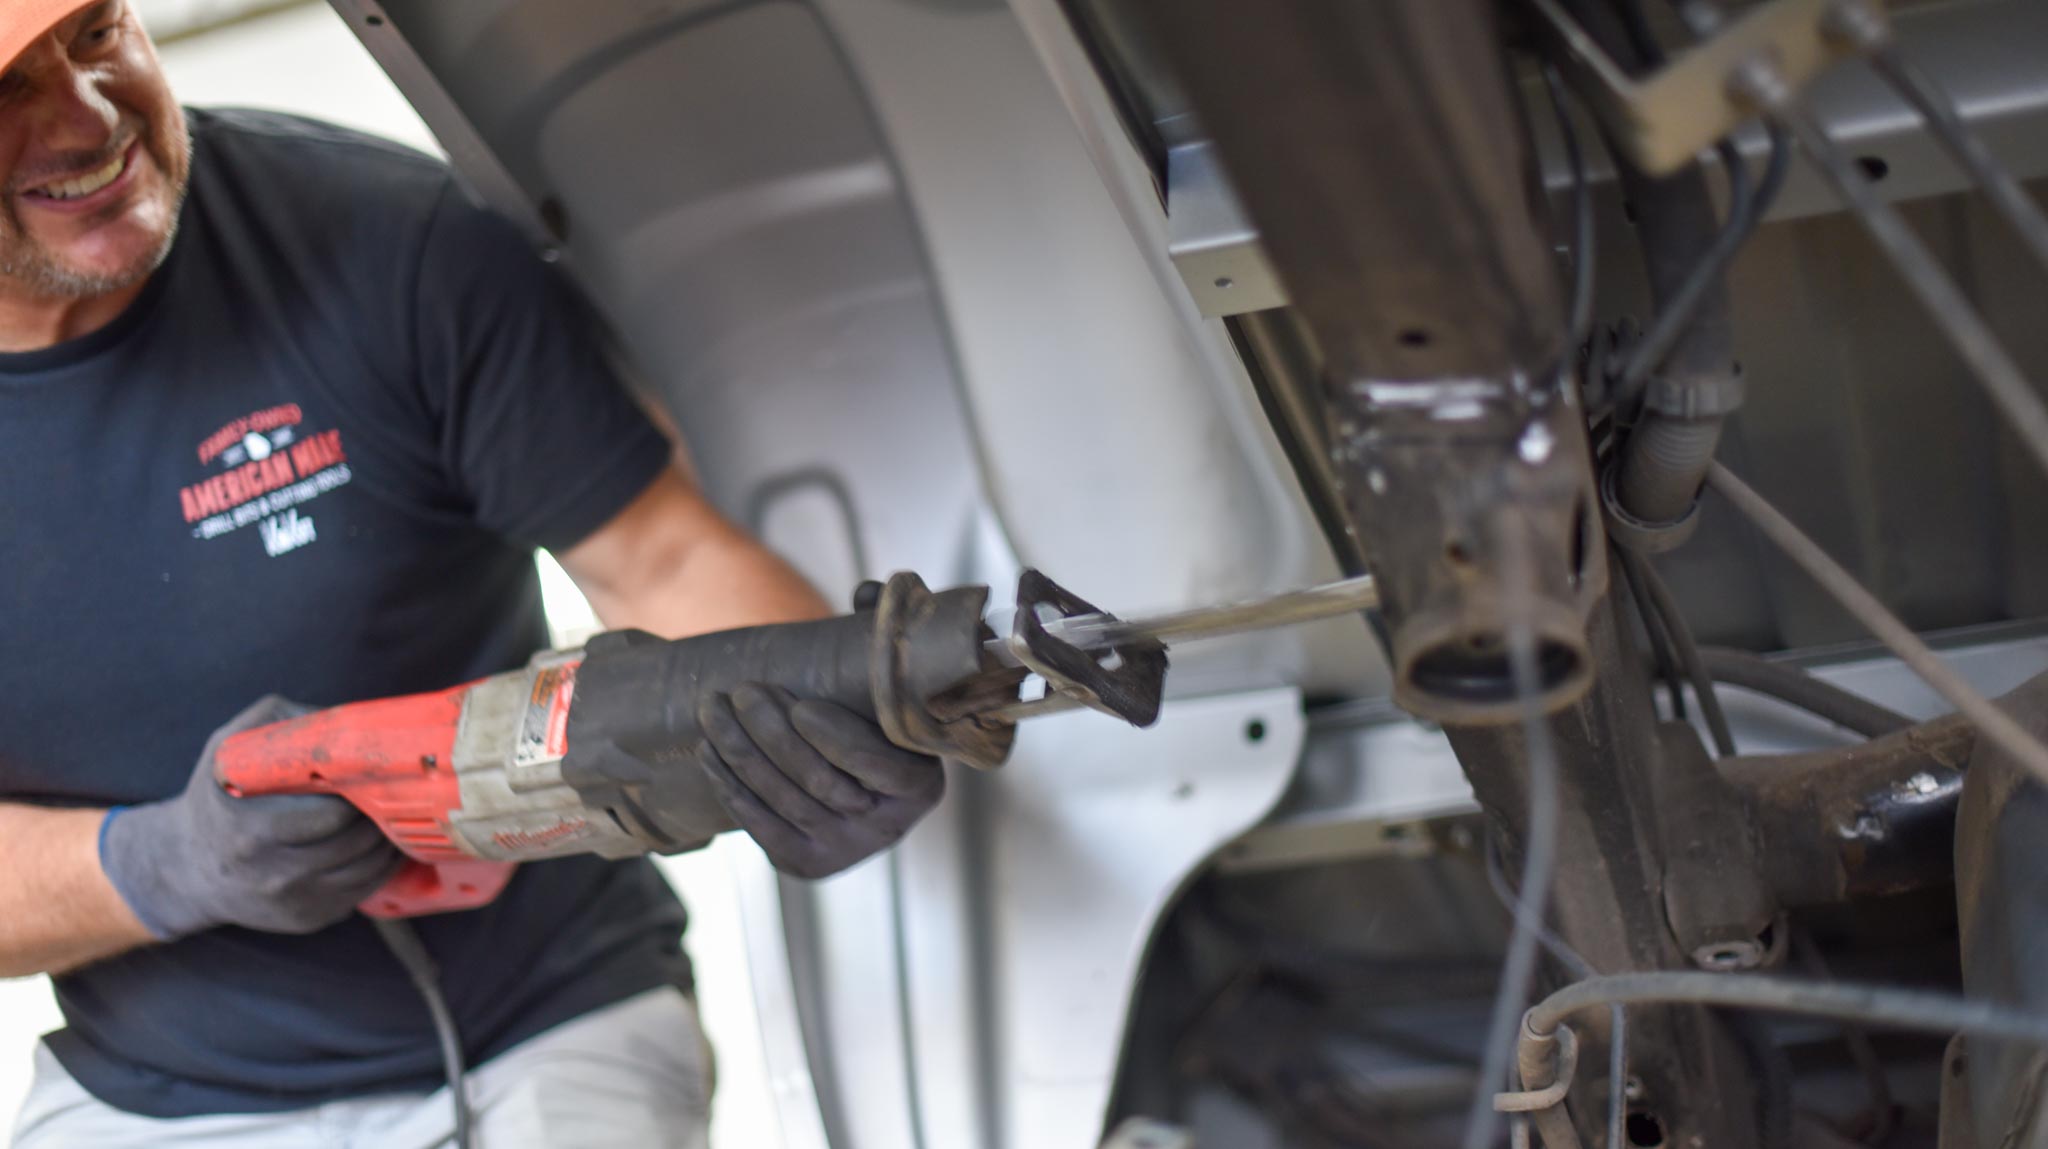
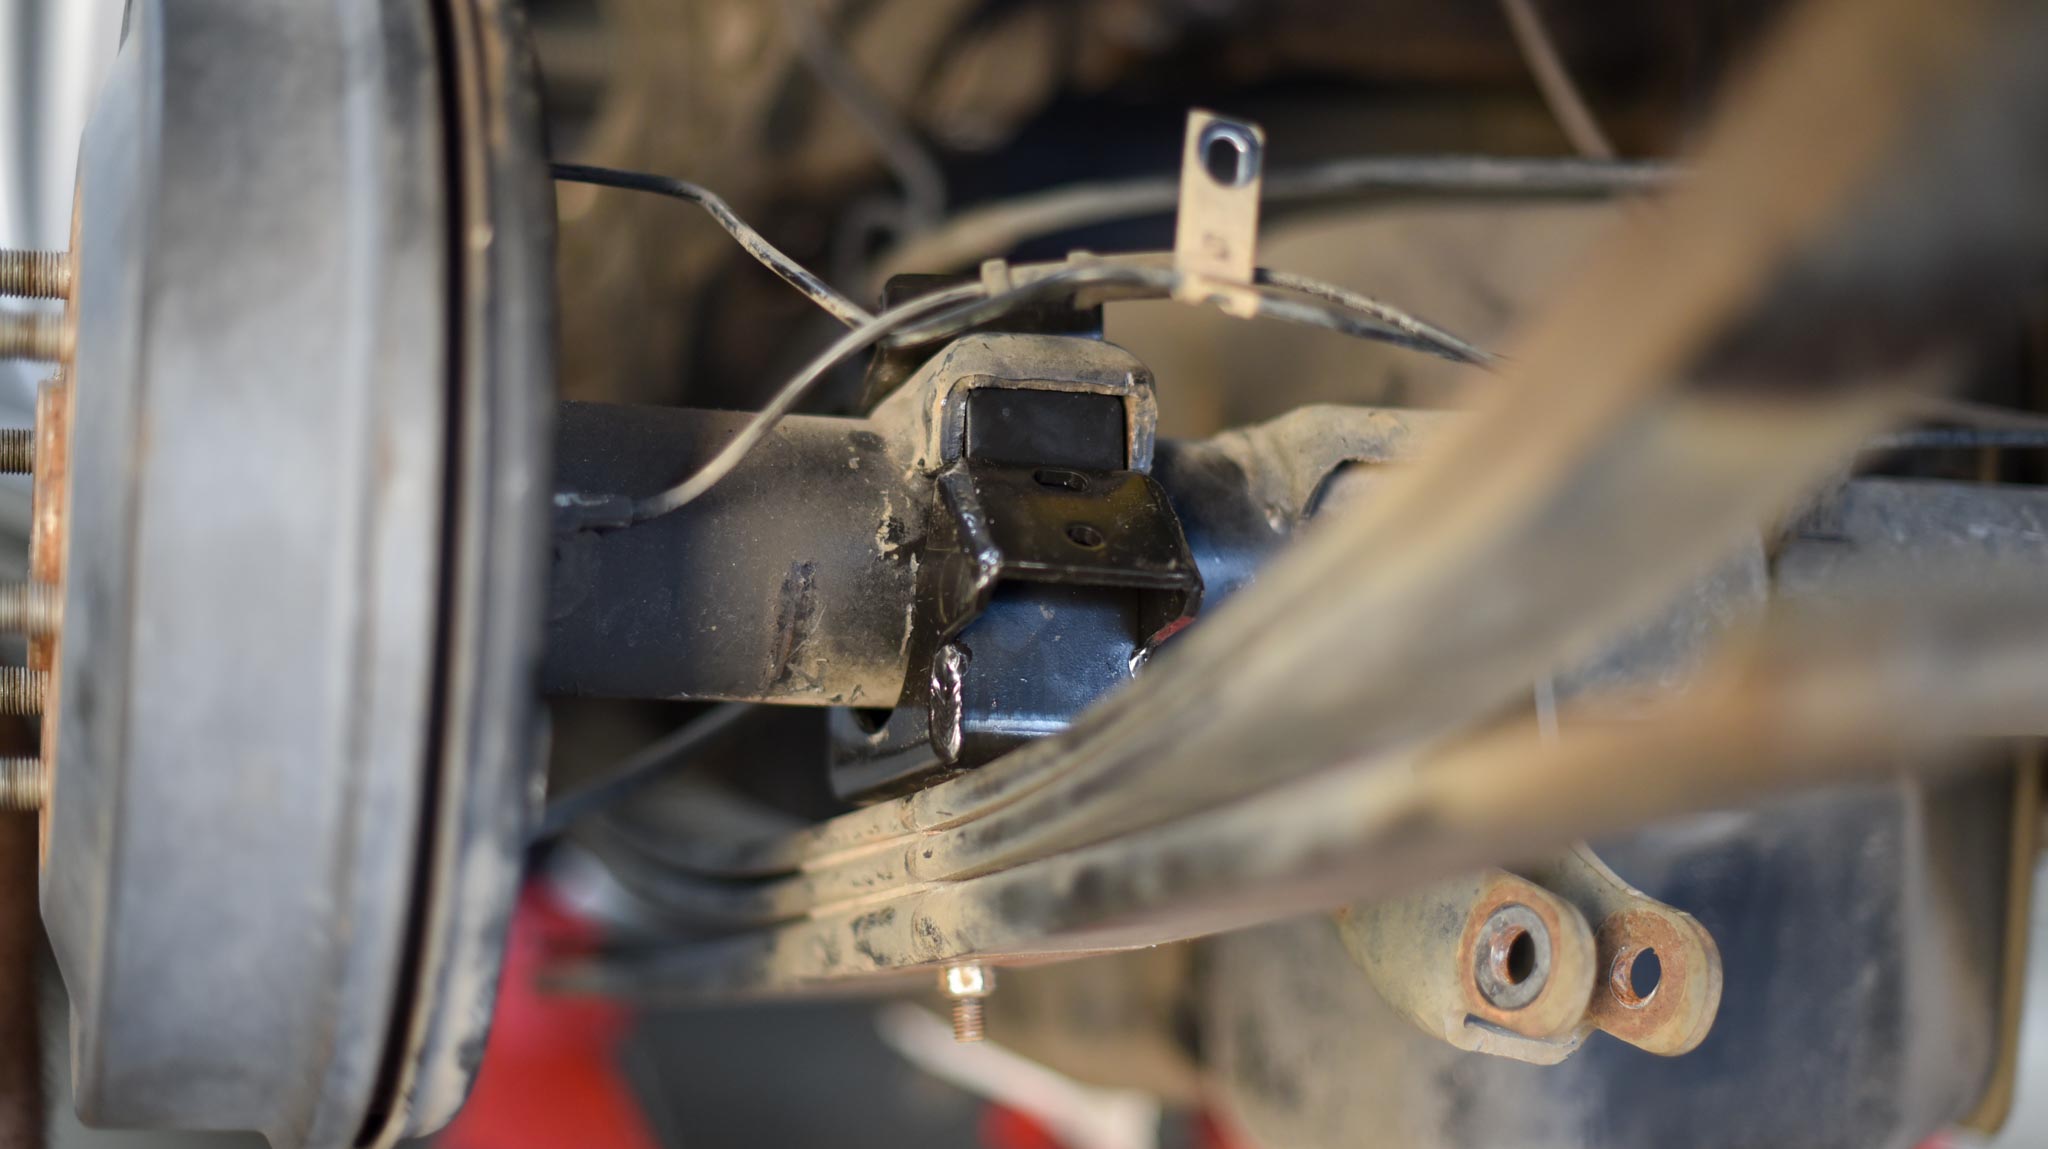
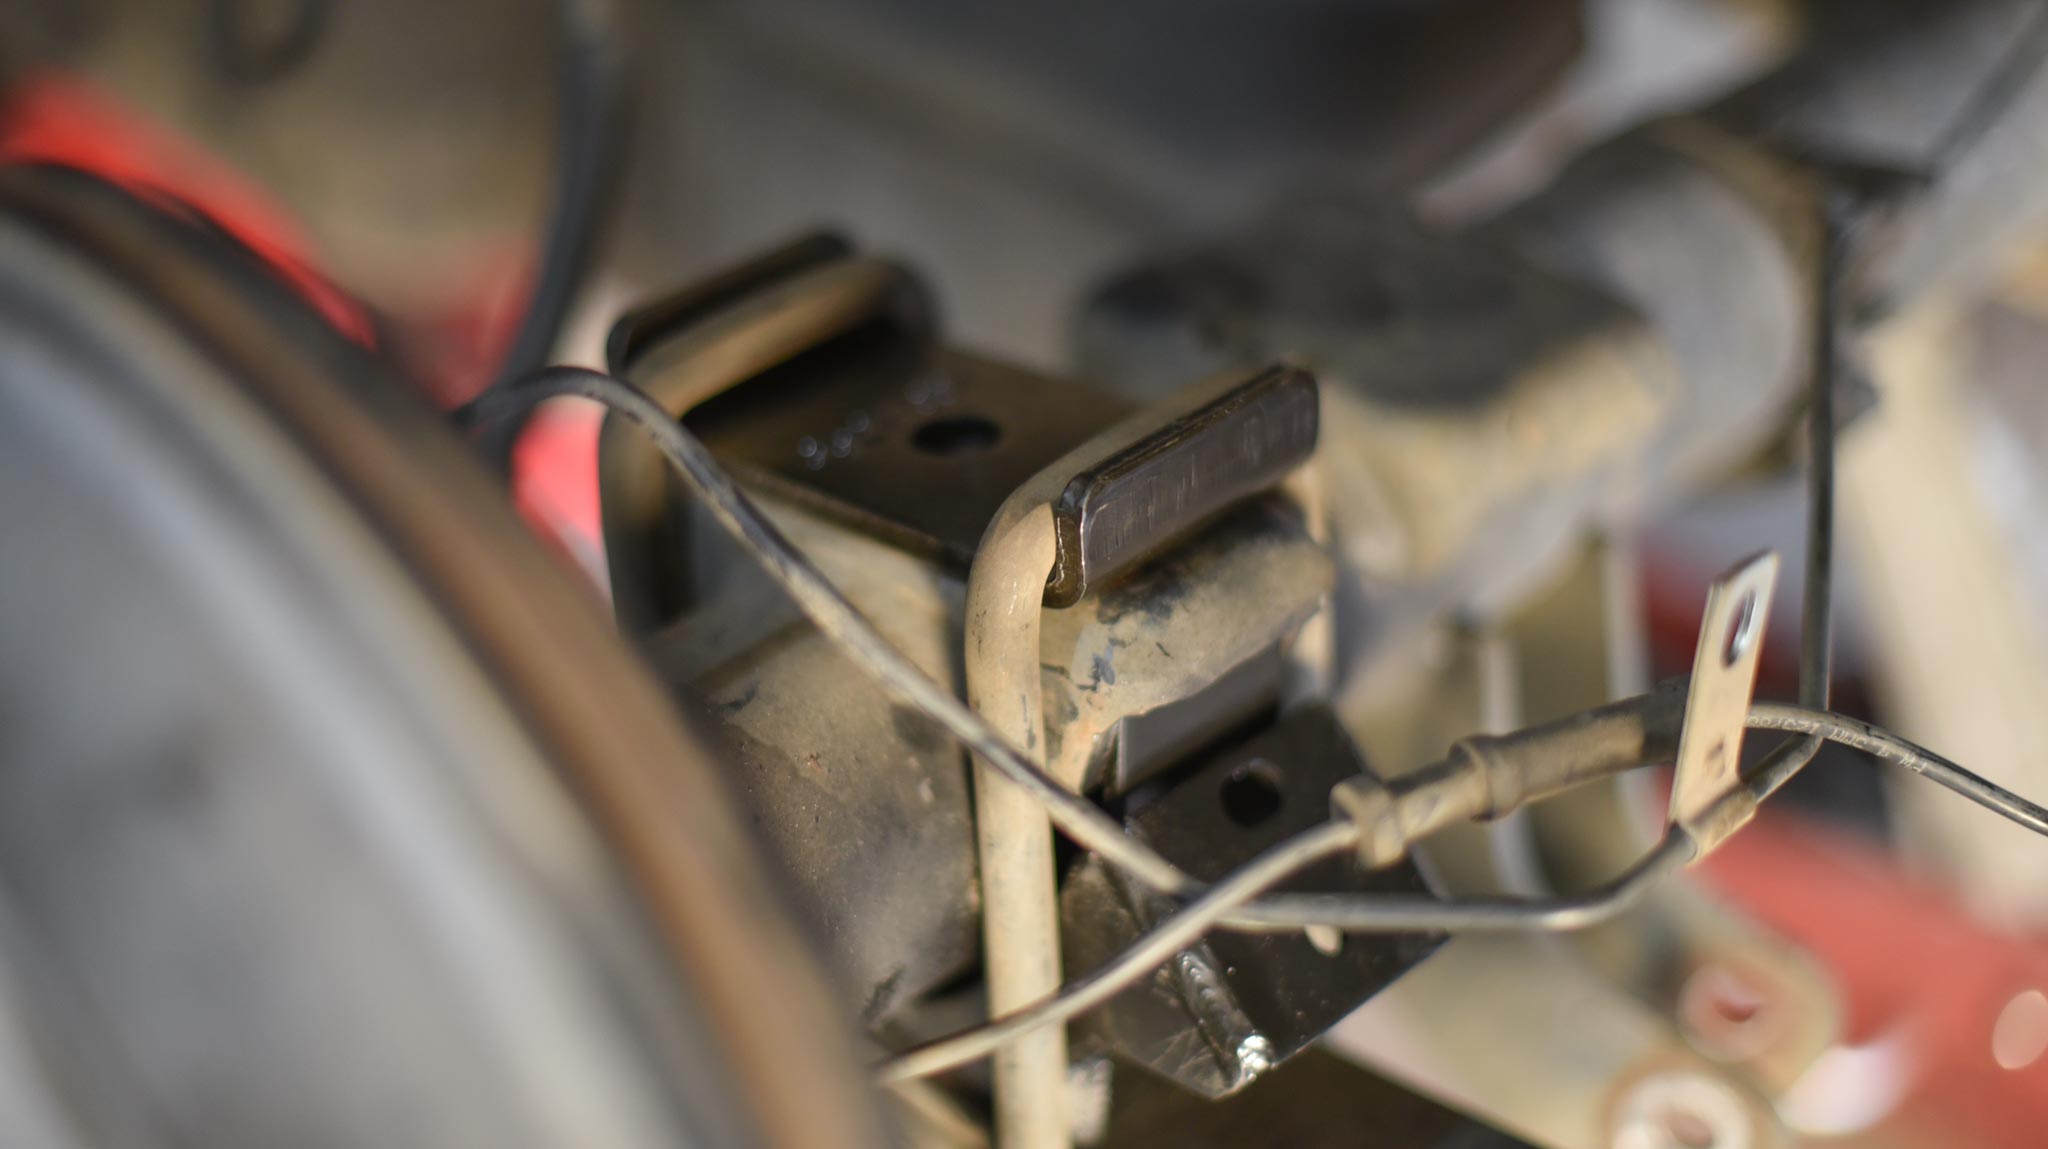
Ok here’s another fun part: The welded-on factory bump-stop mount needs to be cut out.
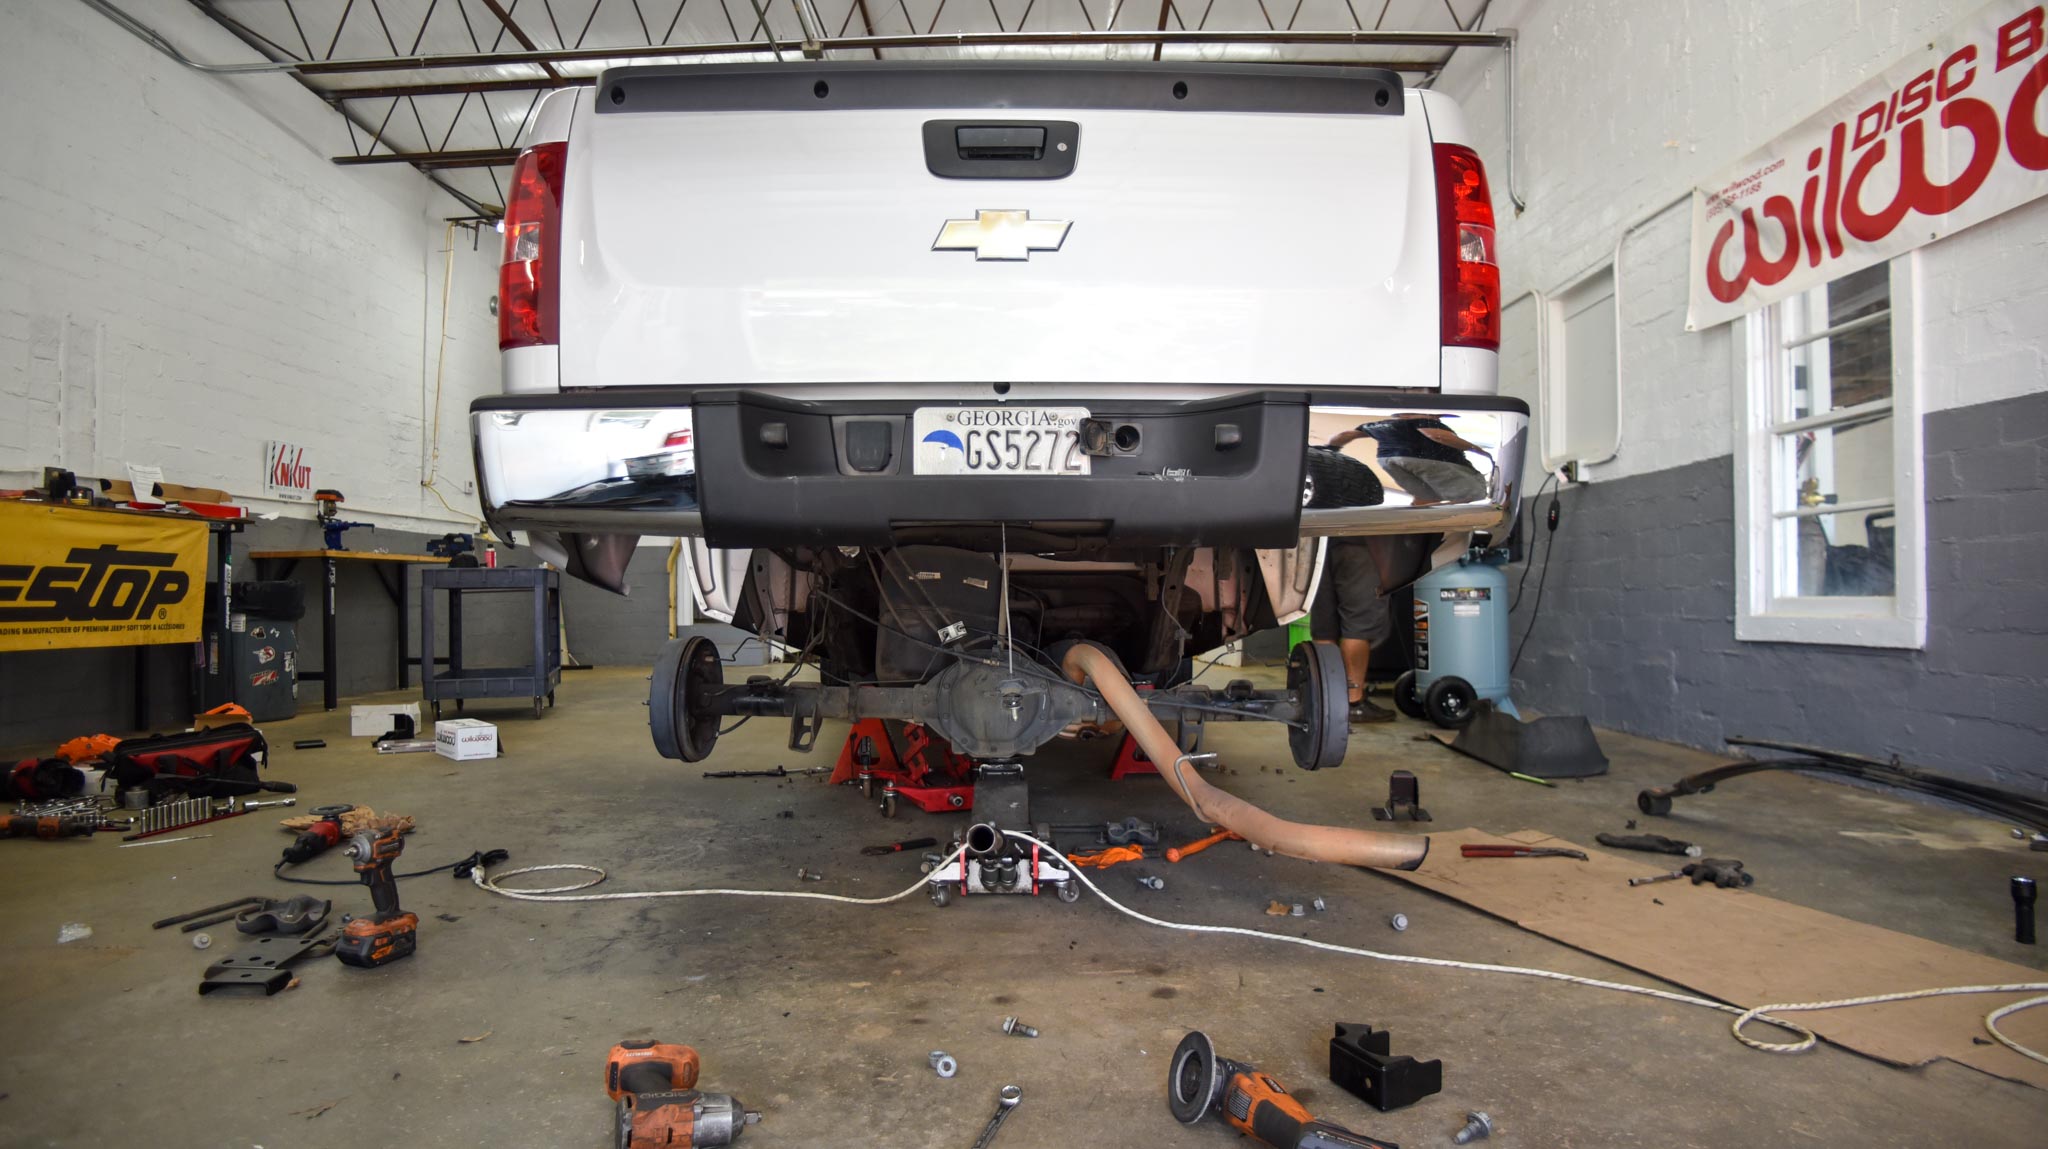
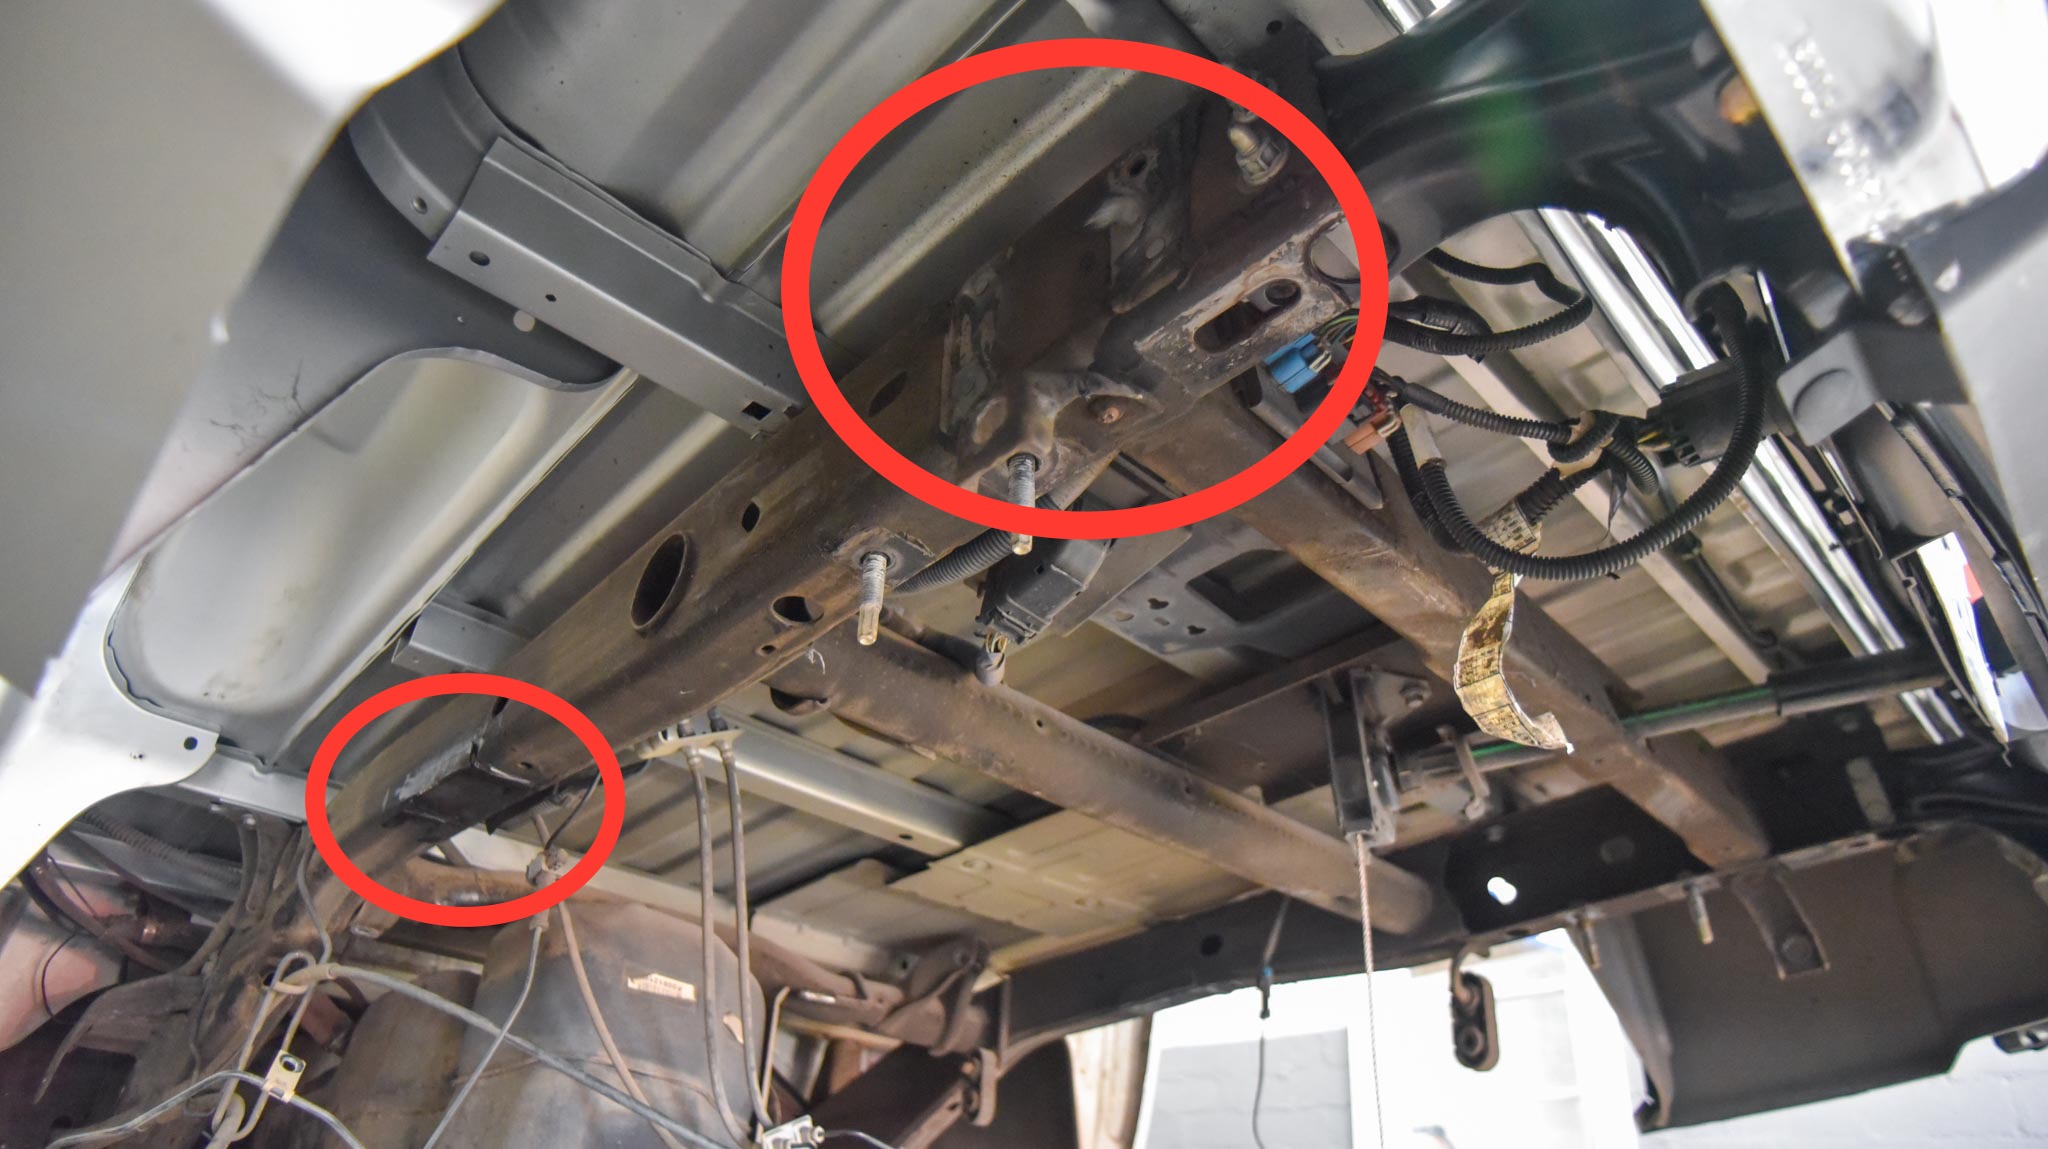
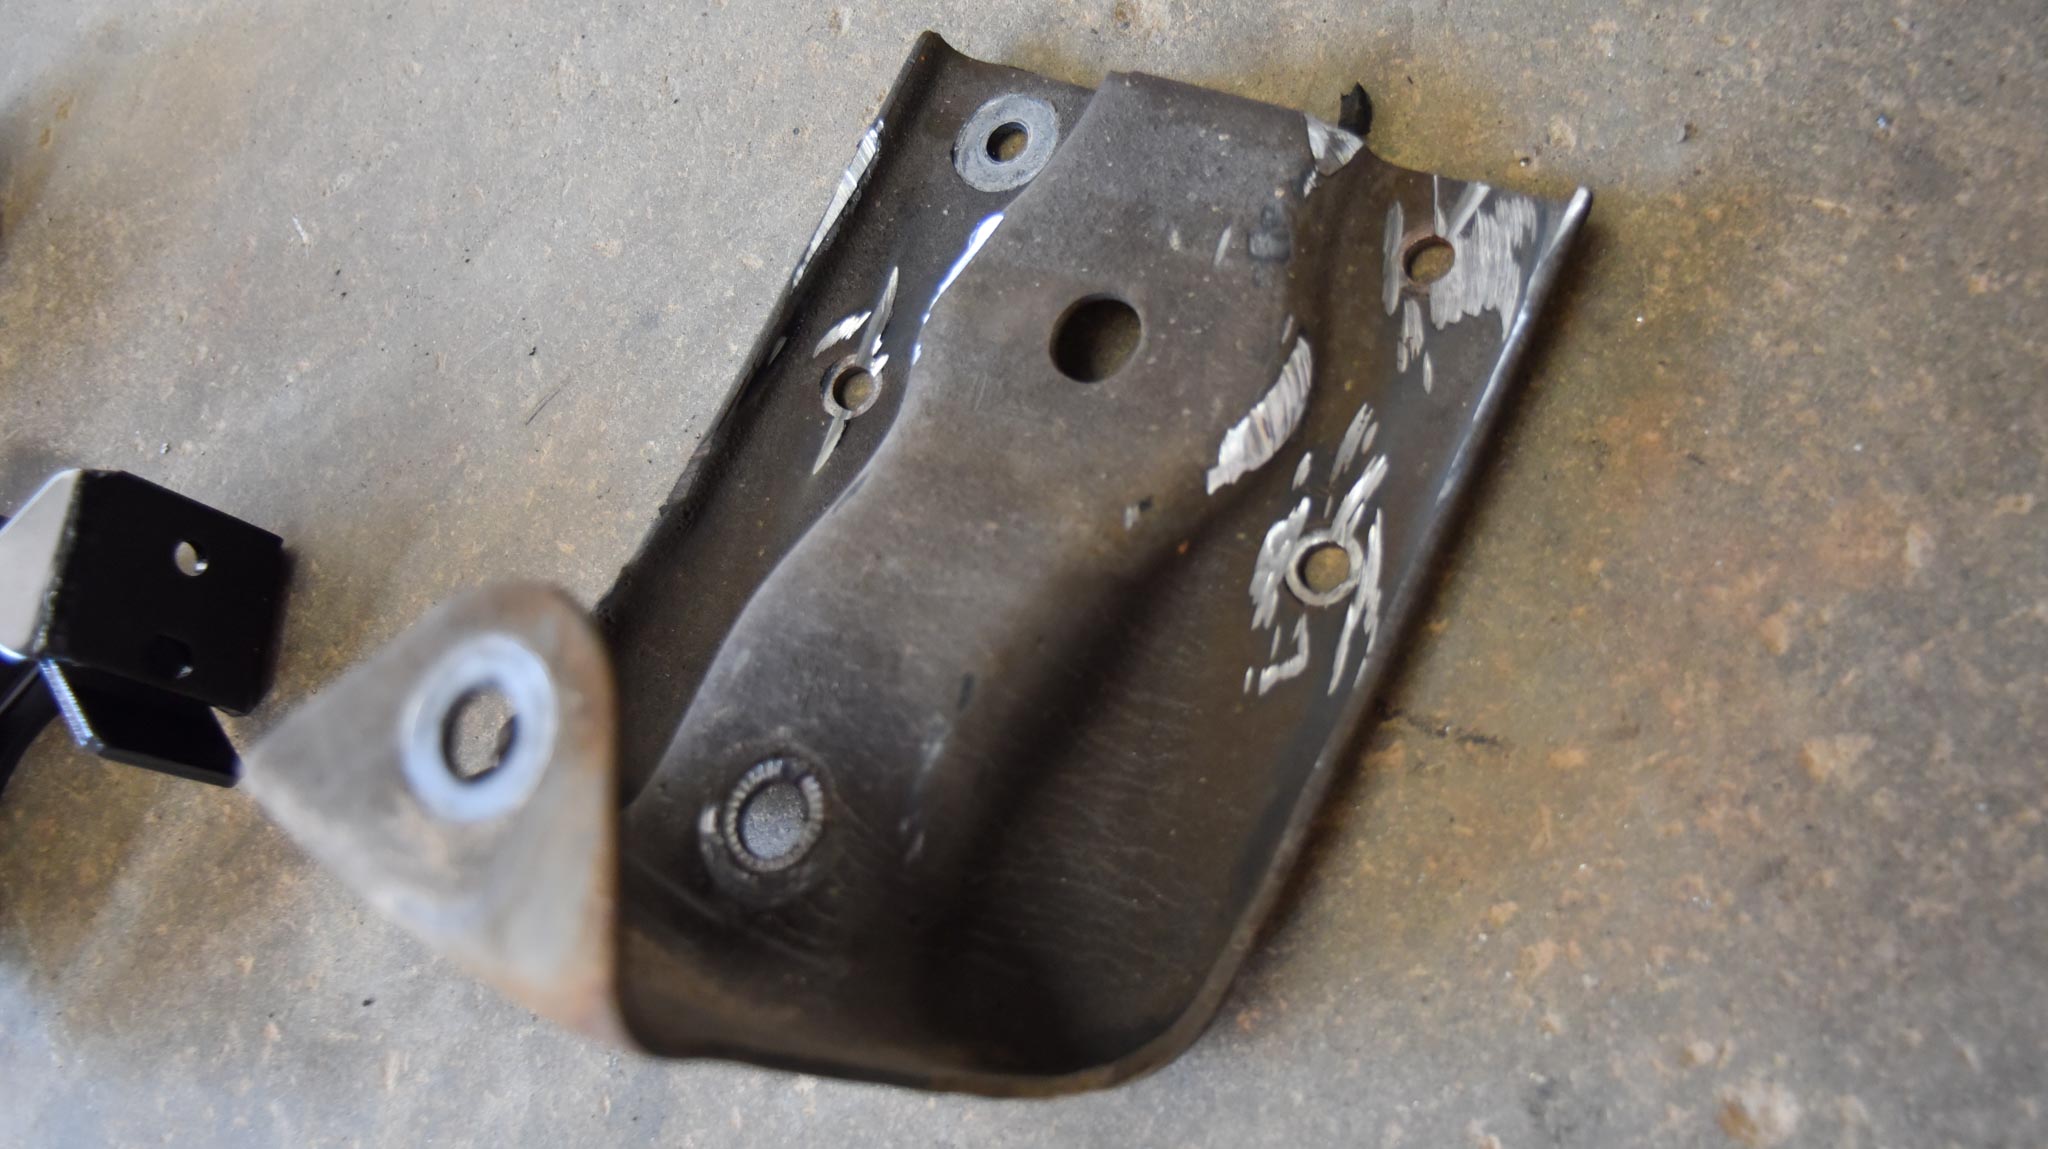
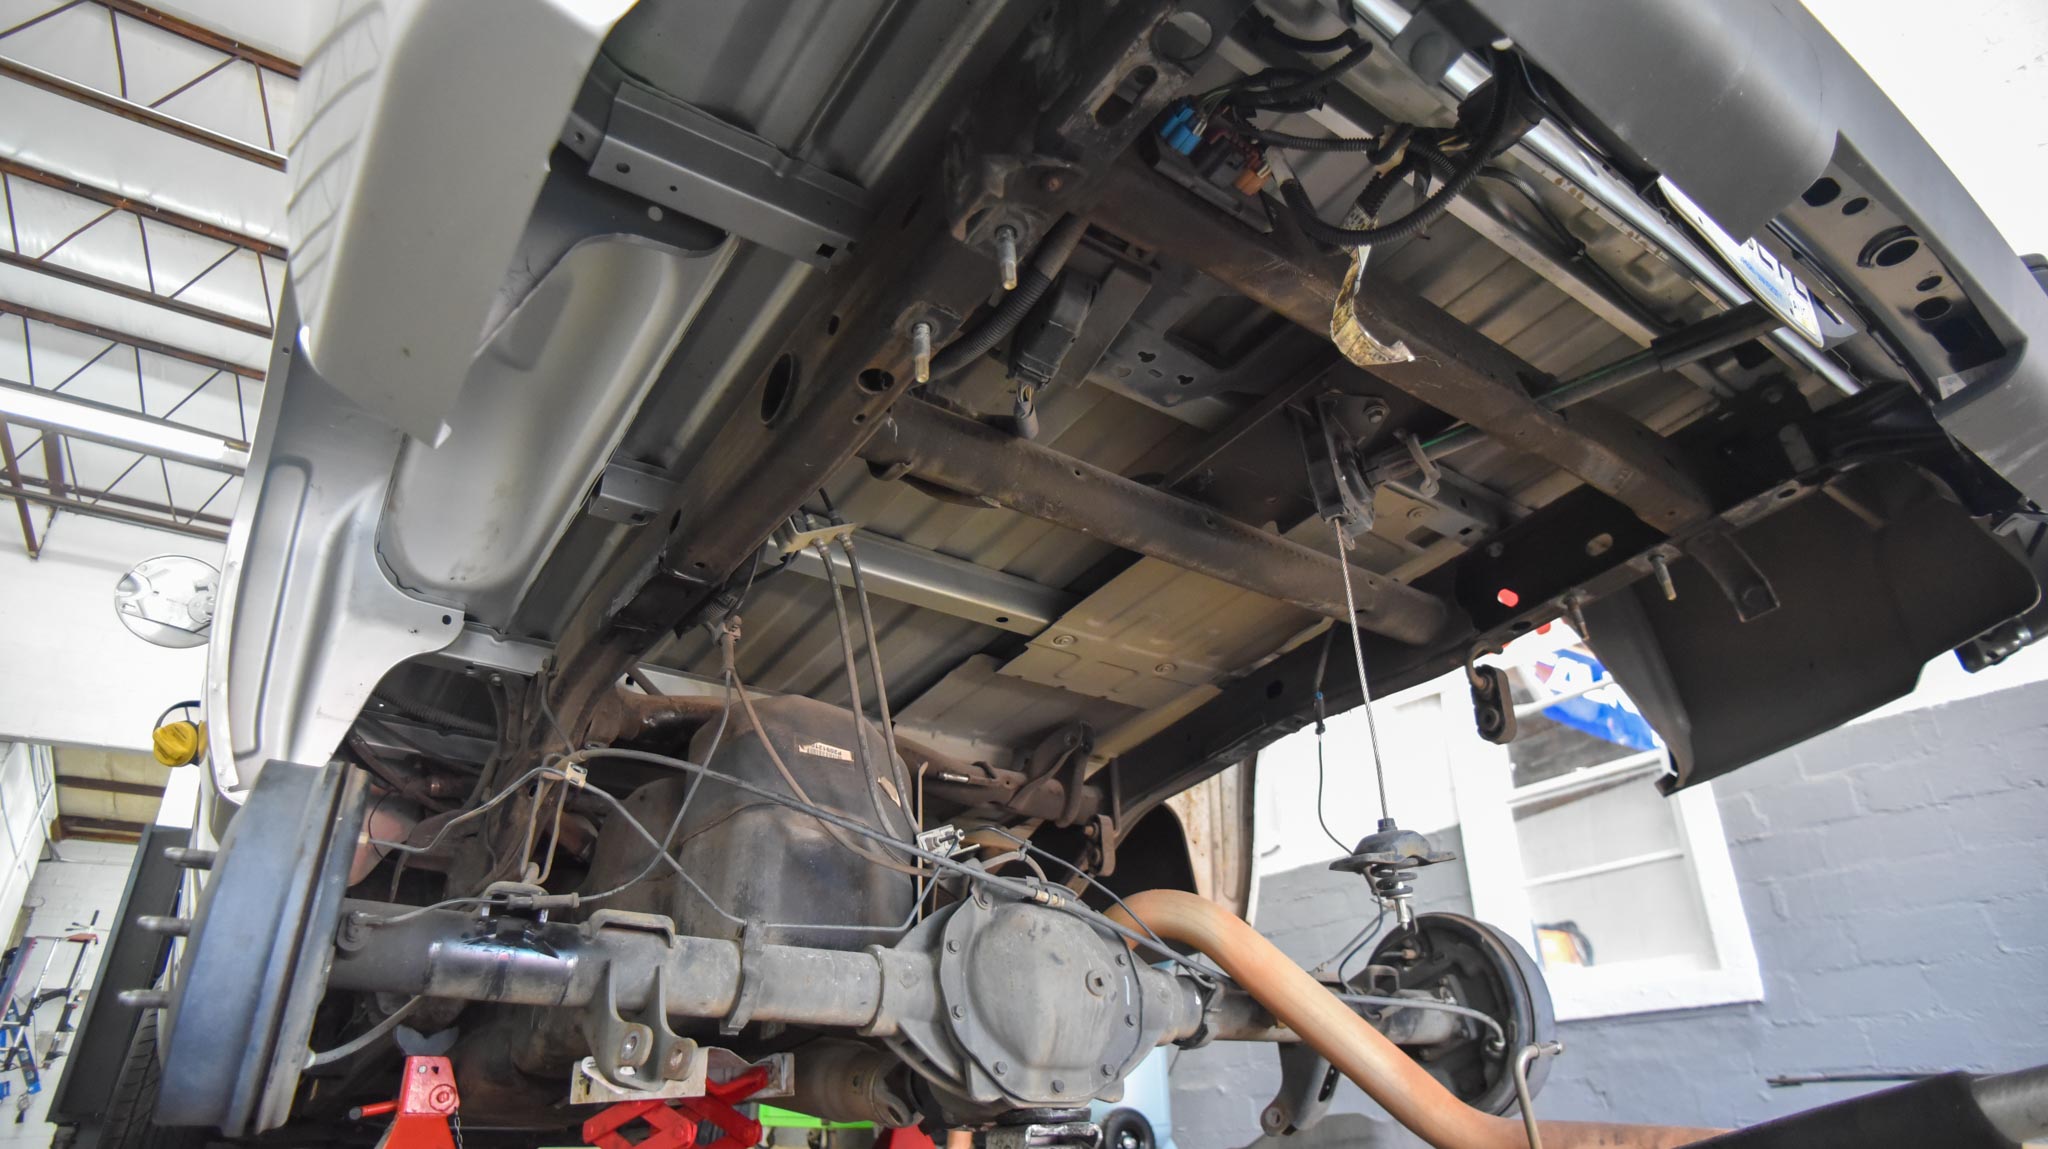
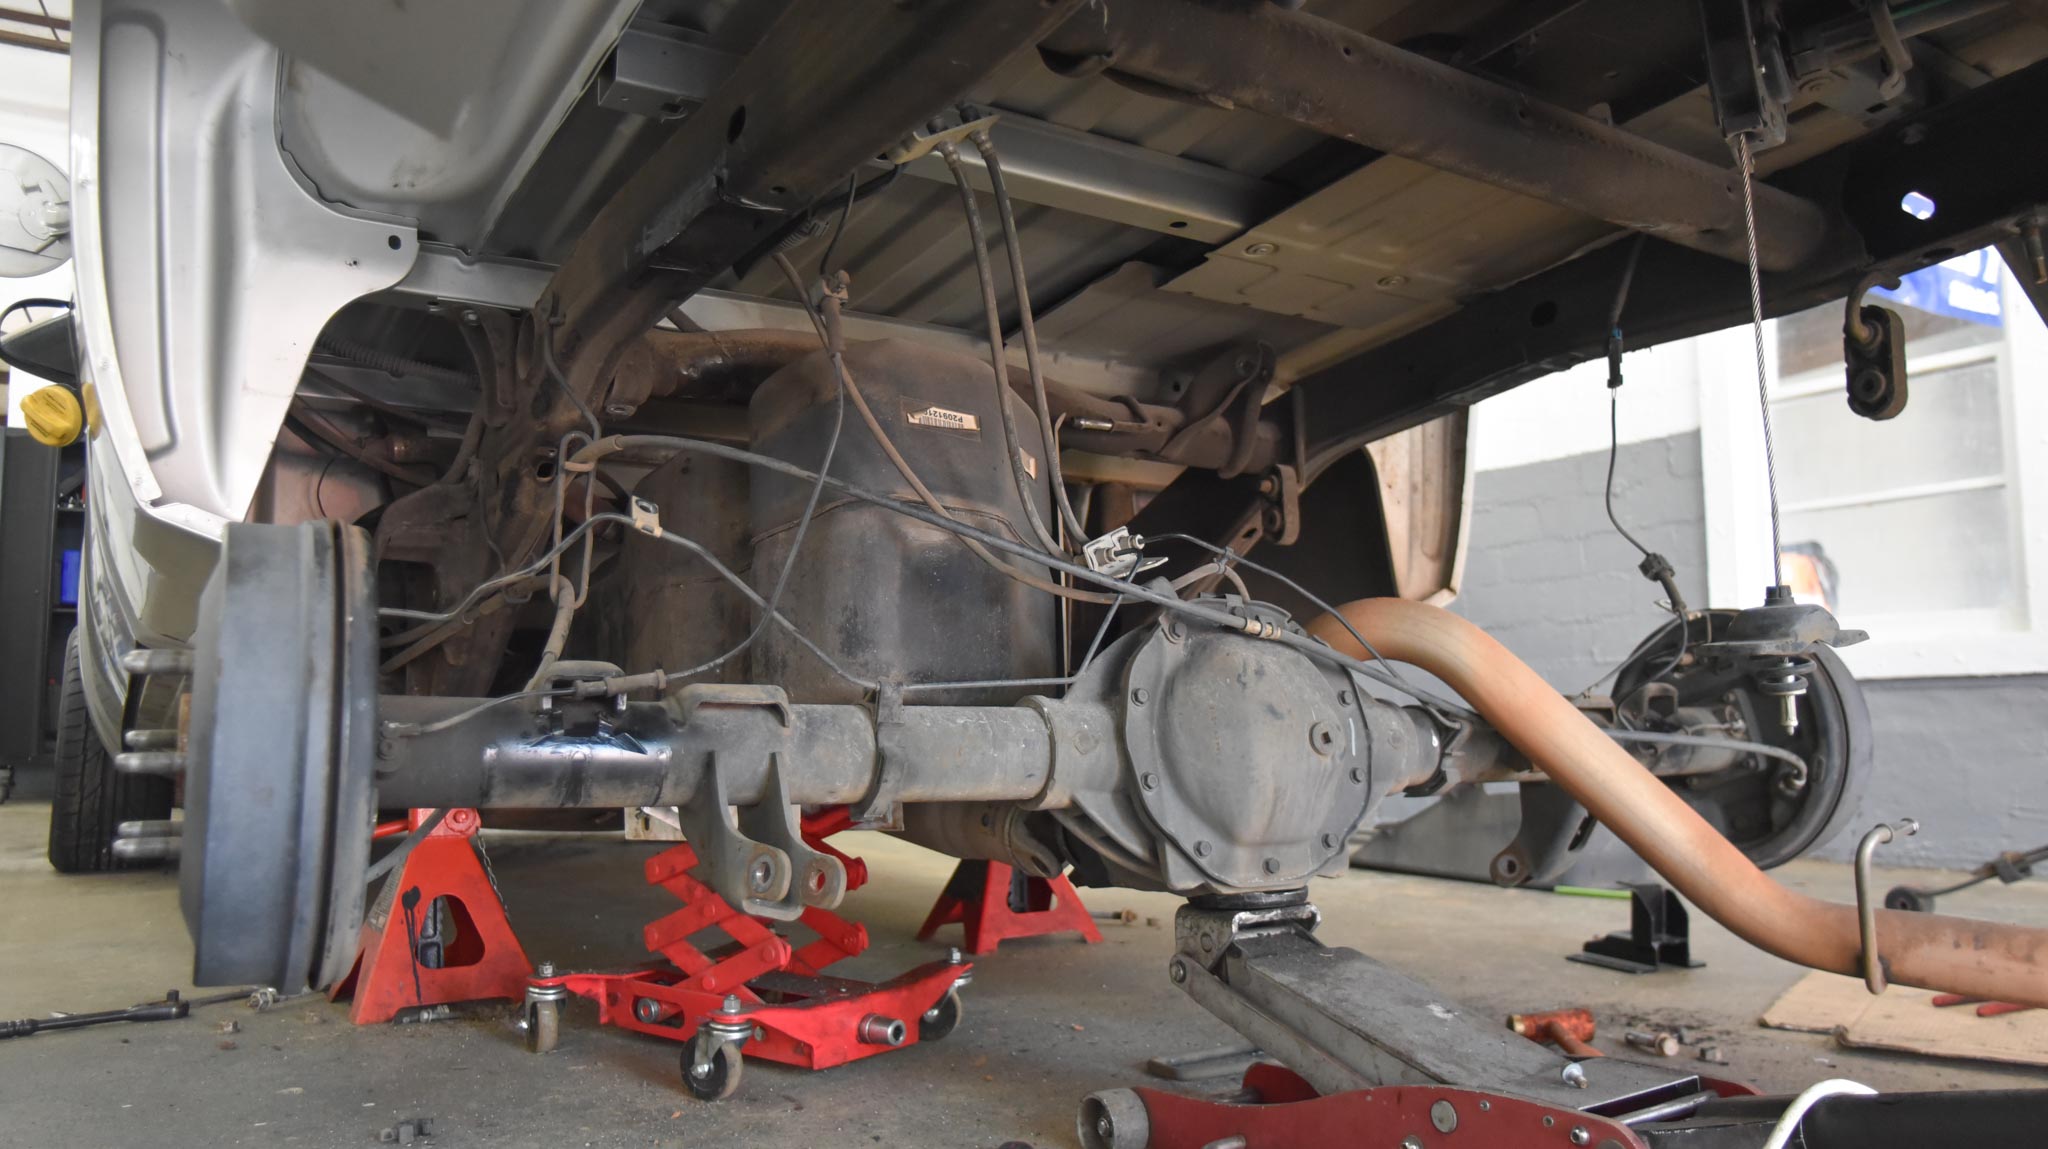
Here’s some photos of what the Silverado looks like at its worst…
This is right before it all starts coming back together. As you can see (in the rear red circle), the original rear leaf spring mounting bracket is gone. In the lower photo, there it is on the floor. And a bit further up on the frame (in the forward red circle) you can see where the bump-stop bracket has been cut away.
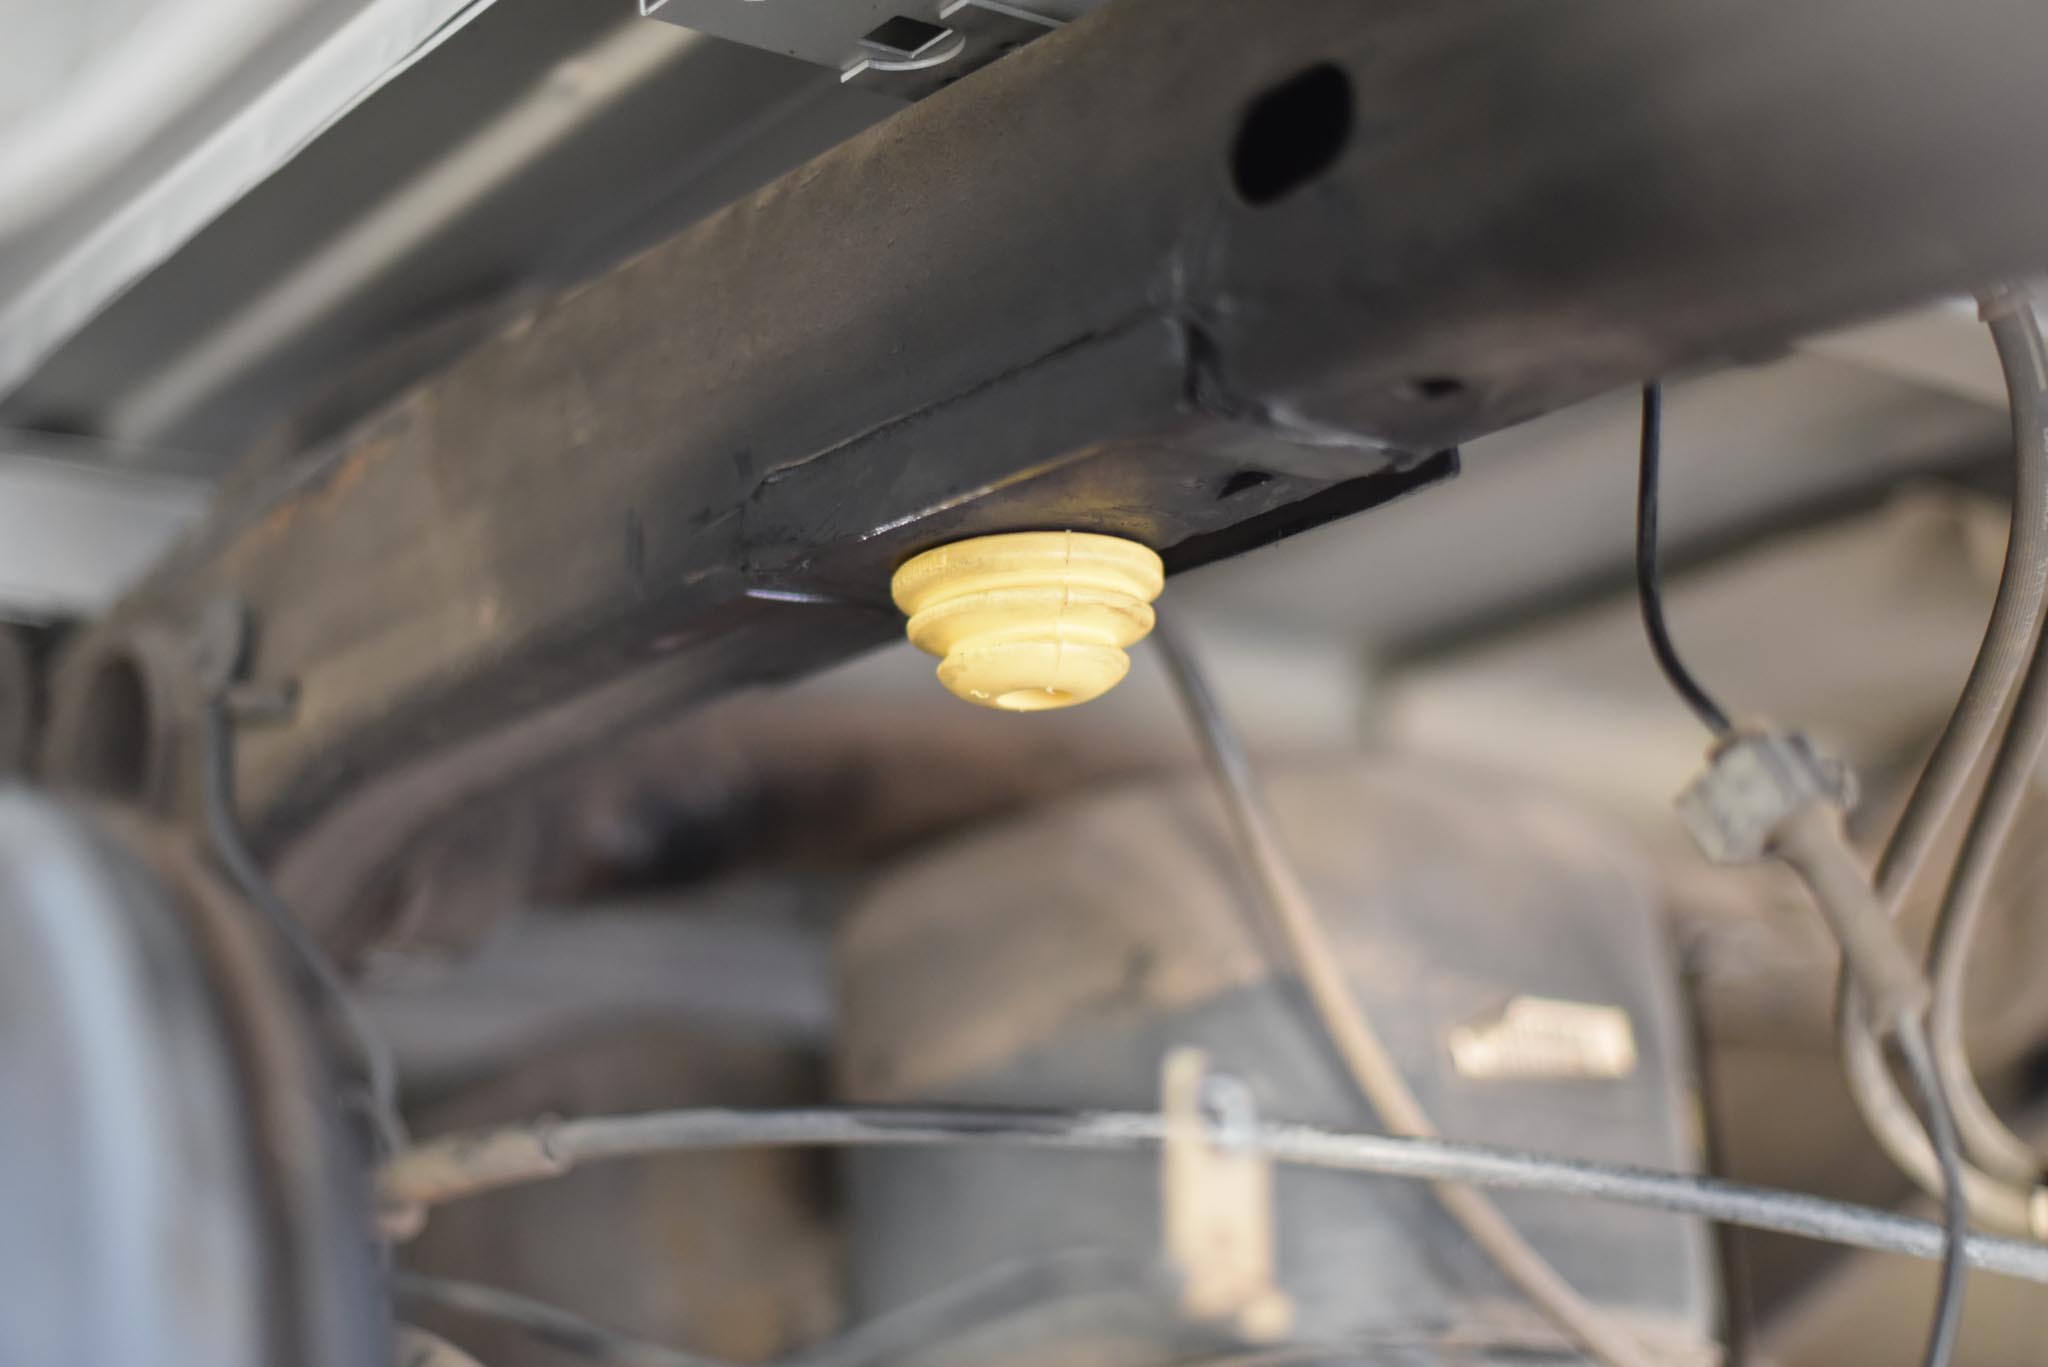
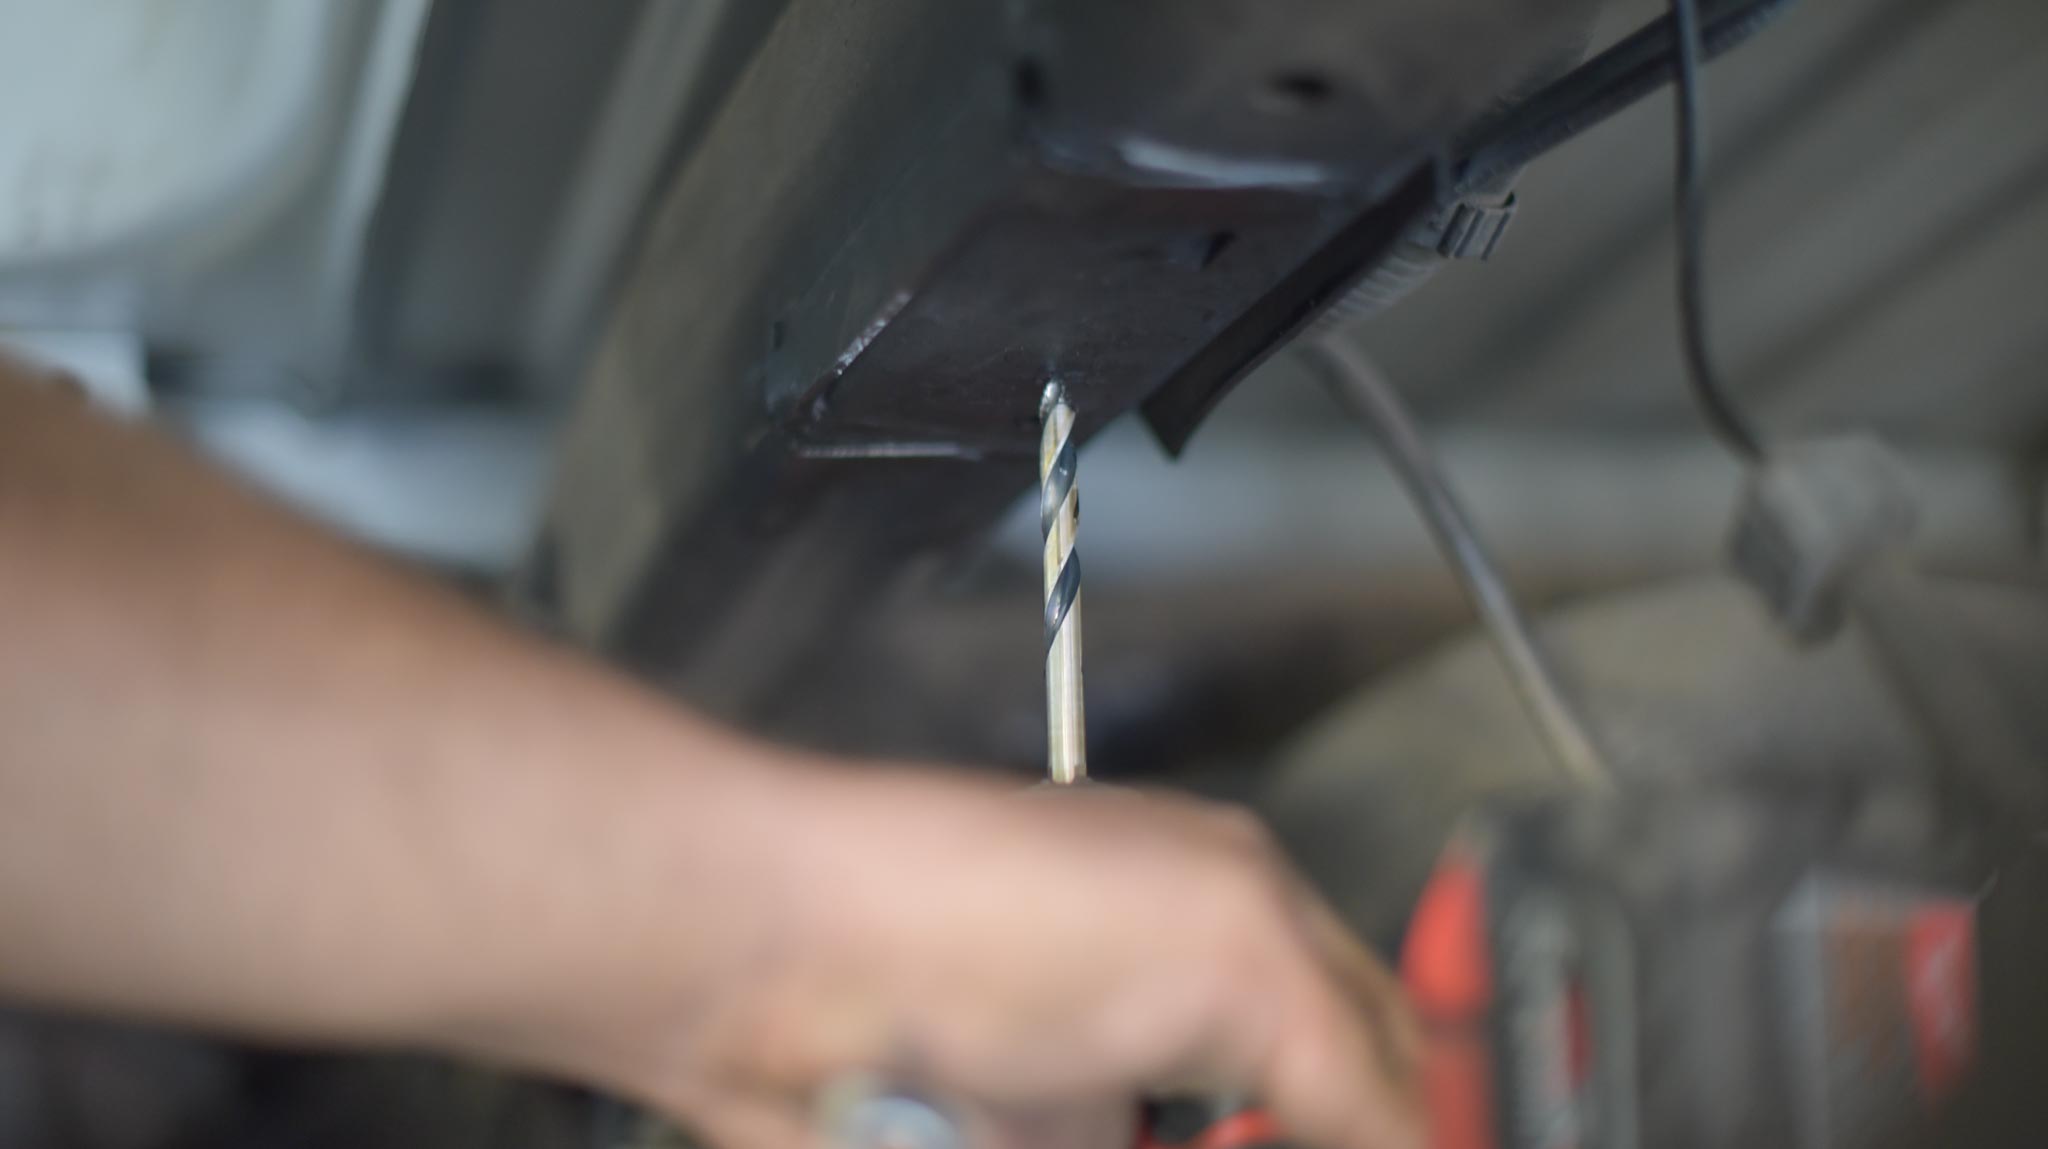
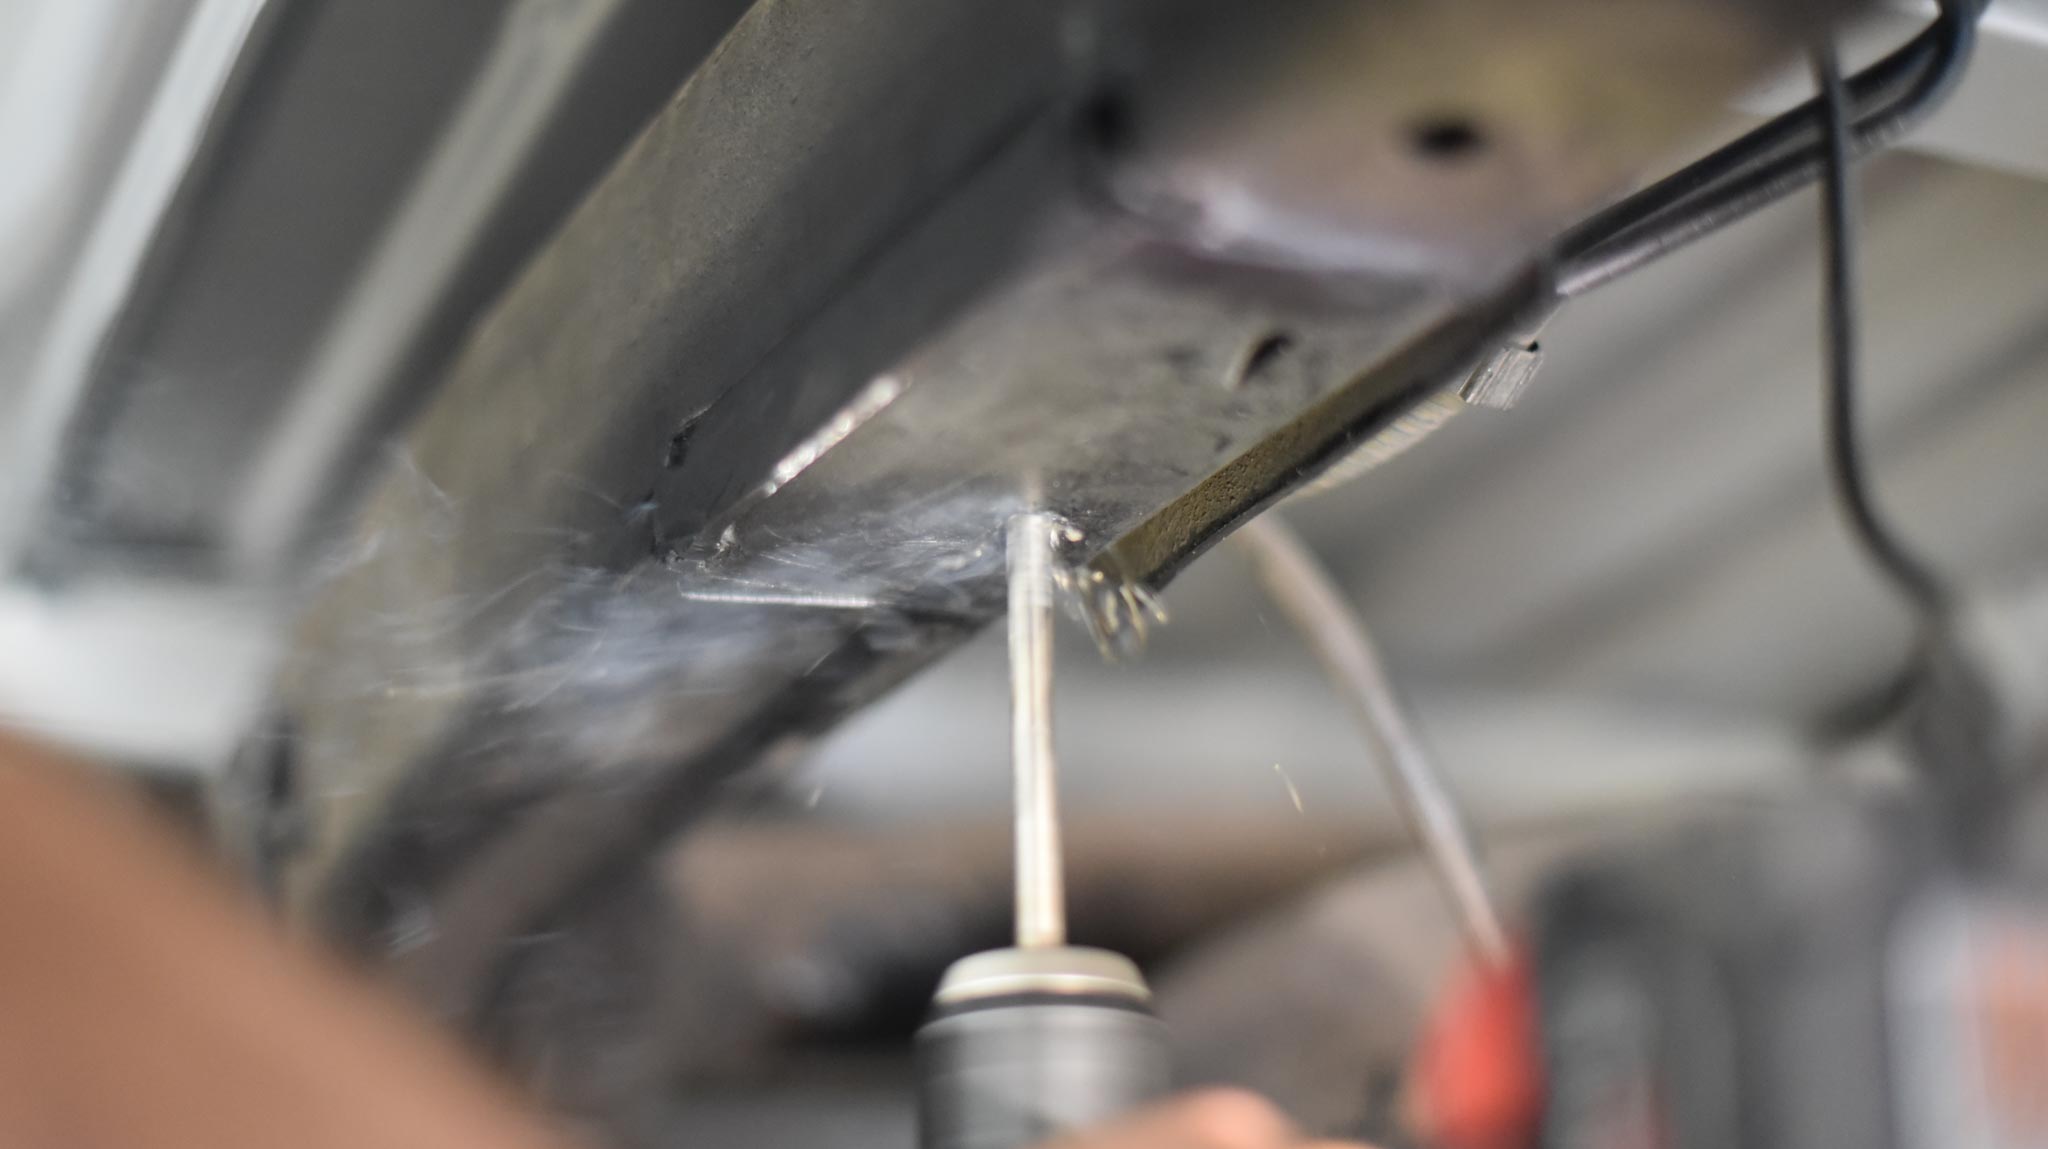
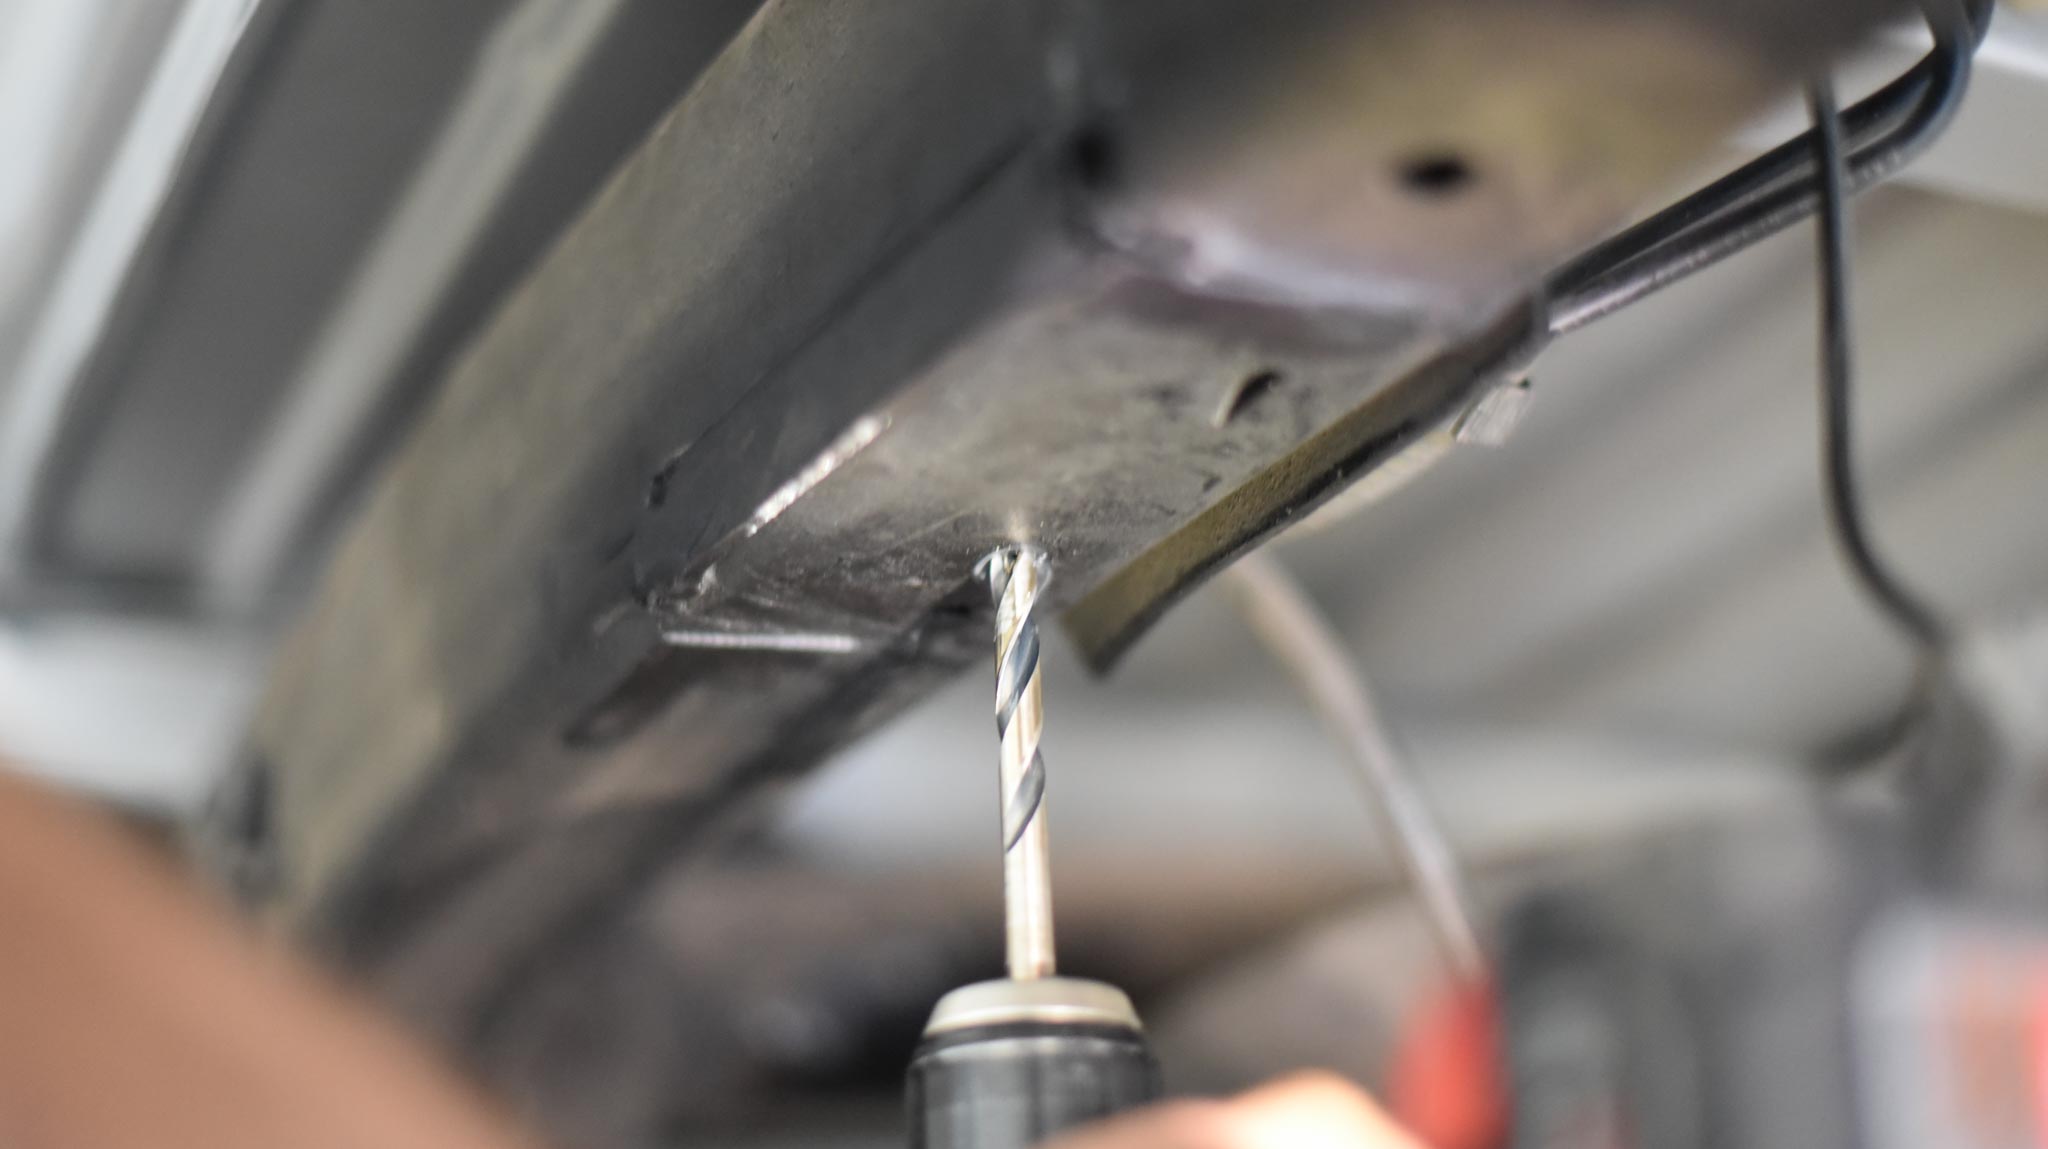
You need to drill a hole in the chassis for the new bump-stop…
Good thing we know a guy lol. Oh right, in case you skimmed through the beginning, the owner of this truck is Andy Thompson who owns KnKut Drill Bits. KnKut is top-quality, professional-grade drill bit company.
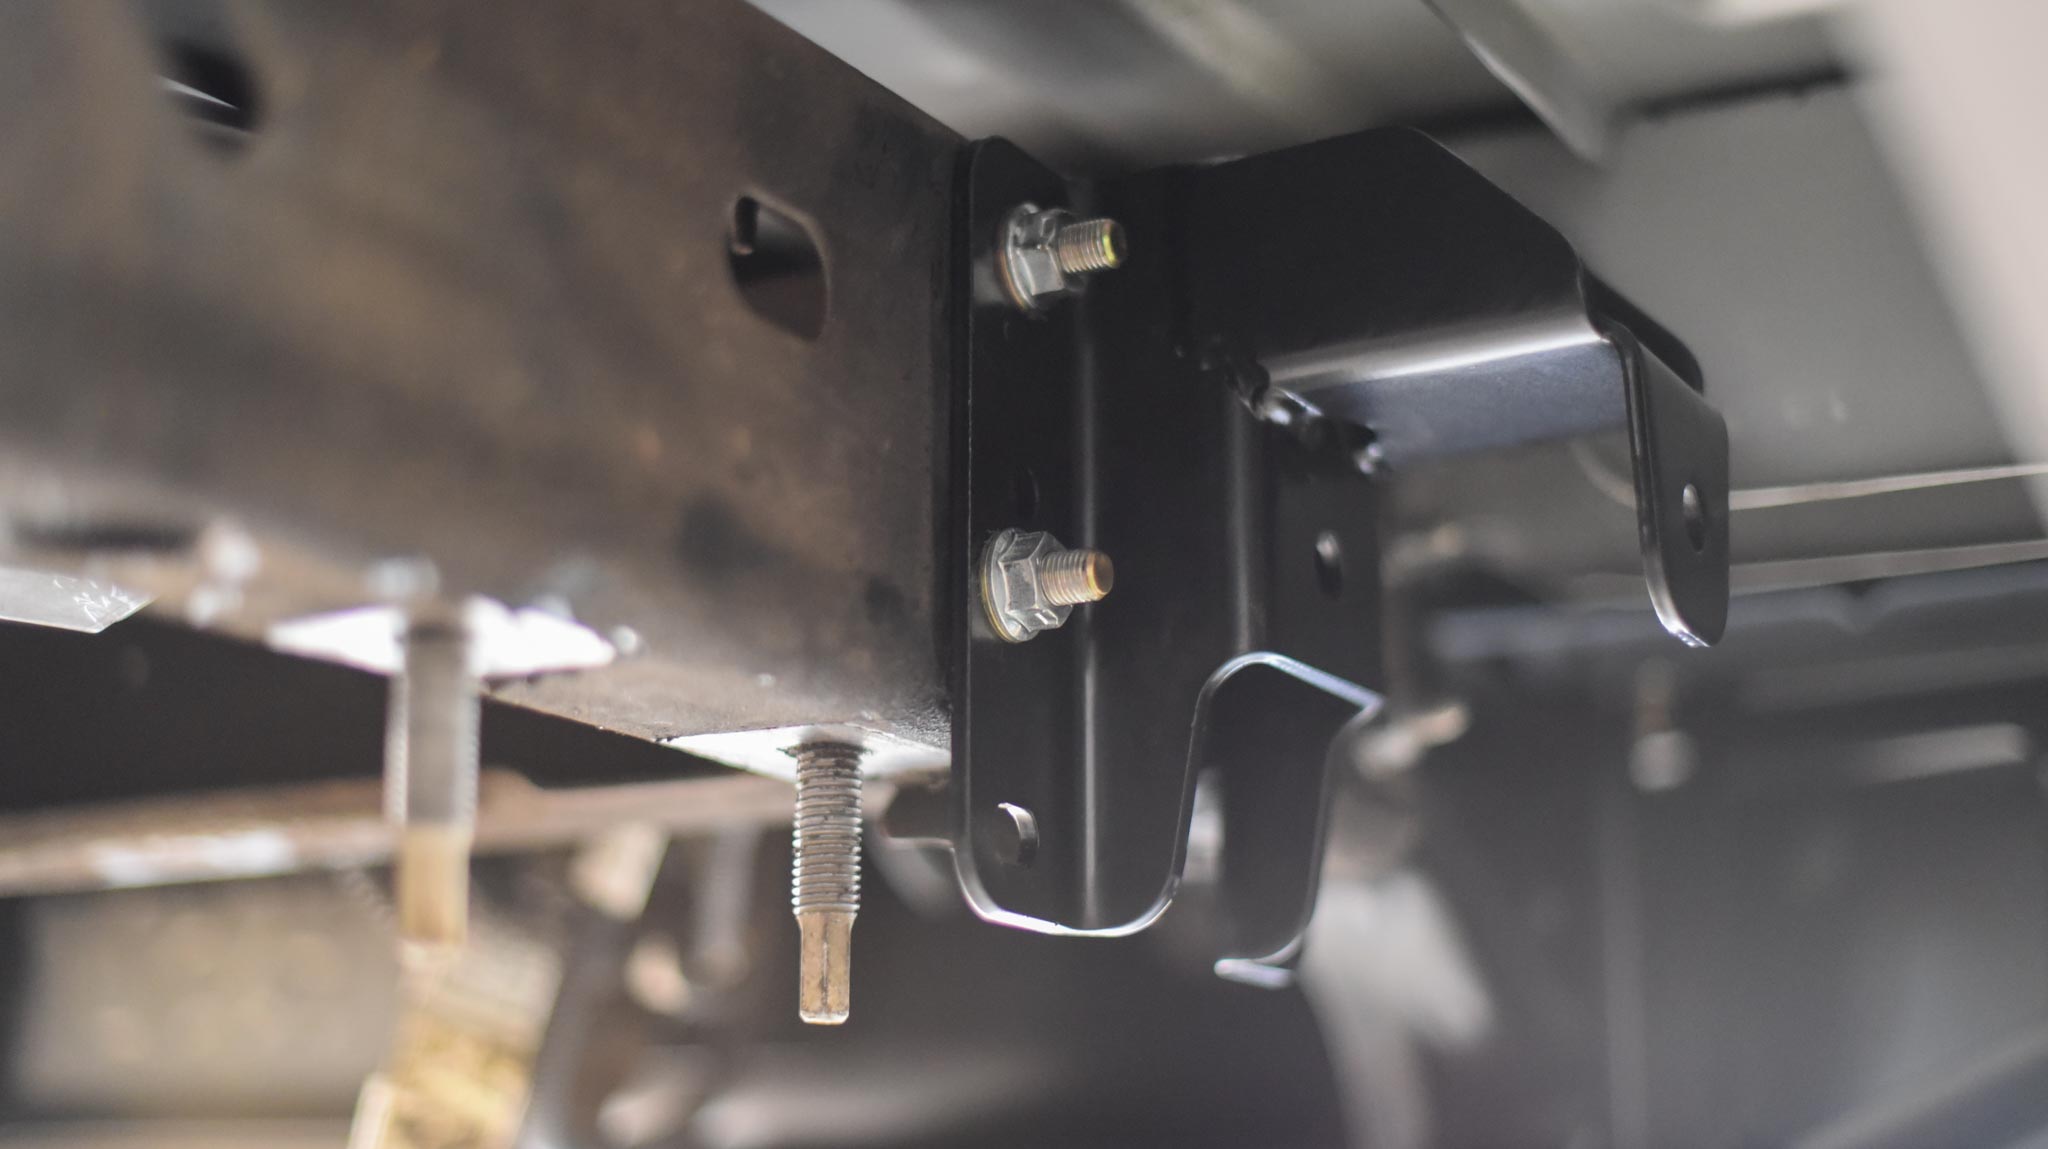
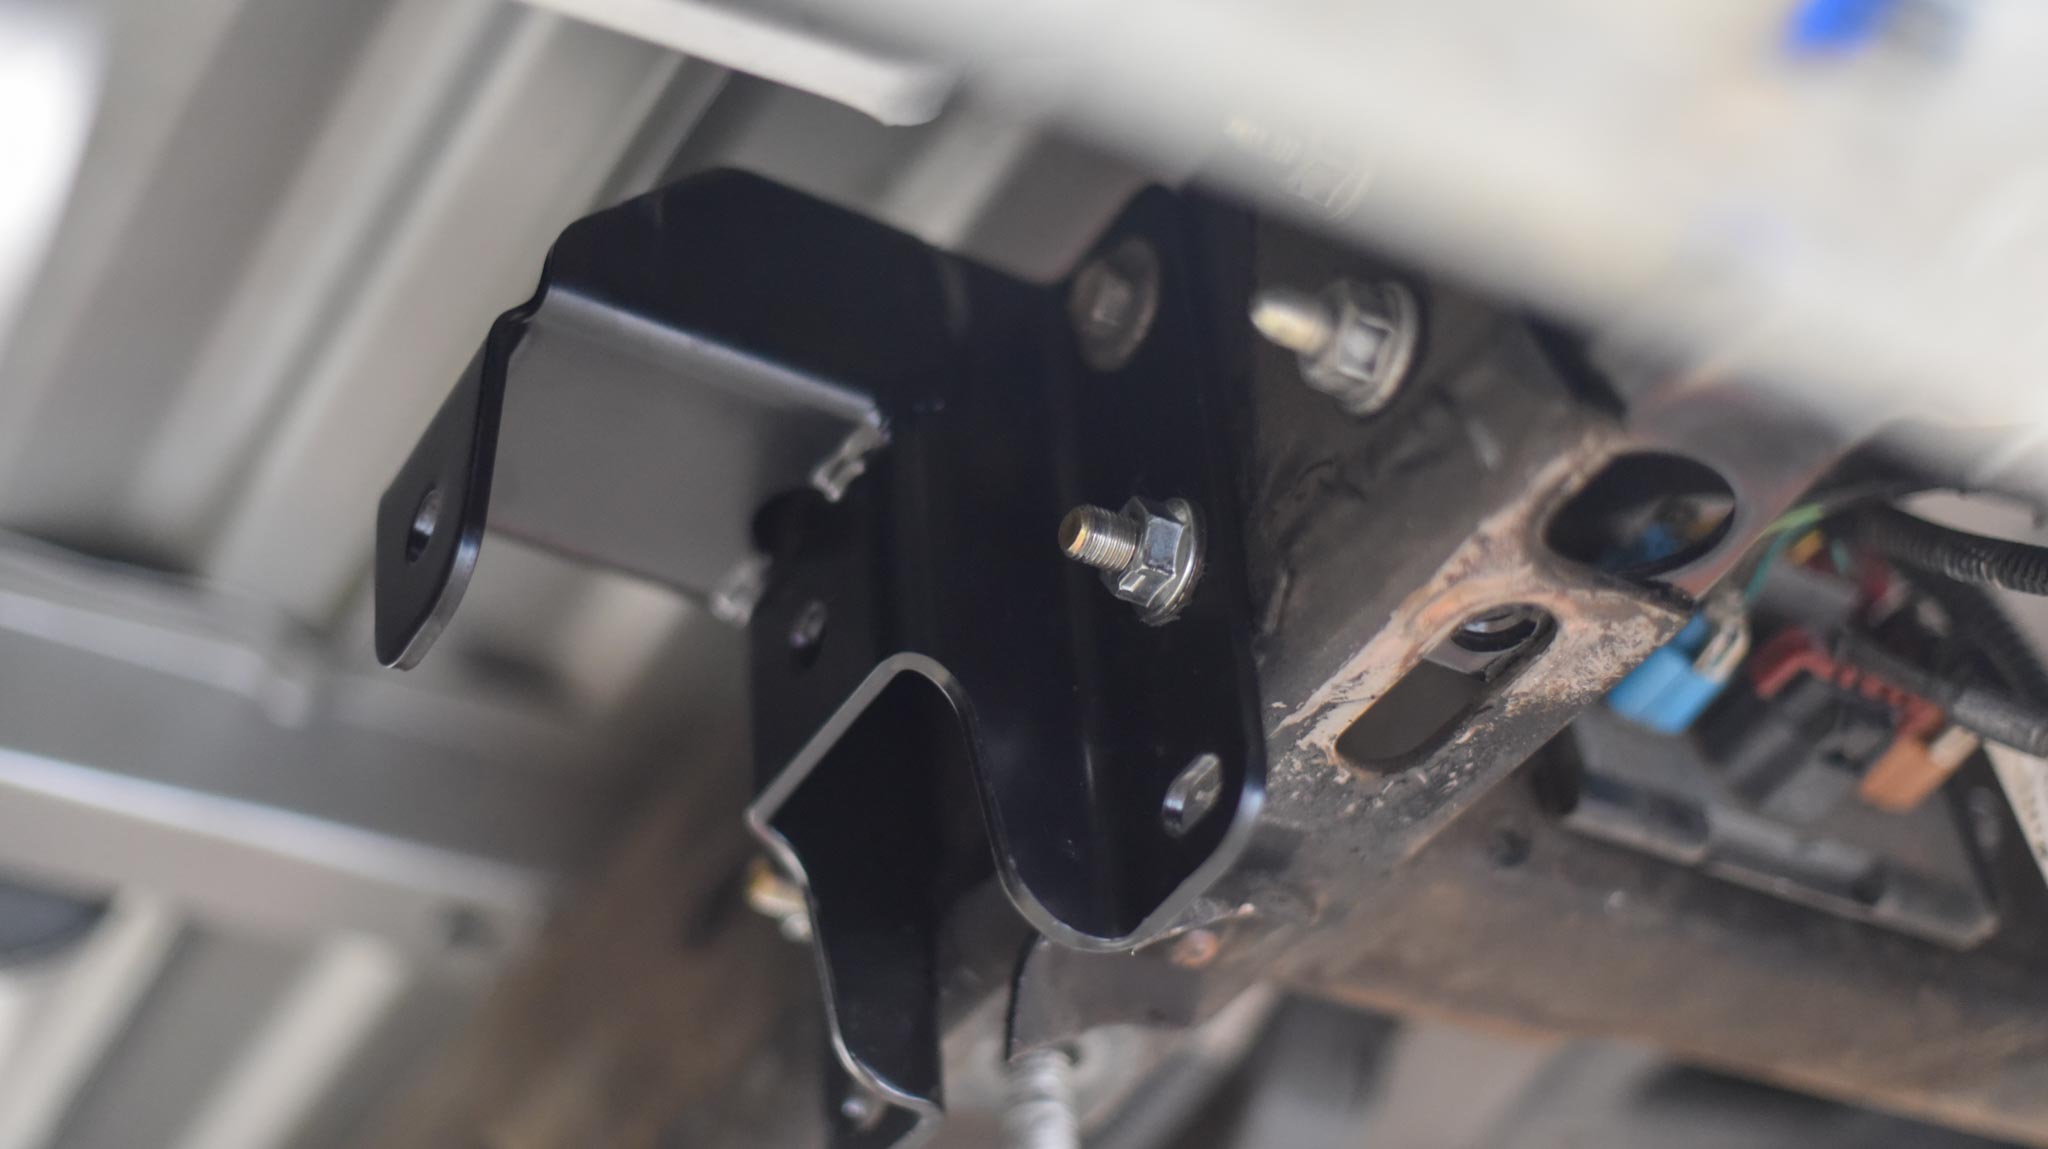
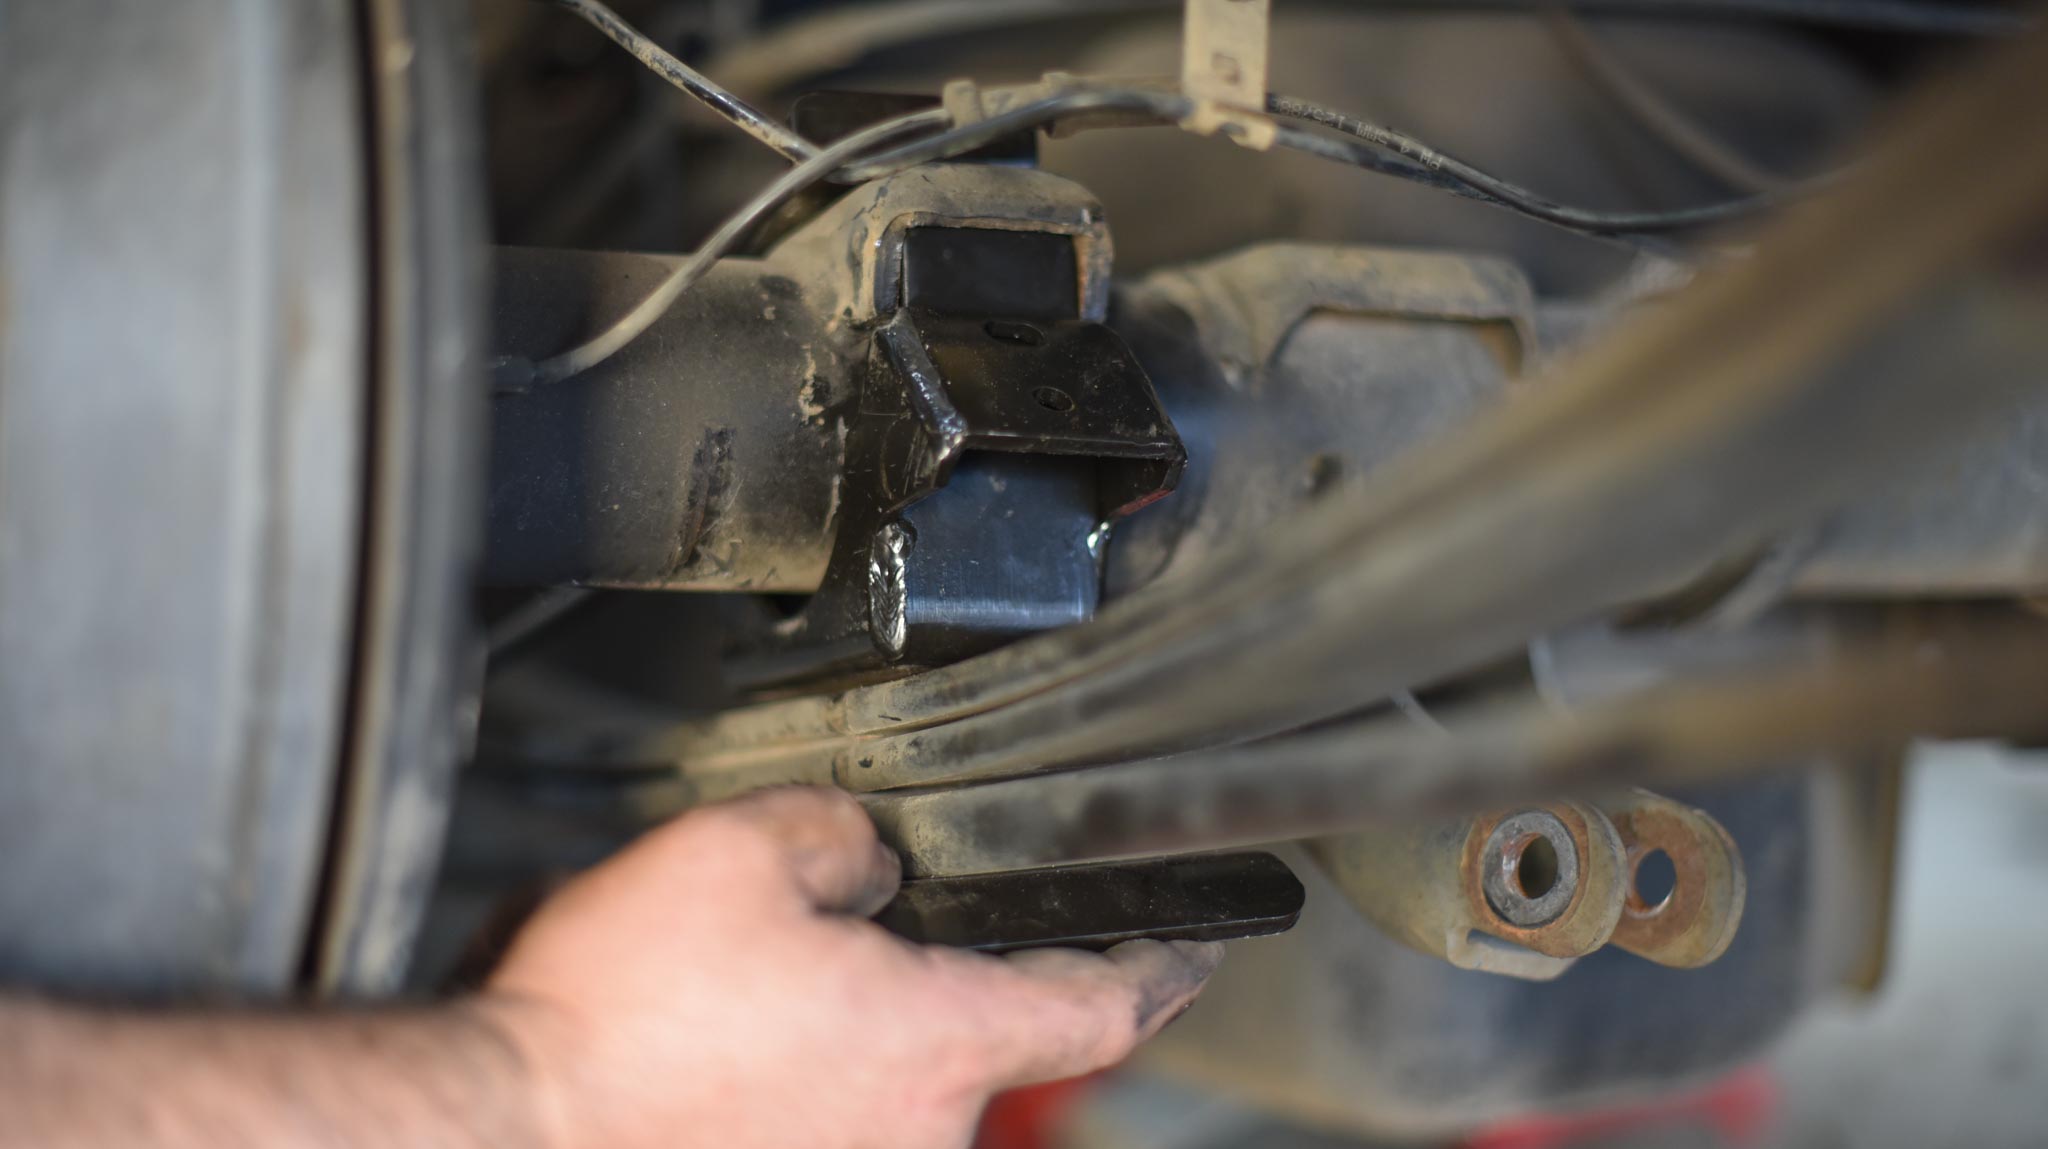
This is the new Belltech rear leaf spring mounting bracket…
As you can see, the are 6 holes to mount/adjust it, If you move the shackle downward & use the top 4 bolts to mount it… you get a 5-inch drop. Whereas if you move the shackle upward & mount it using the lower 4 holes… it’s a 6-inch drop. But here’s the catch: If you go for the SIX, you have to cut/bend a pinch-weld on the underside of the bed. And it was late… and we were tired. Meaning we wimped-out & hoped we might get lucky with FIVE (we didn’t want it to squat). So pictured here is the mounting position for the FIVE-inch rear drop. For the record – we immediately regretted that lame-ass decision. So we pulled it back apart & did what needed to be done. Unless you’re planning to put a camper or giant water-tank on the bed, just go for SIX man… it’s why you buy the kit in the first place.
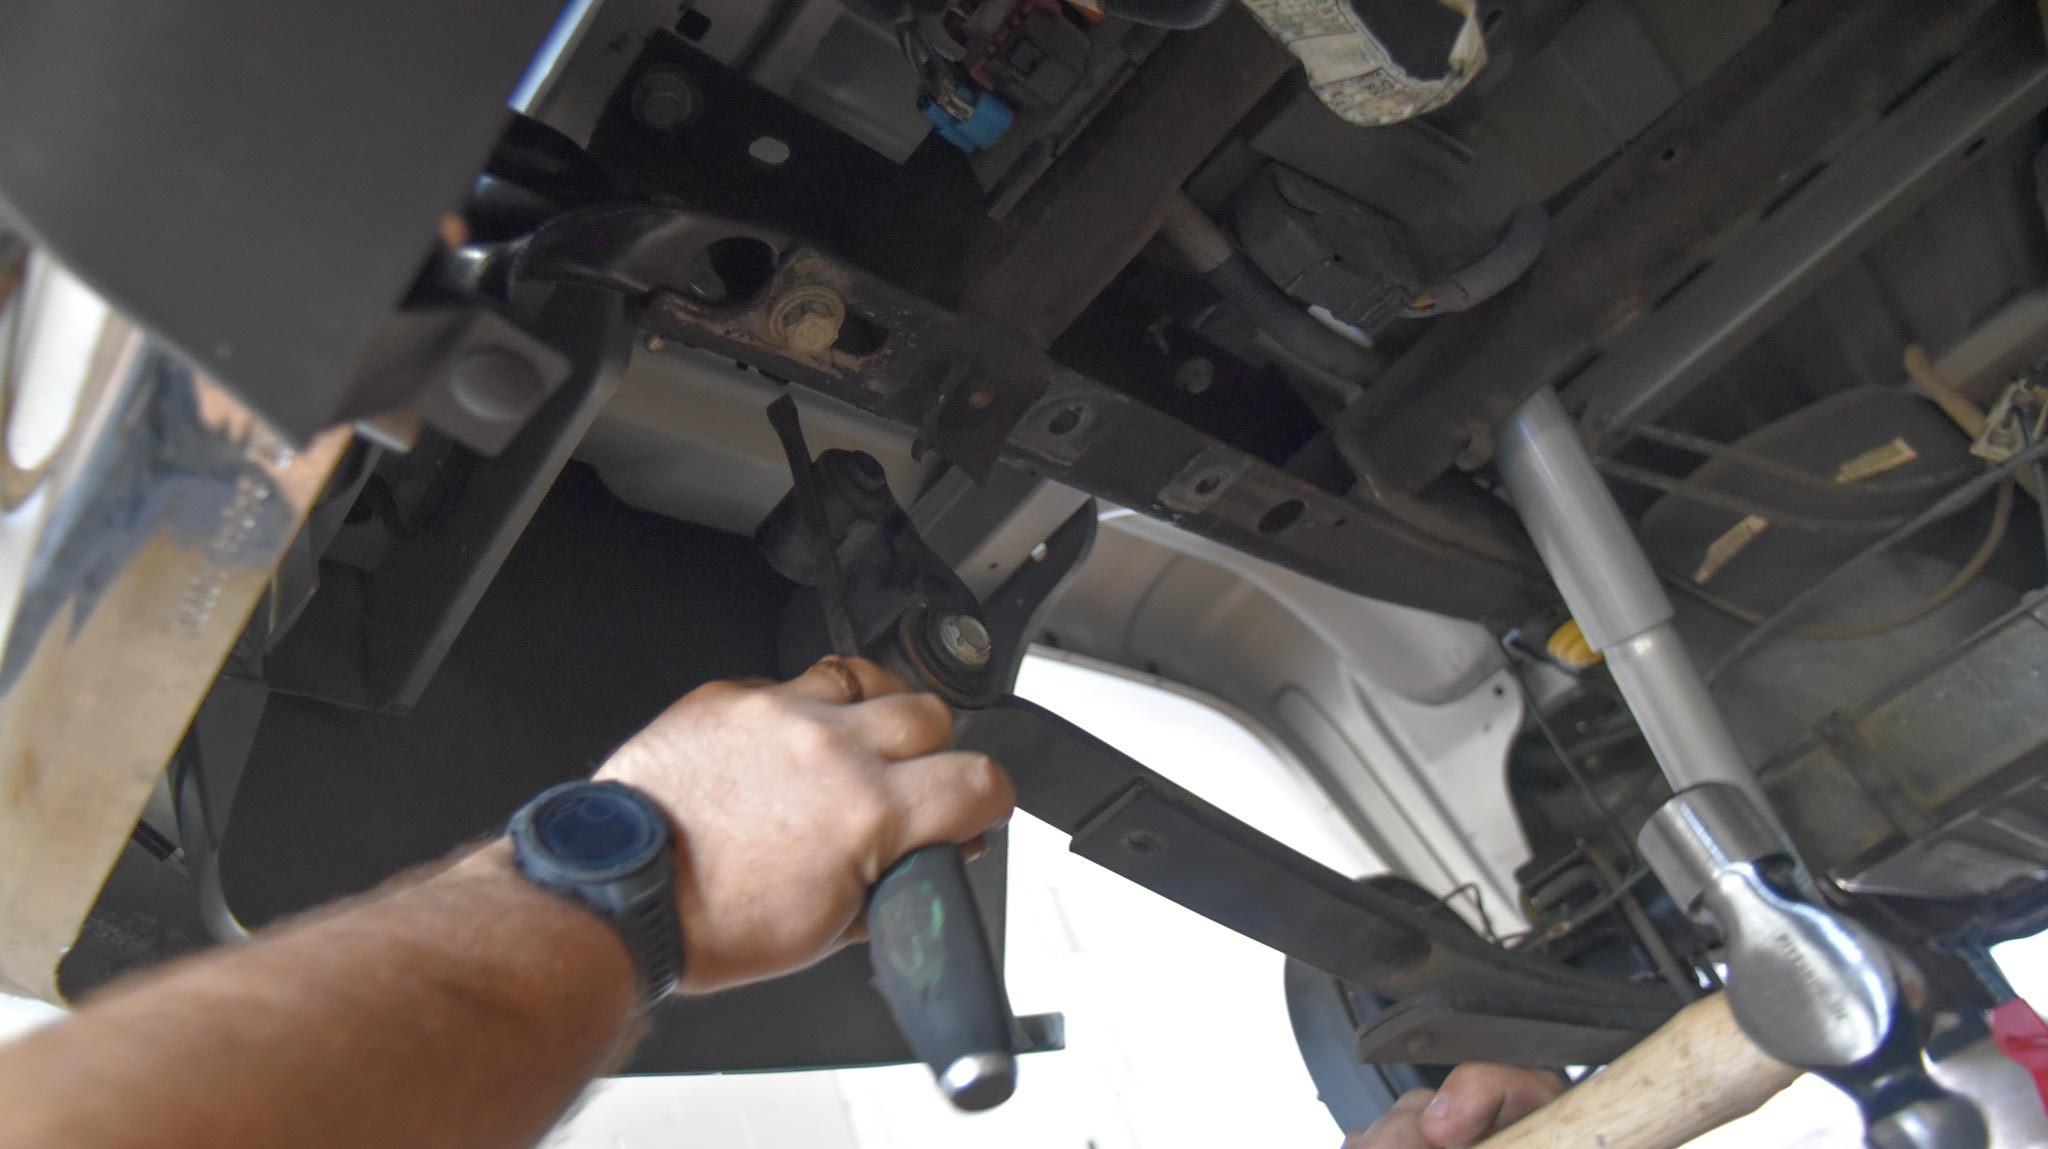
Here we are hammering that pinch-weld flat…
So we can successfully move the Belltech rear leaf spring mounting bracket upward to get that extra inch of drop. The pinch-weld seam sticks down about a half inch, so we cut it on each side with a cut-off wheel (about an 8-inch section), then hammered it flat.
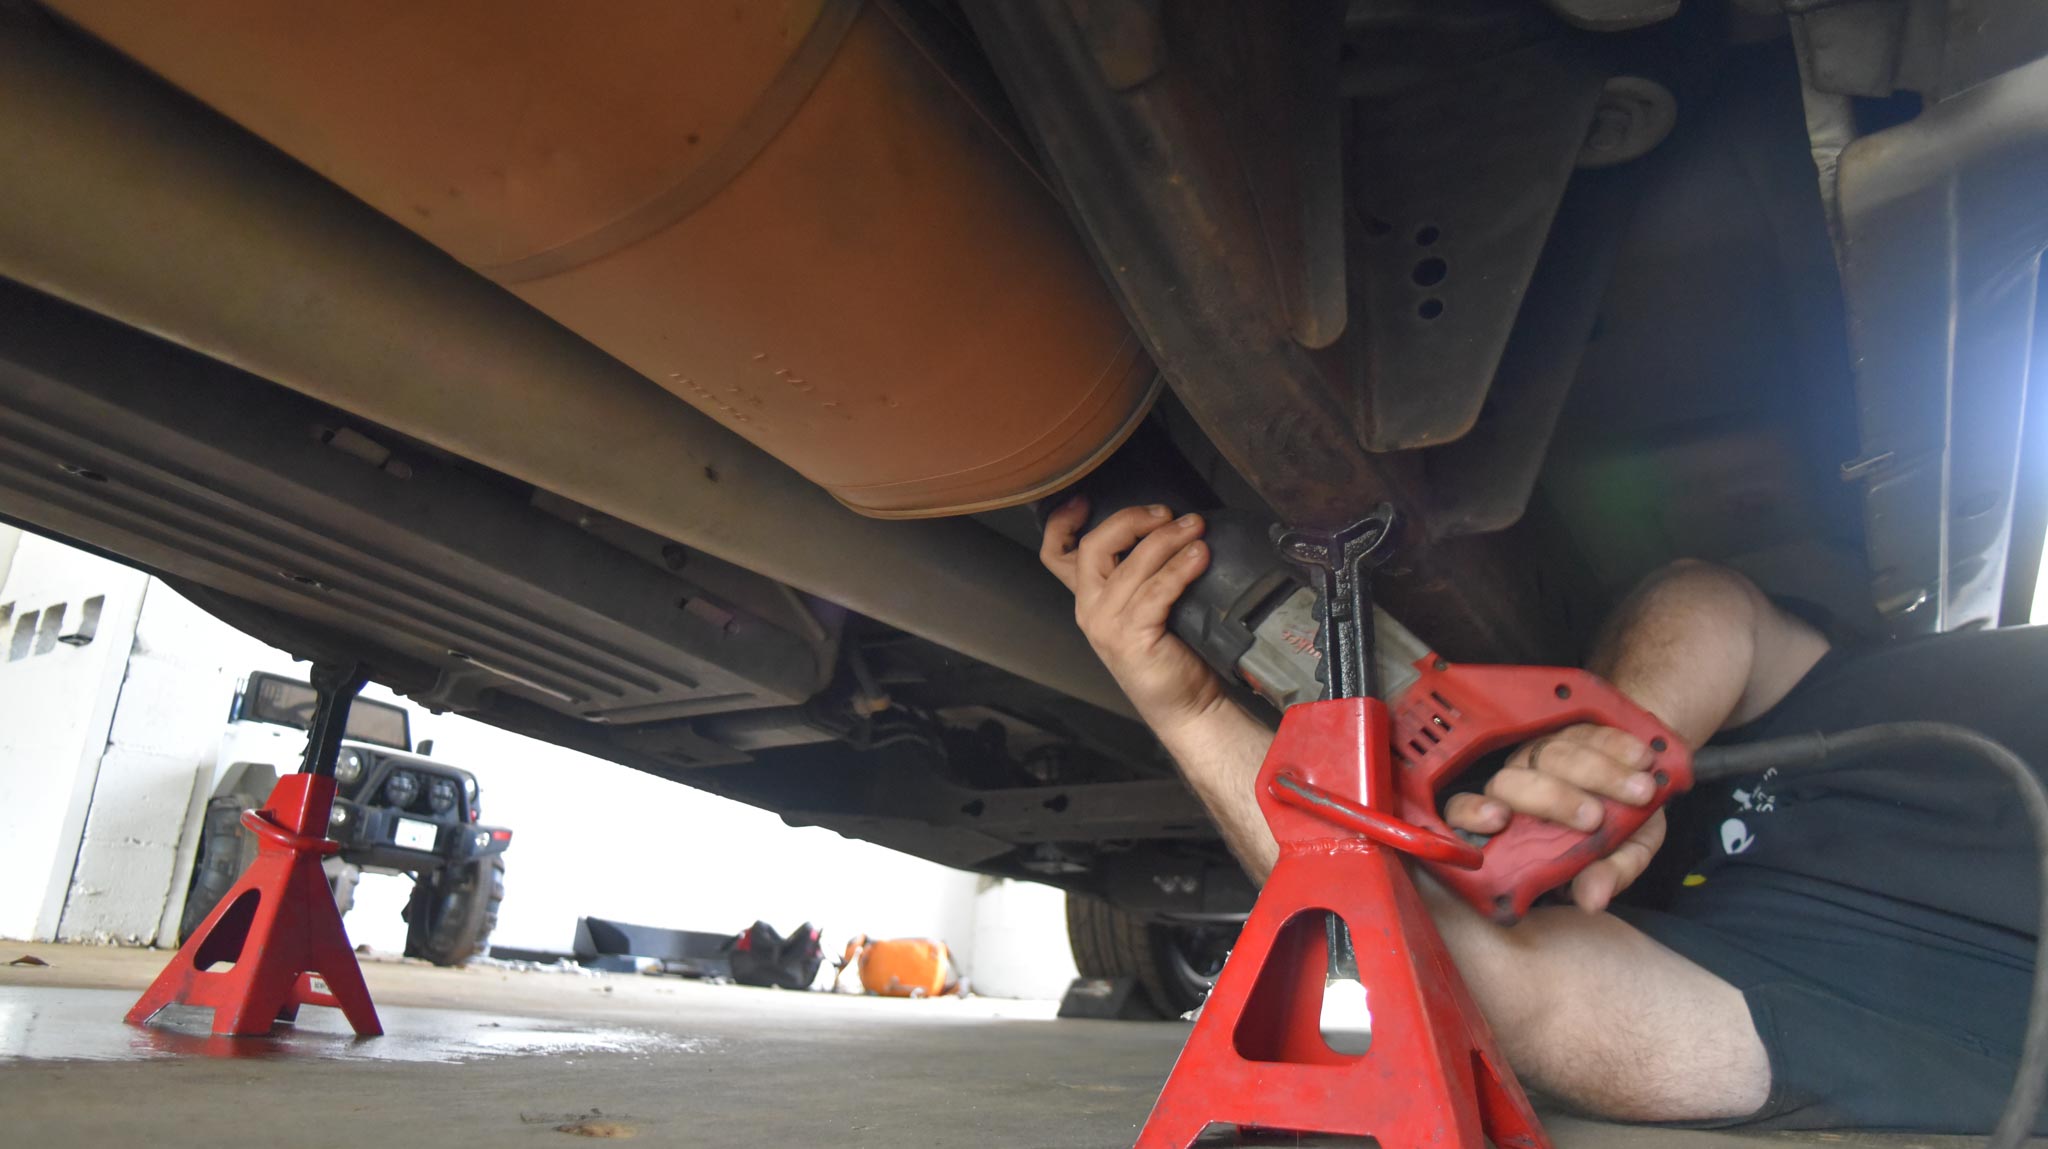
Somewhere along the line, we cut the exhaust off…
It was bugging us & the tools were already out. We welded a turn-down on there… and it sounds pretty good actually! But it’s temporary, as a custom exhaust is in the not-too-distant future (stay tuned).
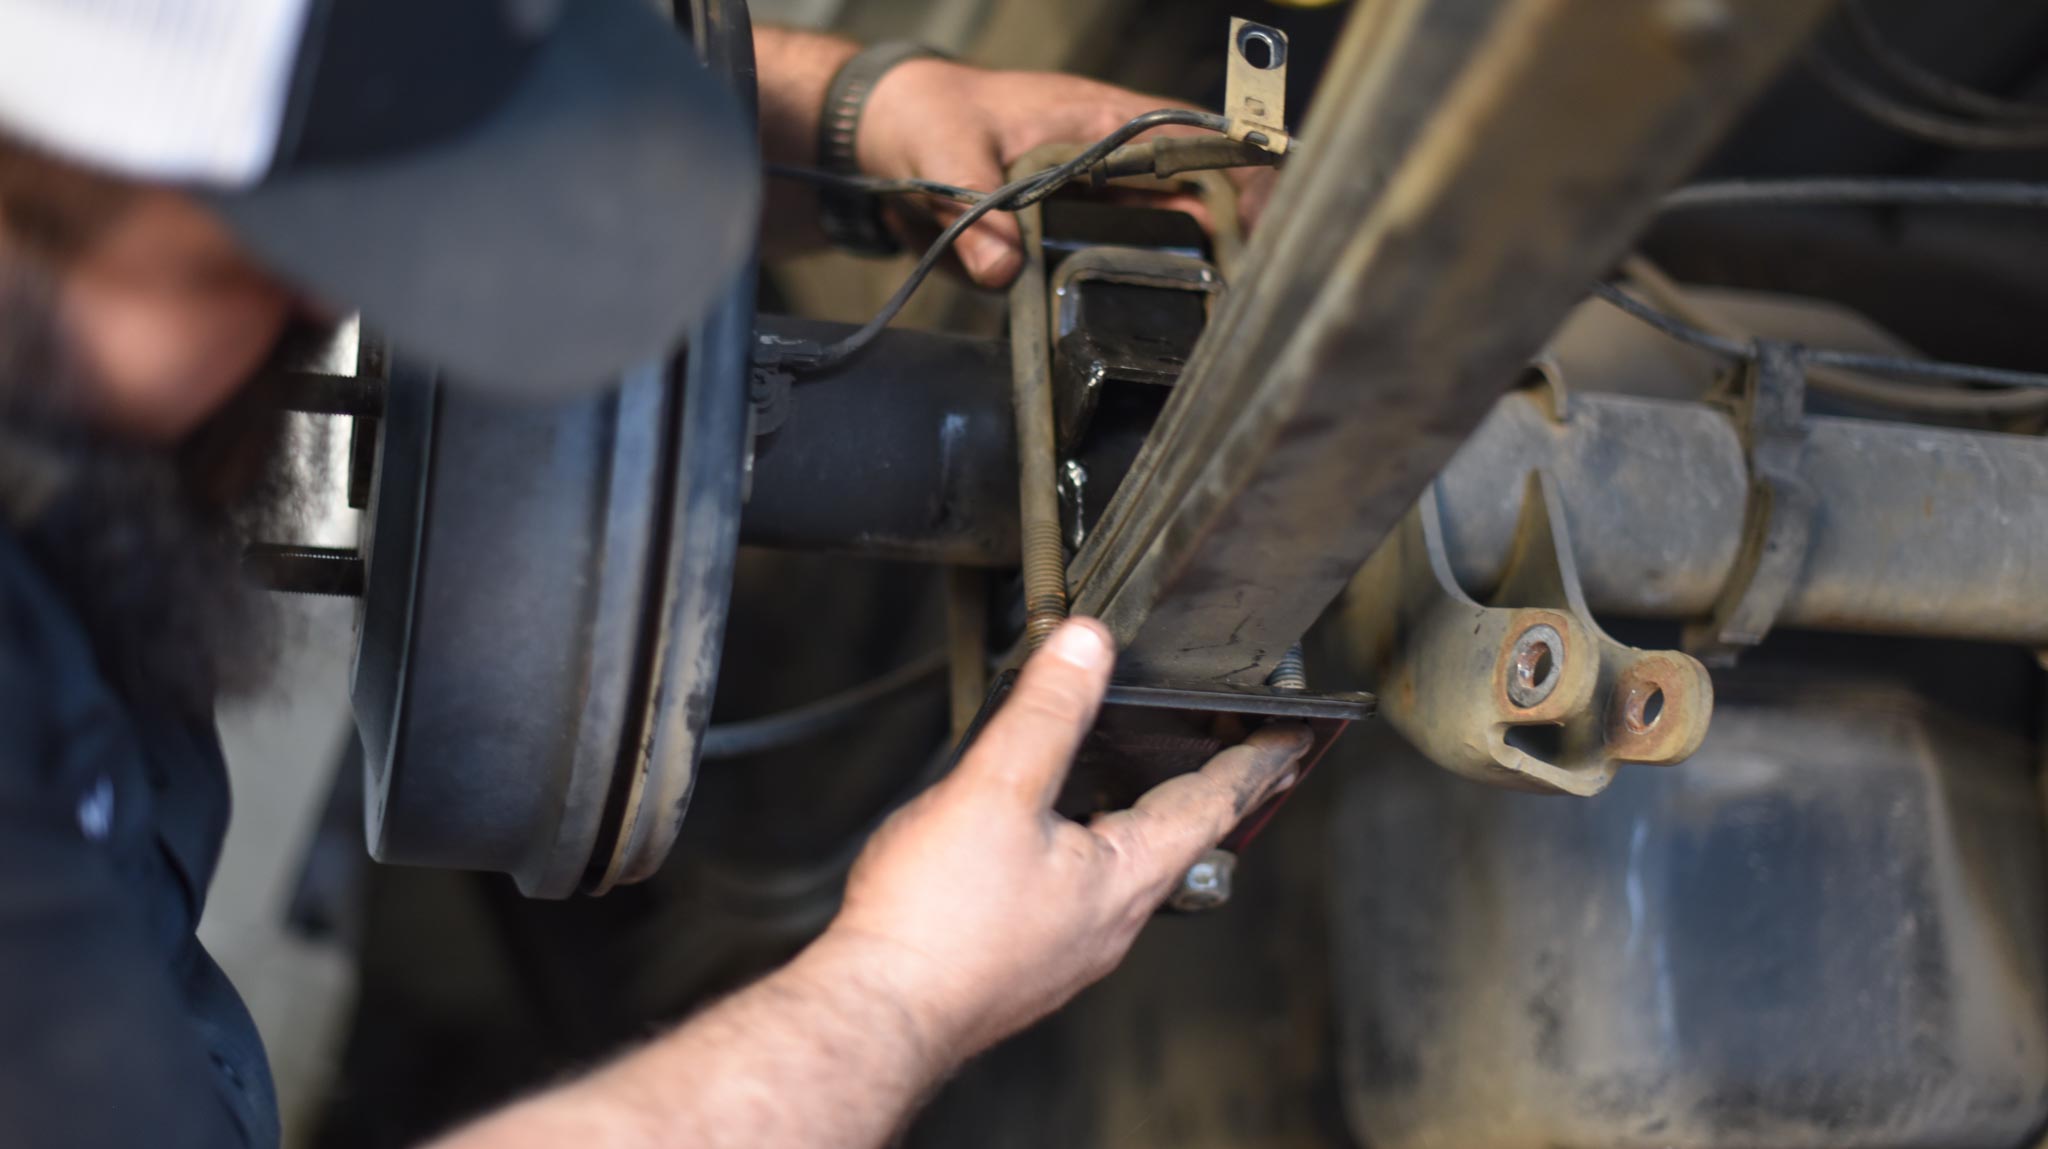
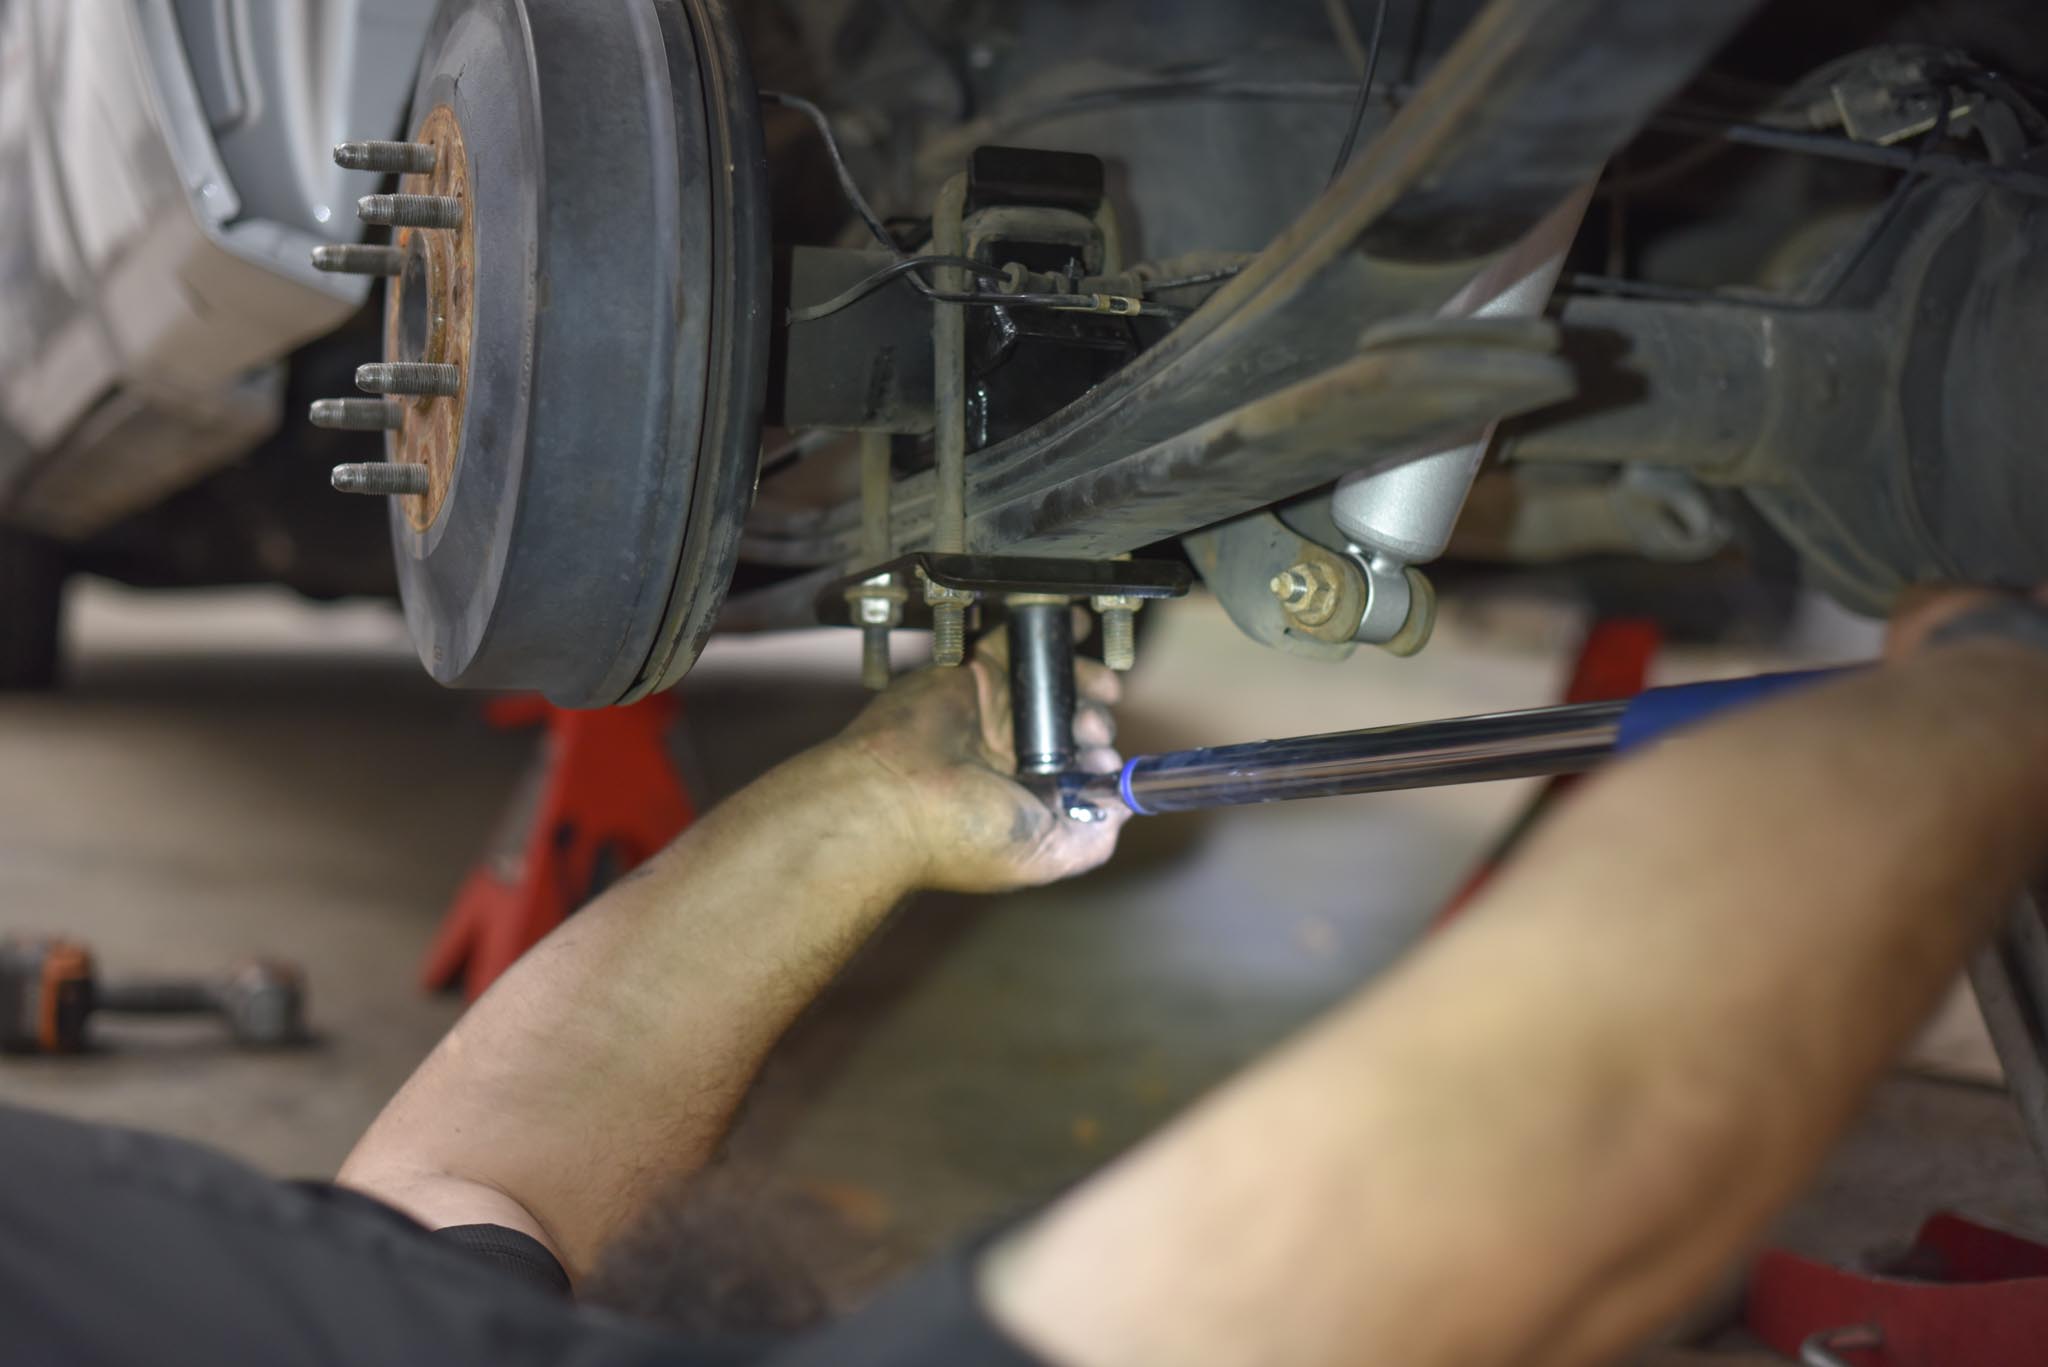
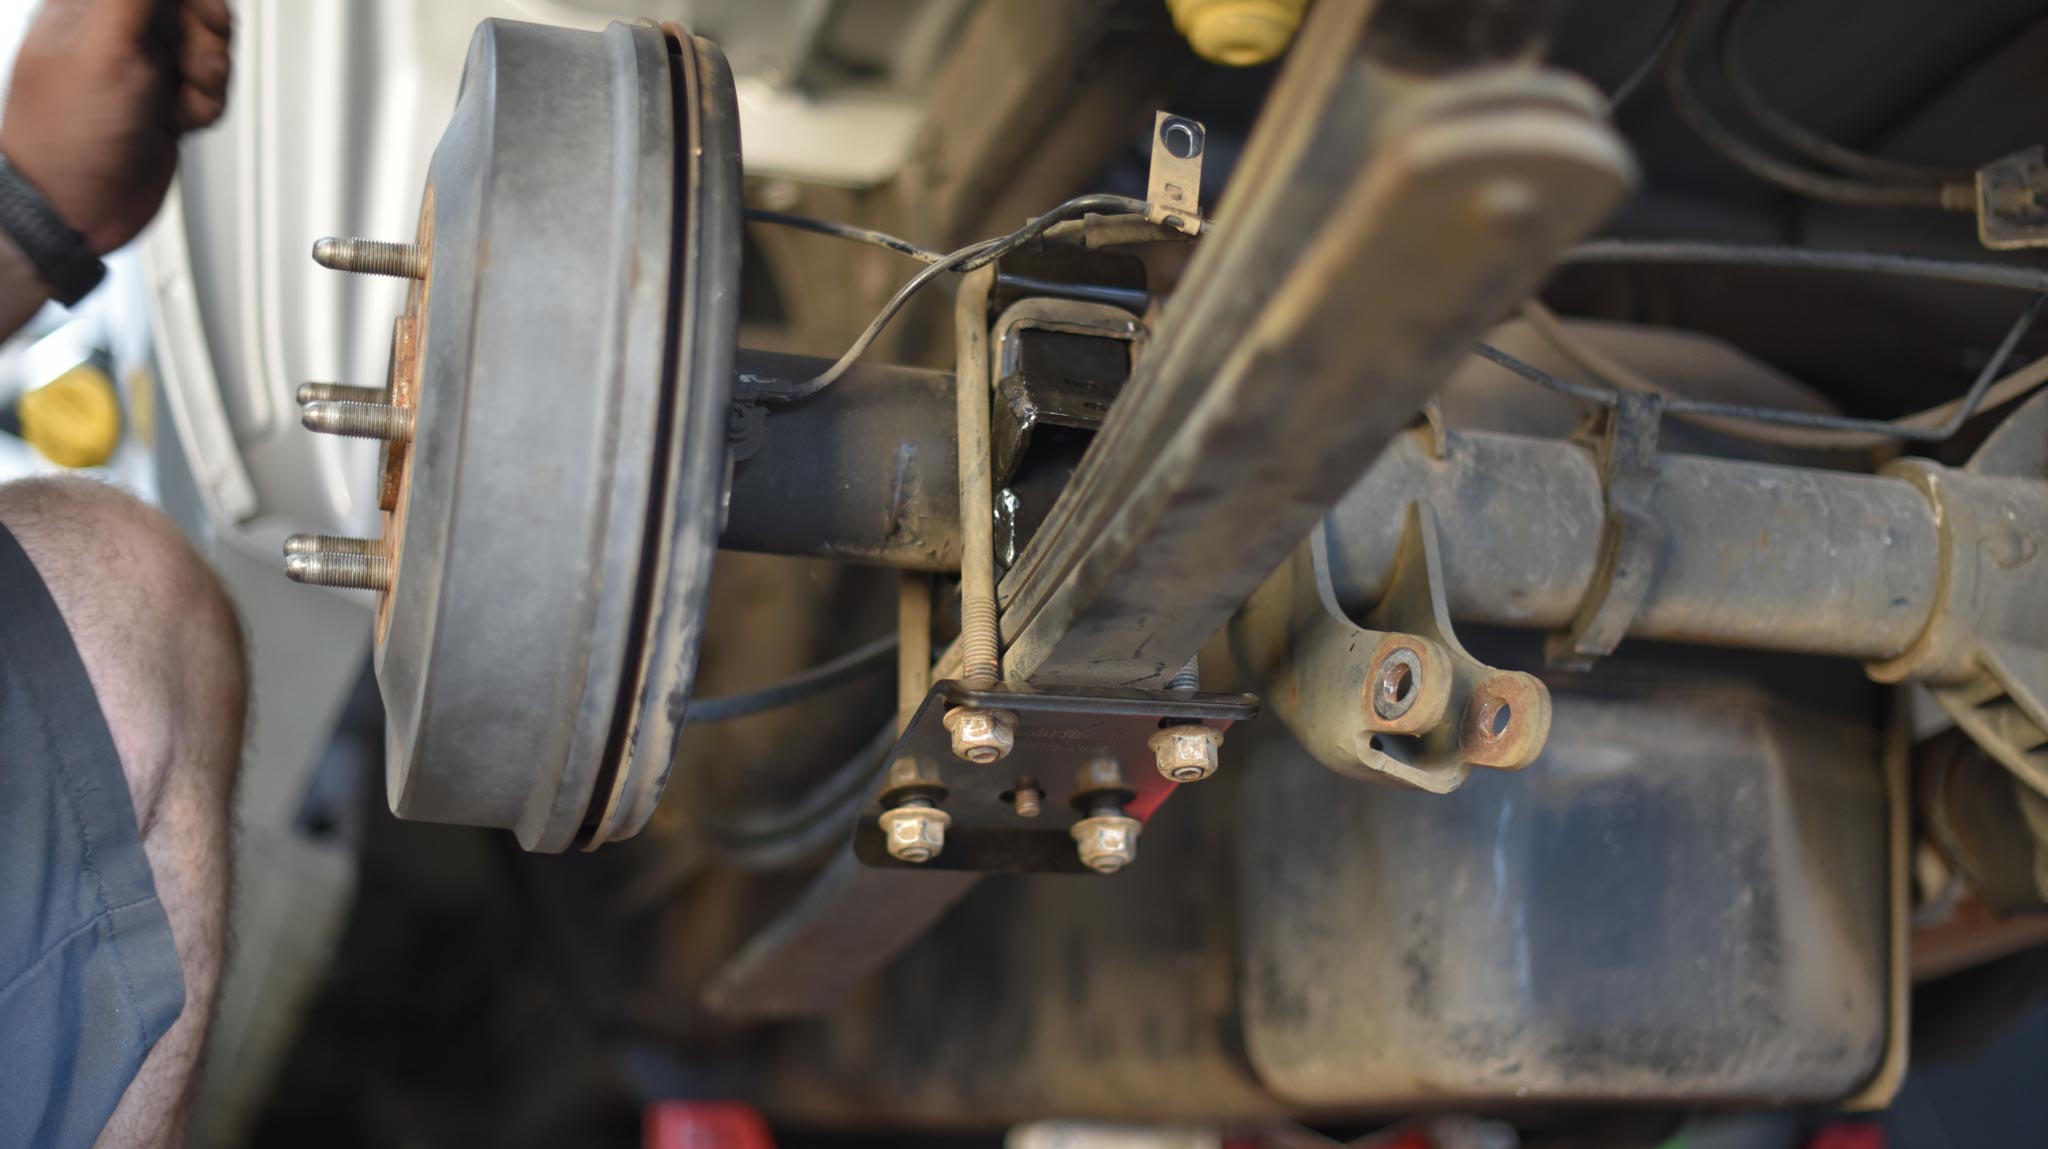
Finally, here’s the leaf spring & axle going back in place…
With the Belltech mounting brackets. Notice the axle is now positioned above the leaf spring. That axle-flip, combined with the new rear leaf spring bracket, is what gives you the drop.
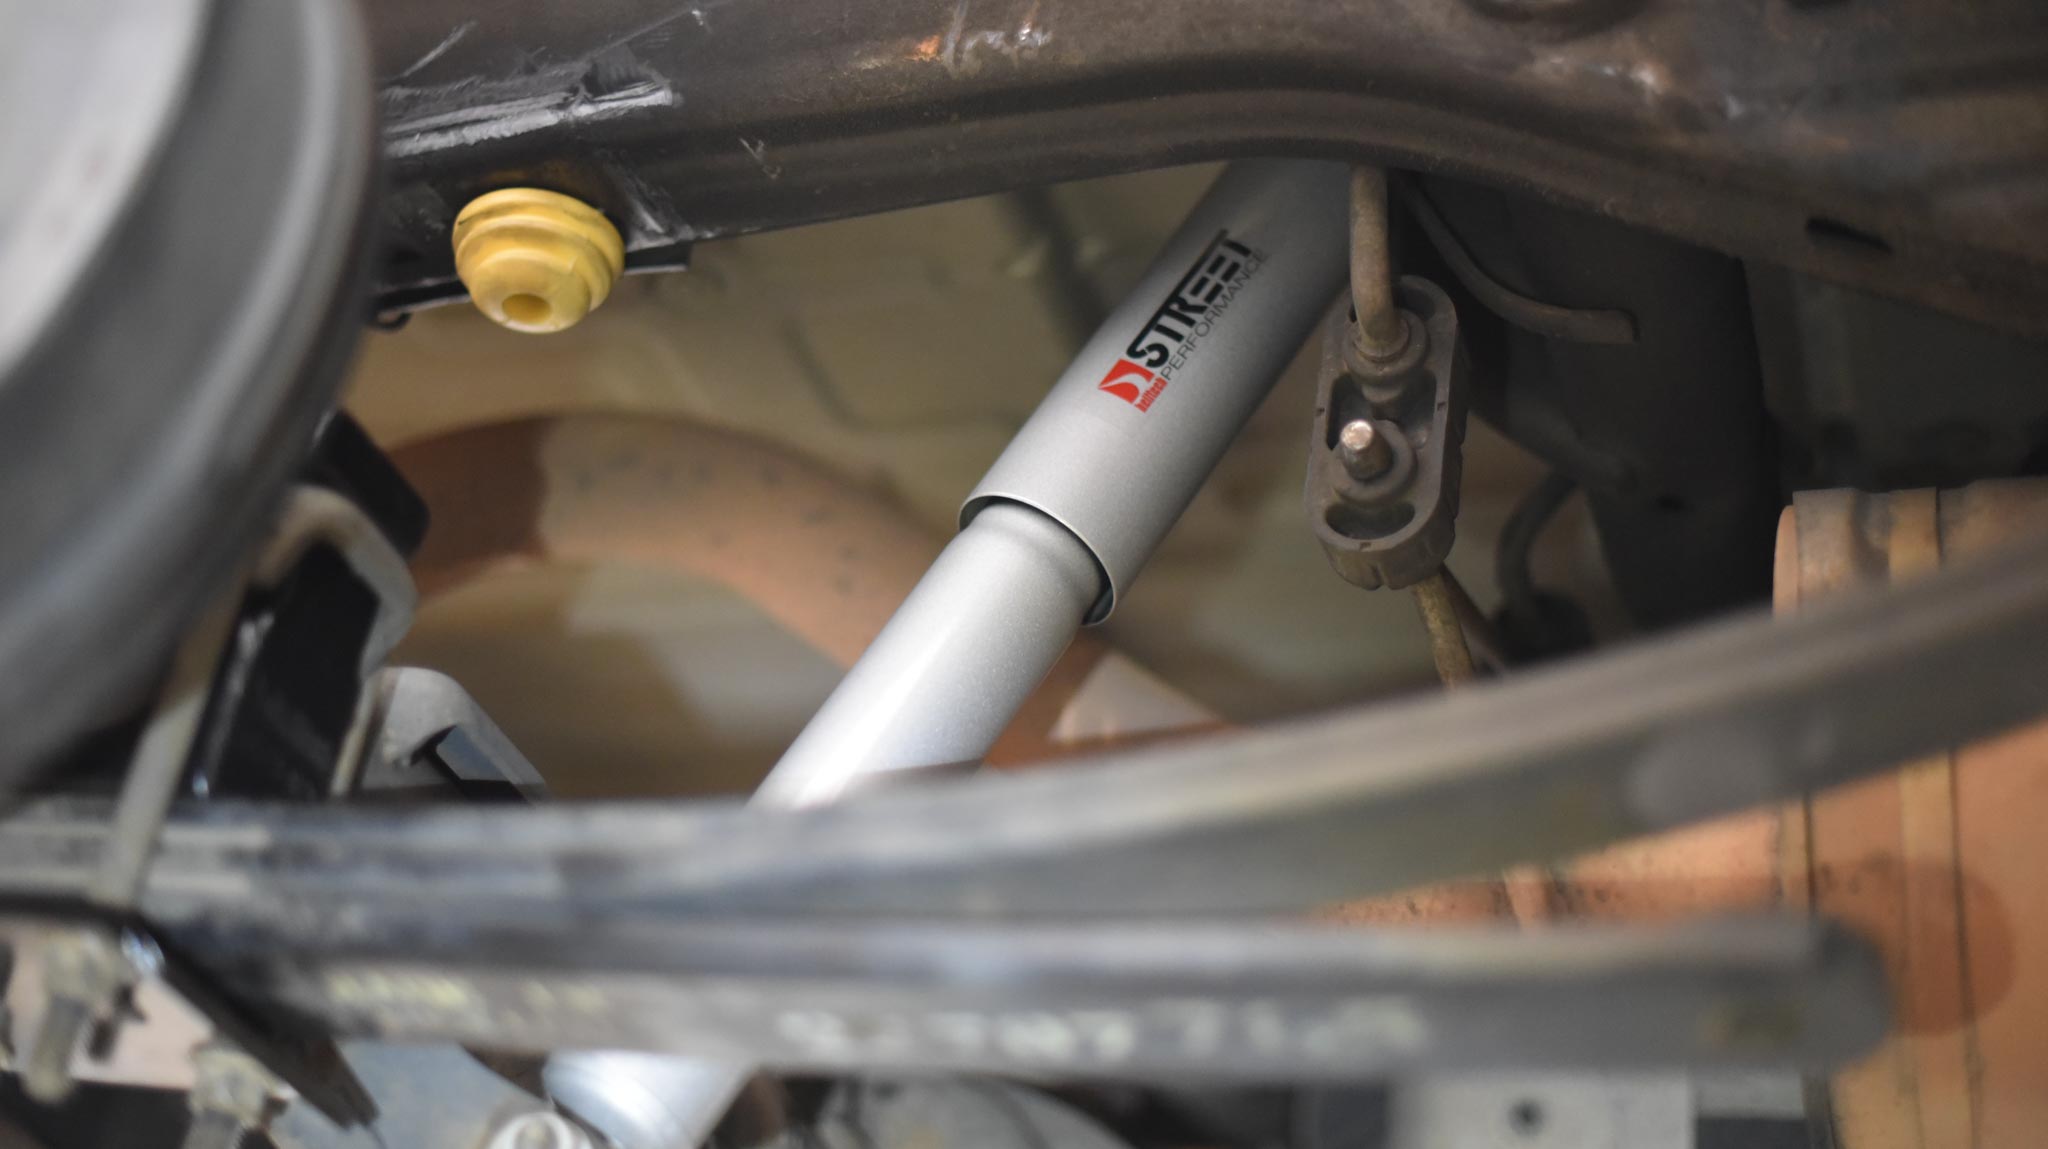
Lastly, install the new Belltech rear shocks…
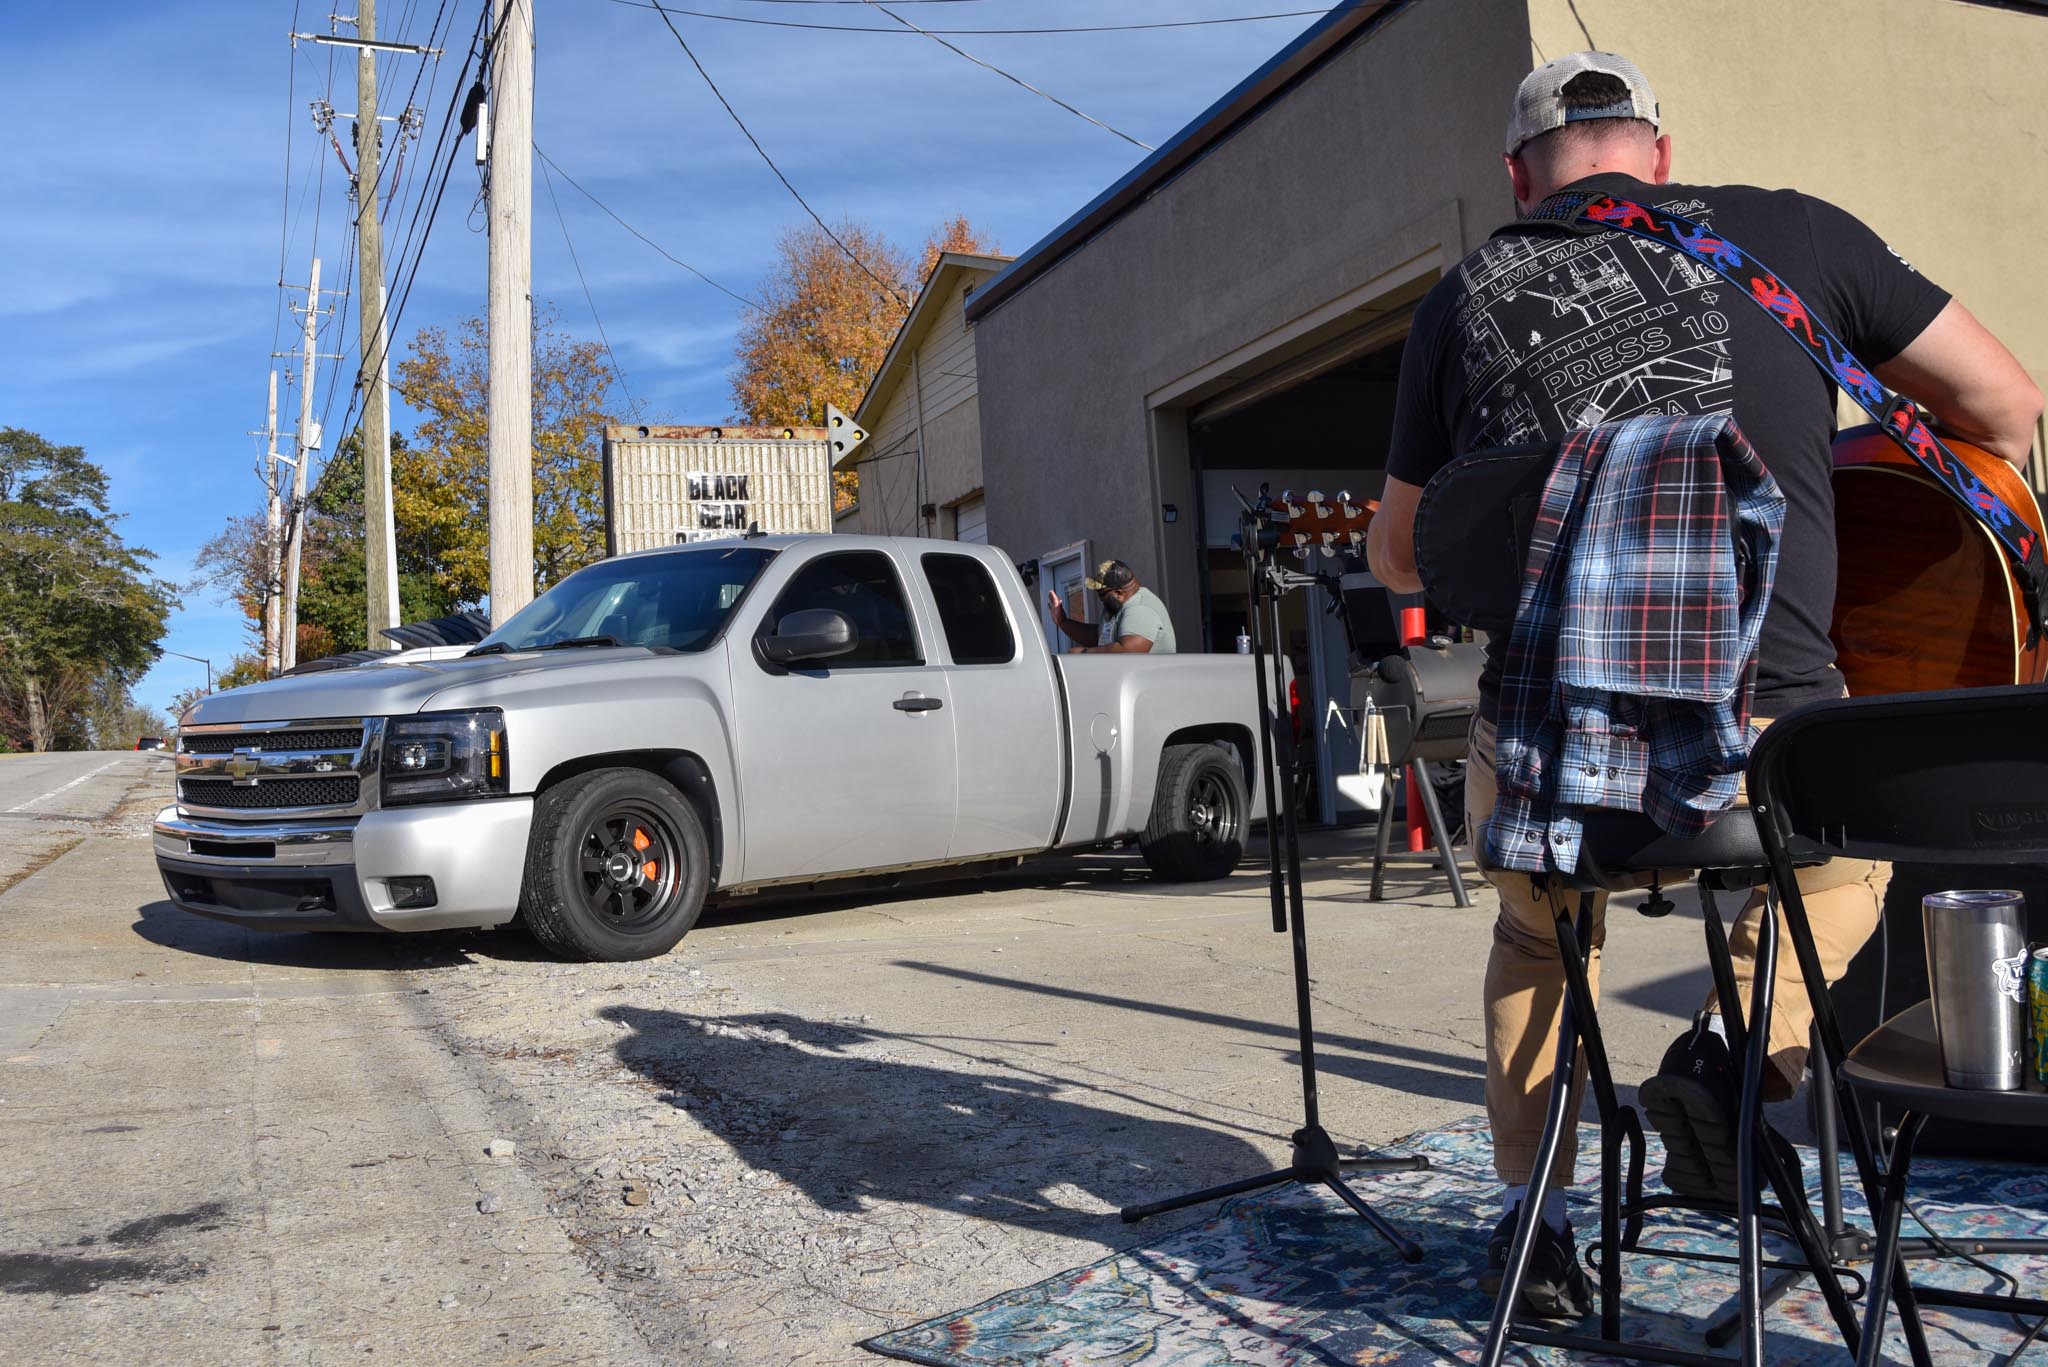
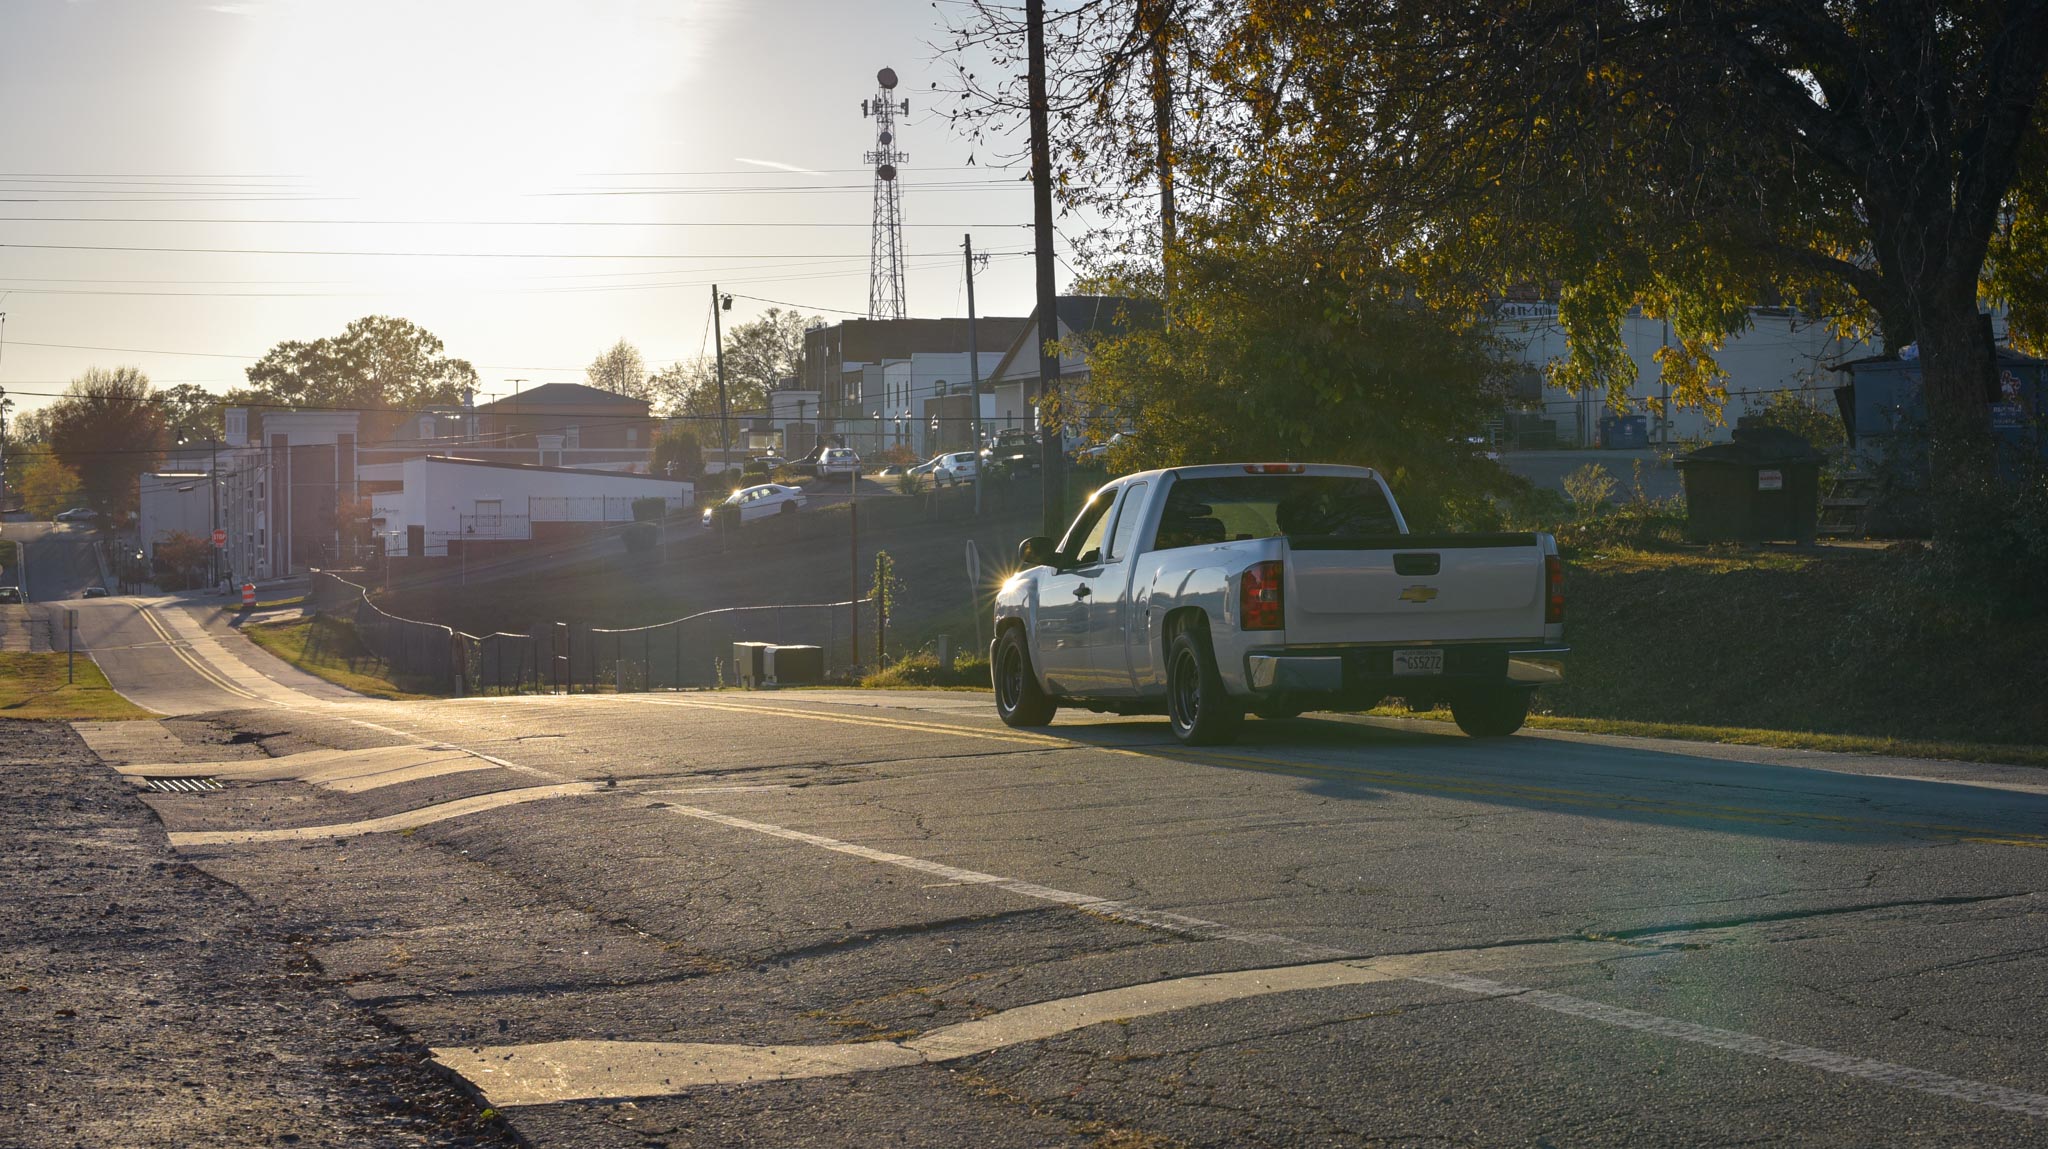
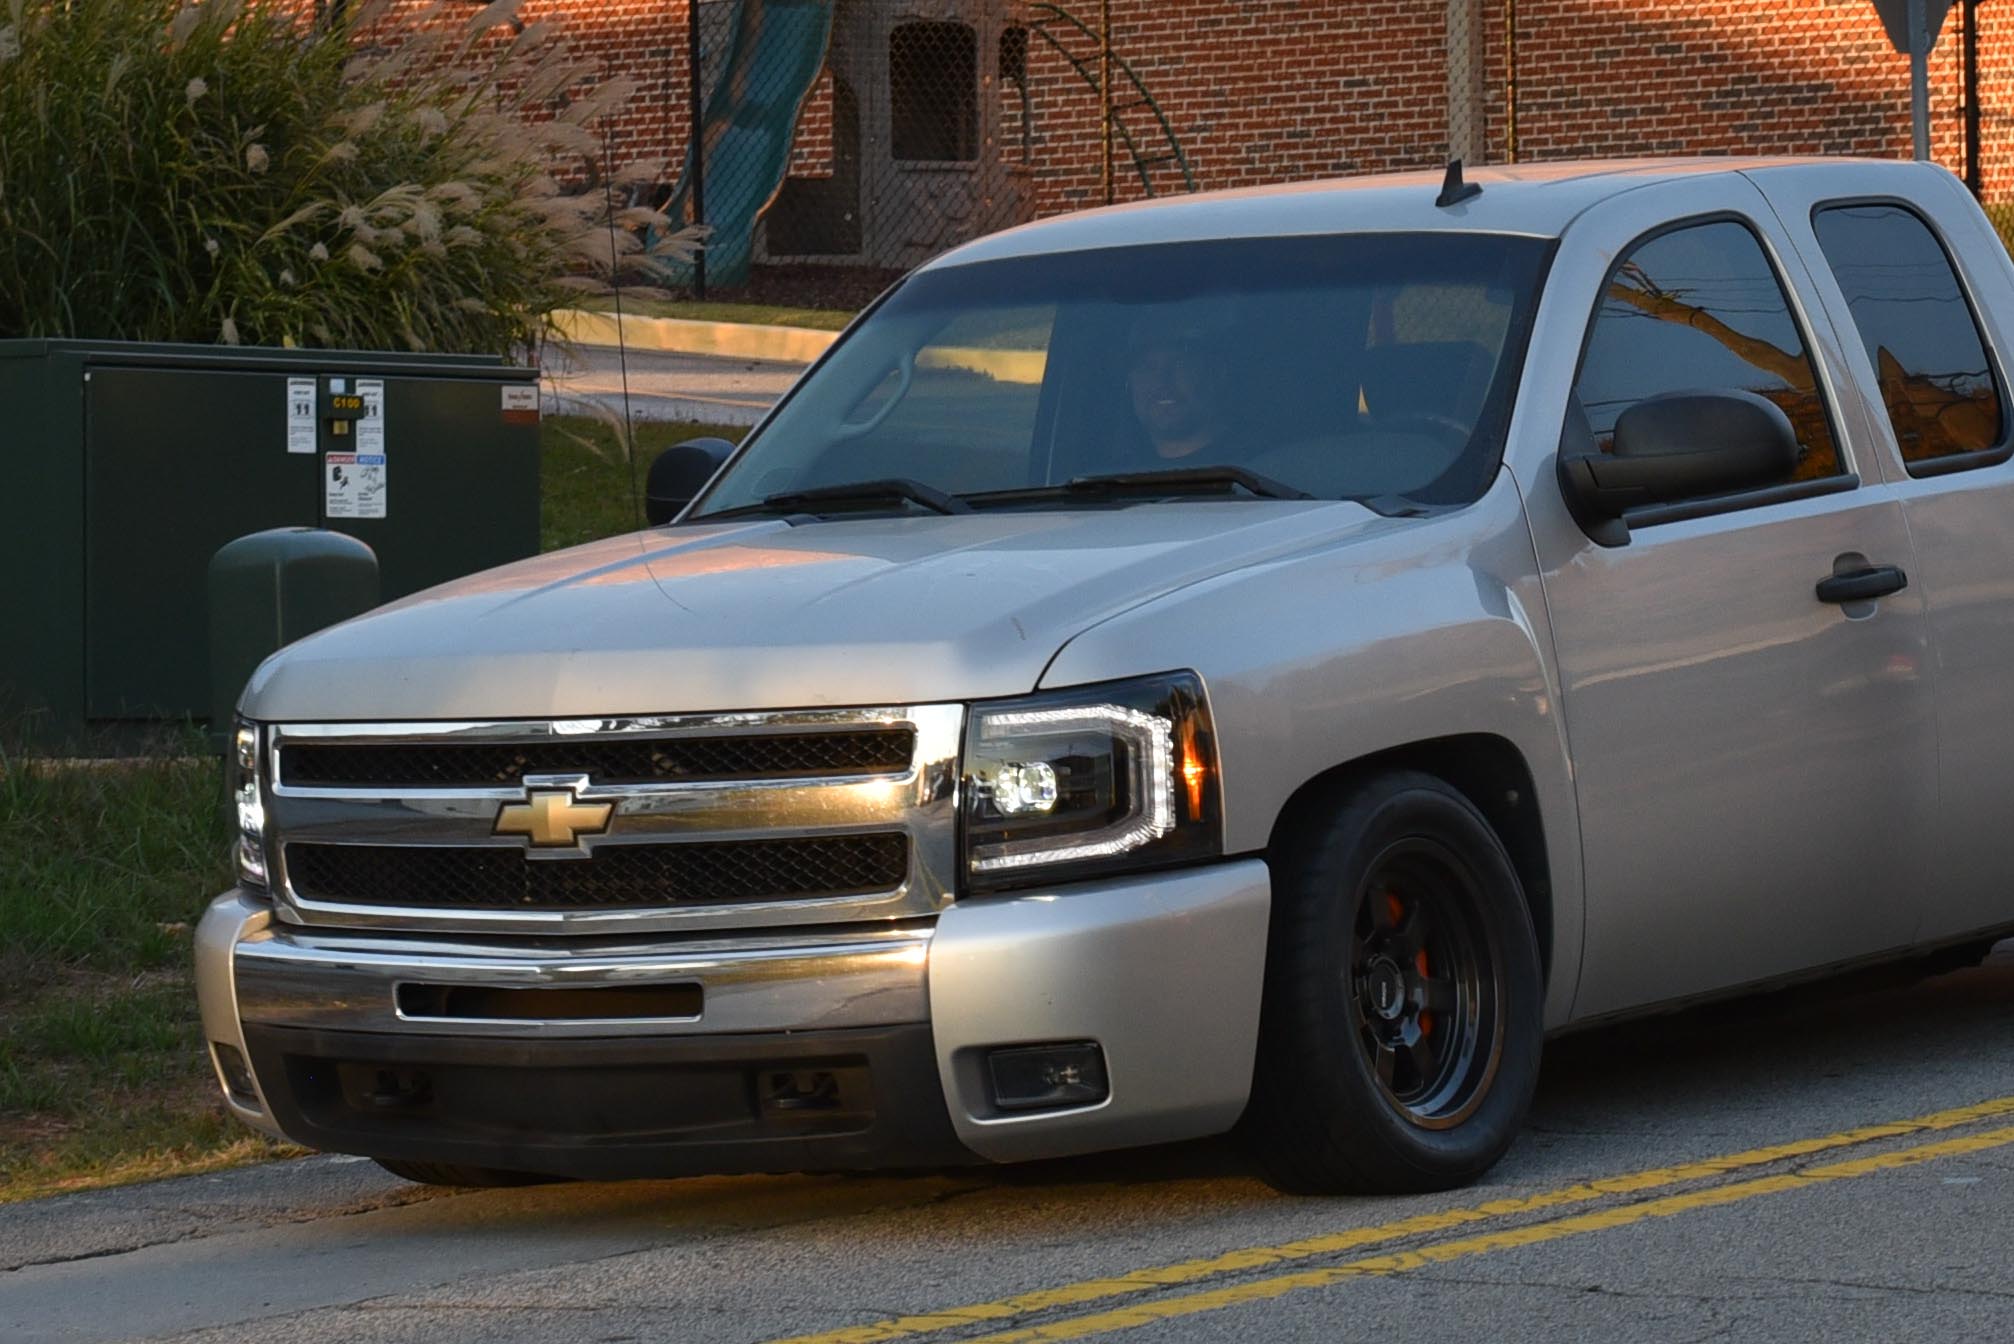
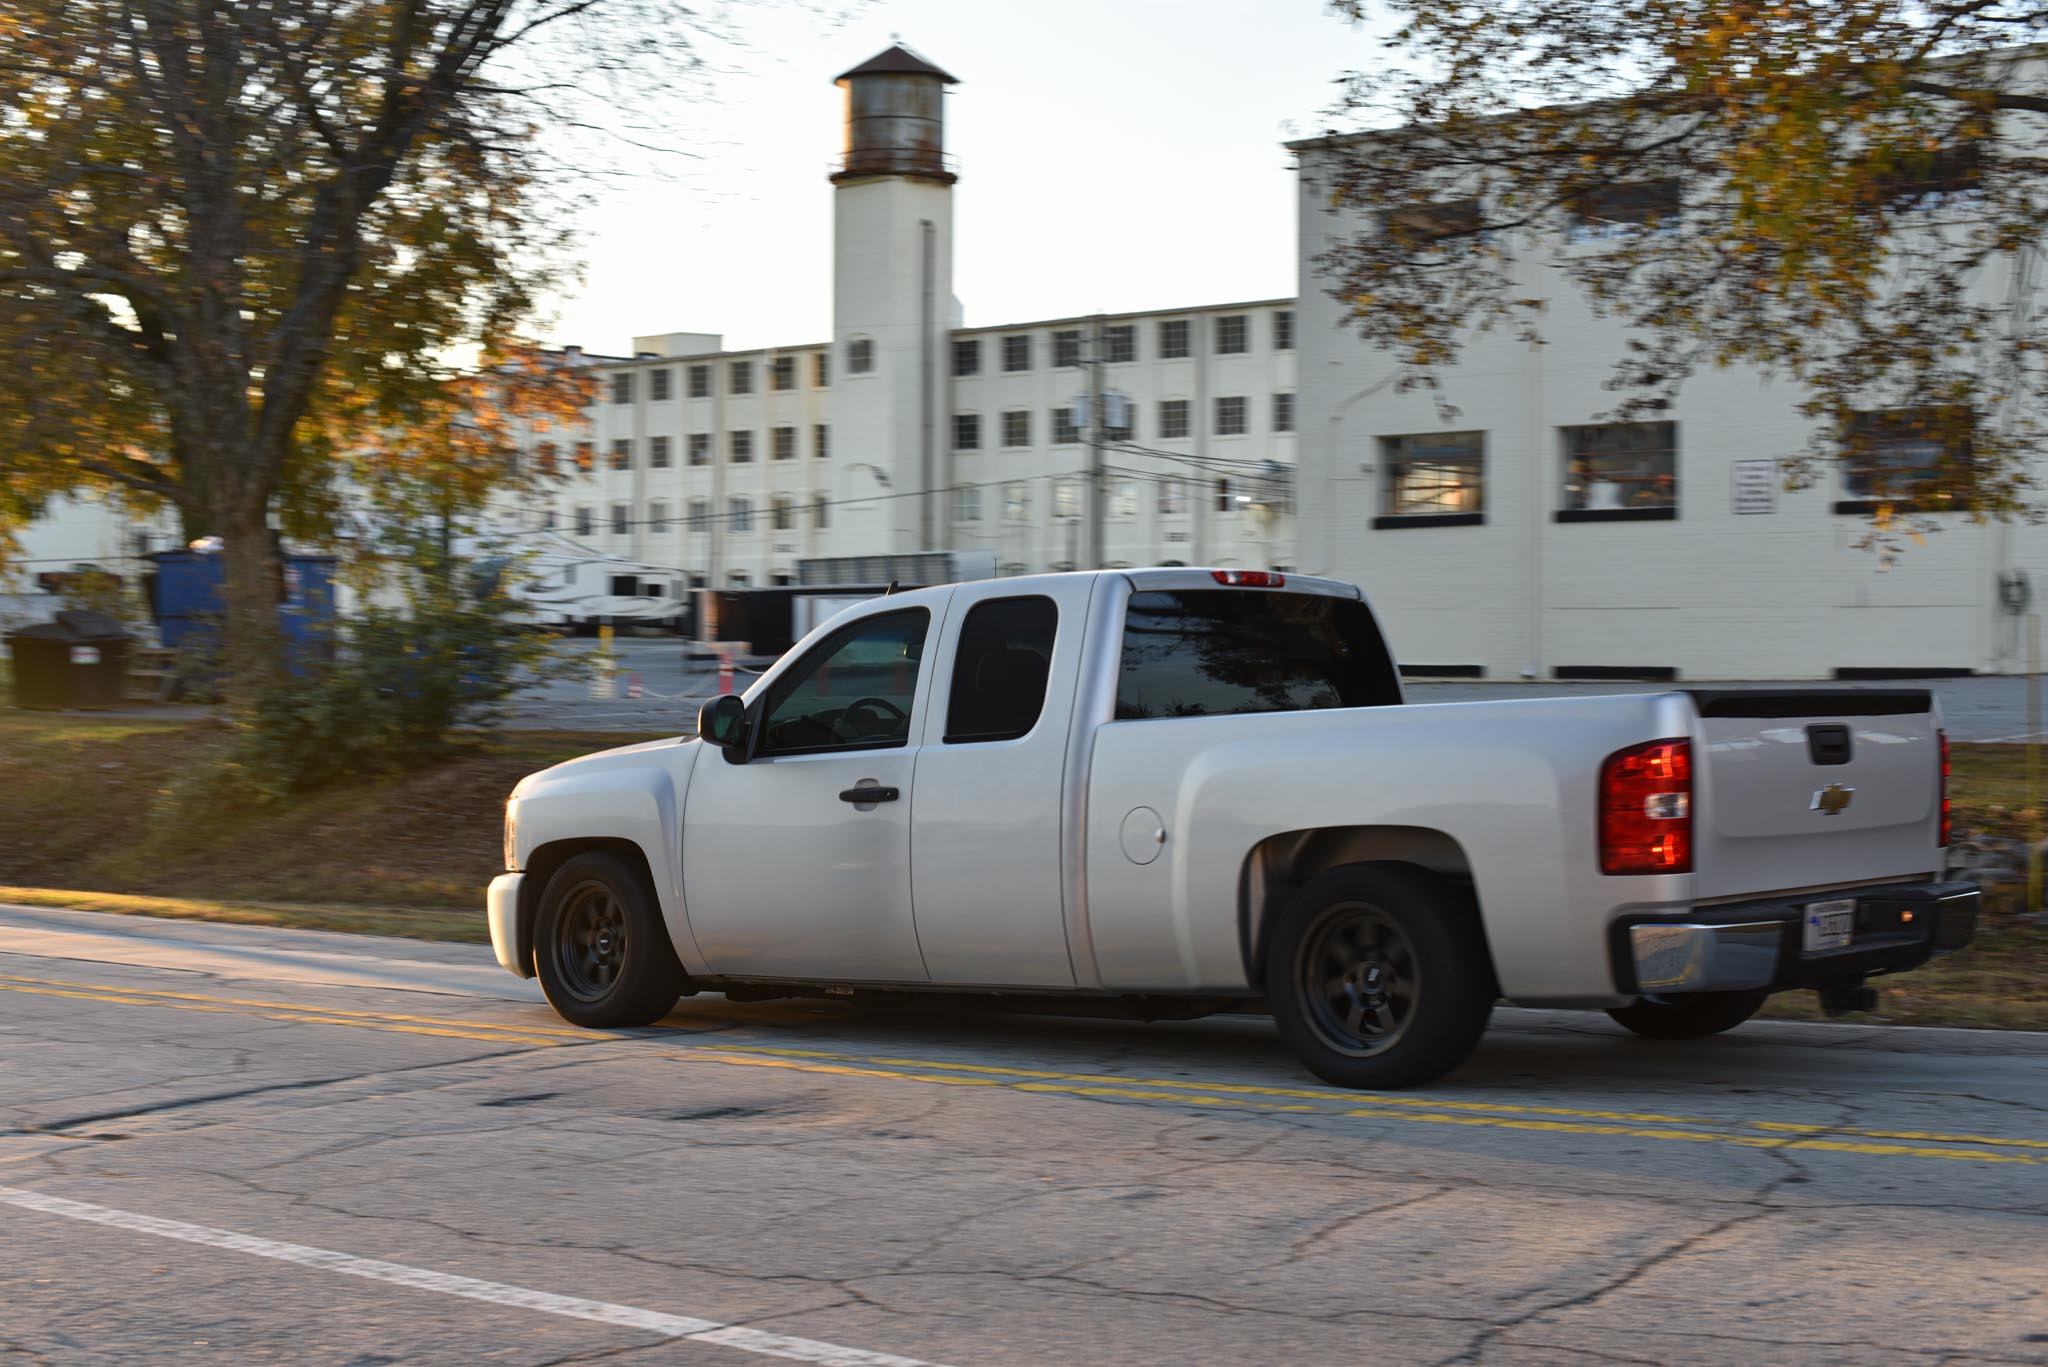
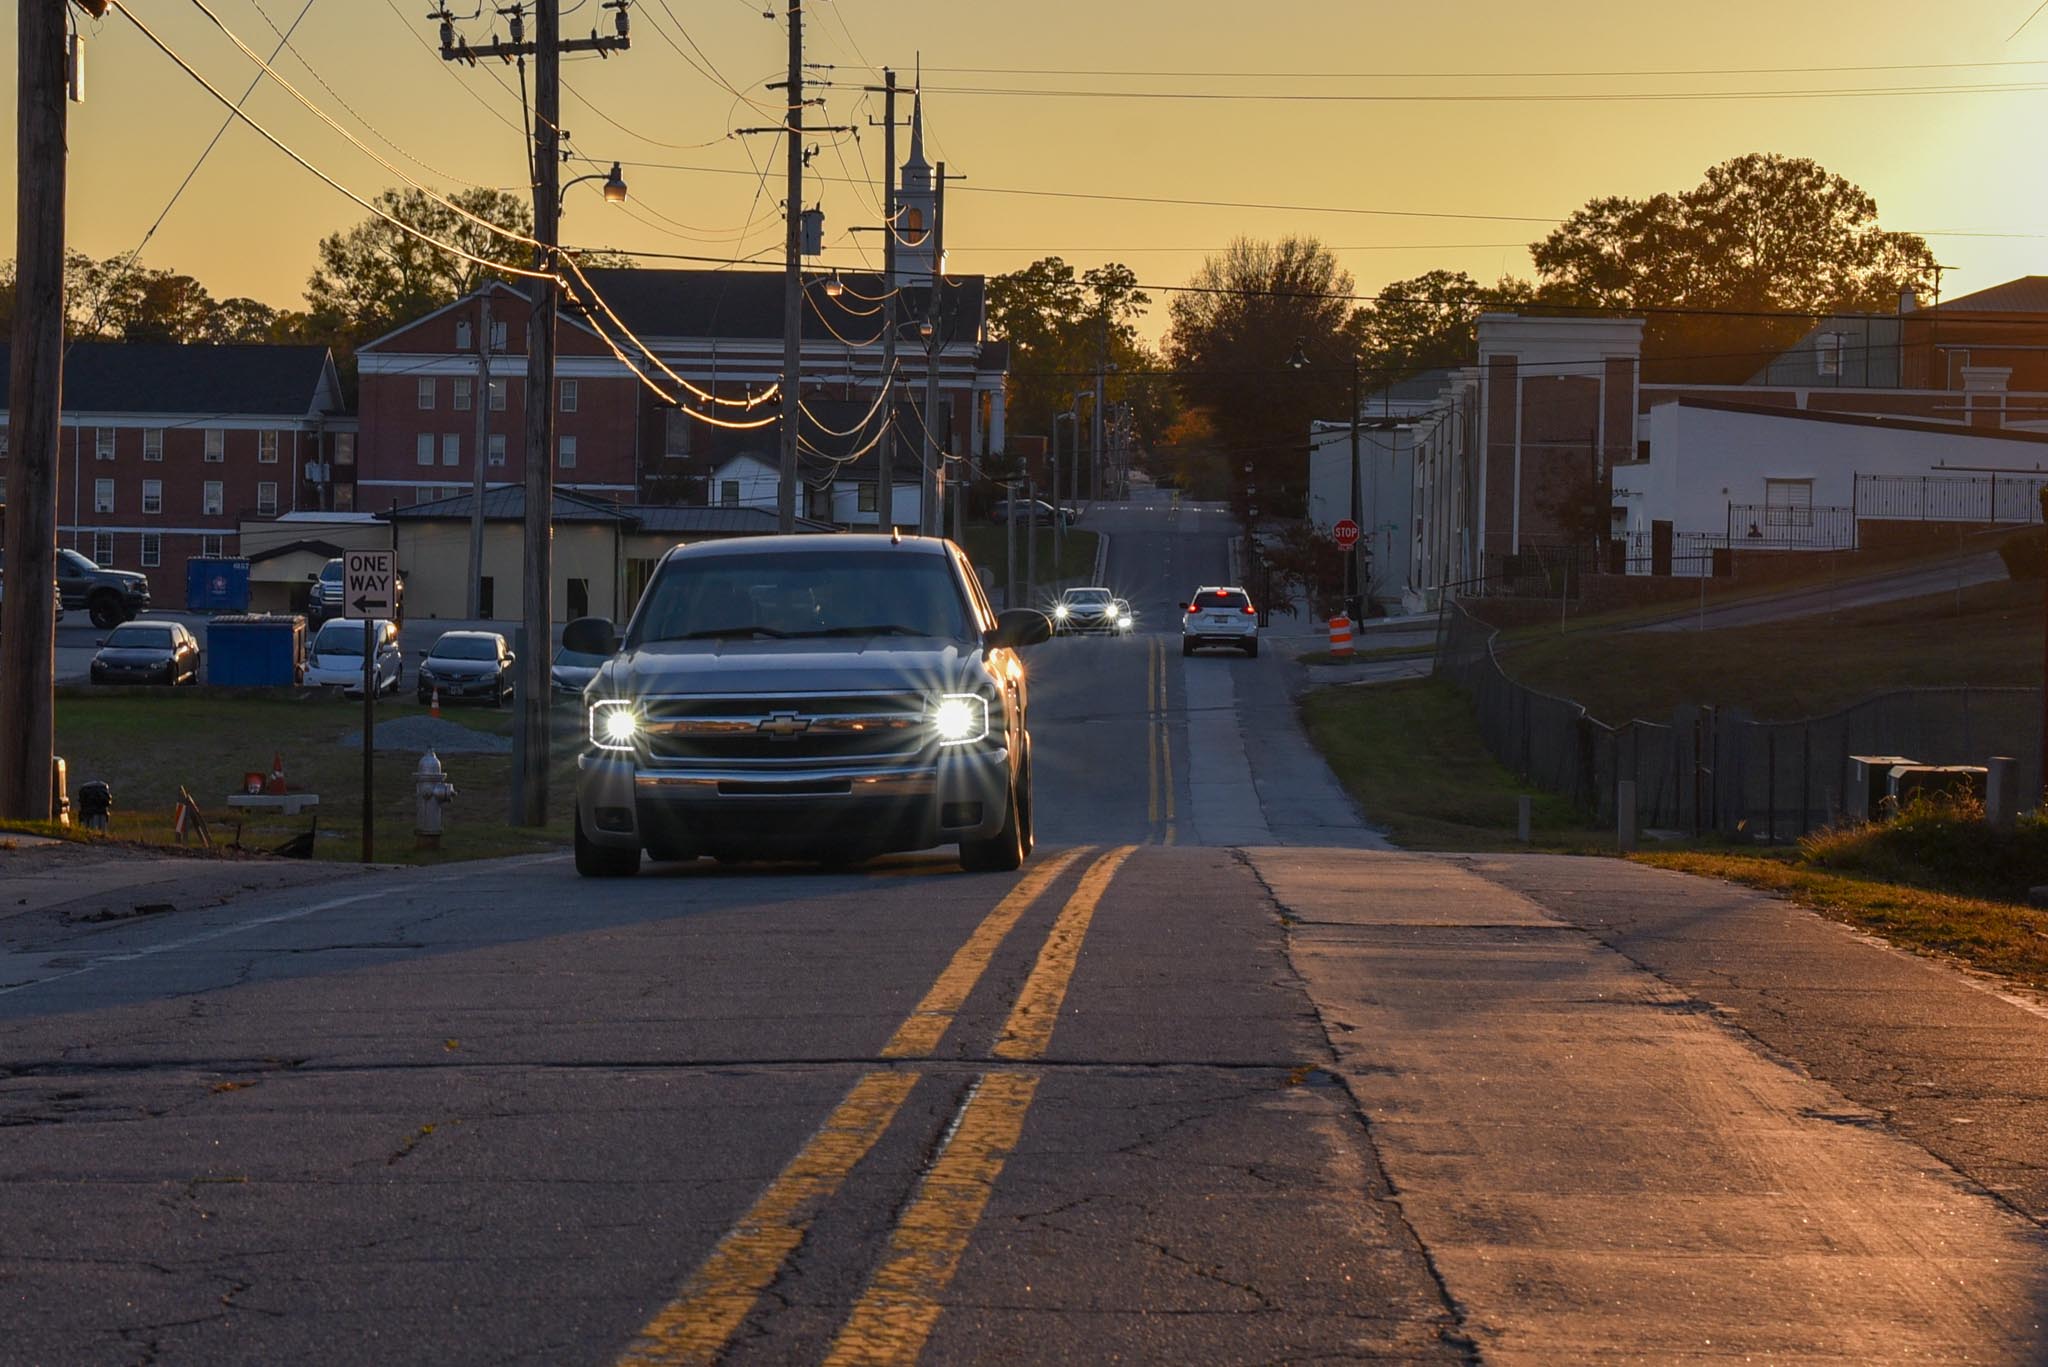
And you’re ready to put the wheels on, drop it down, and cruise! But first – let’s get some brisket and mac & cheese. Yep somewhere in-between lifting Jeeps & lowering trucks… the Black Bear Off-Road crew managed to smoke some brisket for the boys (being Friendsgiving & whatnot). And yeah – we finally got that cold beer lol.




r2491a