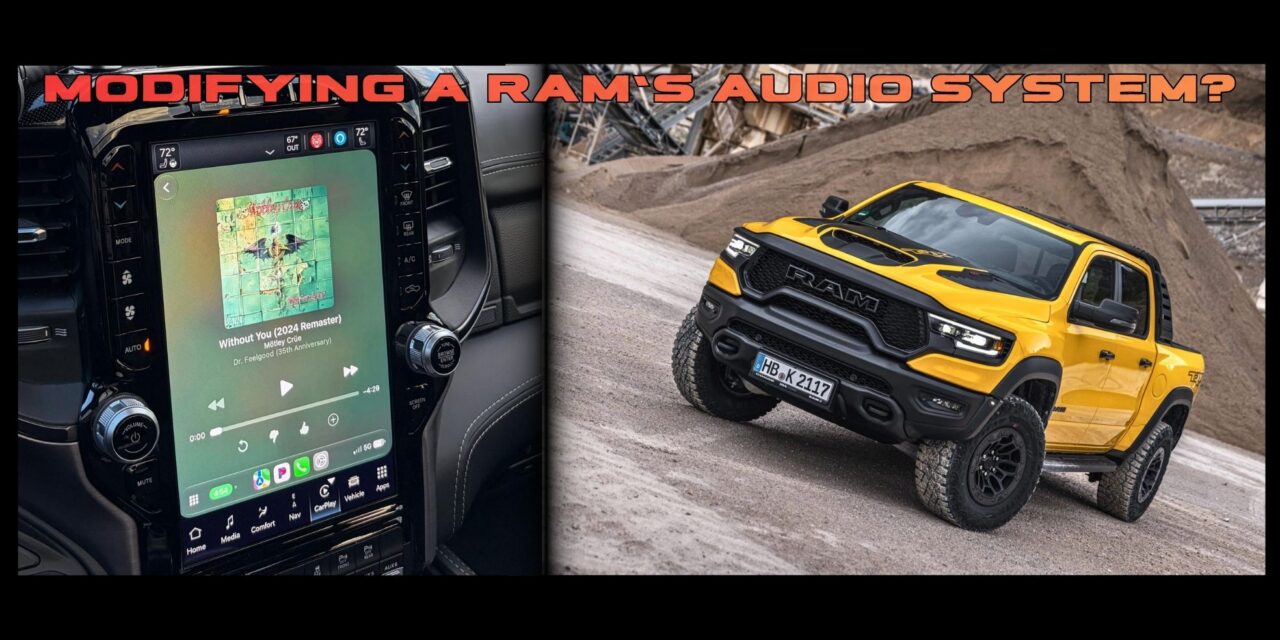

The amplifier is on the bench, the subwoofer box is built, and the new head unit is still in its packaging. The factory radio is the part nobody is thinking about, which is how it ends up in a drawer with no label and no record of what it came from. A few minutes of documentation before the project starts costs almost nothing. Skipping it can make a later return to stock harder than it needs to be.
Start With What the Truck Actually Has
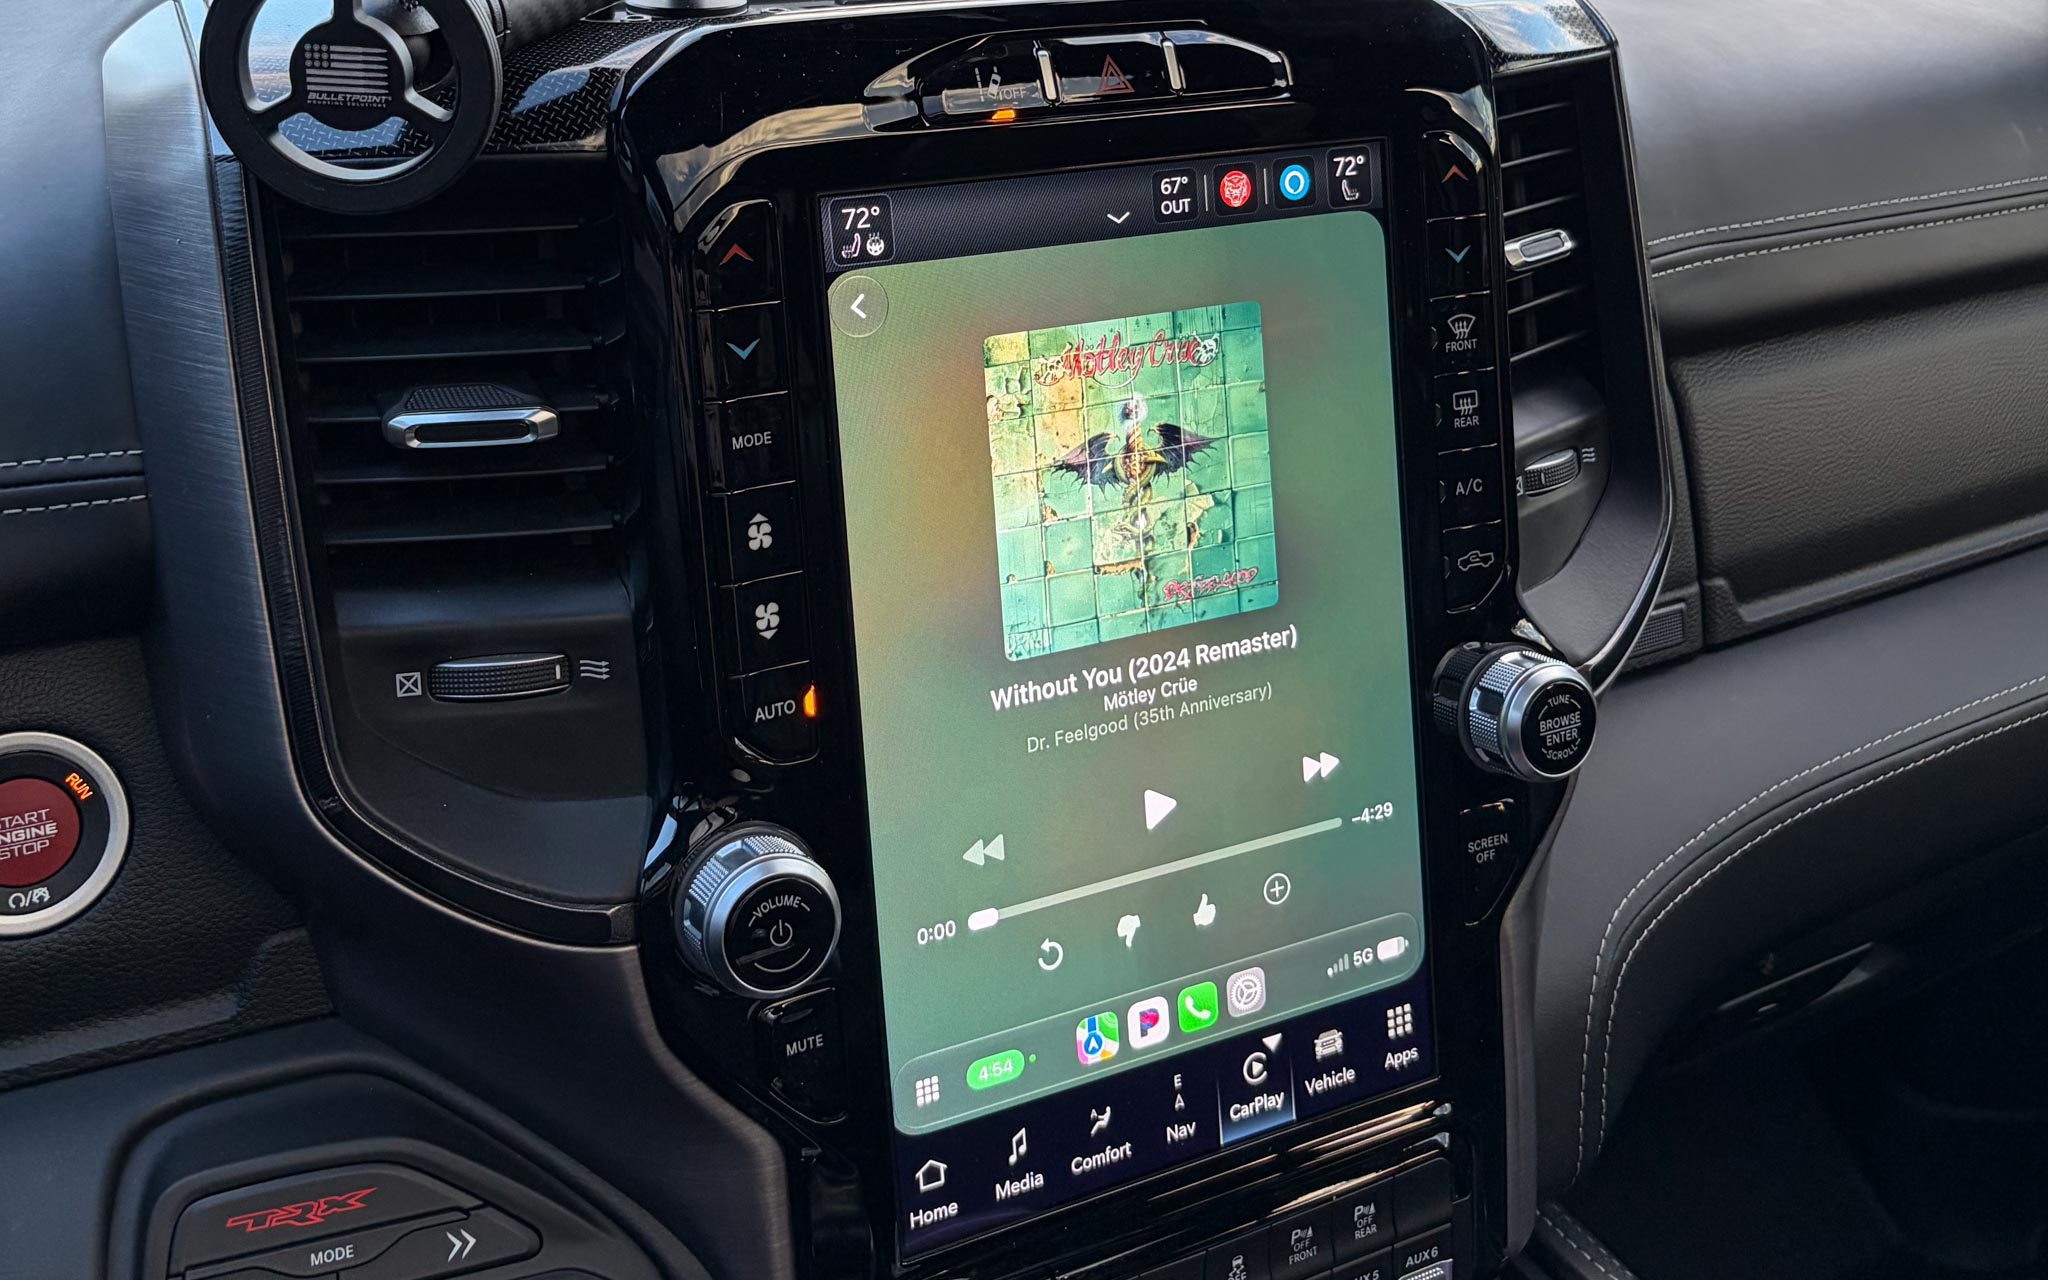
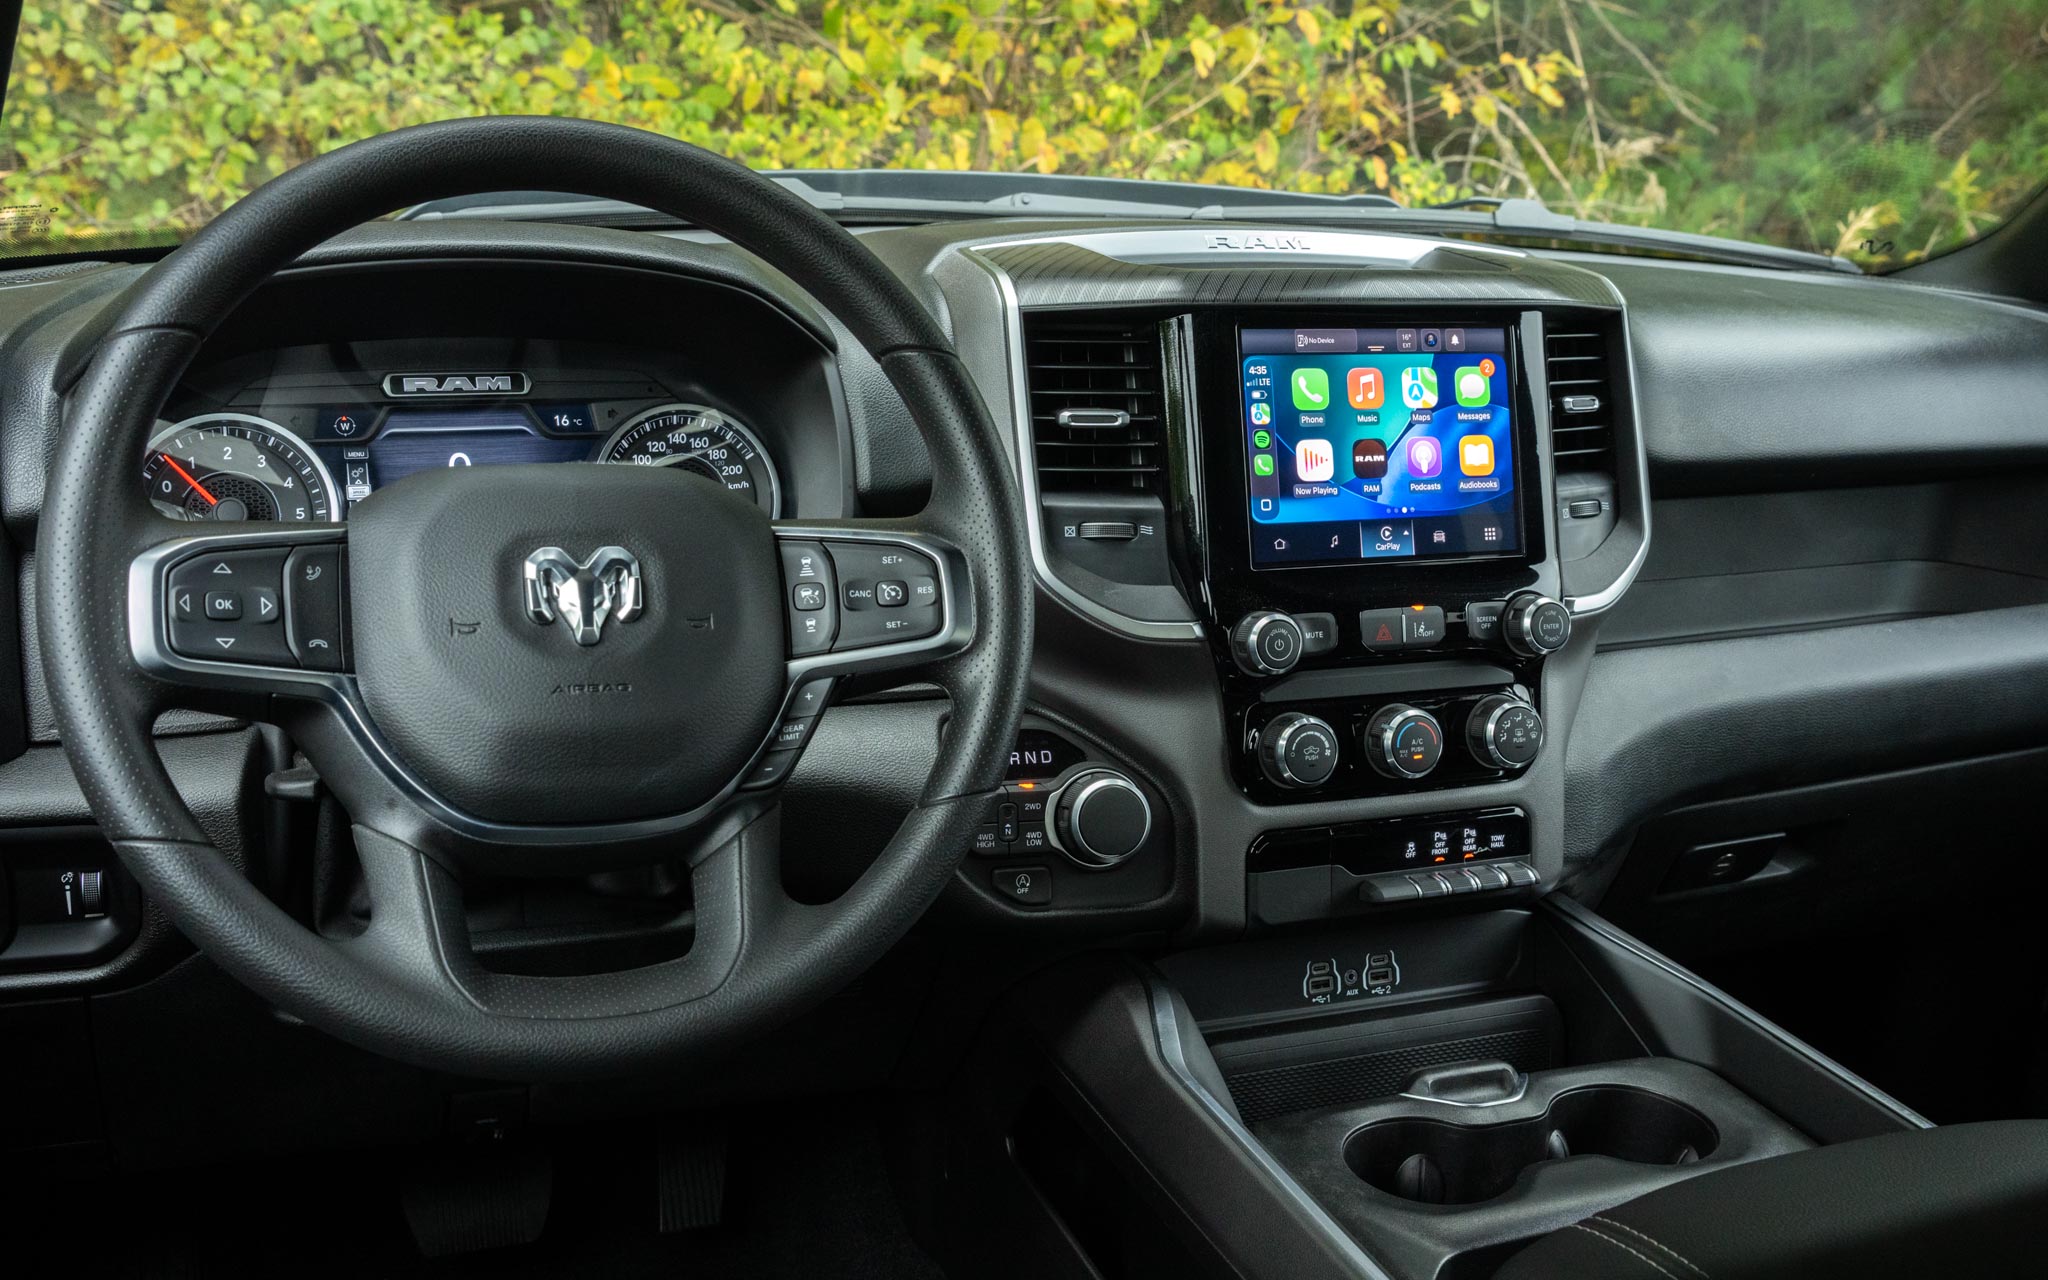
Model year and trim are useful starting points, but they don’t tell you exactly what’s in the dash. Ram radio hardware varies across generations and option packages, and a previous owner may have changed the setup. Screen size alone doesn’t identify a unit or establish compatibility. The display and radio module aren’t always a single component either. Note whether the truck has a factory-amplified sound system.
Save the radio’s serial number and its part or model number as separate details. Record any identification available through the system menus, then photograph the labels once you can reach them during the upgrade. If the information you need is already available on-screen, there’s no reason to pull a working radio solely to read its label.
Keep the Security Details With the Radio
If you already have a confirmed anti-theft code for the original radio, keep it with the unit’s identification. Disconnecting power or reinstalling the same radio in the same truck doesn’t automatically mean a code prompt. Check the instructions for the radio actually installed in your truck.
For supported OEM radios, a Ram factory radio code lookup uses the serial number of the unit itself. Keep a clear copy so it’s available even when the label is difficult to reach.
Photograph the Connections While They Still Make Sense
Once the radio is accessible, photograph it with the connections still in place. Start with an overview, then take closer shots of connector locations and any adapters, splices, or add-ons. If a previous owner’s modifications are visible, include enough detail to show how they connect to the original setup. The useful record shows what was connected where, instead of a pile of unplugged wires and a guess afterward.
Check that the labels and connector details are readable before you move on. Keep the wiring diagrams and instructions for your exact equipment alongside the photos.
Decide Which Factory Functions Stay
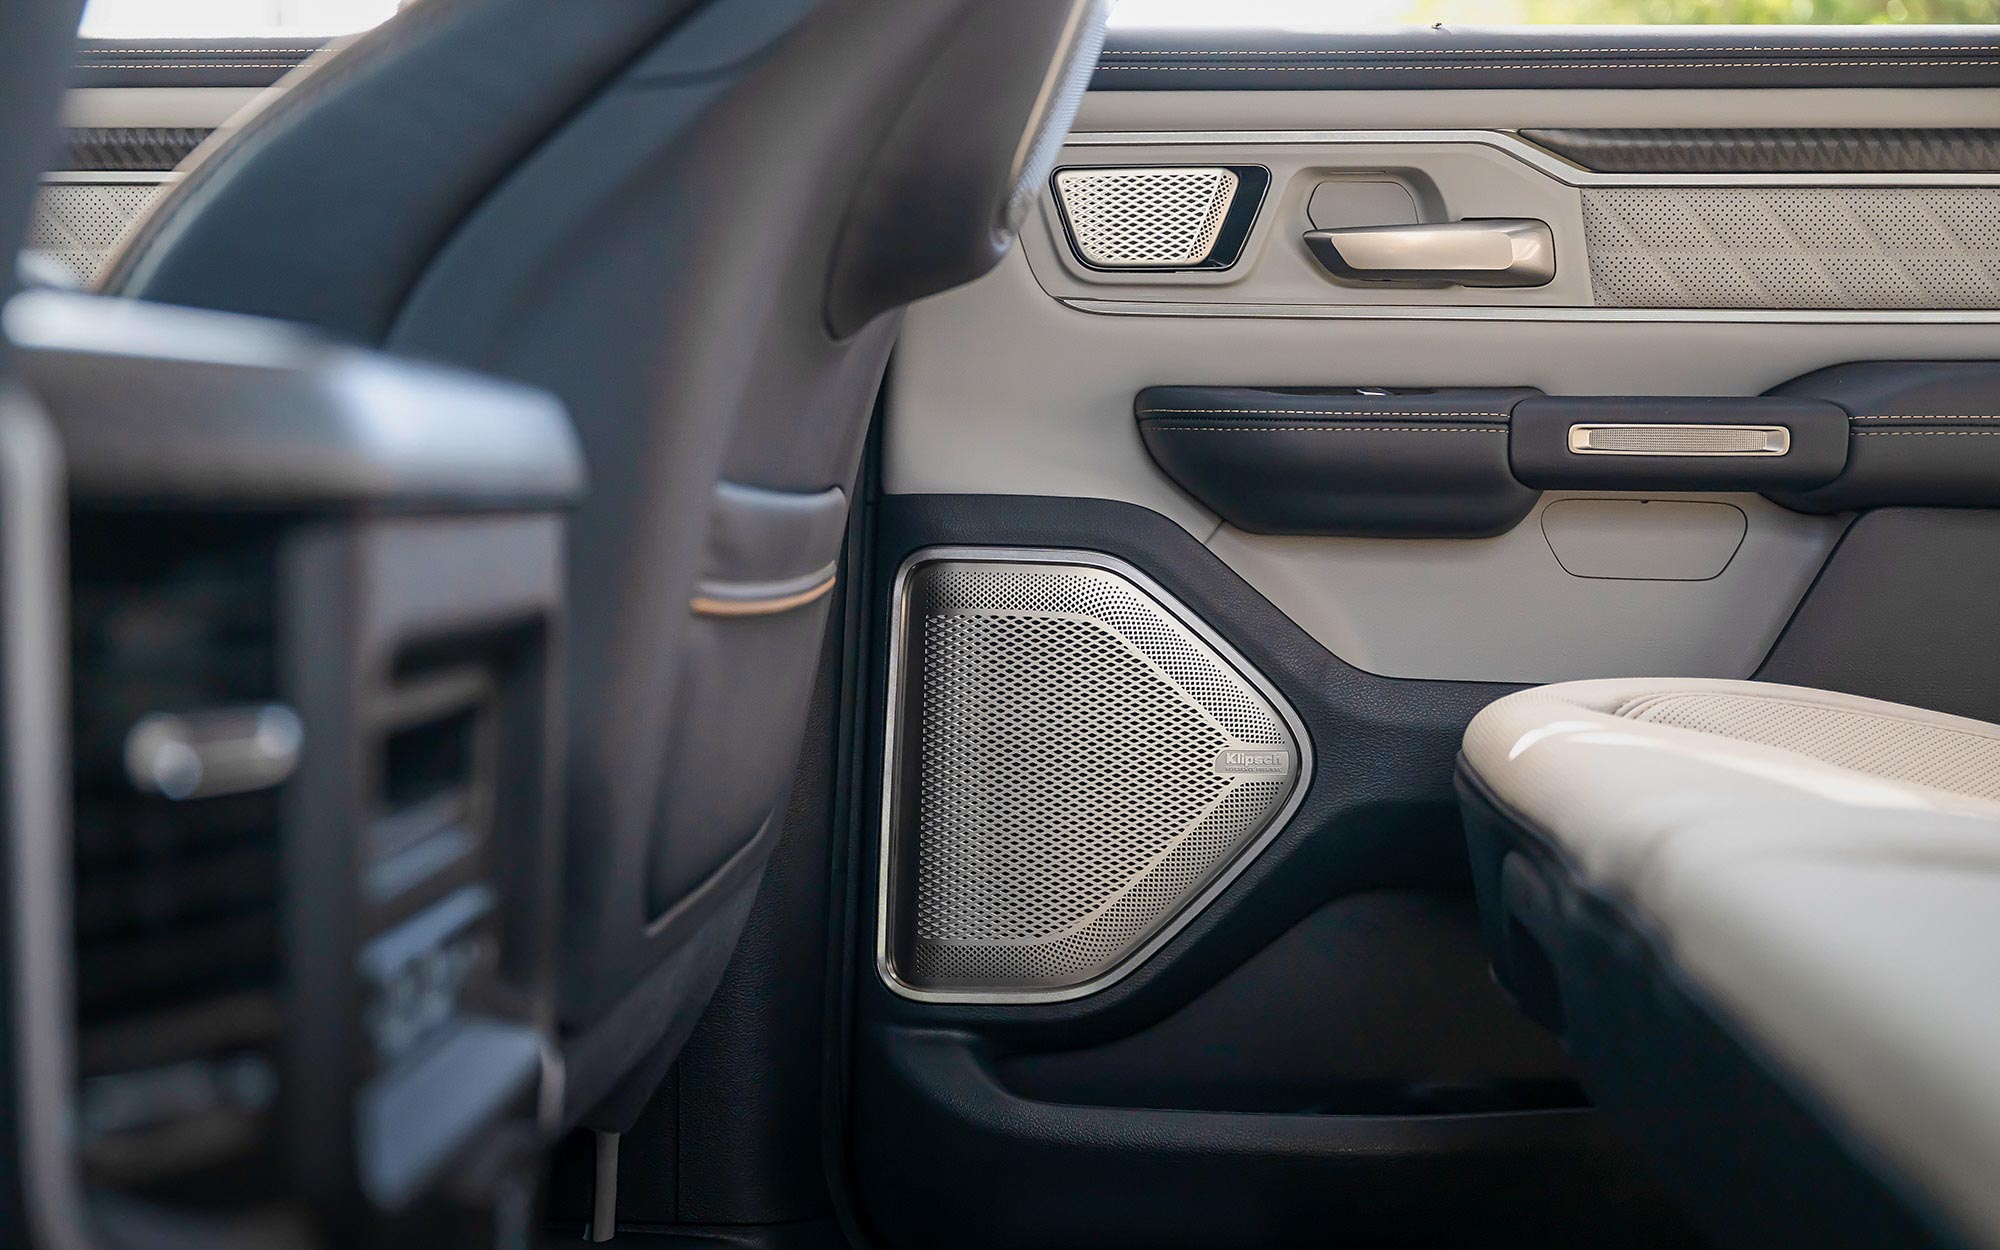
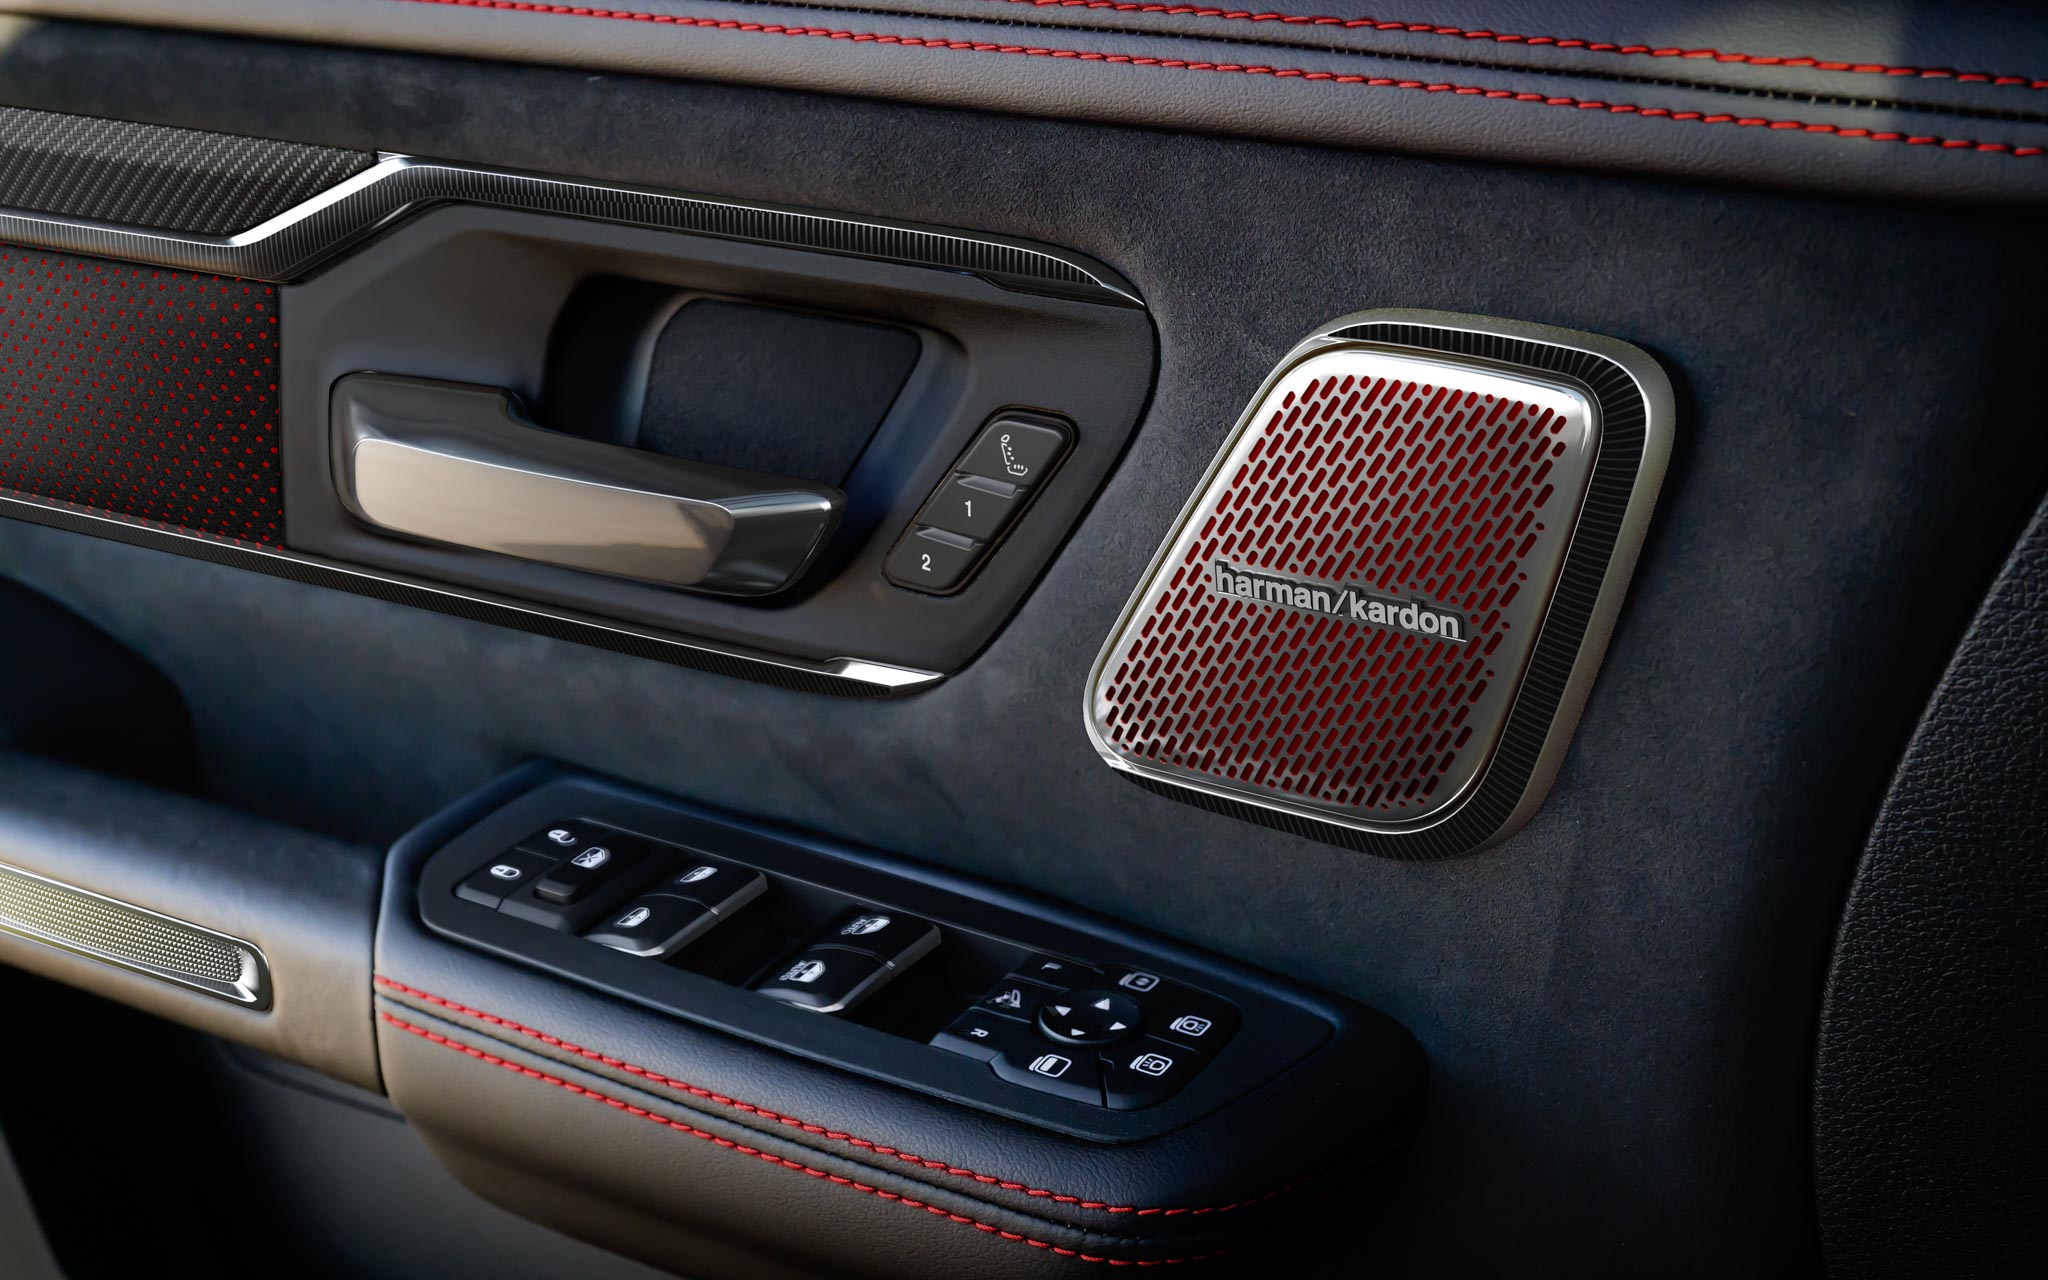
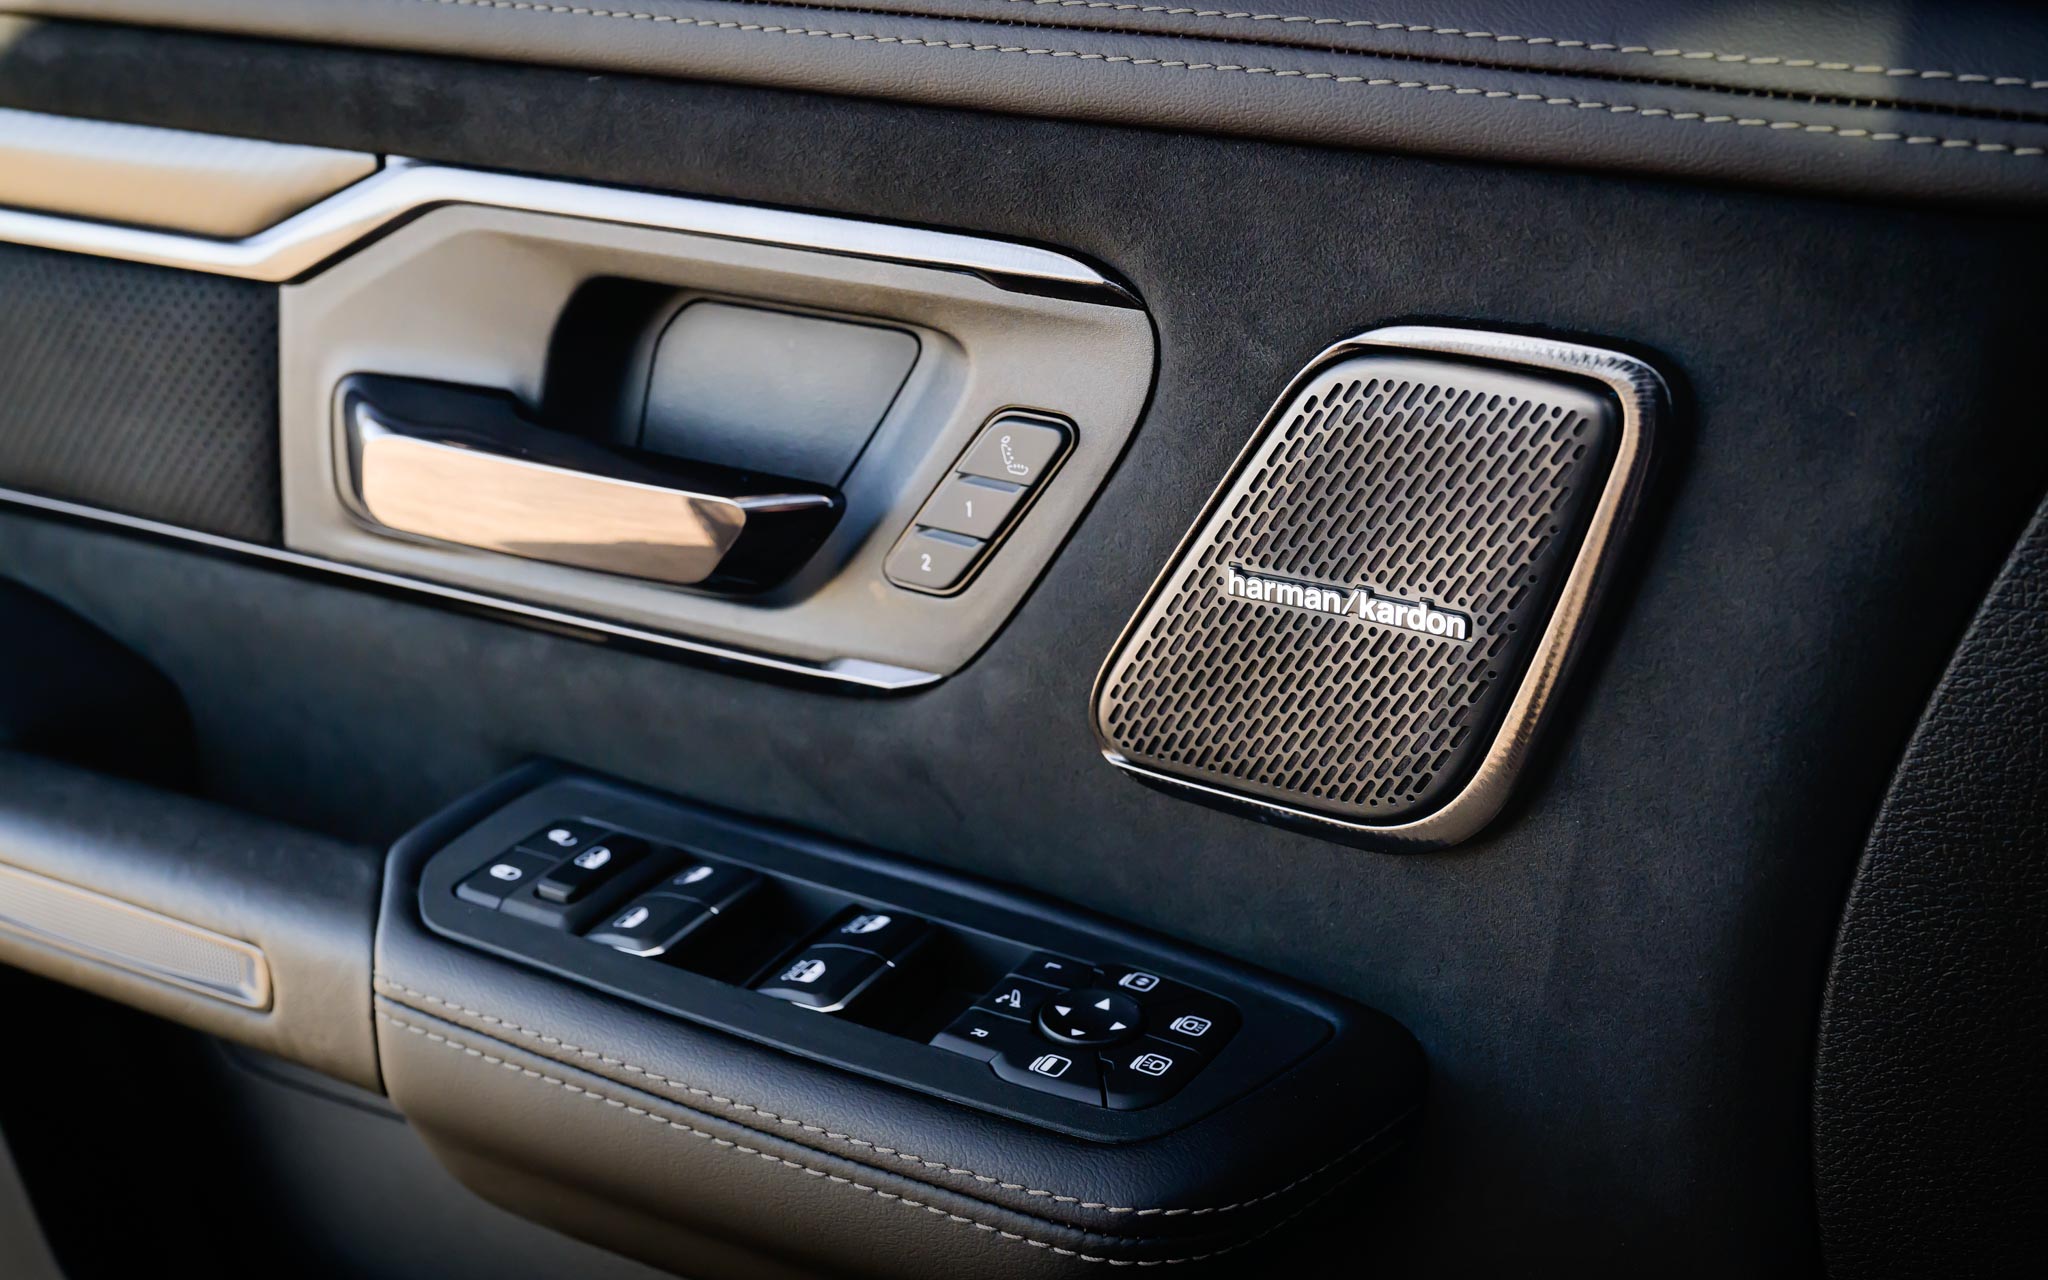
Before the first panel comes off, run through what works and write it down. Depending on the truck, that can include steering-wheel audio controls, a rear camera, factory amplification, USB or media inputs, and vehicle settings reached through the factory screen. Where equipped, heated seat & heated steering wheel controls may also sit within the climate or controls menus. Check the features your truck actually has, and decide which ones you want to keep.
Keeping the factory head unit while upgrading the speakers or adding an amp is a different job from replacing it. If you change the head unit, work out how the factory functions tied to the radio will be handled.
Check the specifications of the replacement radio and interface for your truck’s year and audio package before ordering parts. An anti-theft code doesn’t establish hardware compatibility or restore a factory function that the new setup doesn’t support.
Reusing the stored OEM radio later also depends on what you change now. Note any alterations to the factory wiring and associated parts as you go, so you have an accurate record if the original unit goes back in.
Keep the Original Setup Together
Keep what comes out as a set. Box the original radio with any brackets, trim pieces, or adapters that actually came off with it. Bag small hardware with the component it belongs to. Label the container with the truck and date, and save the photos and notes in a folder named for the same truck and date.
Store the radio’s identification and any confirmed code with those records. If you put the factory radio back next year, the answer to “what was in this dash?” is in the box instead of in someone’s memory.