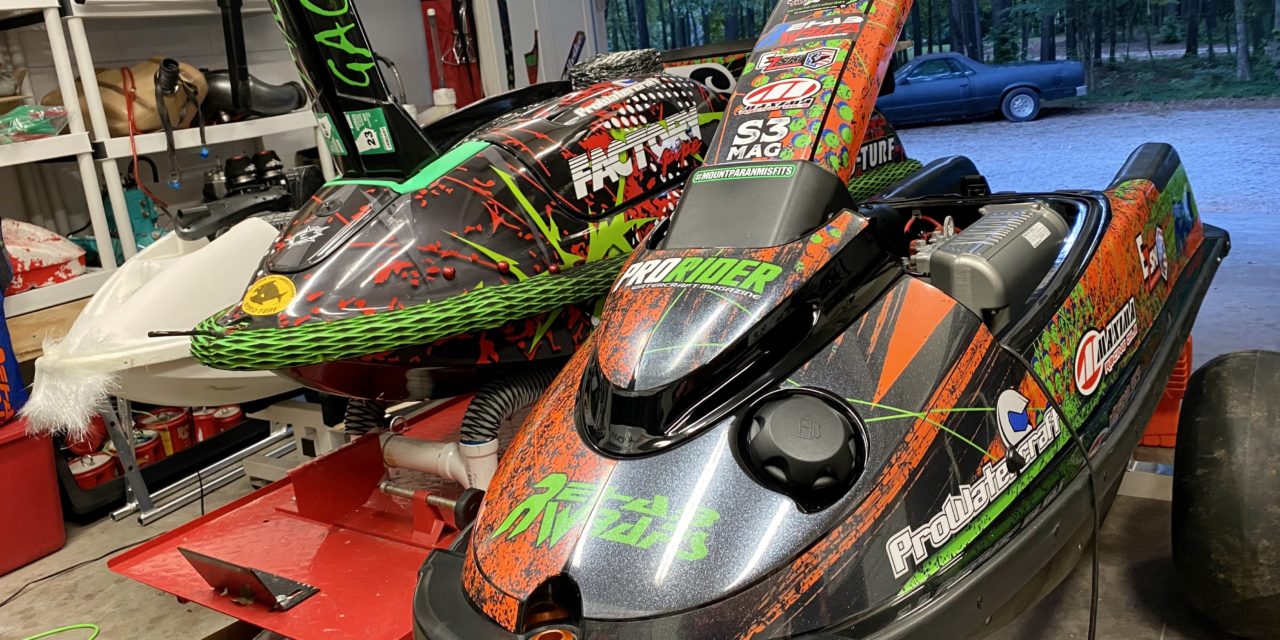

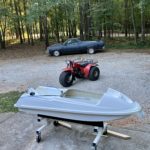
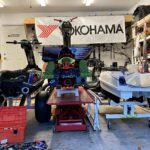
Just a quick update on our vintage 1996 Kawasaki 750 SXI stand-up jet ski acquisition.
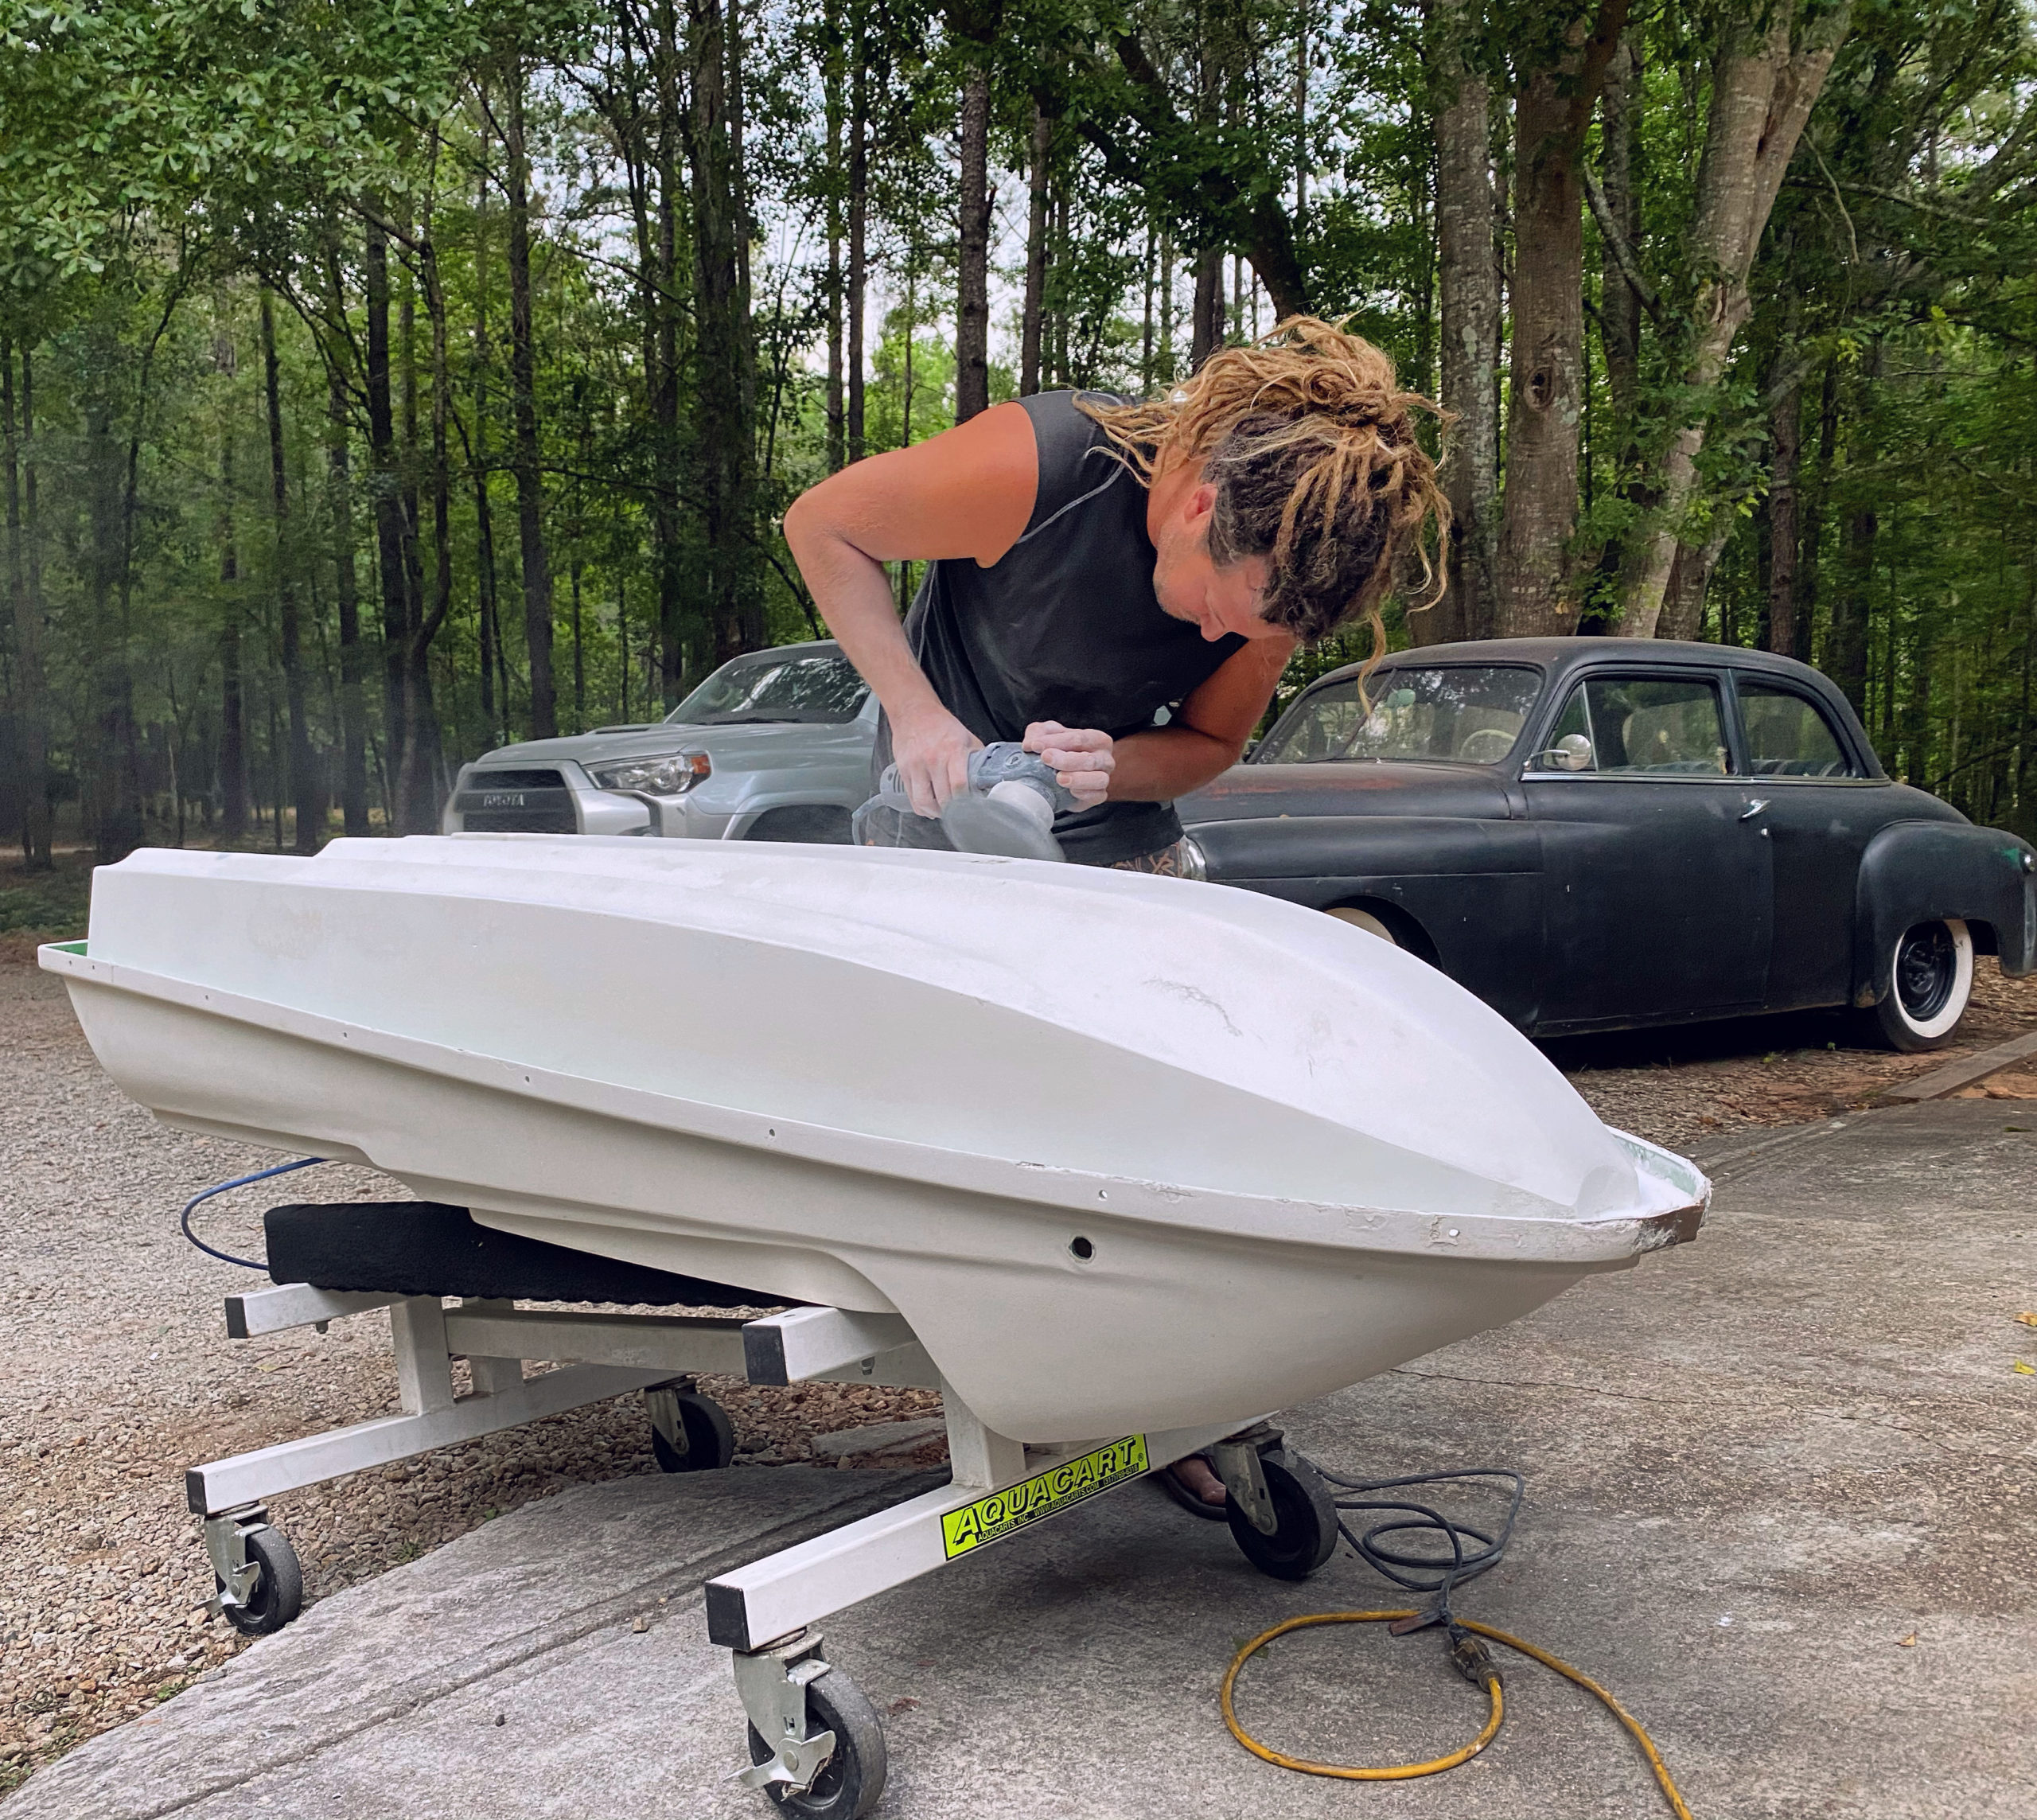
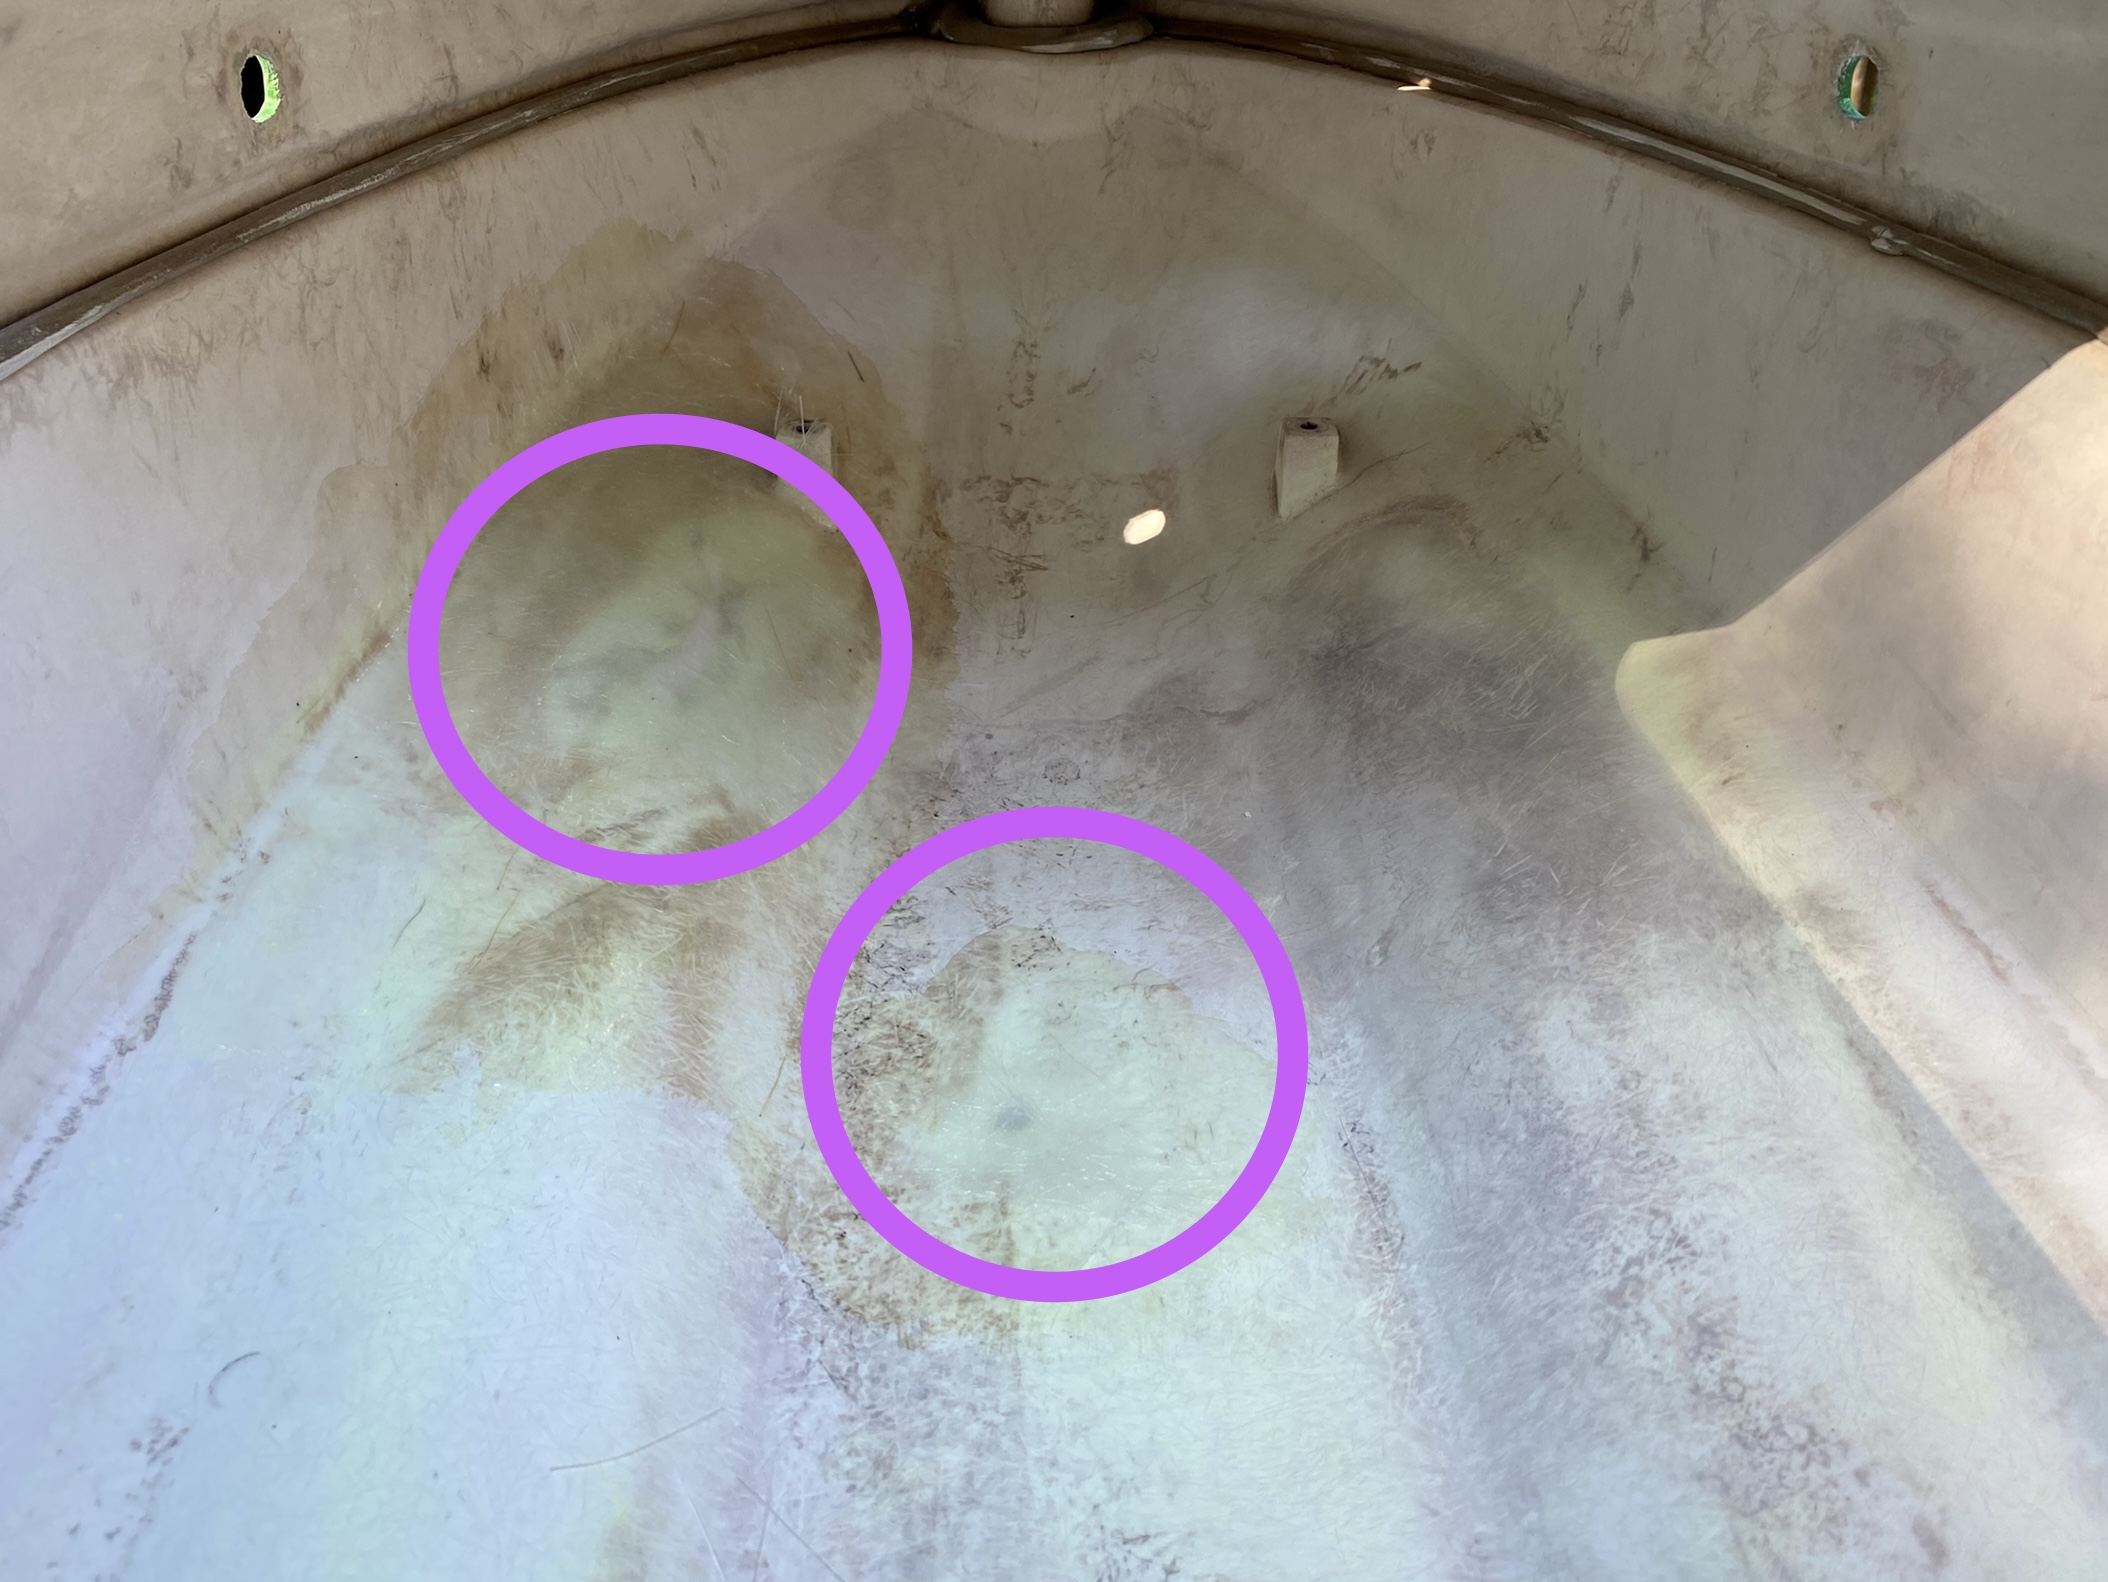
I sanded the entire hull from top to bottom. It was super fun & I wish it lasted longer. On the bottom-side of the hull, I sanded it all the way down to just to where I could start seeing the original fiberglass. And I’m glad I did – because it revealed some stress cracks and 1 pretty significant weak/compromised spot that was still well-concealed by previous repaints & primers (top/left circle in photo; the center circle we did already knew about).
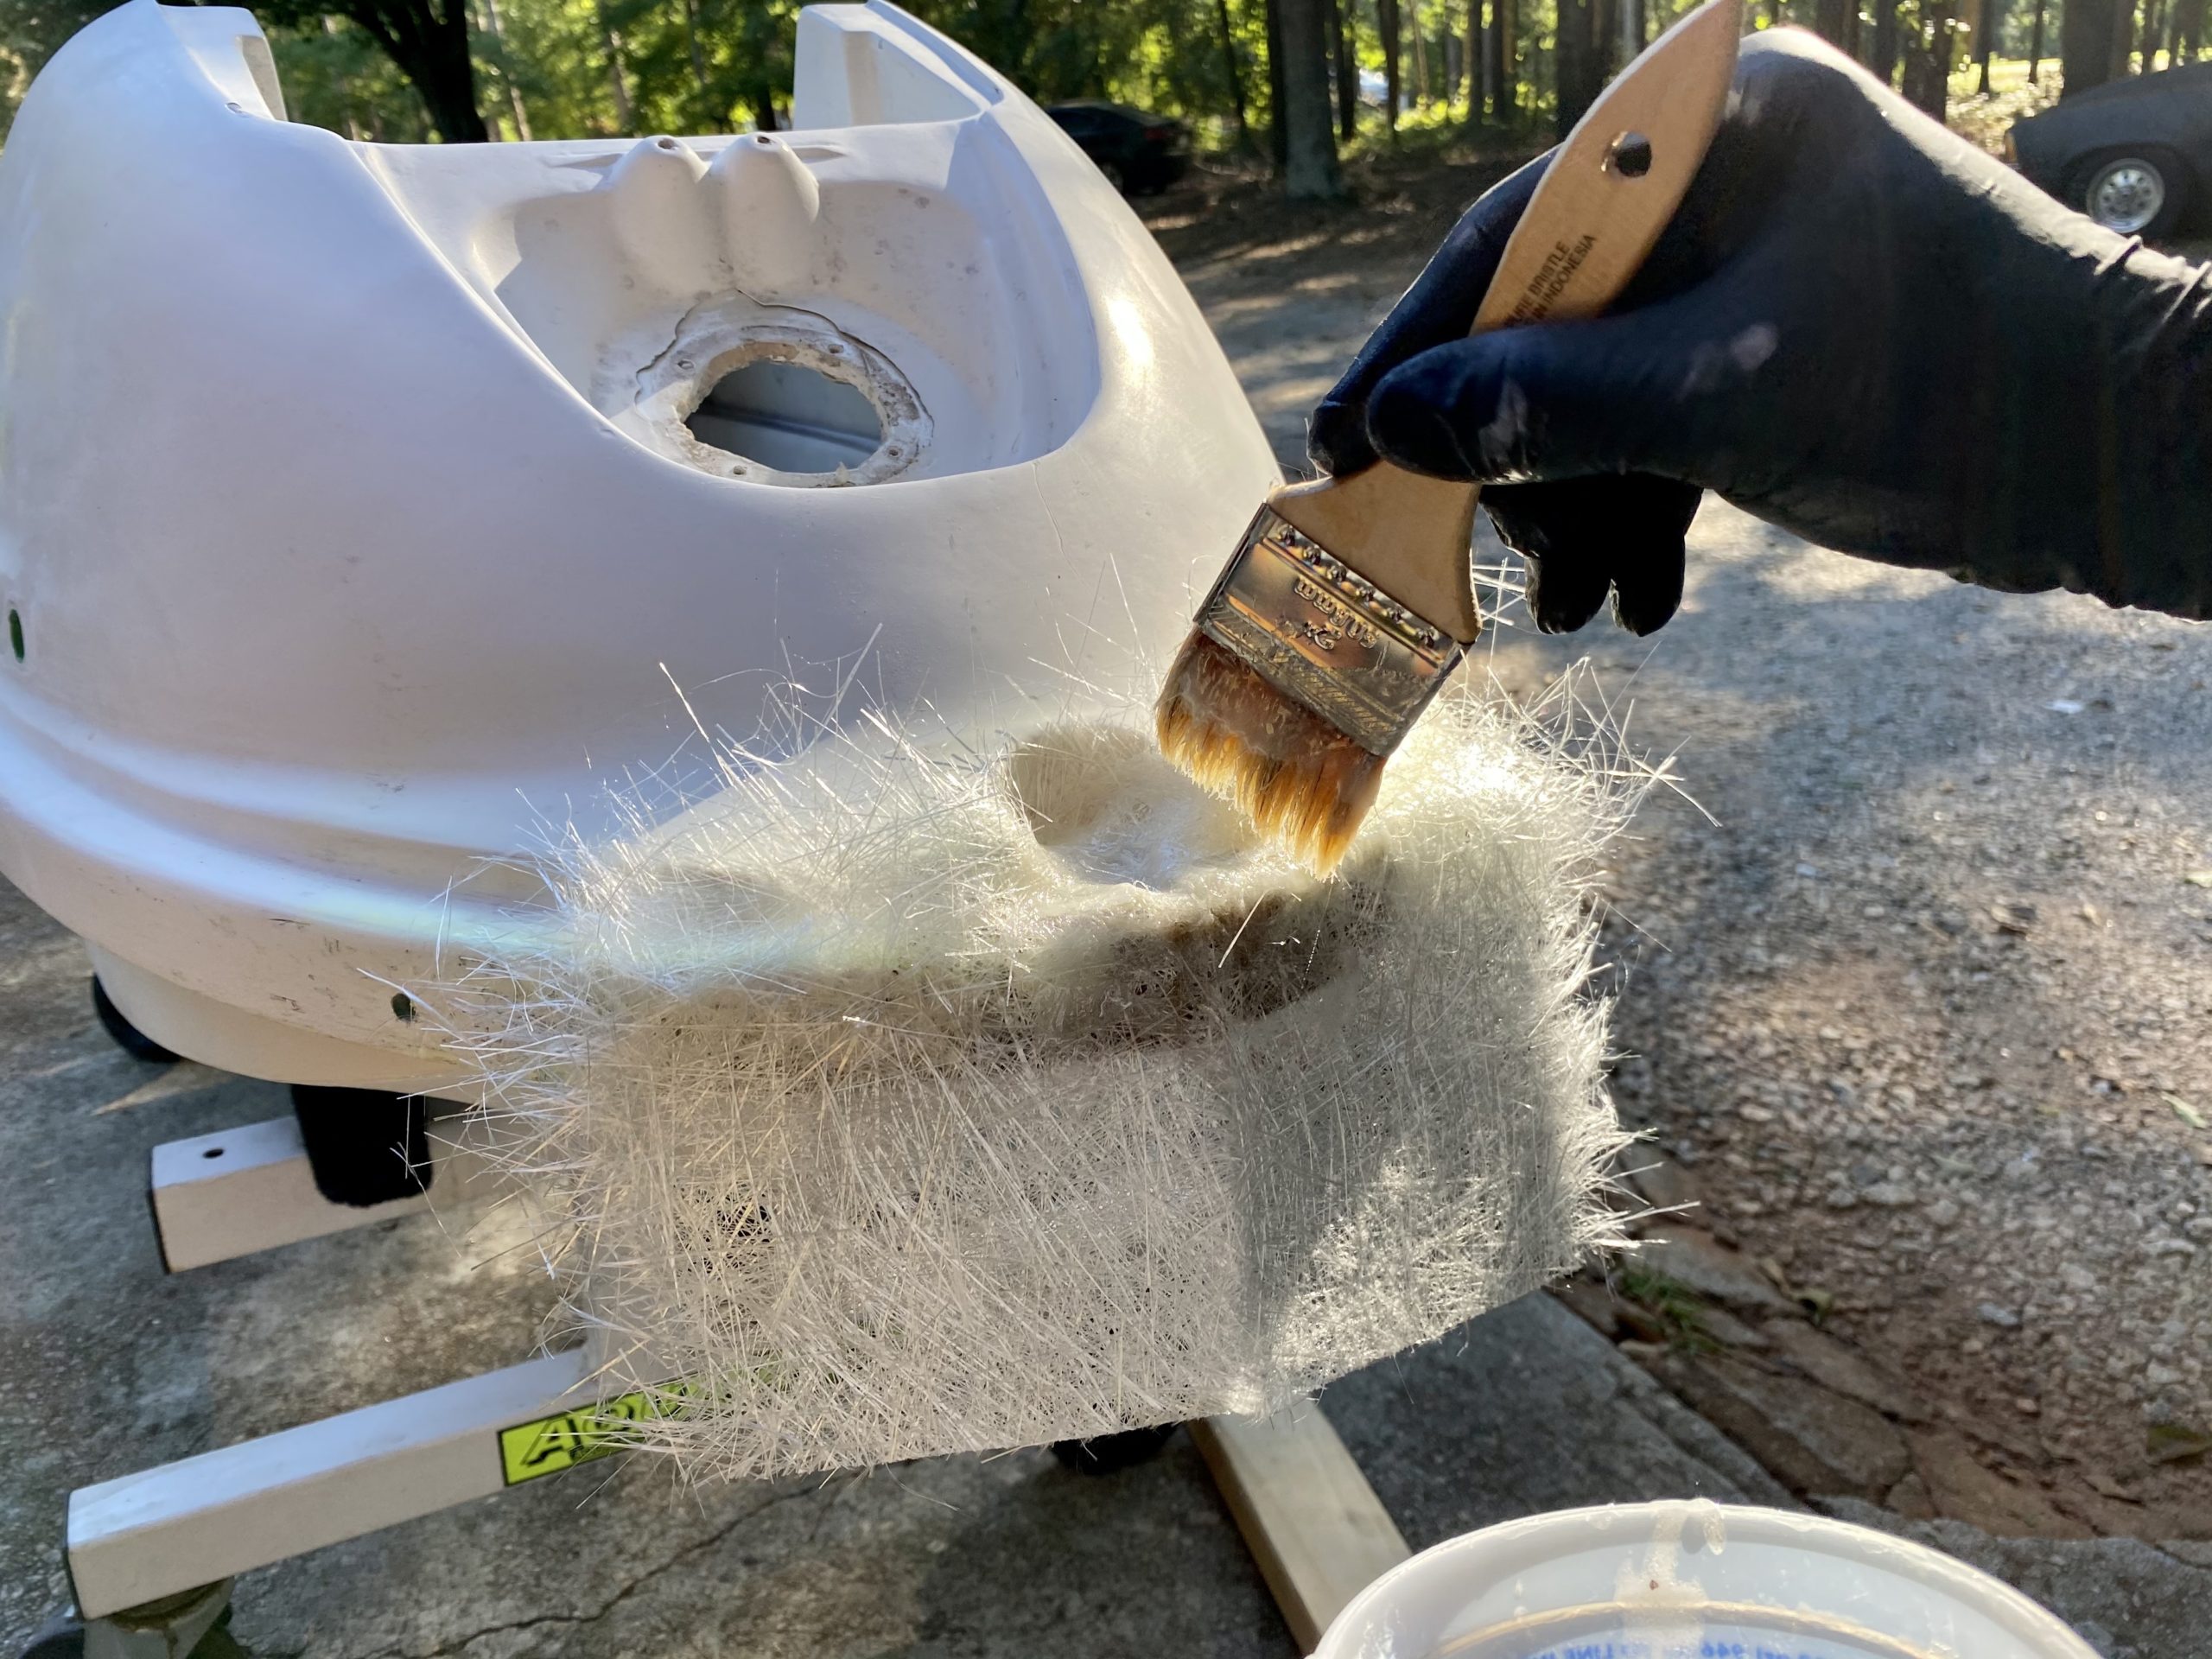
Before laying the fiberglass, we sanded out all the compromised/weakened fiberglass completely, which can feel a little unnerving because you’re literally sanding holes in your jet ski. But you’ve gotta get the bad stuff out, in order to replace it with good. I wish I had thought to get photos of the holes before we glassed ’em, but I was having so much fun in the dust I didn’t even think to grab my camera.
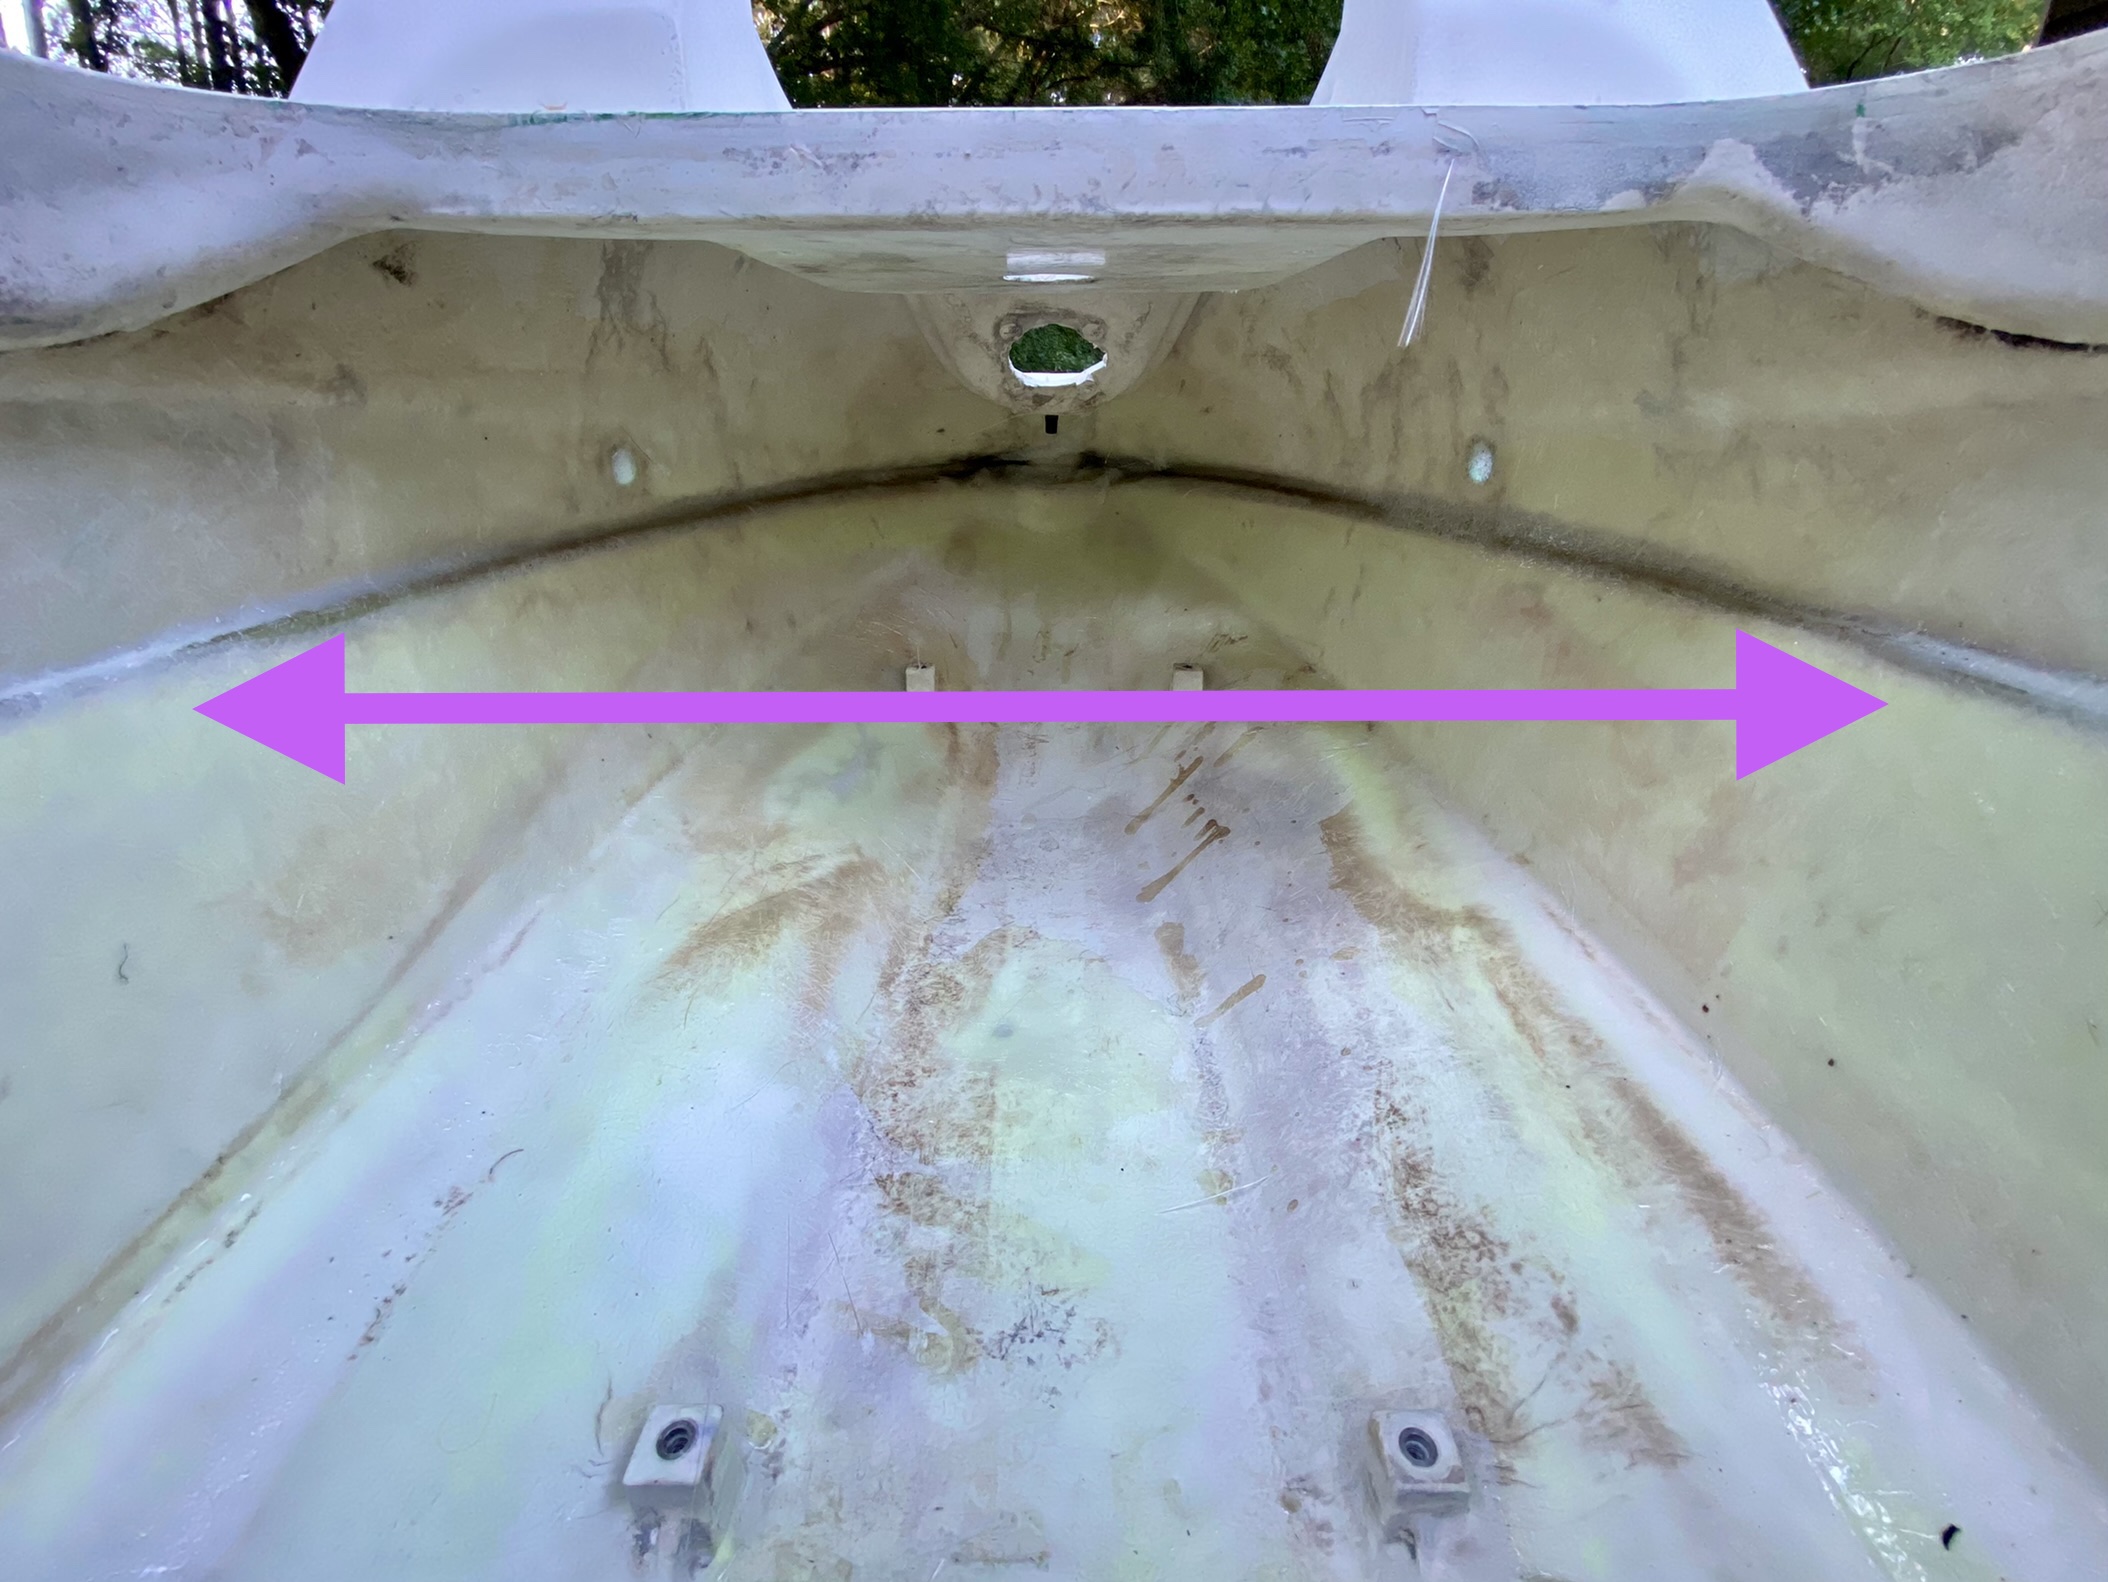
While we were patching the holes with new fiberglass mat & resin, we also laid some mat & fiberglassed the original ‘bonded seam’ between the upper & lower parts of the hull, which will give the jet ski a bit more strength overall. (Notice the difference between the 1st & 2nd photo)
We also began repairing the nose on the outside with fiberglass mat. We’ll do the backside of the nose-lip in a later step, but for now it’s a billy goat.
Next task – we’ll lay a sheet of the woven fiberglass cloth over the entire inside floor of the hull. As that’s hardening, we’ll flip the hull over & patch those same holes on the outer-side of the hull with more fiberglass mat. That will essentially ‘sandwich’ the repair form the outside & inside, and give it the structural strength it needs.


