
A few months ago, I introduced you to a shop called Brangers Racing. Brangers will be taking on the task of building a 2JZ GE for my time attack S2000. ‘The internet’ says you only need an intercooler and a tune to make 800-wheel horsepower. I’ve been invited to document the entire process of my engine build to show you why that is a lie. This includes tear down, cleaning, machining, assembly, break-in, and tuning. Today we will get into tear down, inspection, & cleaning.
Disassembly
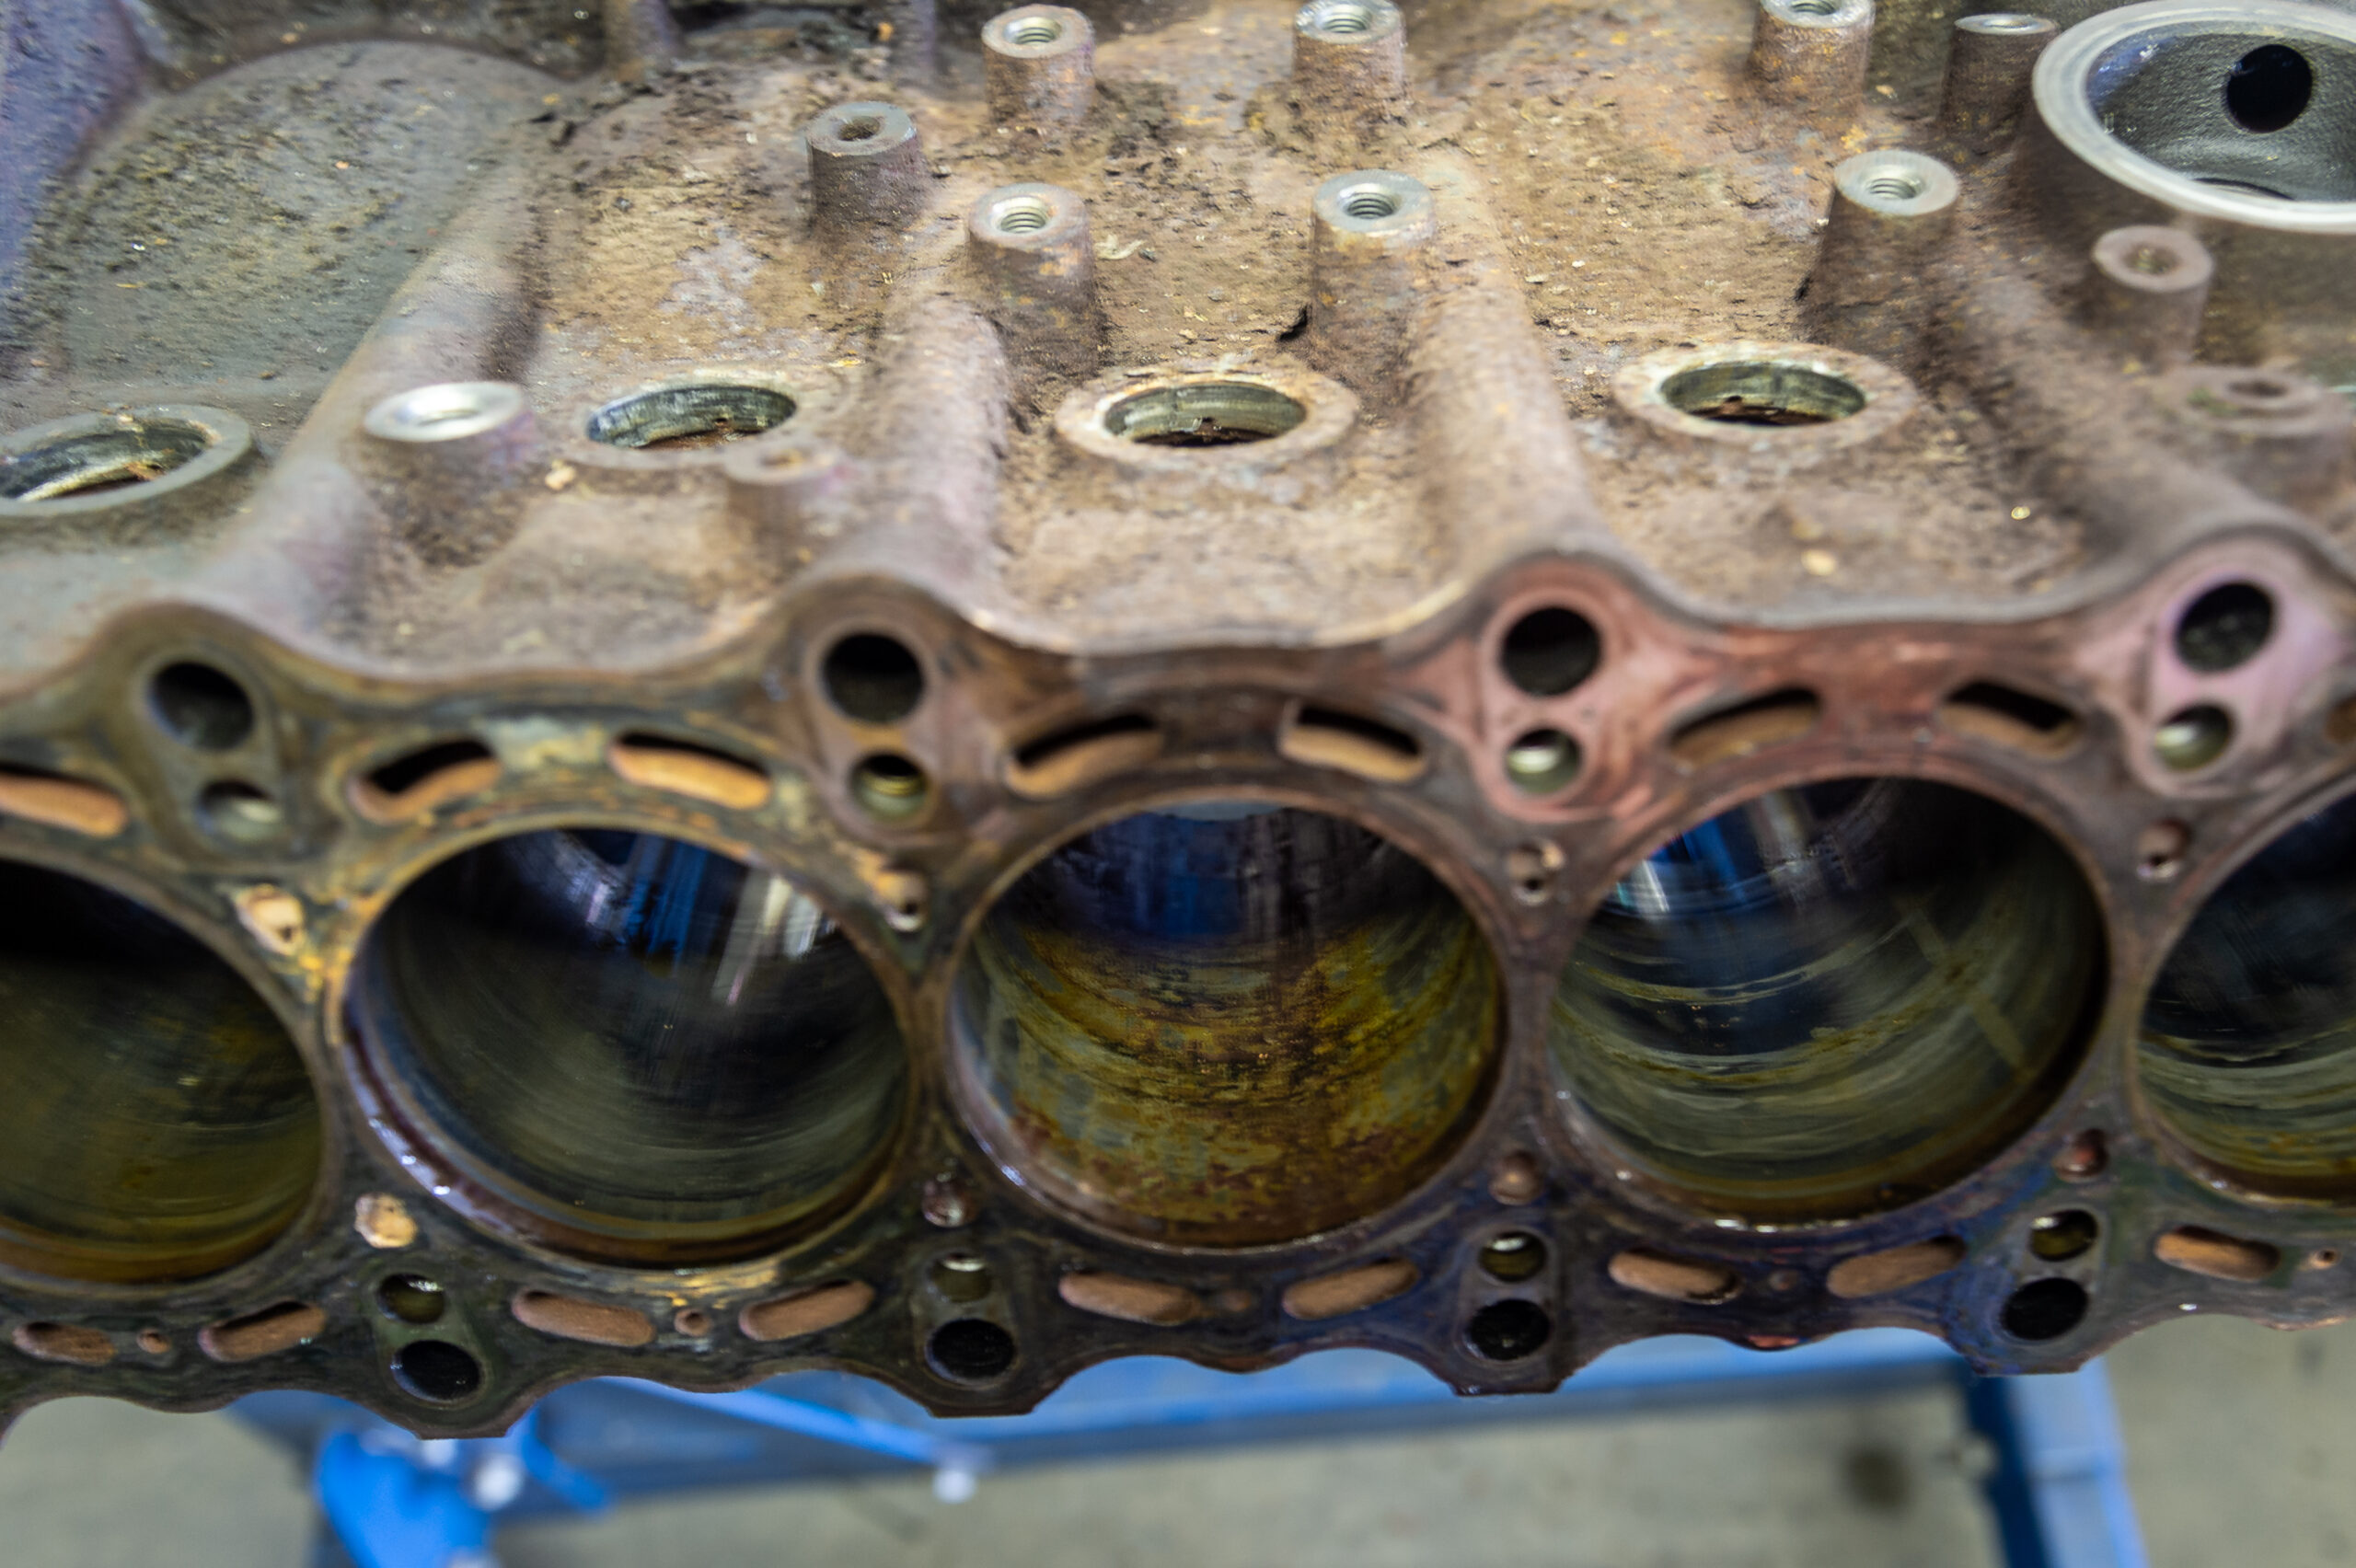
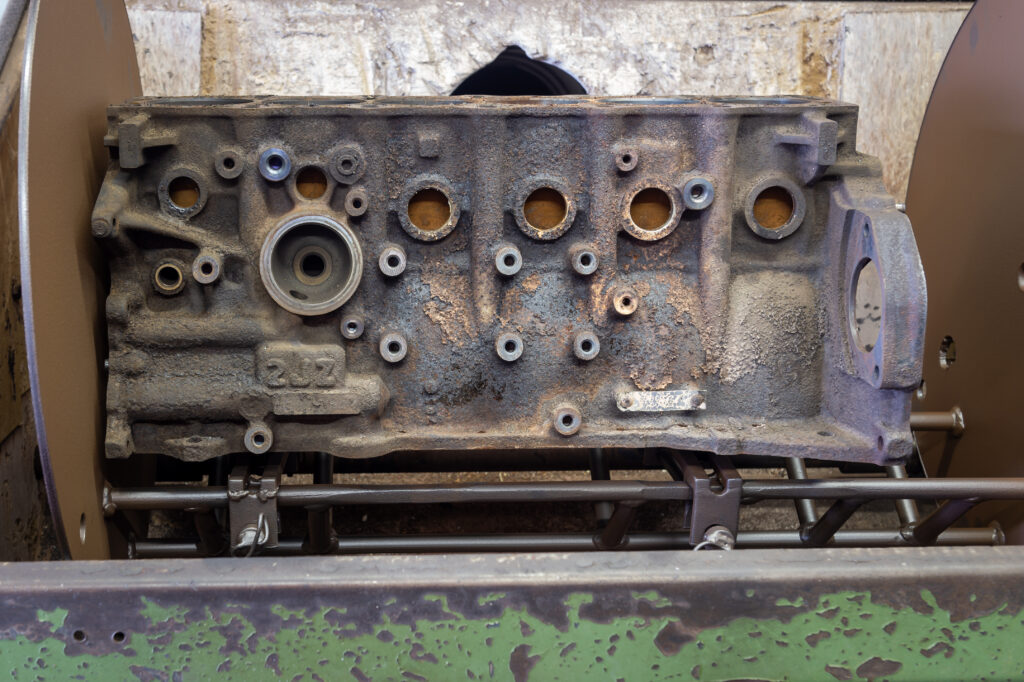
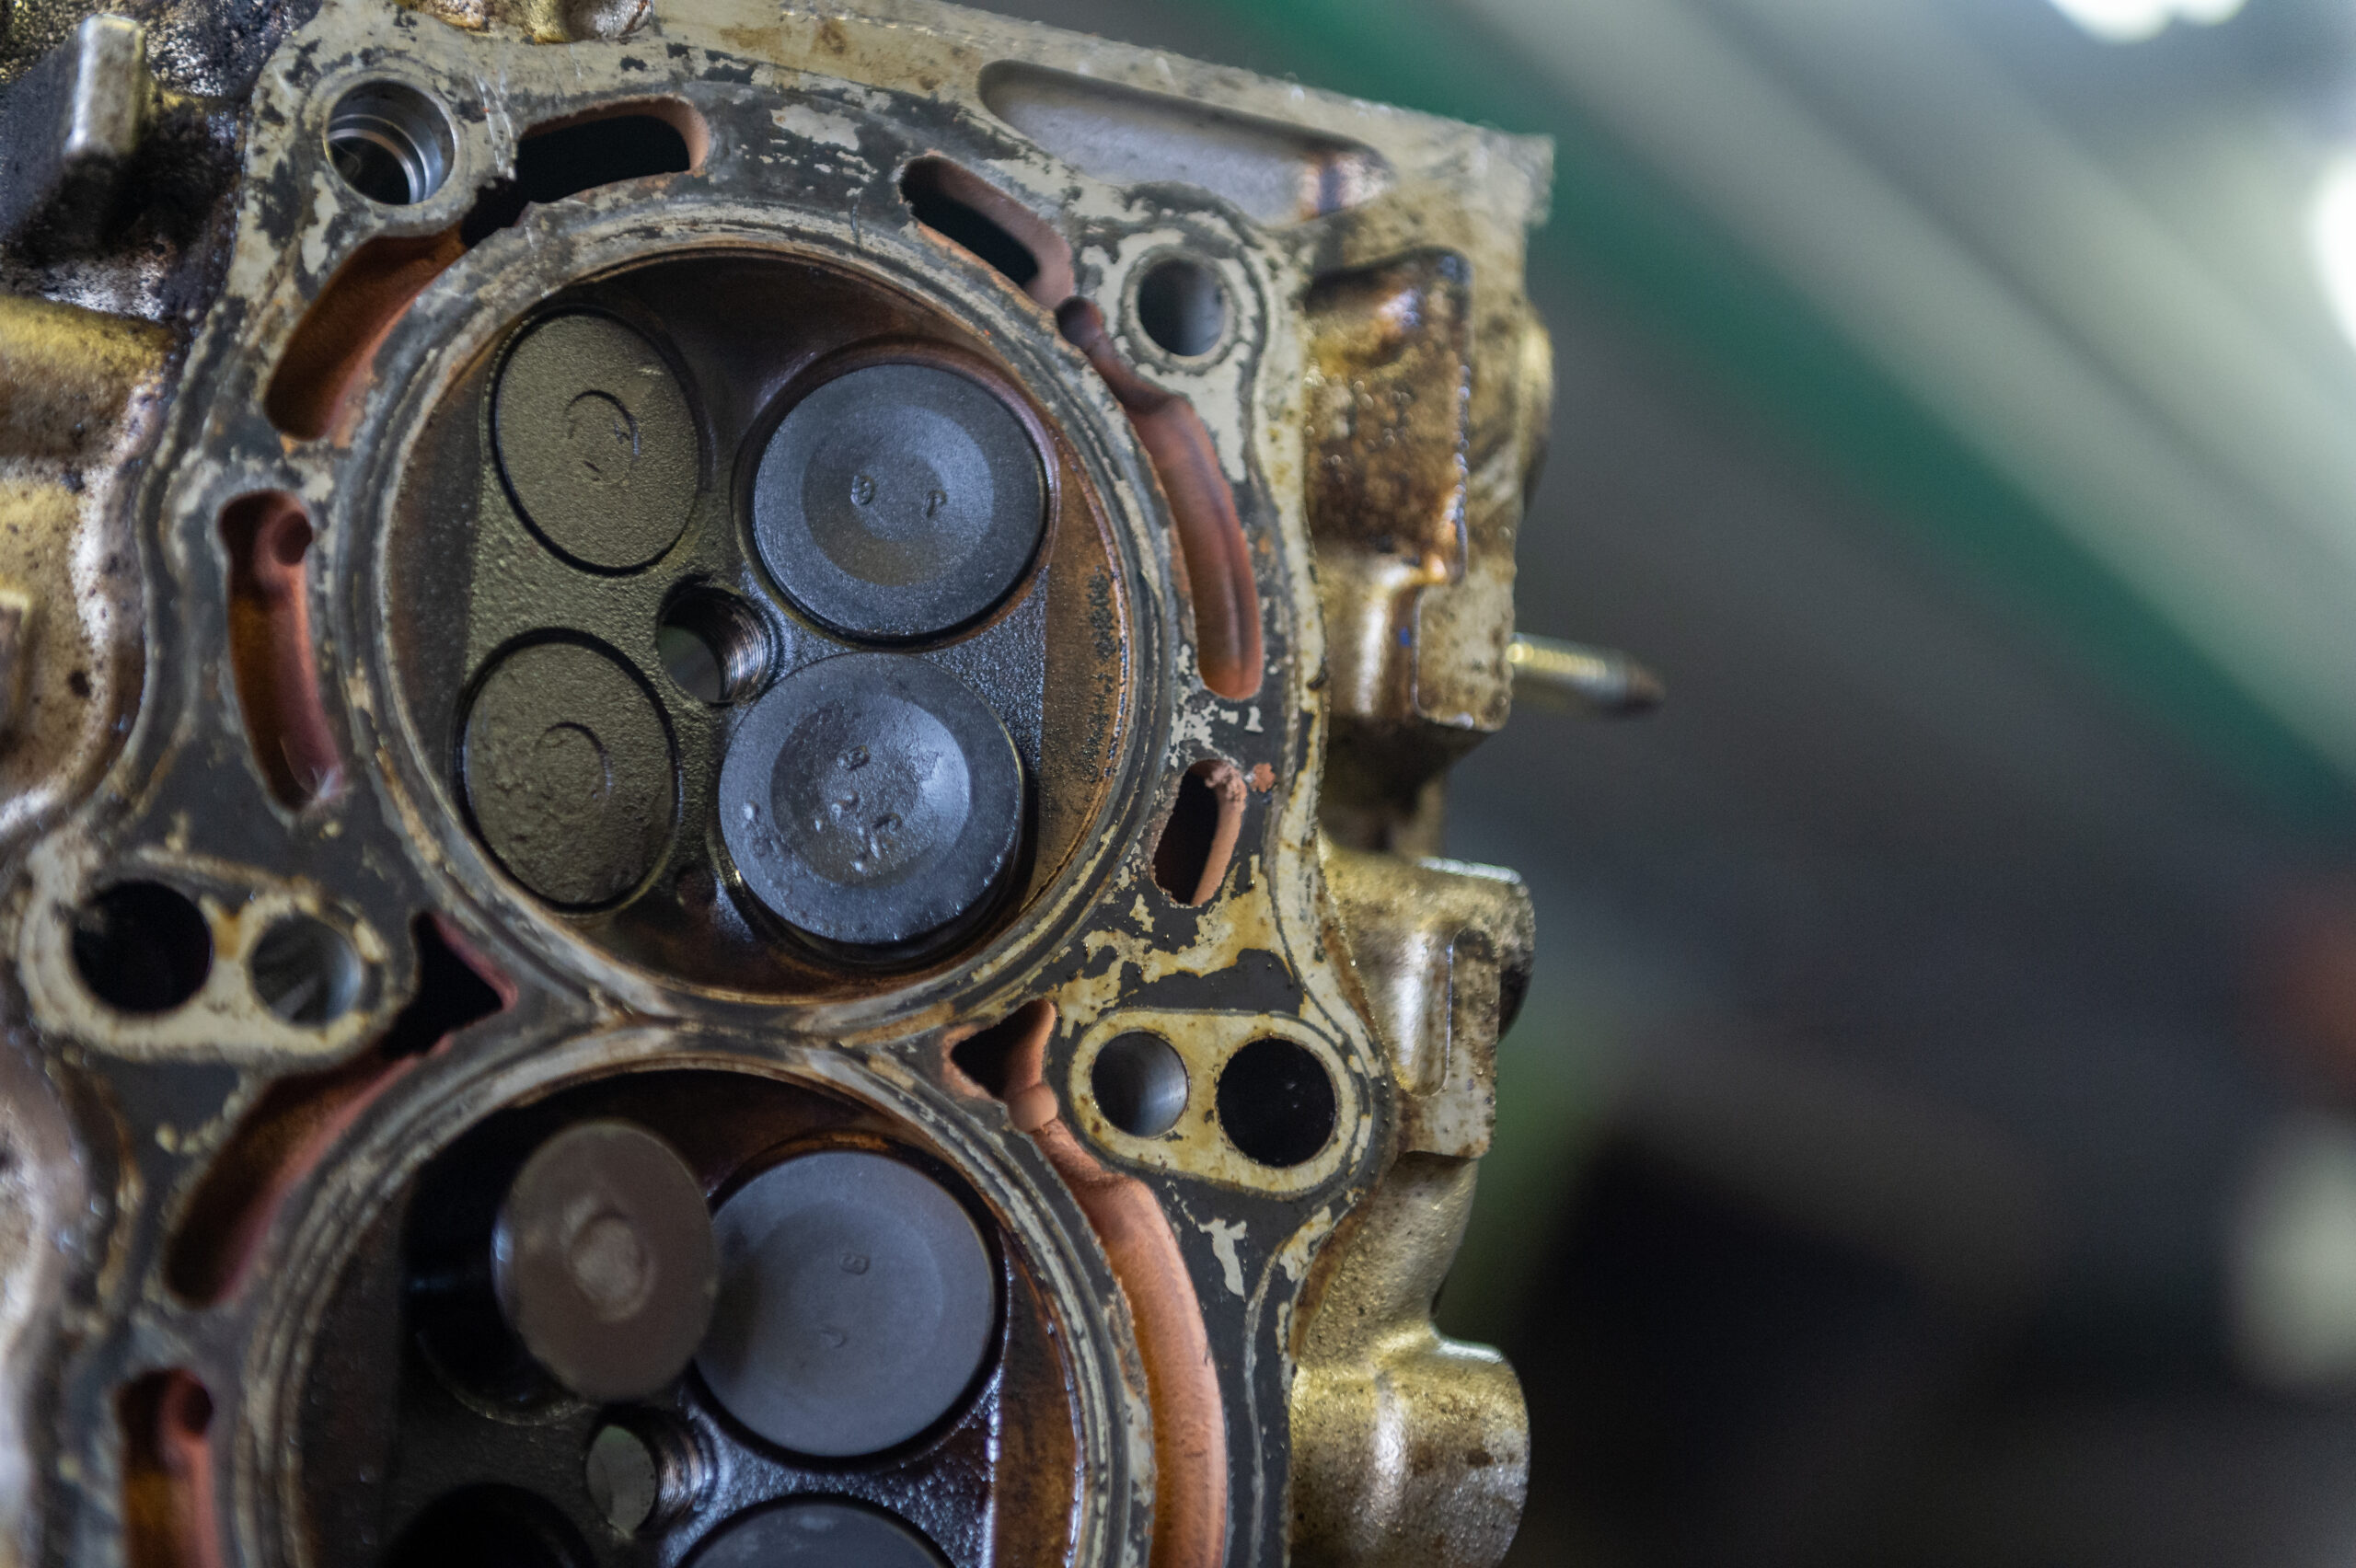
I’m not gonna lie to you folks. I thought I would be in for a bad time when we cracked this engine open. I spun the engine by hand when I bought it, and it was apparent that it was low compression & could have a bad head gasket. The head gasket seals the combustion chambers and prevents coolant & oil from mixing. So when a head gasket blows, there is a breach in this seal, allowing coolant or oil to leak into the combustion chamber (or vice versa). I thought that Justin would find out the crank & block were toast… and just throw it all in the scrap bin. Hell – it may not have even been good enough for scrap. I drained the oil in this JZ when I bought it, and more water came out than oil. The cylinders also look pretty rough. I would need to bore the cylinders to be sure that they were straight. But anytime you see rust on a cylinder wall, it’s a little concerning.
Dodged One…
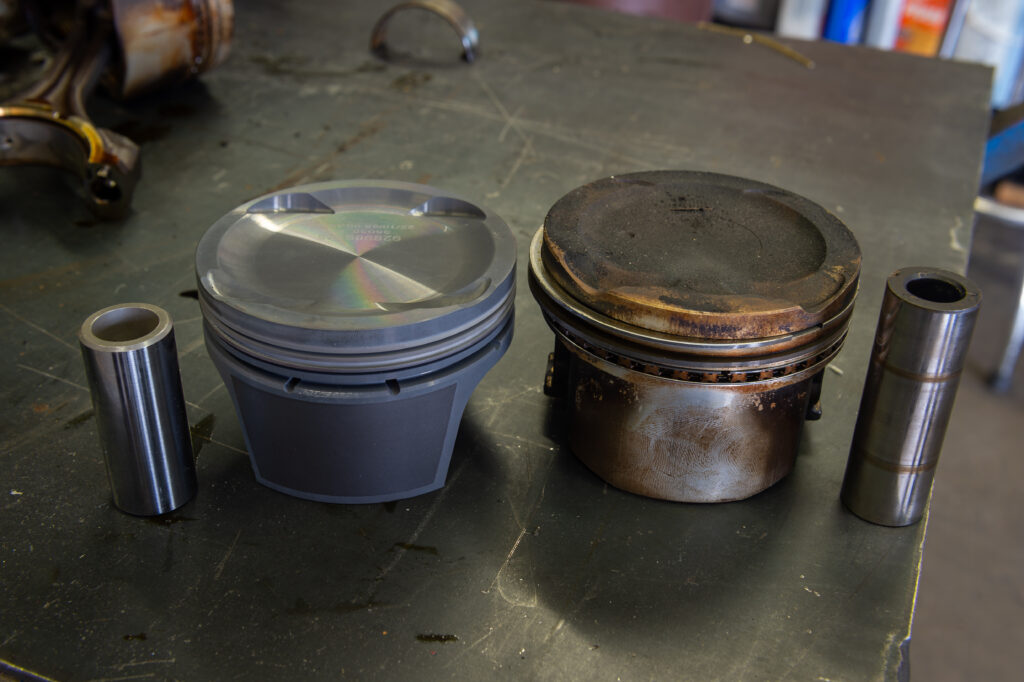
Let’s talk about why the rust on the cylinders could be a problem. I already have Mahle 86.5 pistons, so I wanted to bore the cylinders to the minimum acceptable range for my pistons. You often bore an engine because, over time, engine cylinders can wear unevenly or suffer damage due to inadequate lubrication, overheating, or poor maintenance. If the cylinder walls are out of round or have excessive wear, boring can be performed to restore them to the proper dimensions. And when you are about to add a shit-ton of cylinder pressure, you don’t want to create hot spots. Luckily, the cylinders weren’t as bad as I thought. I was advised that a standard bore & hone should do the trick.
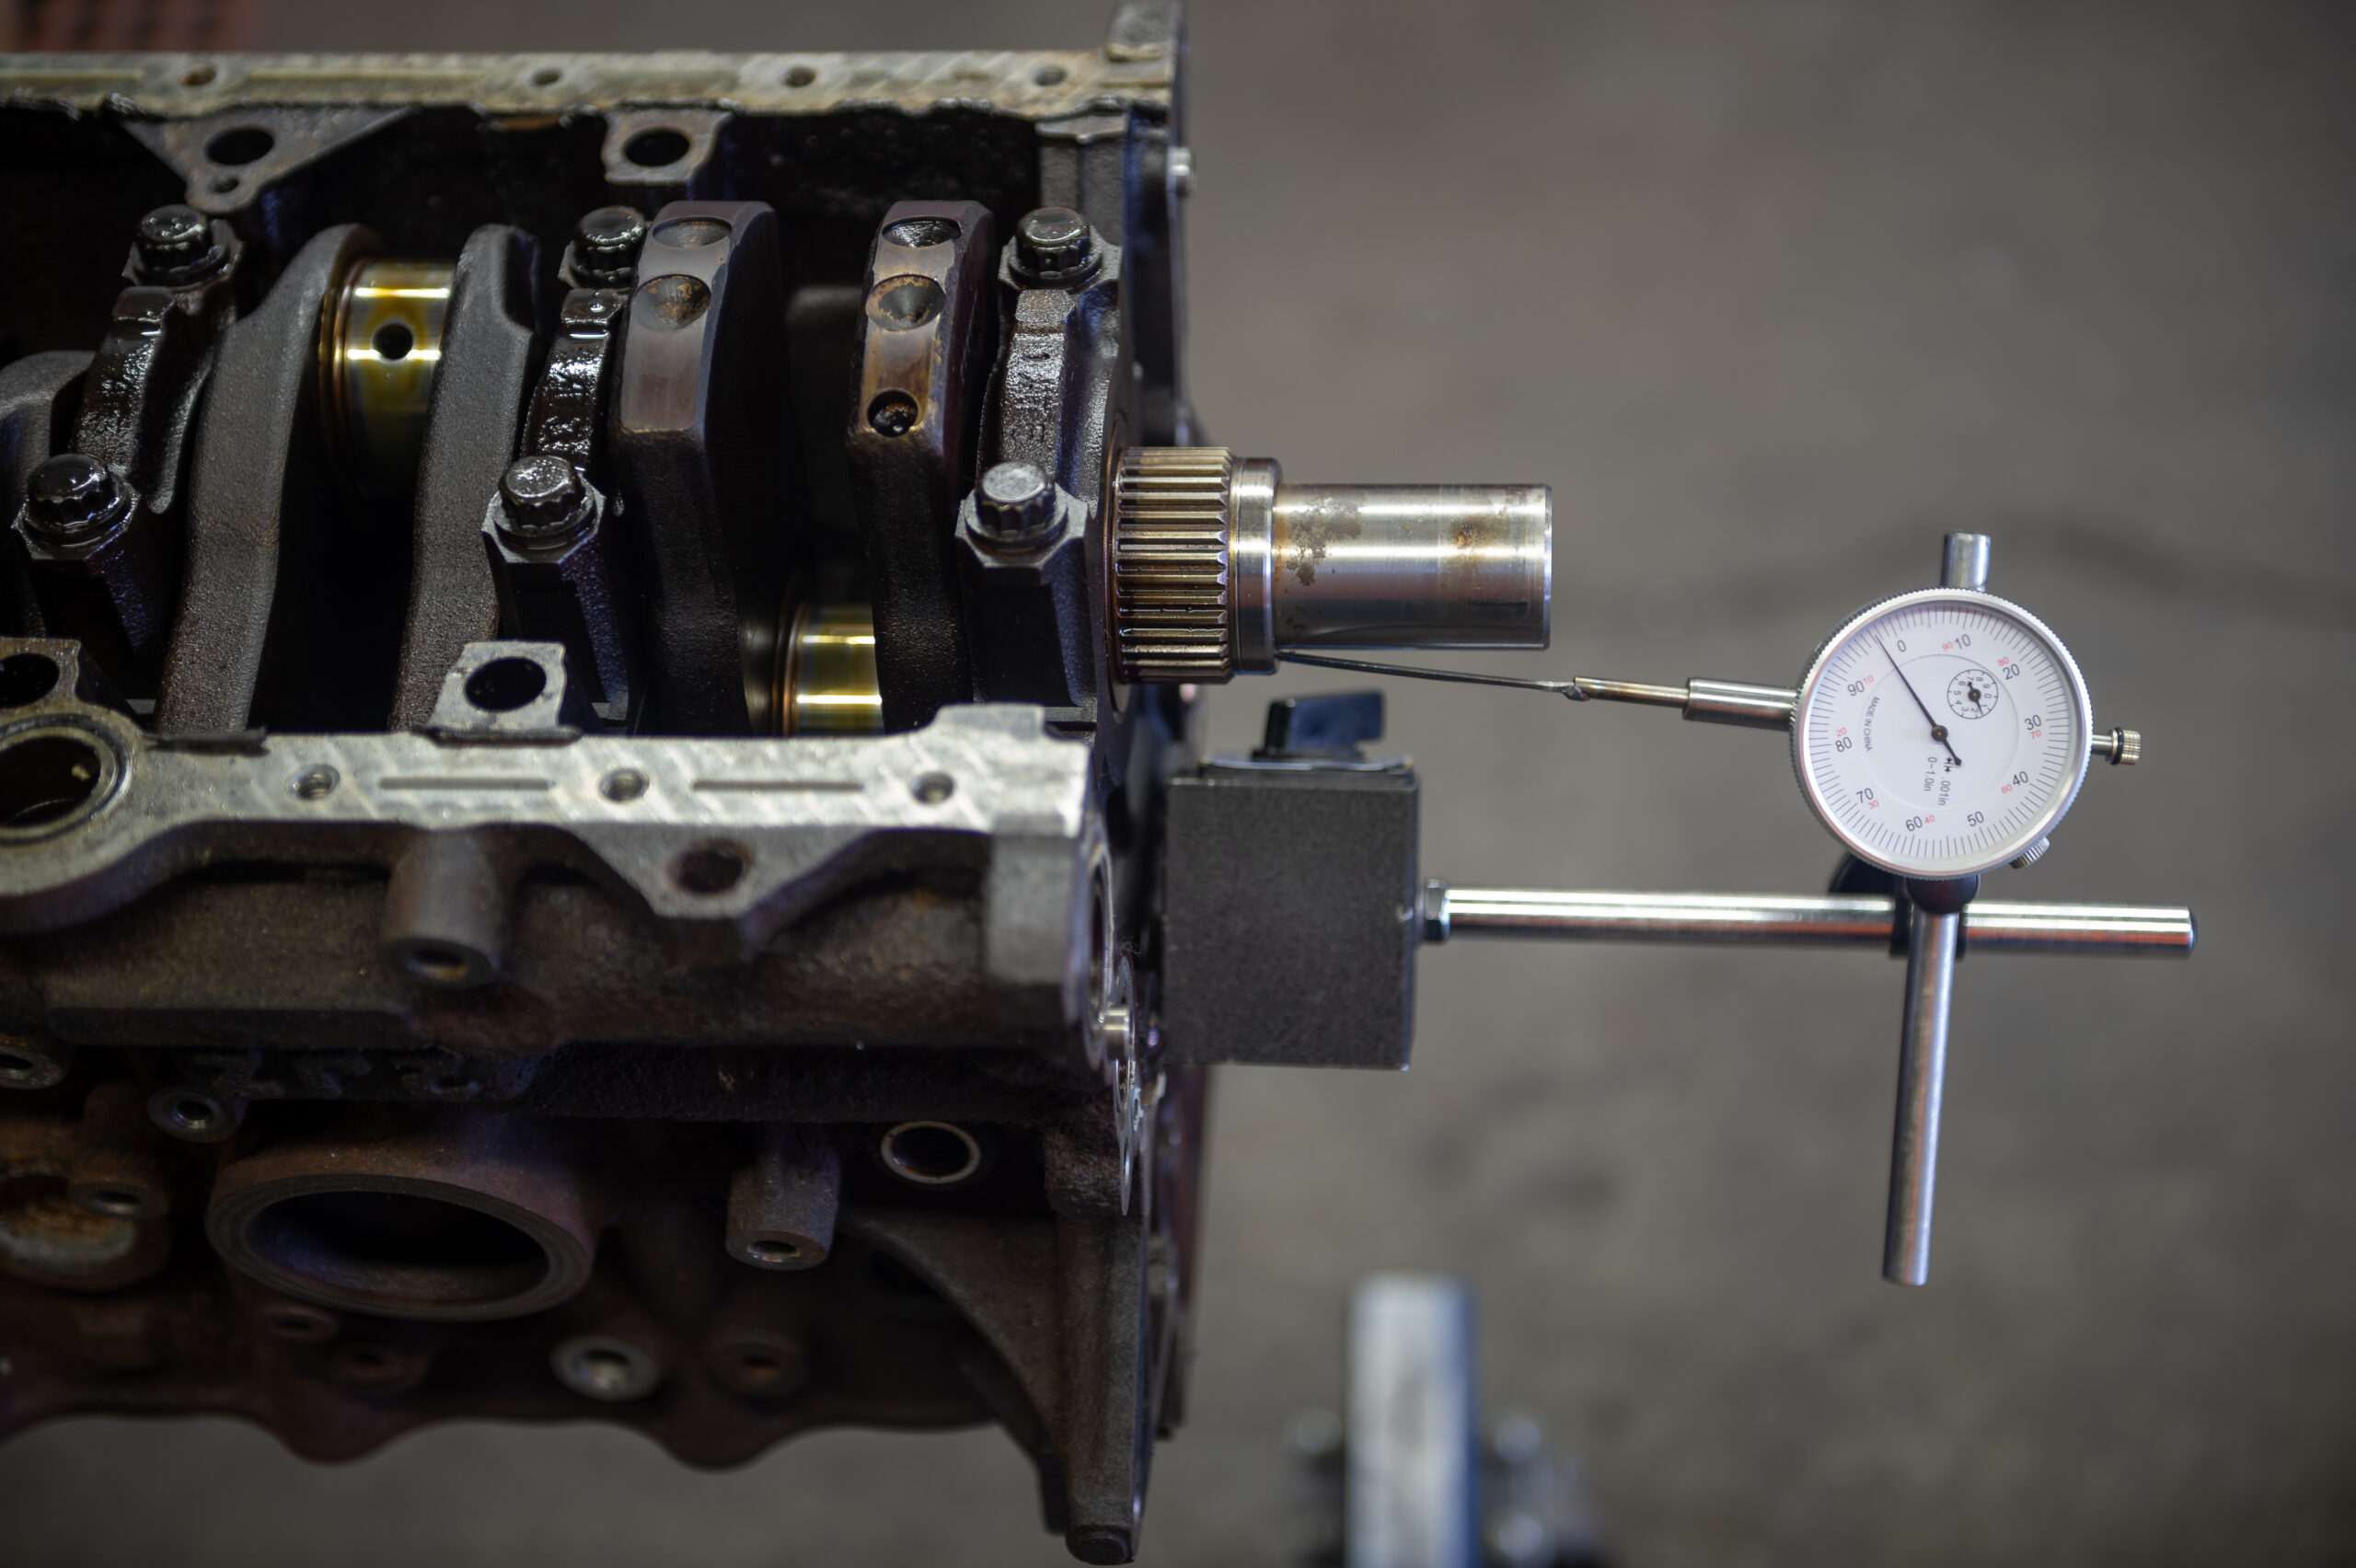
Measuring the Crank
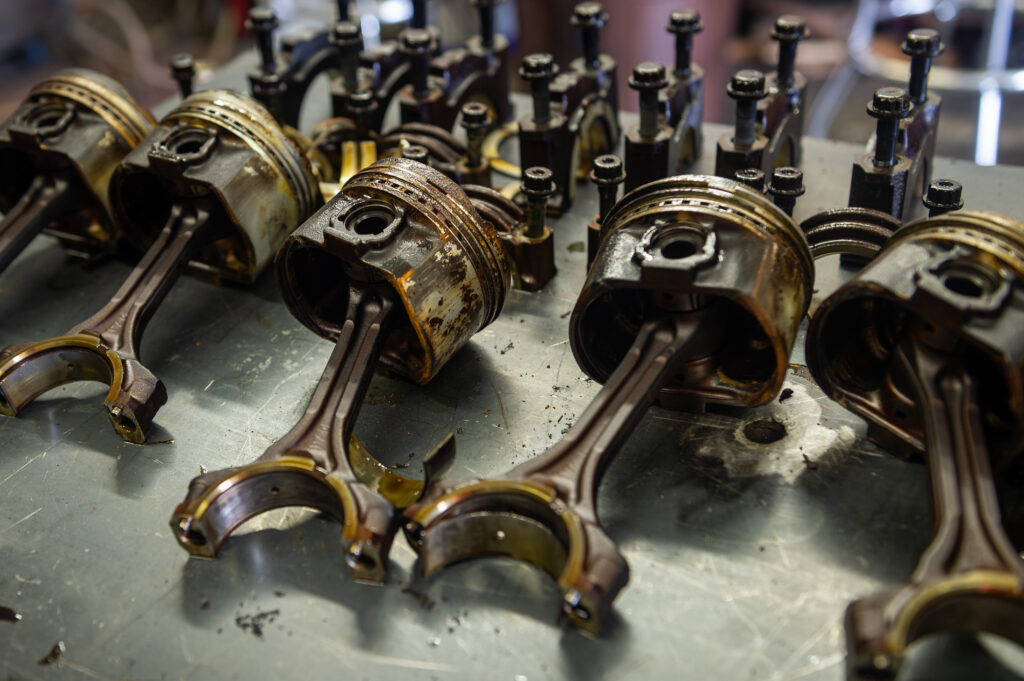
The also important piece of this is the crankshaft. Since this is a GE, the rods & pistons were useless to me… and I’ll show you why in a bit. The crankshaft, head, and block need to be usable. We did a thrust washer runout check before we got the crank over to check runout. Excessive runouts in thrust washers can cause several issues, including increased friction, uneven wear, and potential damage to the components they are designed to protect. If it’s too much runout, this could be the first sign that the crankshaft would need to get replaced. It turns out that it was not too far out of spec, which leaves me with more confidence that things may be alright for our JZ.
Girth Matters…
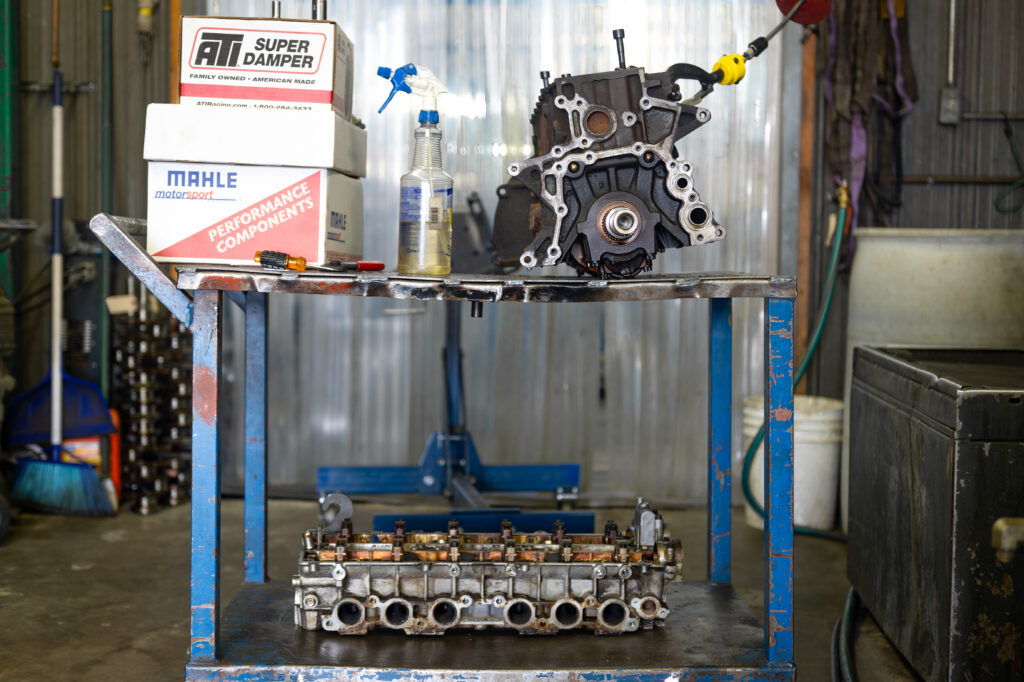
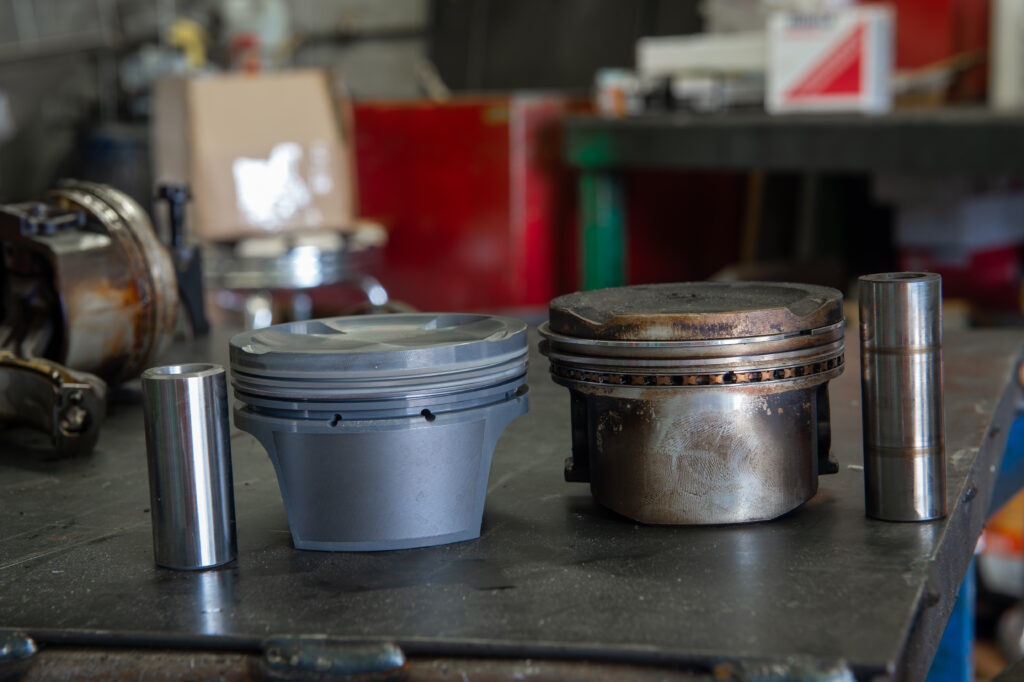
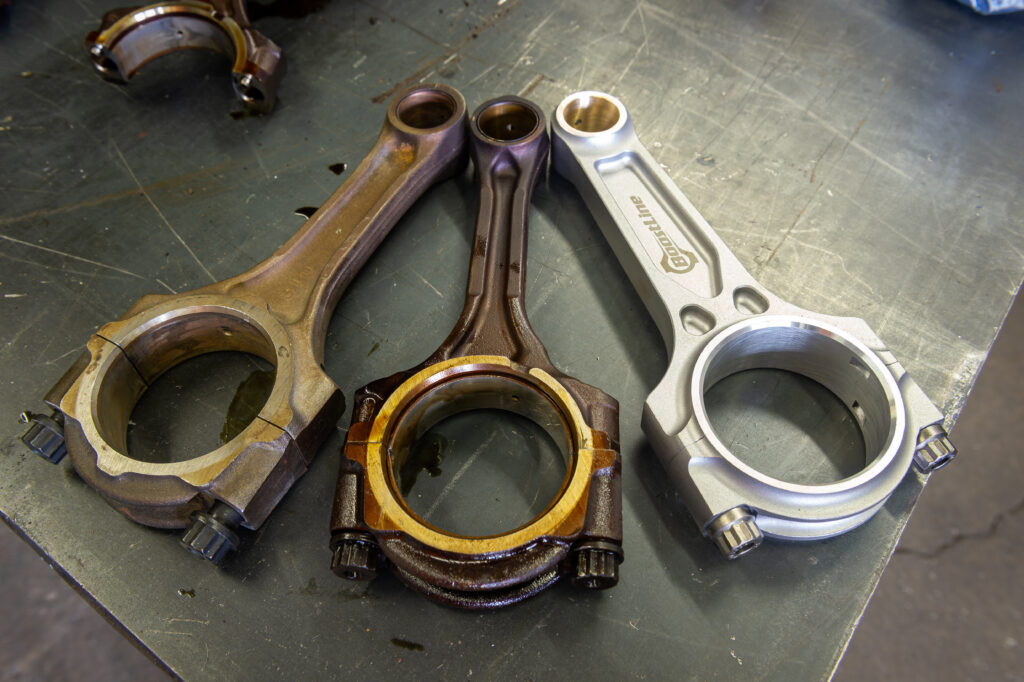
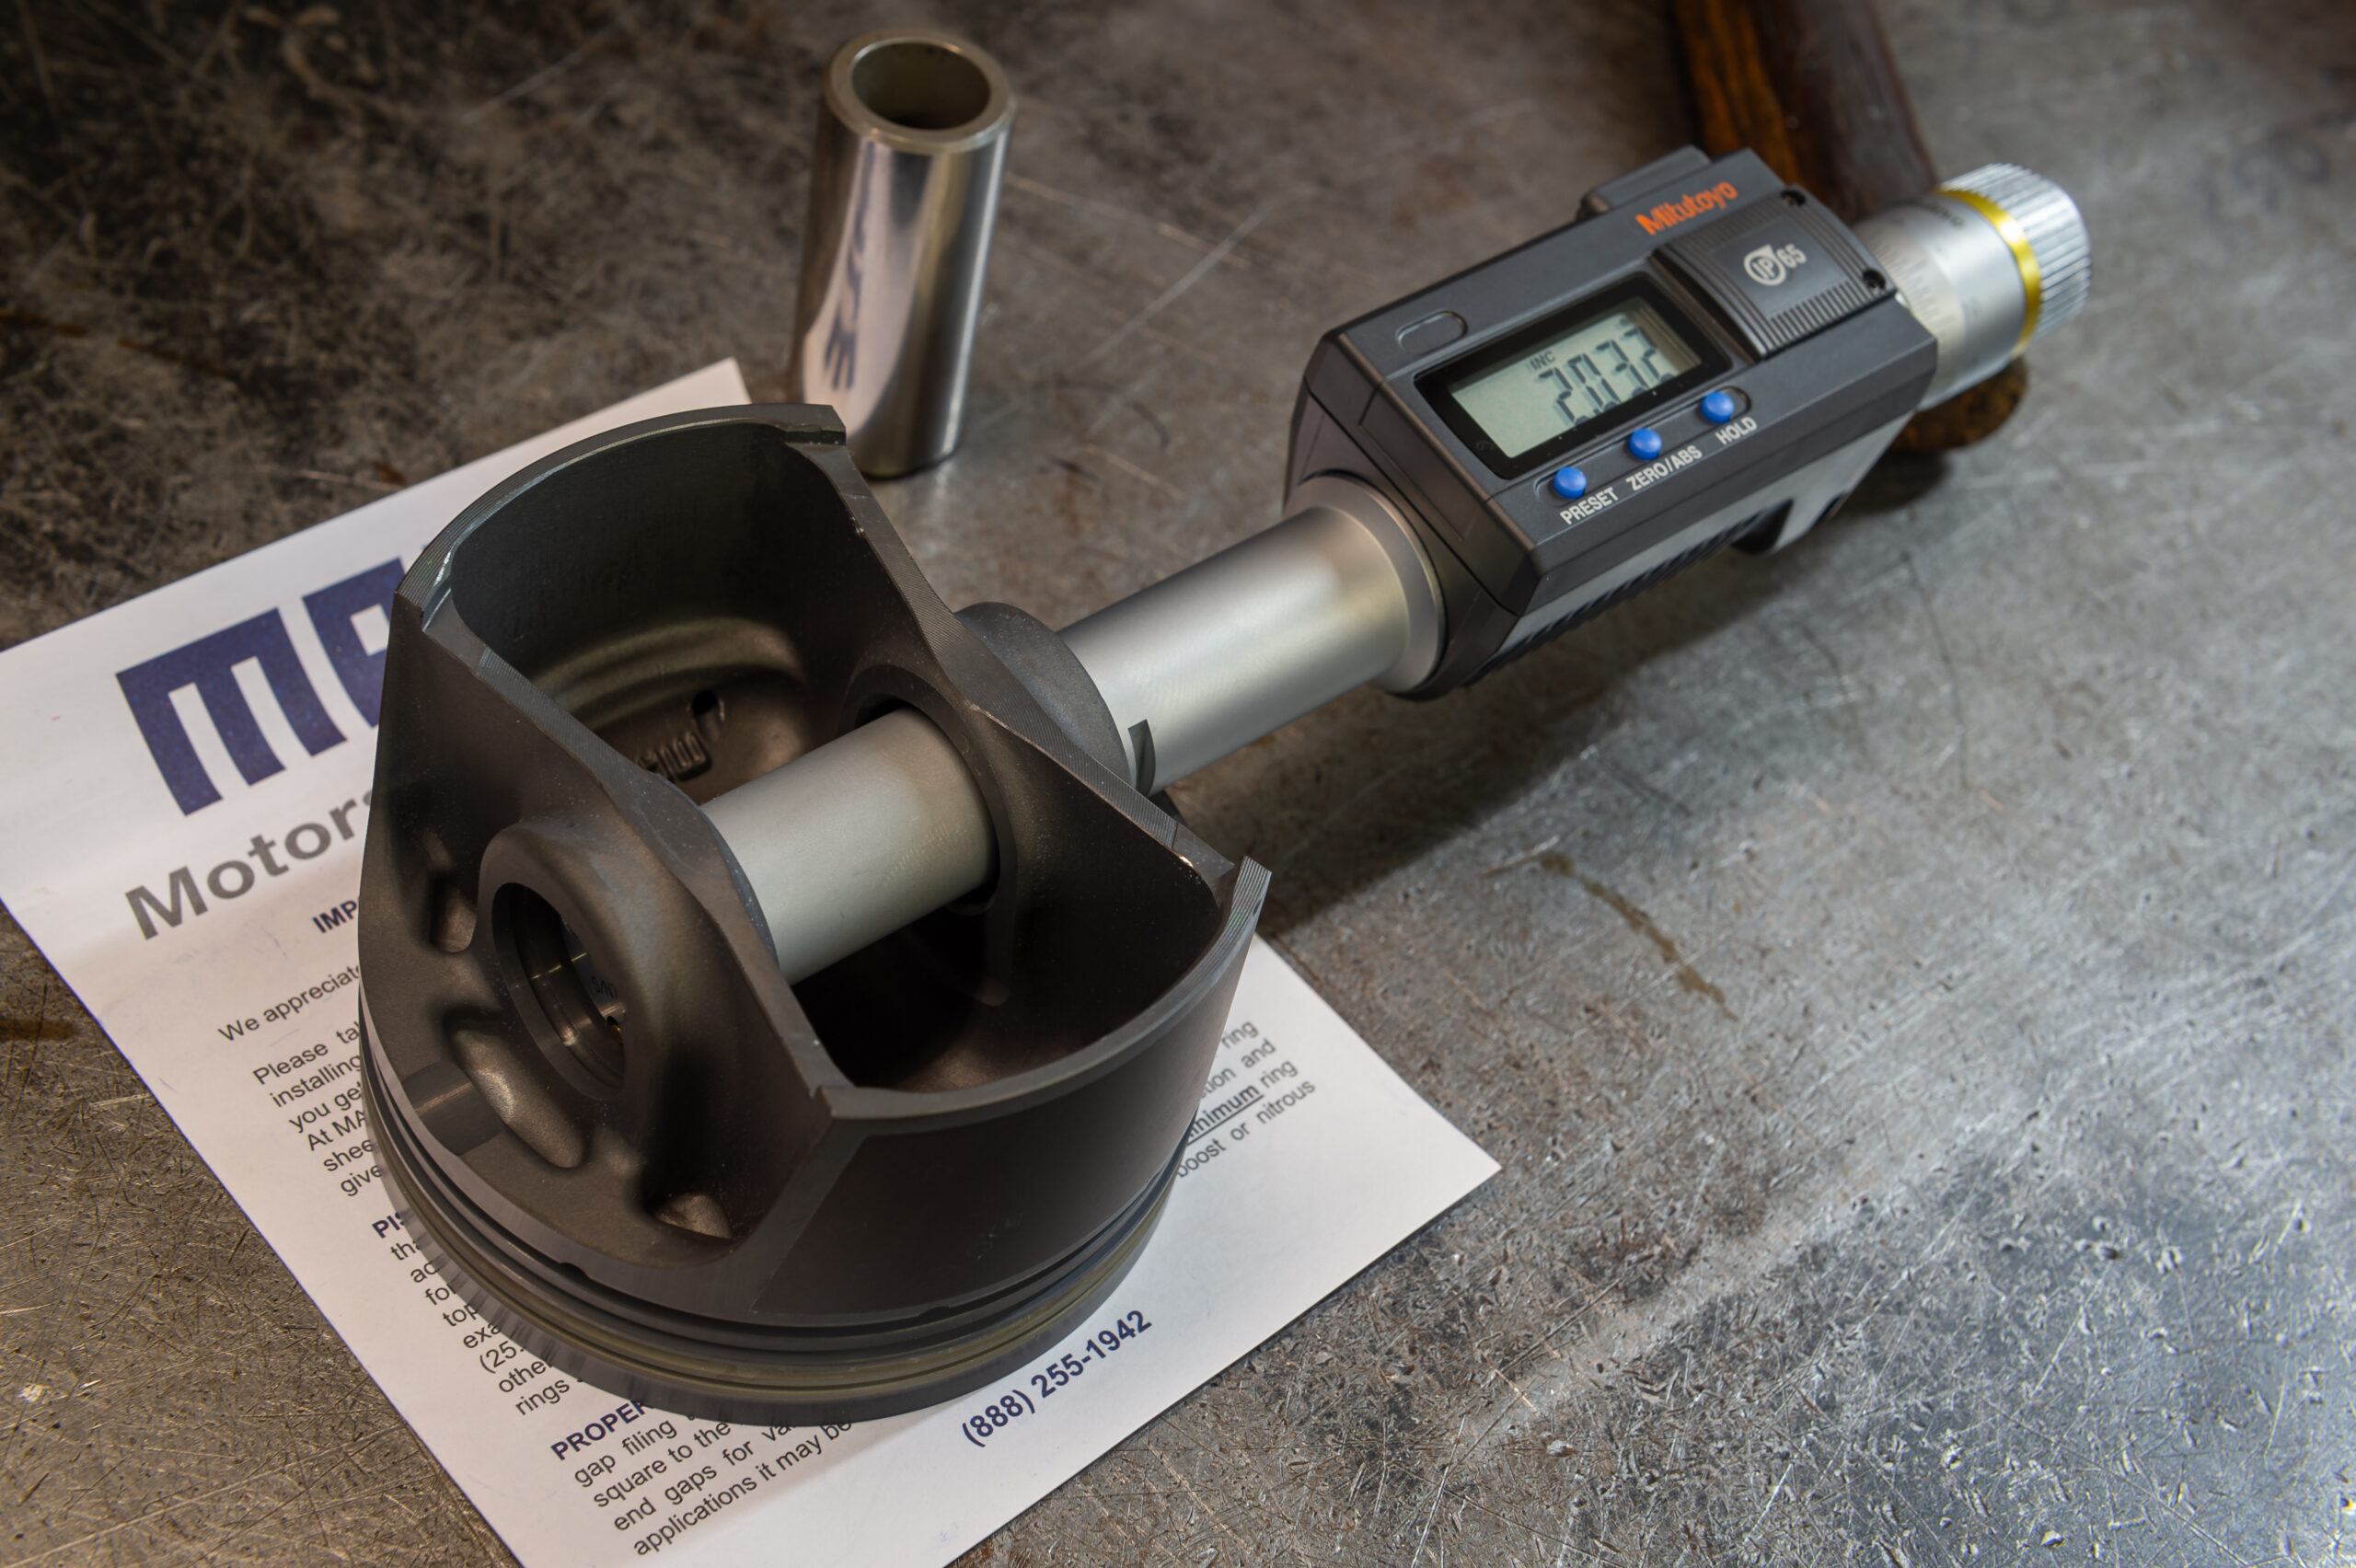
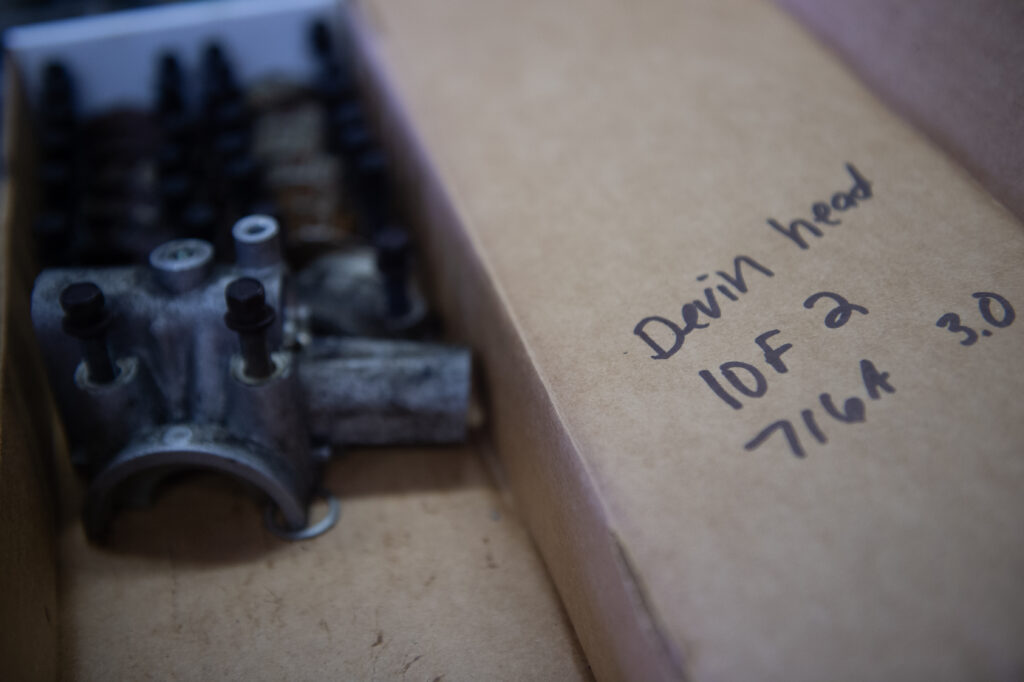
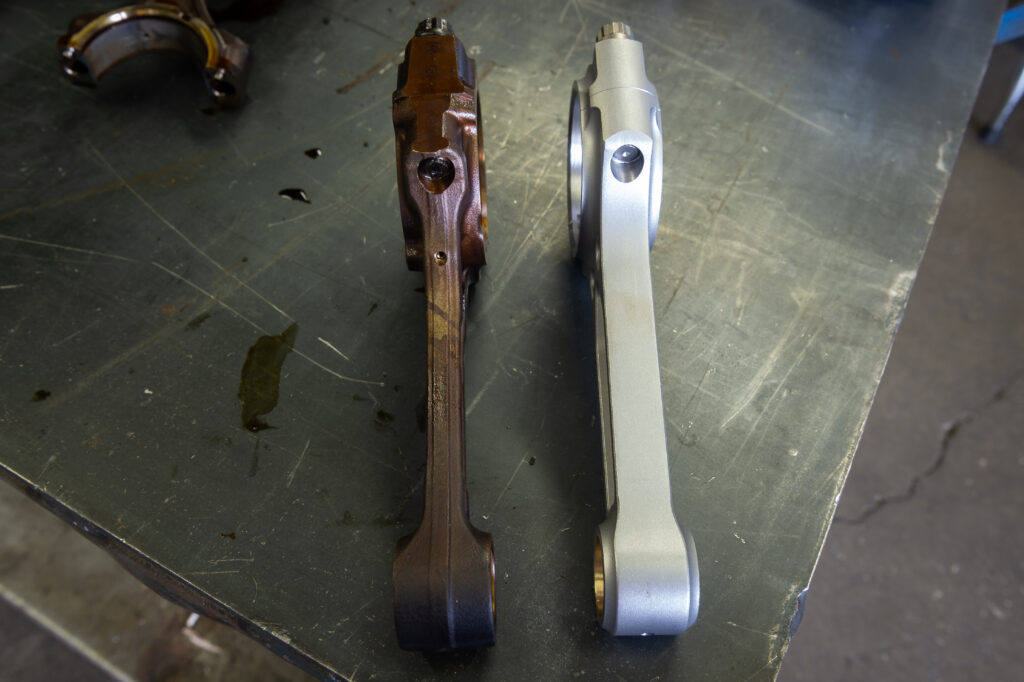
We popped the pistons & rods out. The GE rods are comically smaller than the GTE rods, and the Boostline rods make the GTE ones look small. The smaller connecting rods in the 2JZ-GE engine are designed to provide sufficient strength & durability for the power the NA GE was making. The reduced mass of the rods allows for smoother and more efficient operation at lower engine speeds. The smaller connecting rods also have lower rotational inertia, improving throttle response and engine performance. But when you are about to slam 30-pounds of boost on top of them from a G40, they will likely check out soon. I’ll detail the Boostline rod we use to conquer that in the assembly phase. We also set the Mahle pistons next to the OEs and noticed how much shorter the wrist pin is. We’ll have to dive deep into that as well. This will be Justin’s first time working with these Mahle pistons, which are relatively new to the market. We wrapped-up the disassembly by popping the freeze plugs out & chasing the threads for the bell housings & starter. Next up, baking the engine.

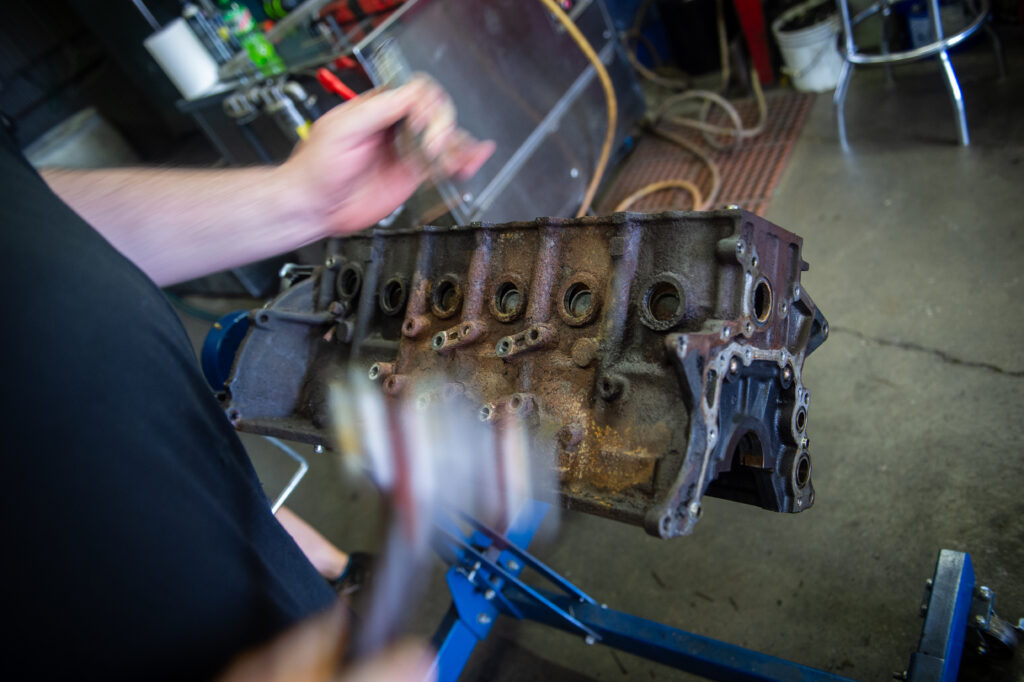
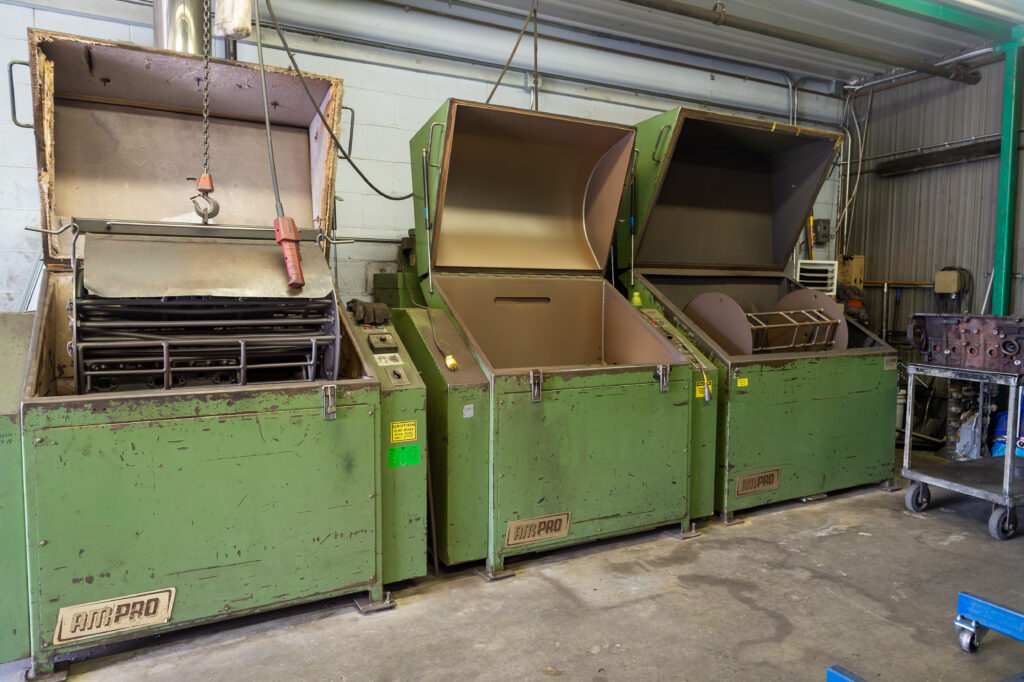
Thermal Cleaning…
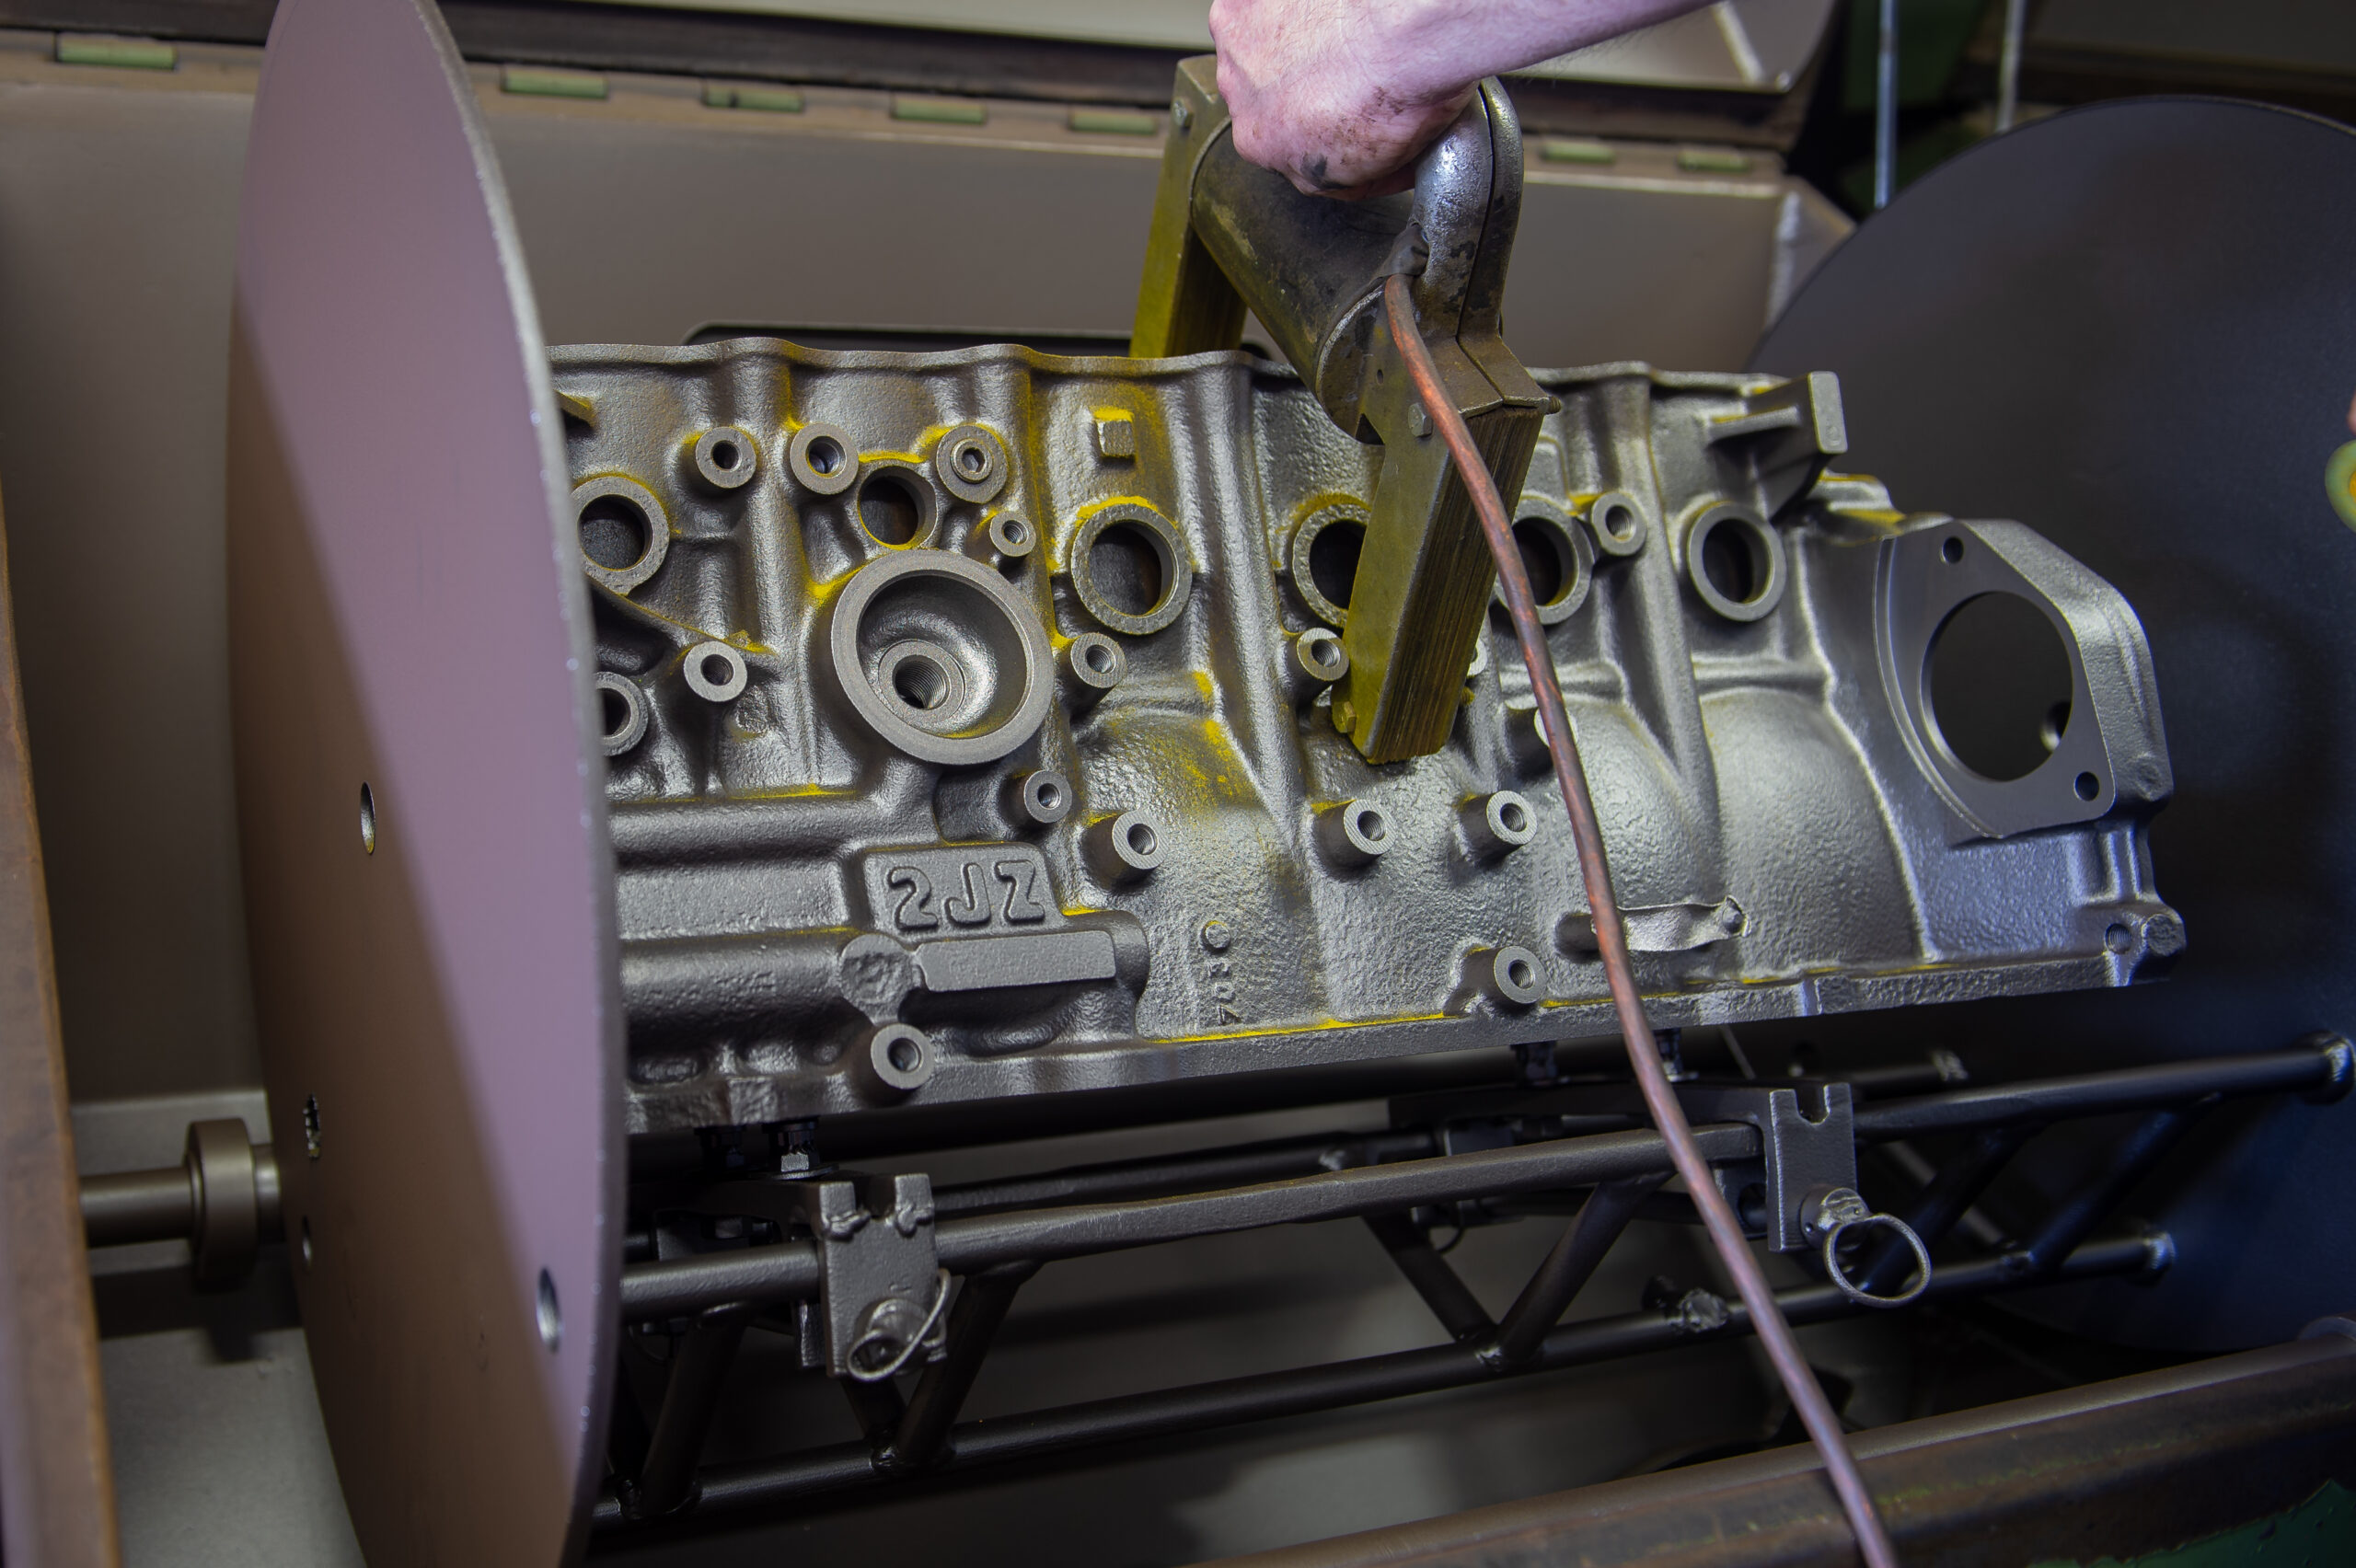
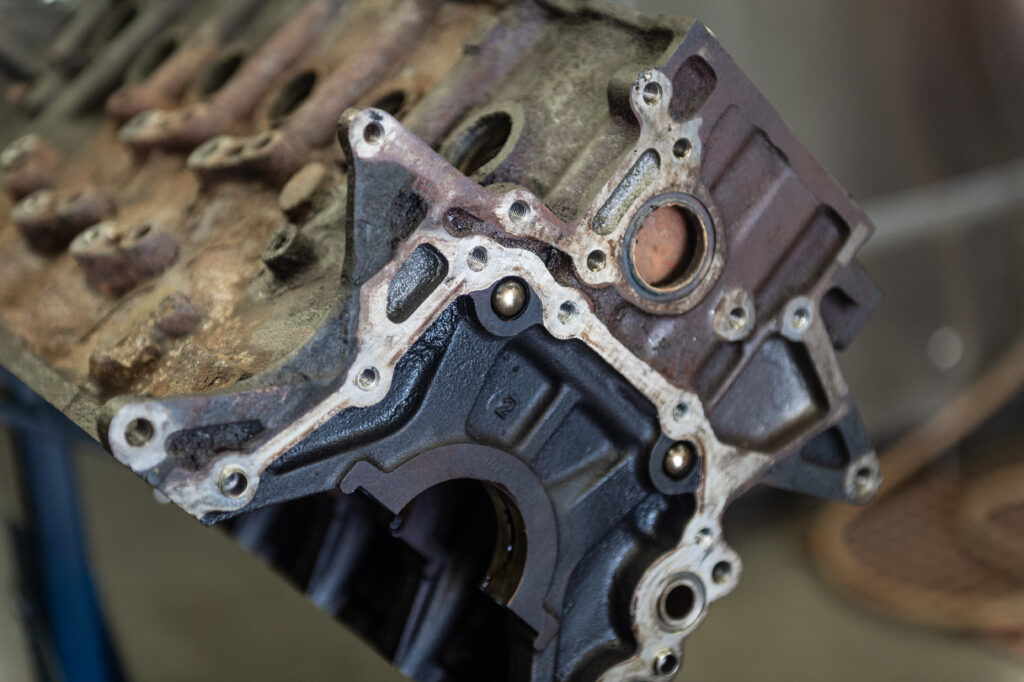
Thermal cleaning removes contaminants, sludge, carbon deposits, and other buildup from the internals. The process involves heating the engine to a high temperature while introducing a specialized cleaning agent to break-down & remove the deposits. Compare the photos above. You can see that the process got rid of a lot of the rust that was on the outside.
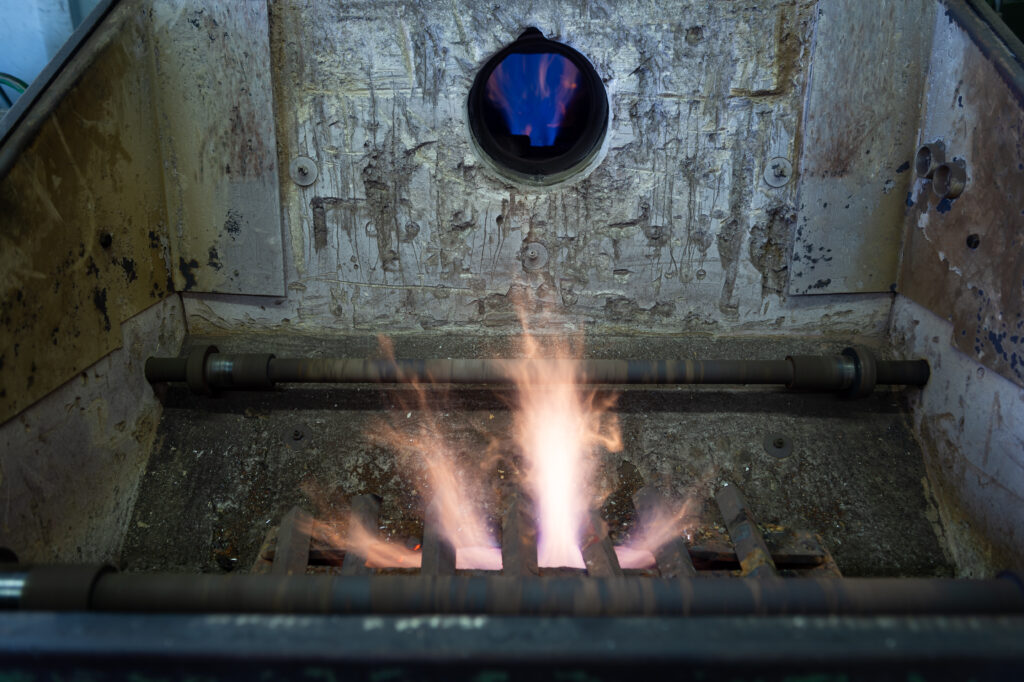
Peening…
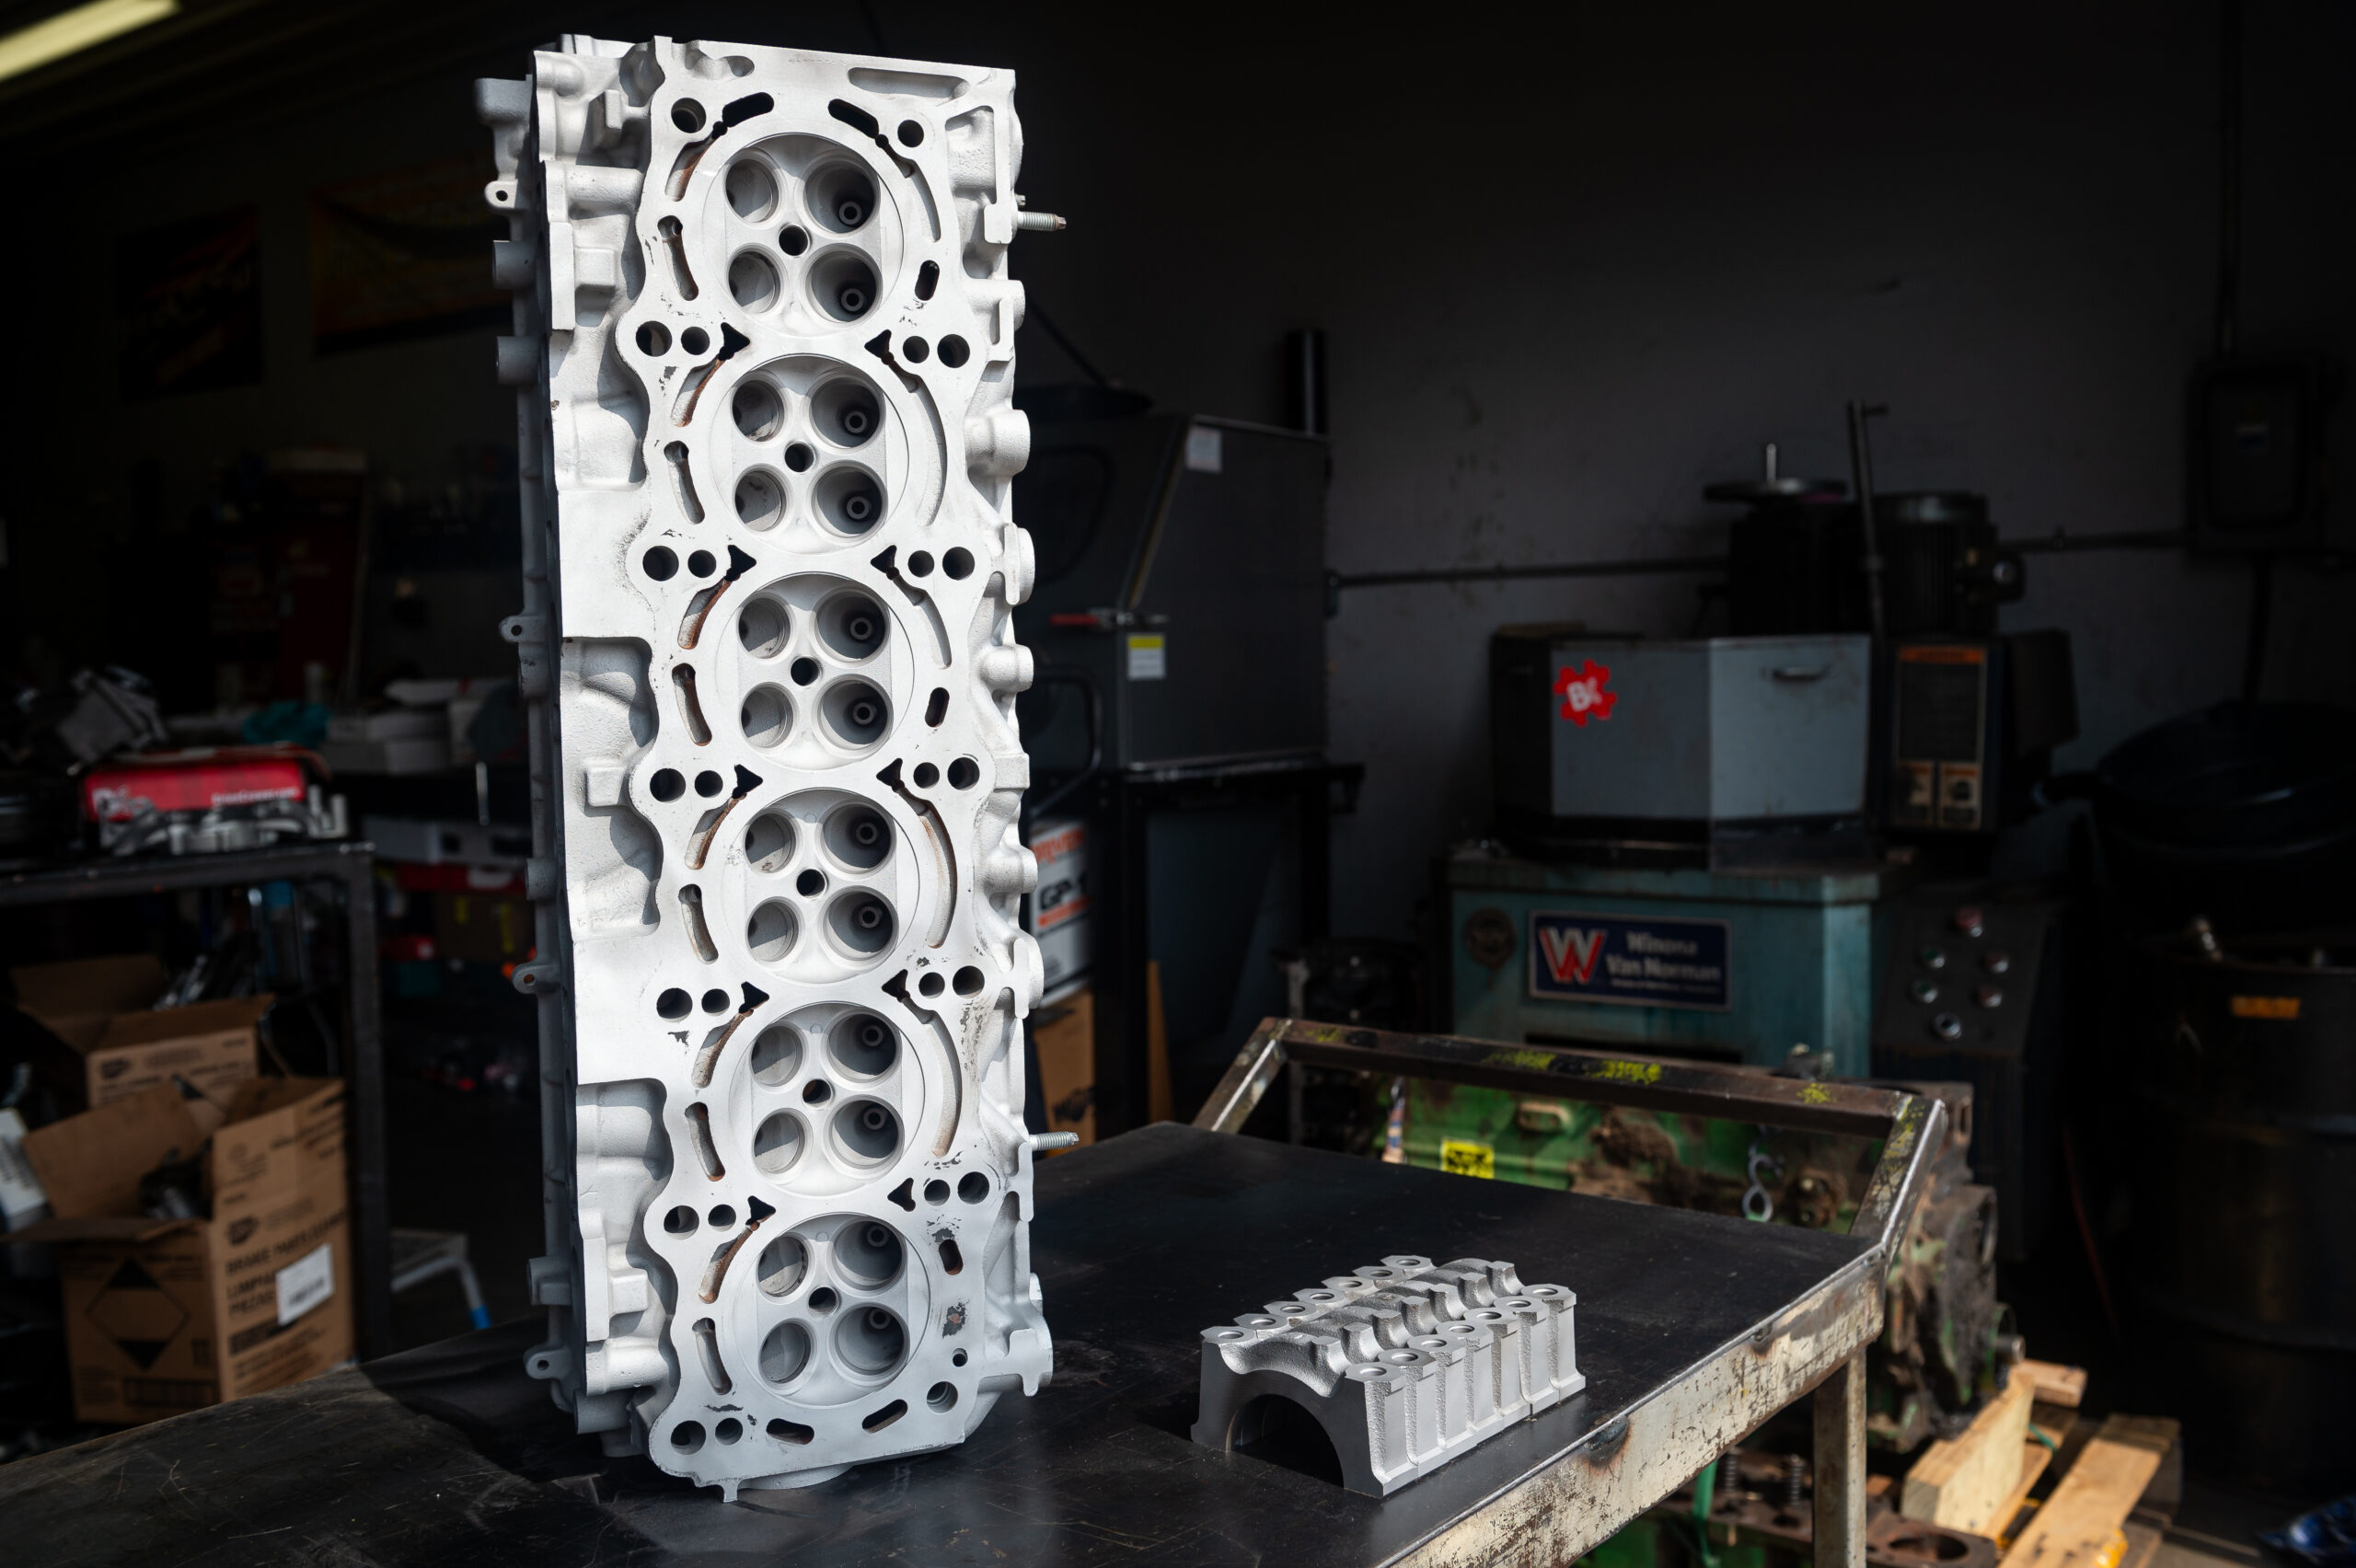
After the block cooled down, it was time to be shot peened. Shot peening is a surface treatment process that improves metal strength, fatigue life, and resistance to stress corrosion cracking. It involves bombarding the material’s surface with small, spherical pellets (shot) under controlled conditions. The impact of the shot induces compressive residual stresses on the surface, which counteracts the tensile stresses that can lead to cracking or premature failure. Somethings that can only help this JZ stay together for multiple minutes at full tilt. It also makes the engine look damn near brand new. If you were to tell me that was my block afterward, I would think you were a lying sumbitch.
Shaking Things Up…
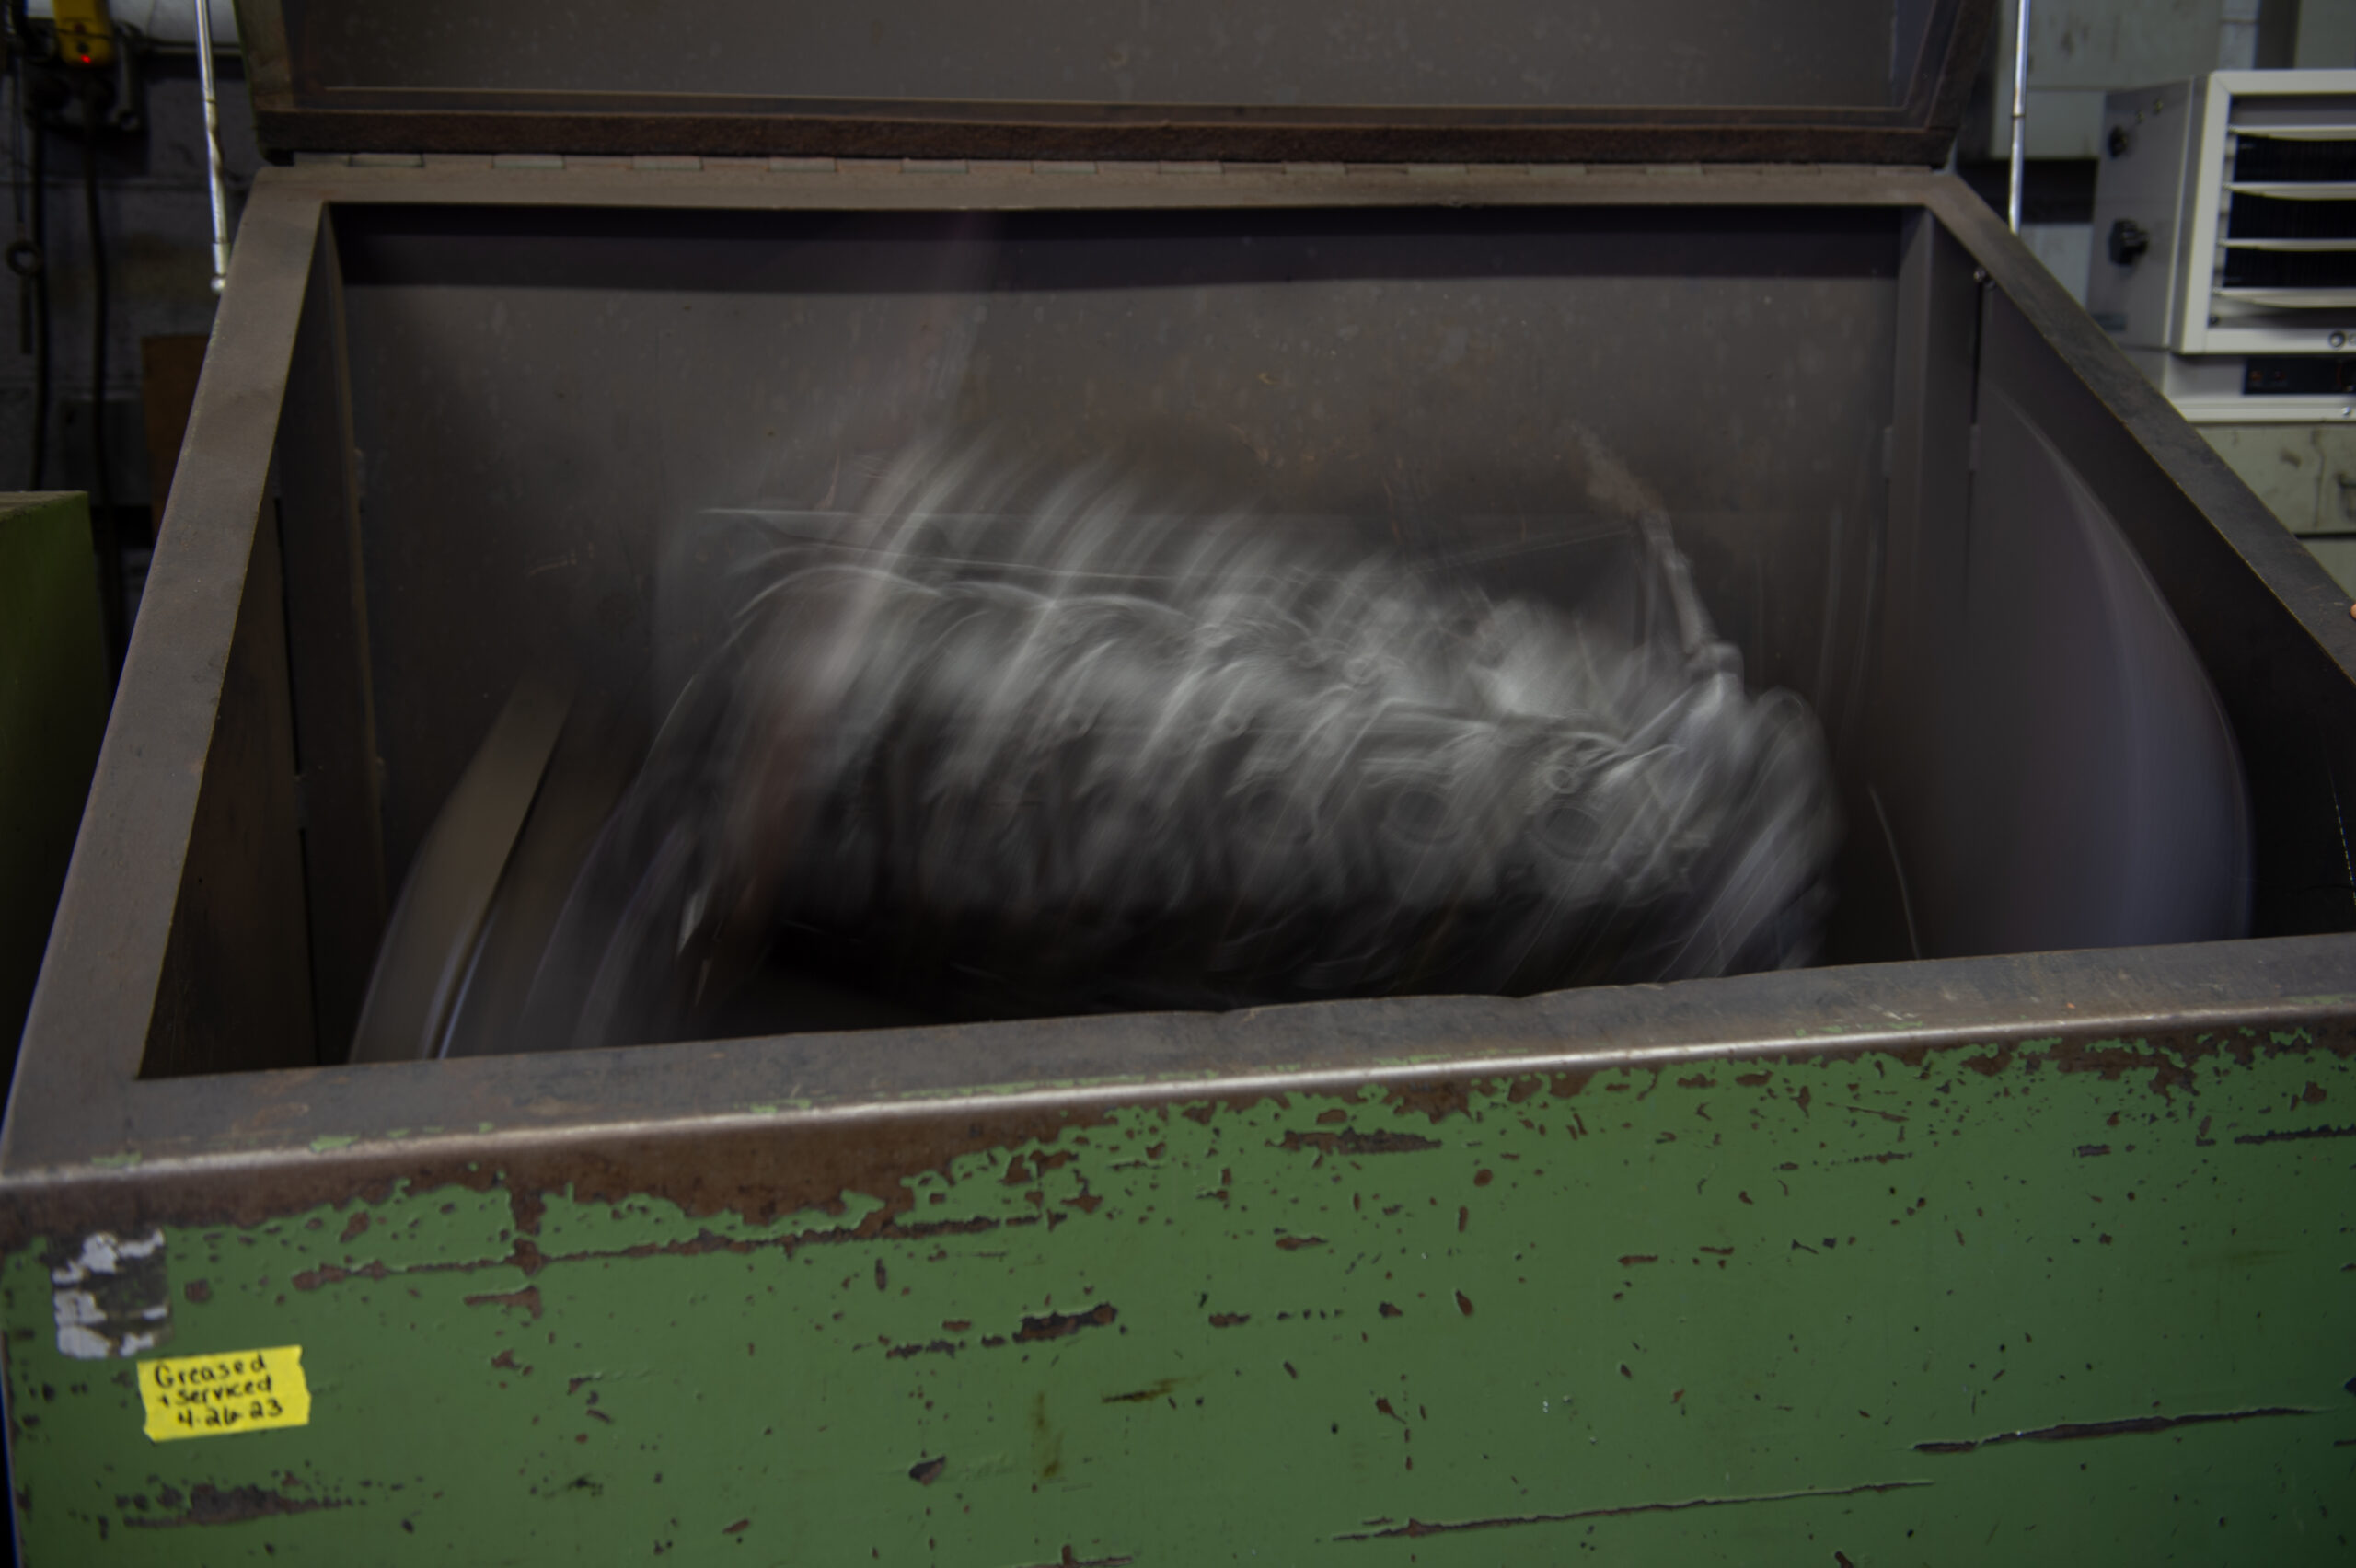
Once the shot peening process is done, it’s time to Magaflux the block. I’ve done this as part of the process when you flash butt weld railroad rail together. To put it simply, Magafluxing is a non-destructive testing method used to detect surface and near-surface defects in ferromagnetic materials. In simpler terms, make sure nothing has any cracks in it! Things go onto this machine that can be called a shaker. It twists, turns, & vibrates all the shot peen material out of the block before the engine enters the hot tank.
Headed in the Right Direction…
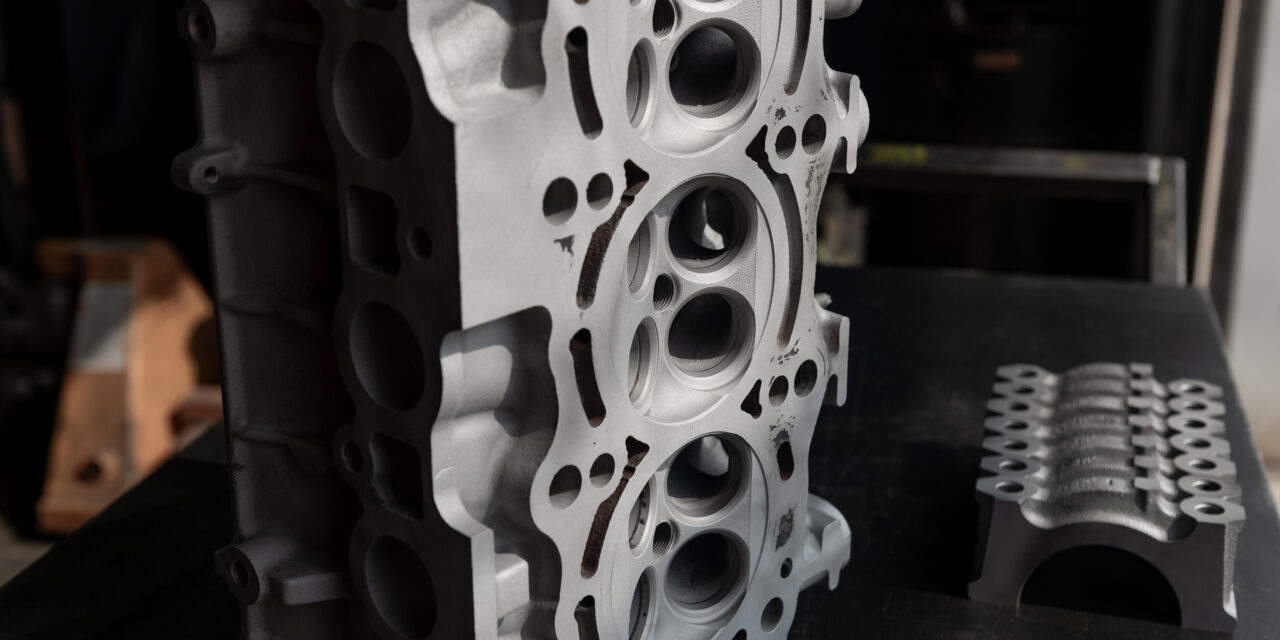
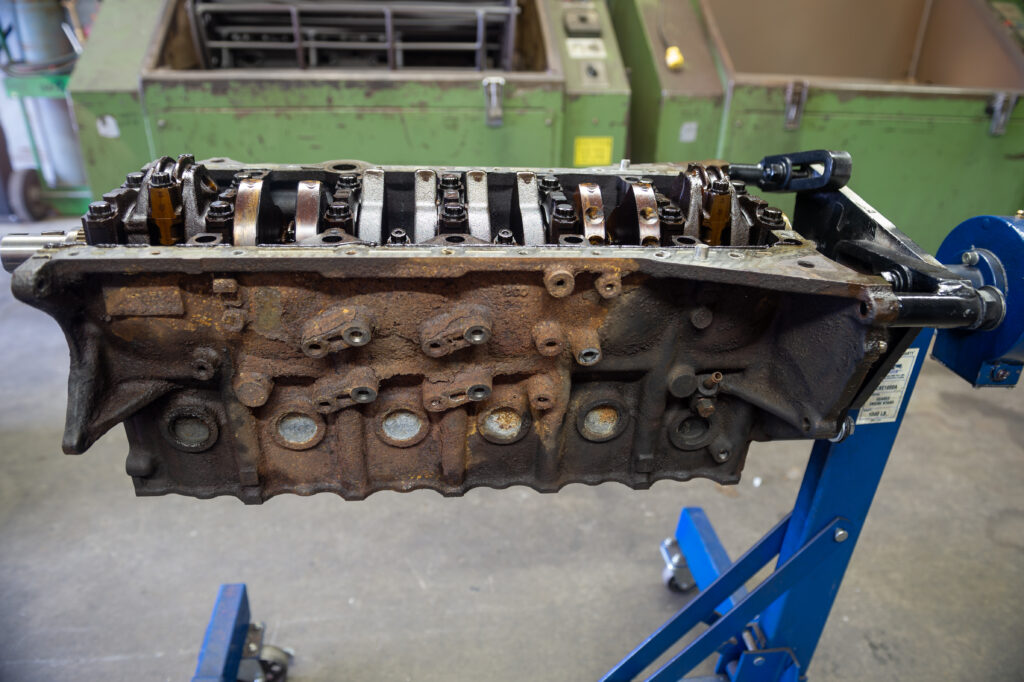
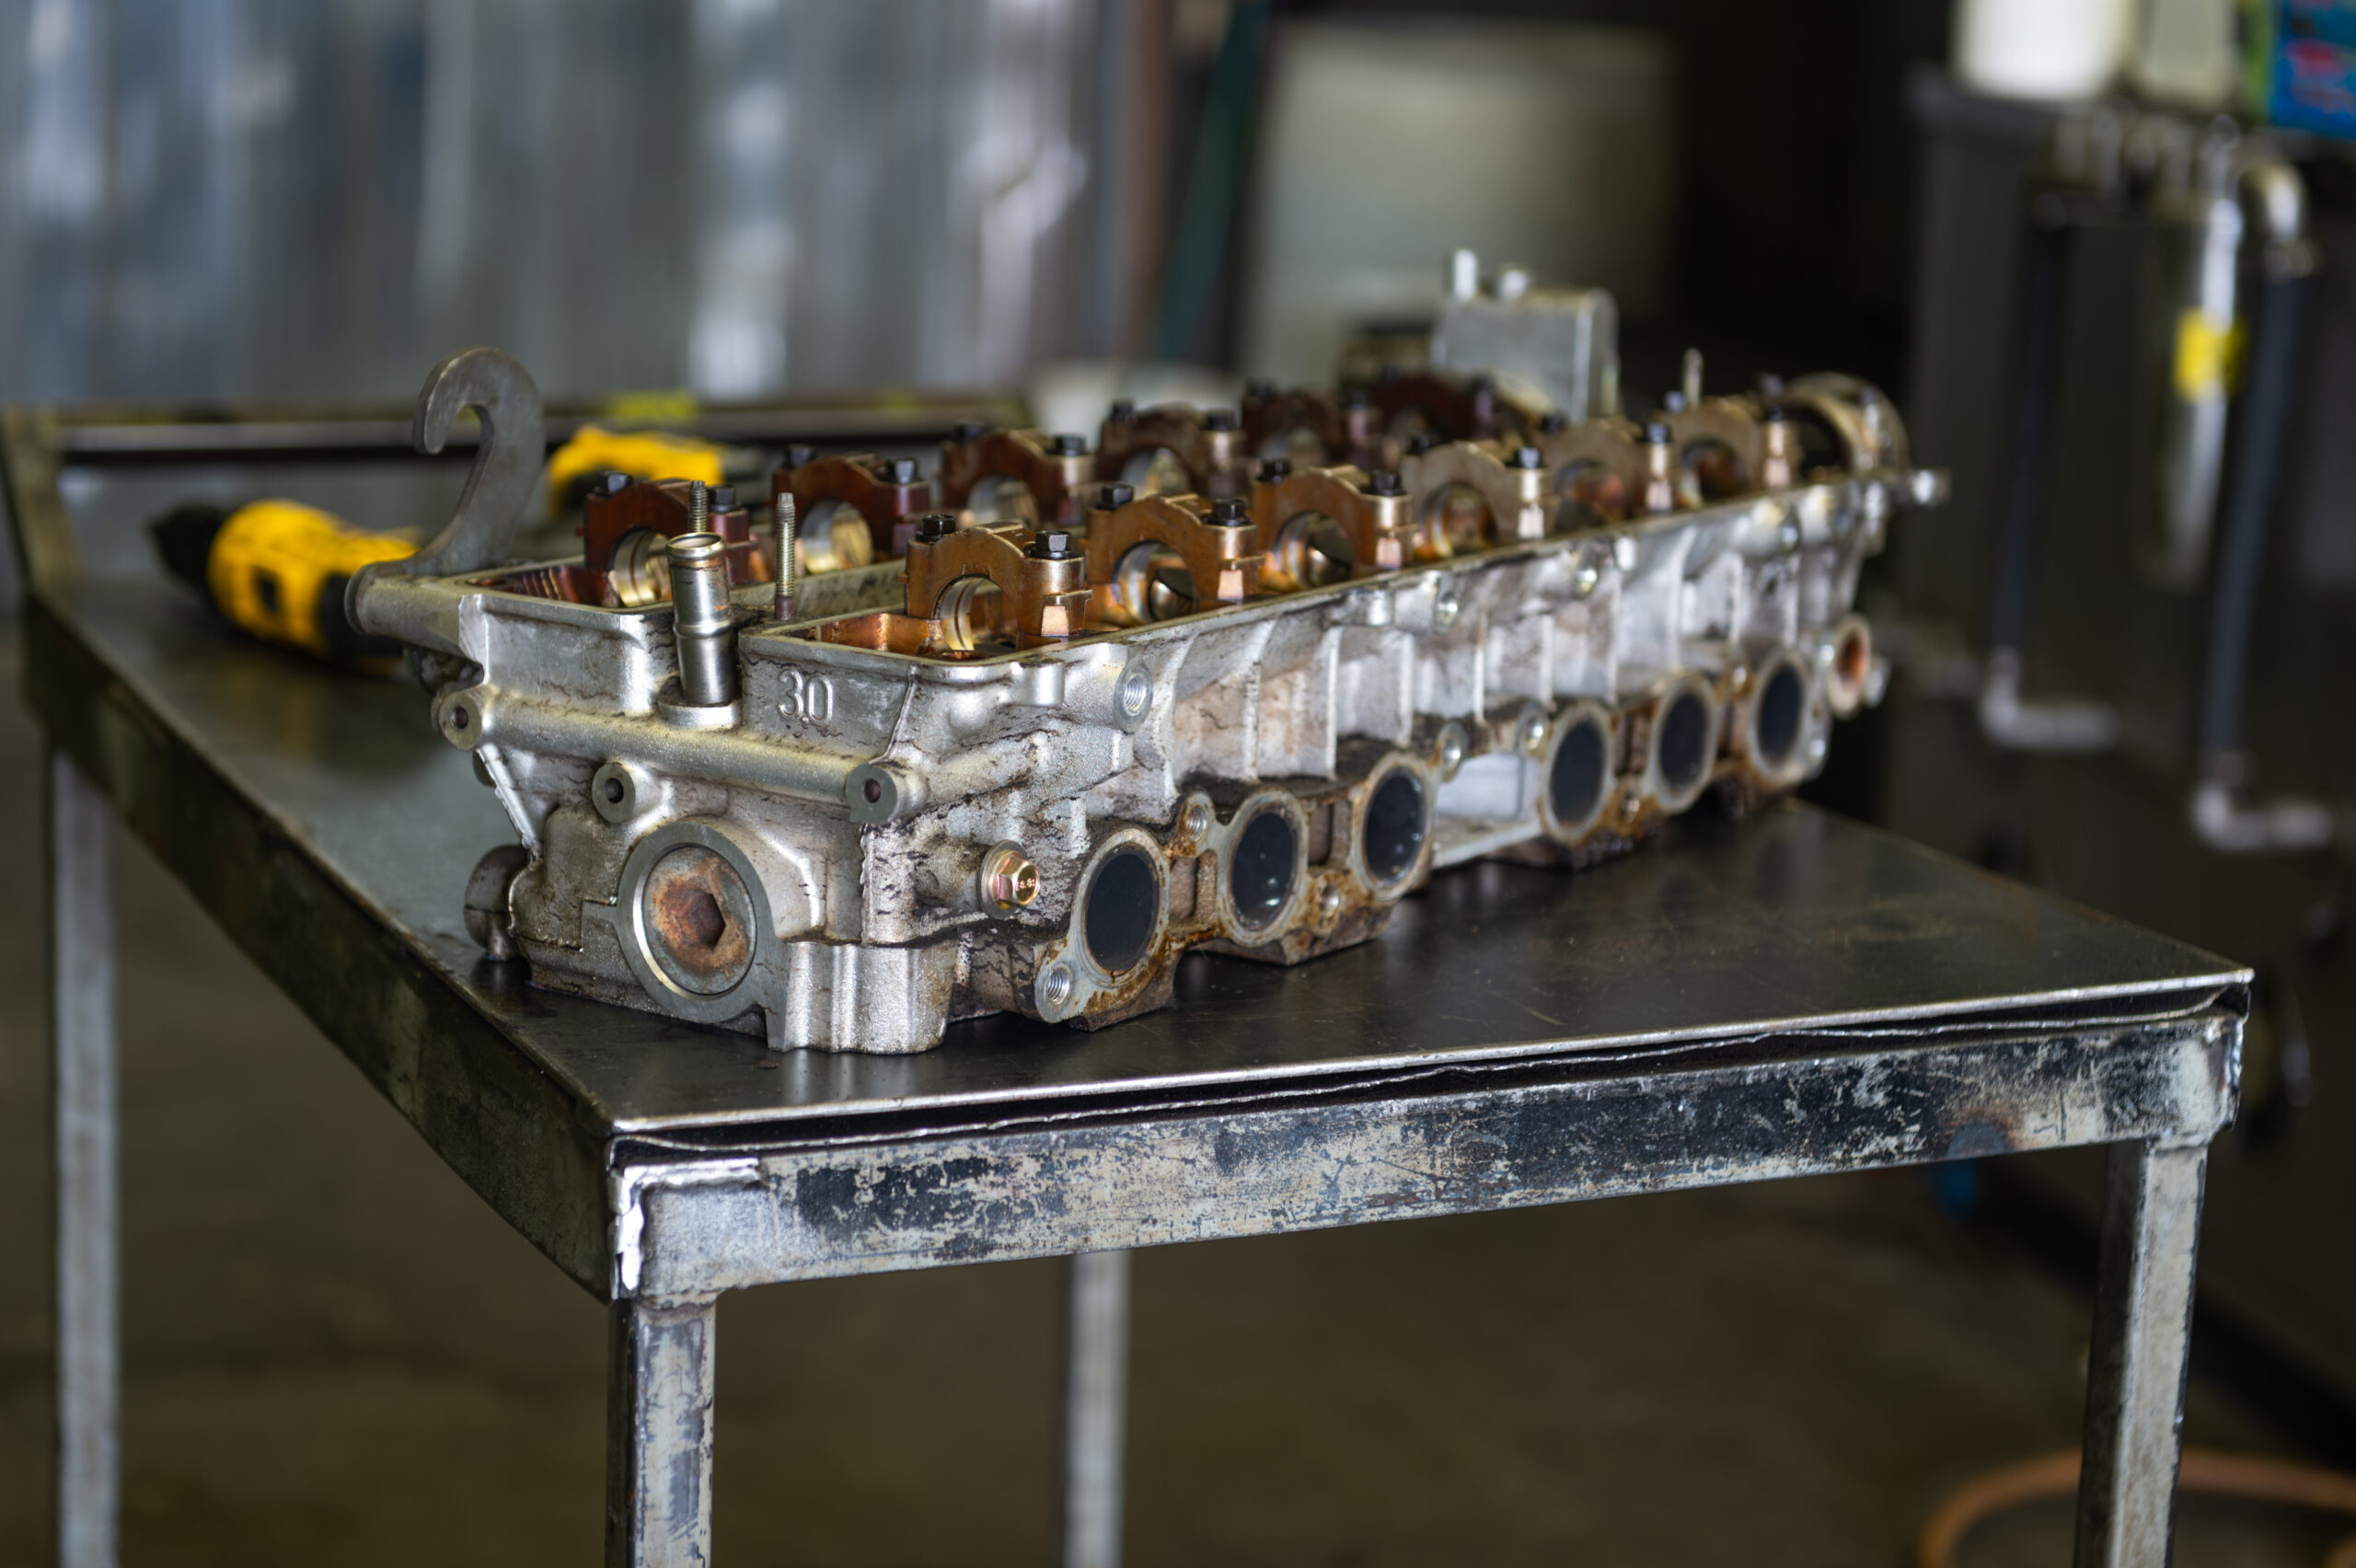
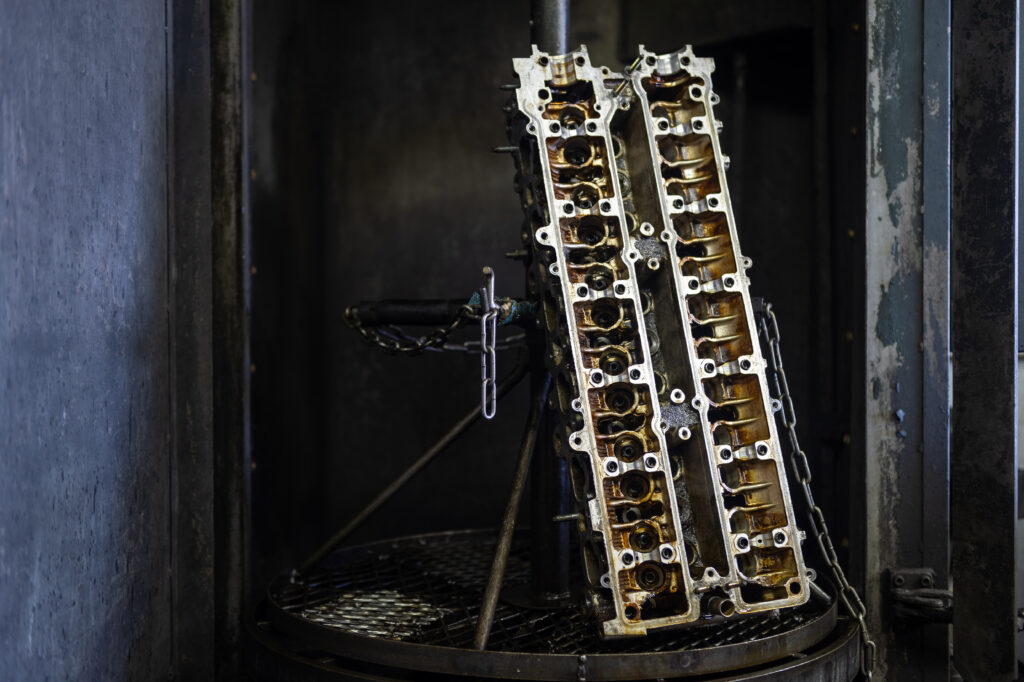
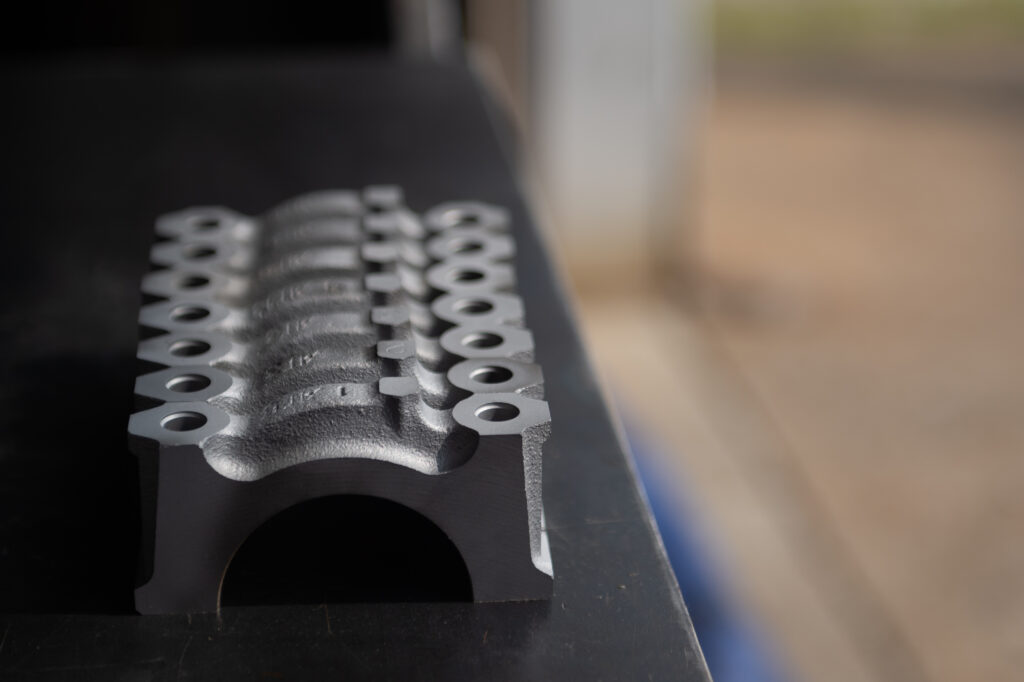
We focus on the head while the block goes into the hot tank. This is a GE VVTI head. I wanted the VVTI specifically to have mid-range or power under the curve. To get things started, we had to get everything to a bare block. I had already removed & thrown-away the cams before bringing everything to Brangers. The head looks like a high-mileage engine that didn’t see regular oil changes. Everything had a nice but gross dark-brown to medium-brown coat. Justin assured me it would be fine, but judging by the condition, it likely would need valve guides.
Well… What next?
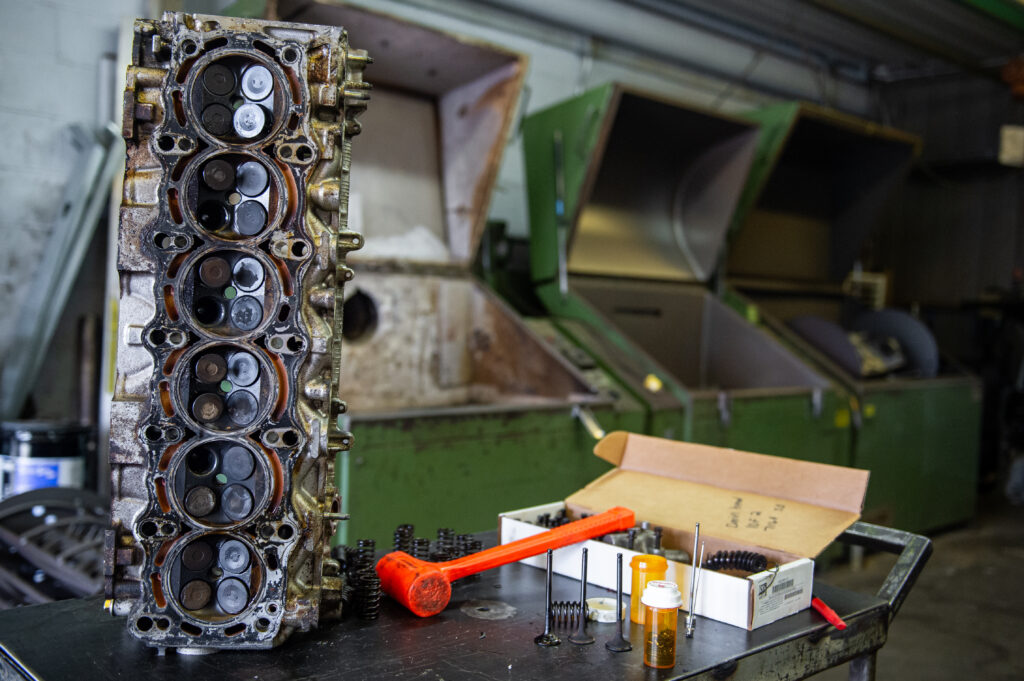
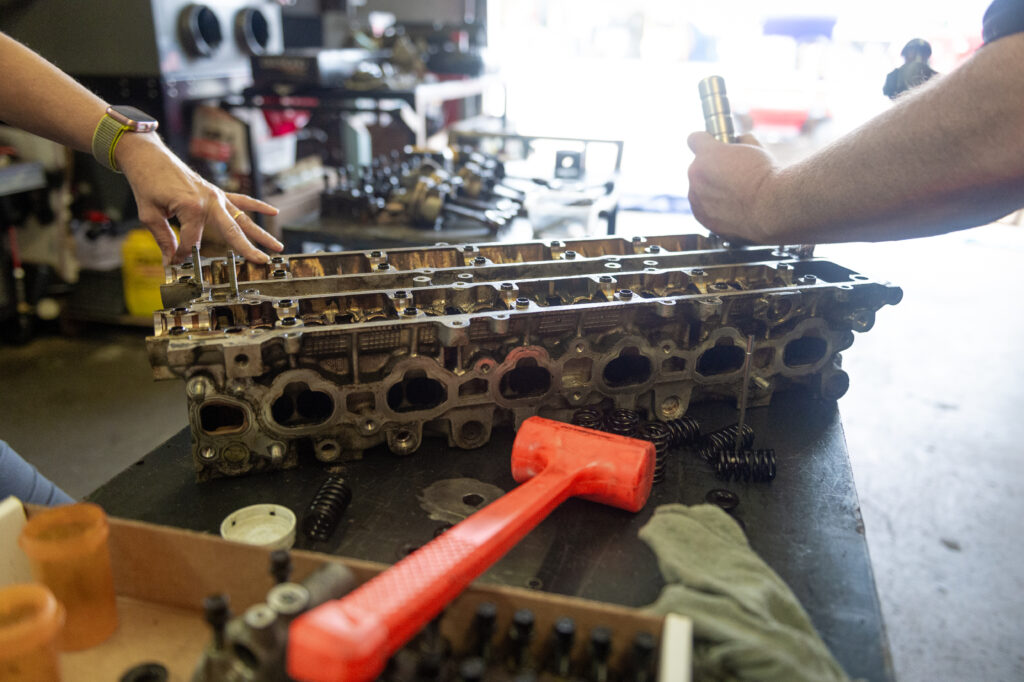
After getting the valve guides out, we pushed a valve down about a quarter inch and wiggled it to see how much play there was. Since Justin has done this for years, he can tell when guides are shot, and he chuckled, “Those are junk.” He let me wiggle, and of course I just said, “Yeah, there is some play.” Then he took me to a good set of valves guides/valves in a head in the shop. It was a night-and-day difference. Very similar to a turbo with some shaft play compared to a brand-new unit. I can see how engine builds get expensive quick. At this point, we sat the head in the hot tank for about an hour since the head has many passages where the shot peen material can get lodged.
Media…
Instead of shot-pinning, Brangers media blasts the head by hand. Media blasting is used to clean, strip, or prepare surfaces. The most common “blasting” method is to use compressed air in an enclosed box. This process made me think they exchanged the parts I had given them for something less junk. Like holy shit did it make a huge difference. After that, it was off to get cleaned again.
Sadly, it was time to head to Gingerman for Gridlife Midwest Festival. This entire process took more than a few hours. If you omit a requested trip to the local high school to show off the Cavalier (Cayman S) to Justin’s son… I was there for thirteen hours or so. As they say though, time flies when you are busy. Join me next time as we go through the machine work!
Gallery
Socials // Instagram: iam.dgiles Facebook: Professional Awesome Technical Forum
•DOWNLOAD OUR FREE APP• (APPLE)

•DOWNLOAD OUR FREE APP• (ANDROID)


